
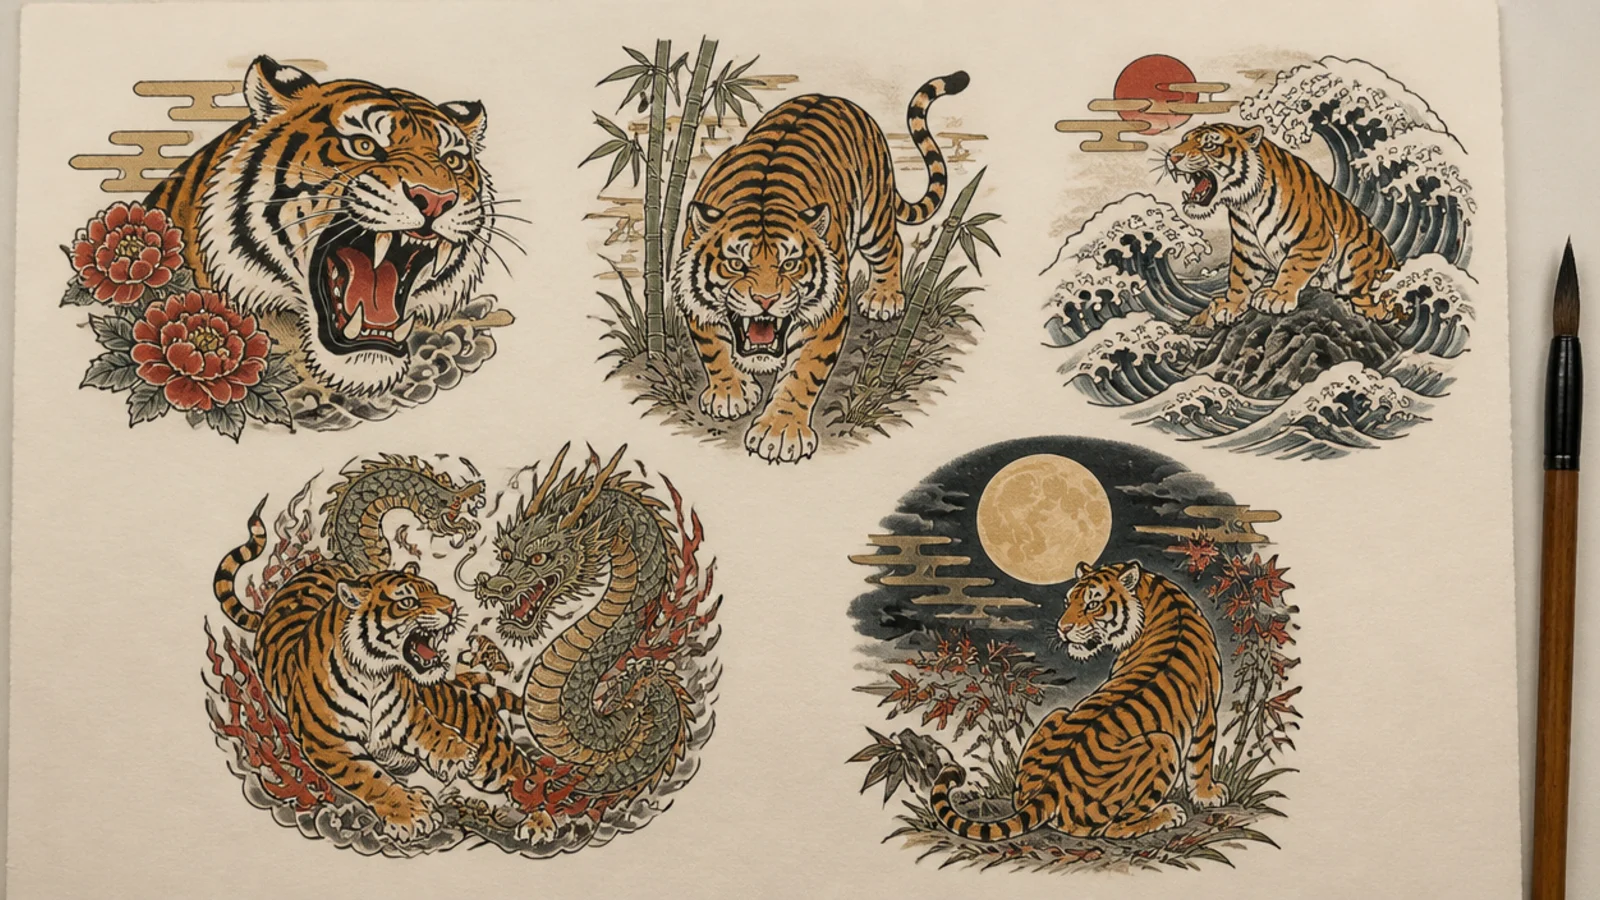
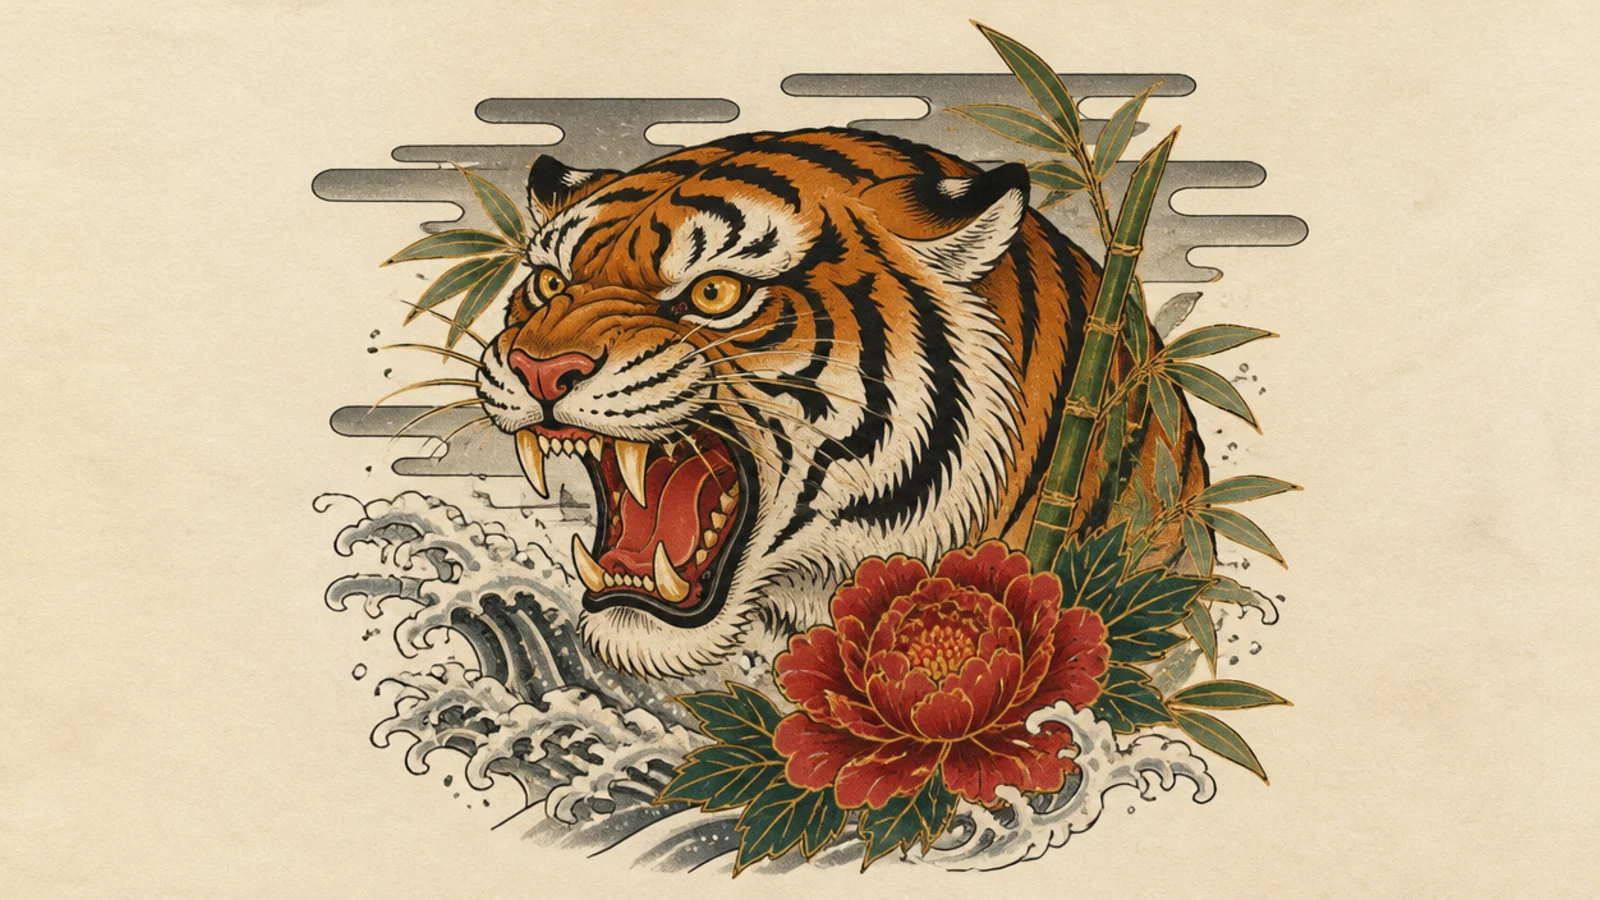
1 Bold Roaring Tiger Head
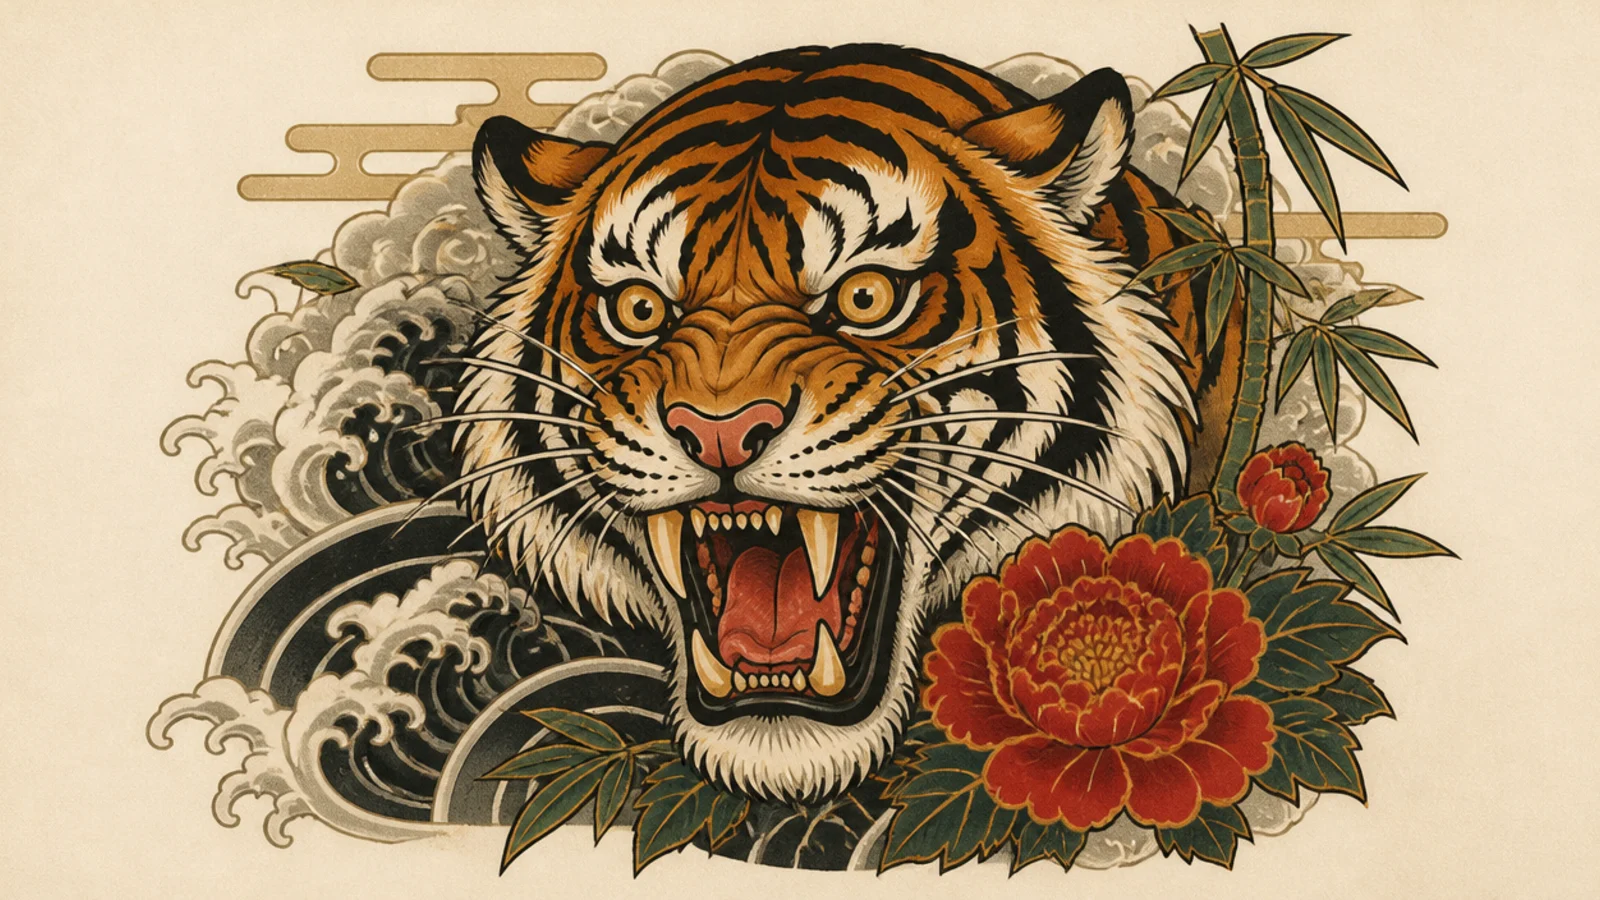
Step 1 draw a bold outline of the head with a wide open mouth. Step 2 add big round glaring eyes, fangs, and a wrinkled brow. Step 3 fill with flowing stripes and flared whiskers in thick line.
This is the foundation Japanese tiger and the base for the list — a fierce roaring head in bold outline. It teaches the exaggerated expression and confident line the whole style rests on.
AvoidDon’t aim for realism; the stylized drama is the whole point.
Pro tipExaggerate the round eyes and wide mouth for the classic fierce look.
2 Prowling Tiger in Bamboo
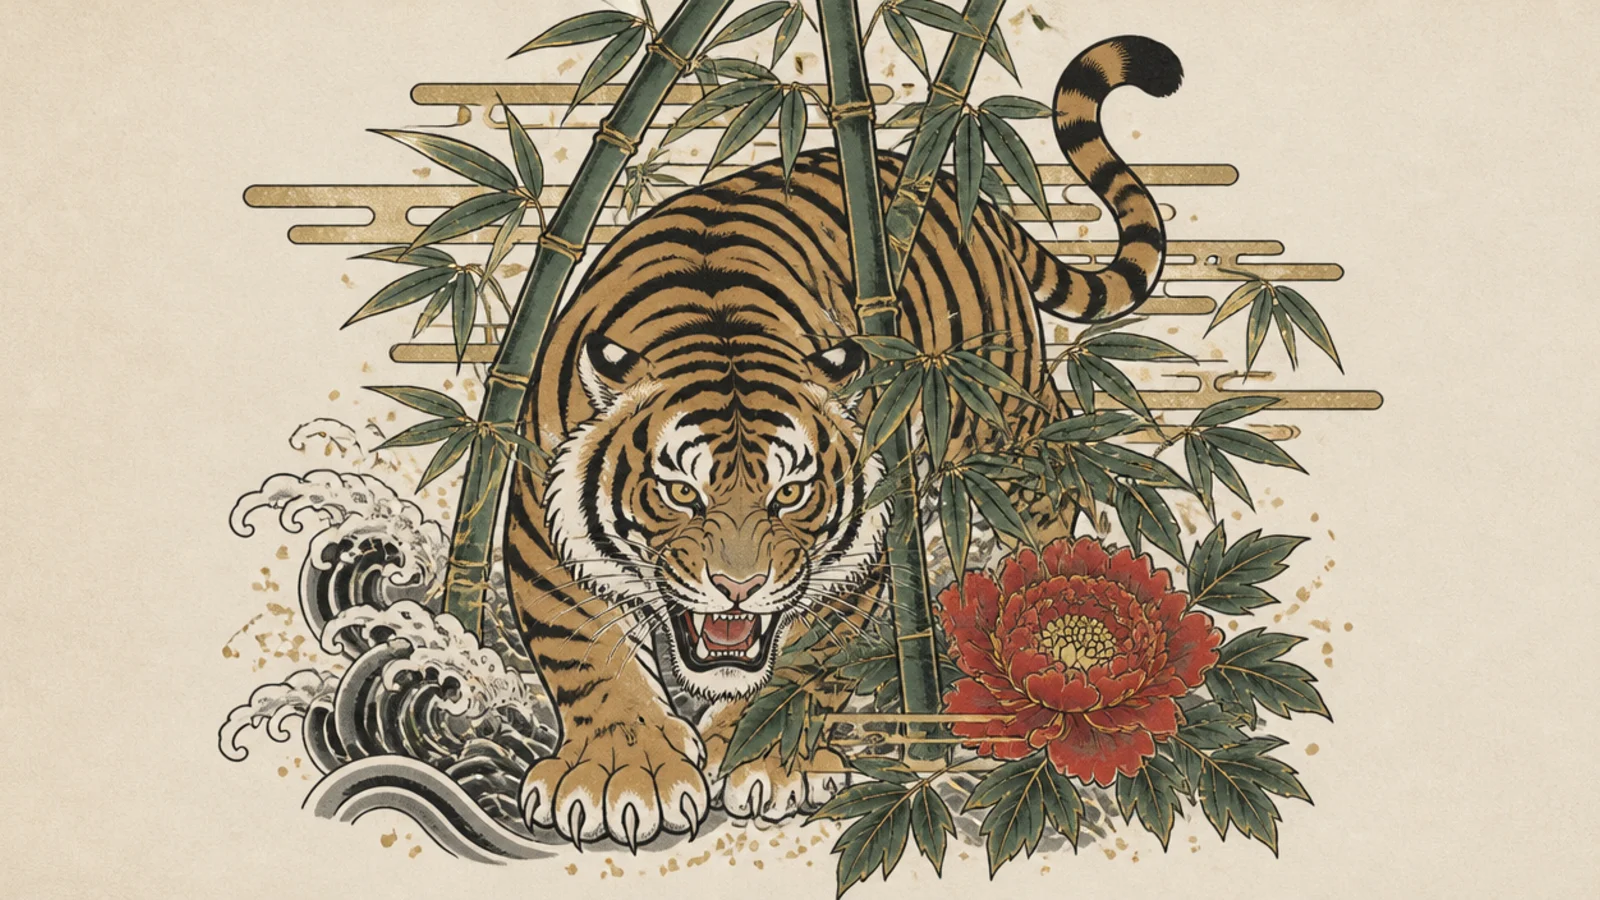
A tiger prowling through bamboo is one of the most classic Japanese pairings. It teaches how the vertical bamboo frames the horizontal prowling body.
Step 1 draw a low prowling tiger in bold outline. Step 2 add tall bamboo stalks rising behind and around it. Step 3 add pointed bamboo leaves and flowing stripes on the tiger.
Cross a few bamboo leaves over the body to weave the tiger into the scene.
Don’t draw straight stiff bamboo; add gentle bends and leaf clusters.
3 Tiger and Great Wave
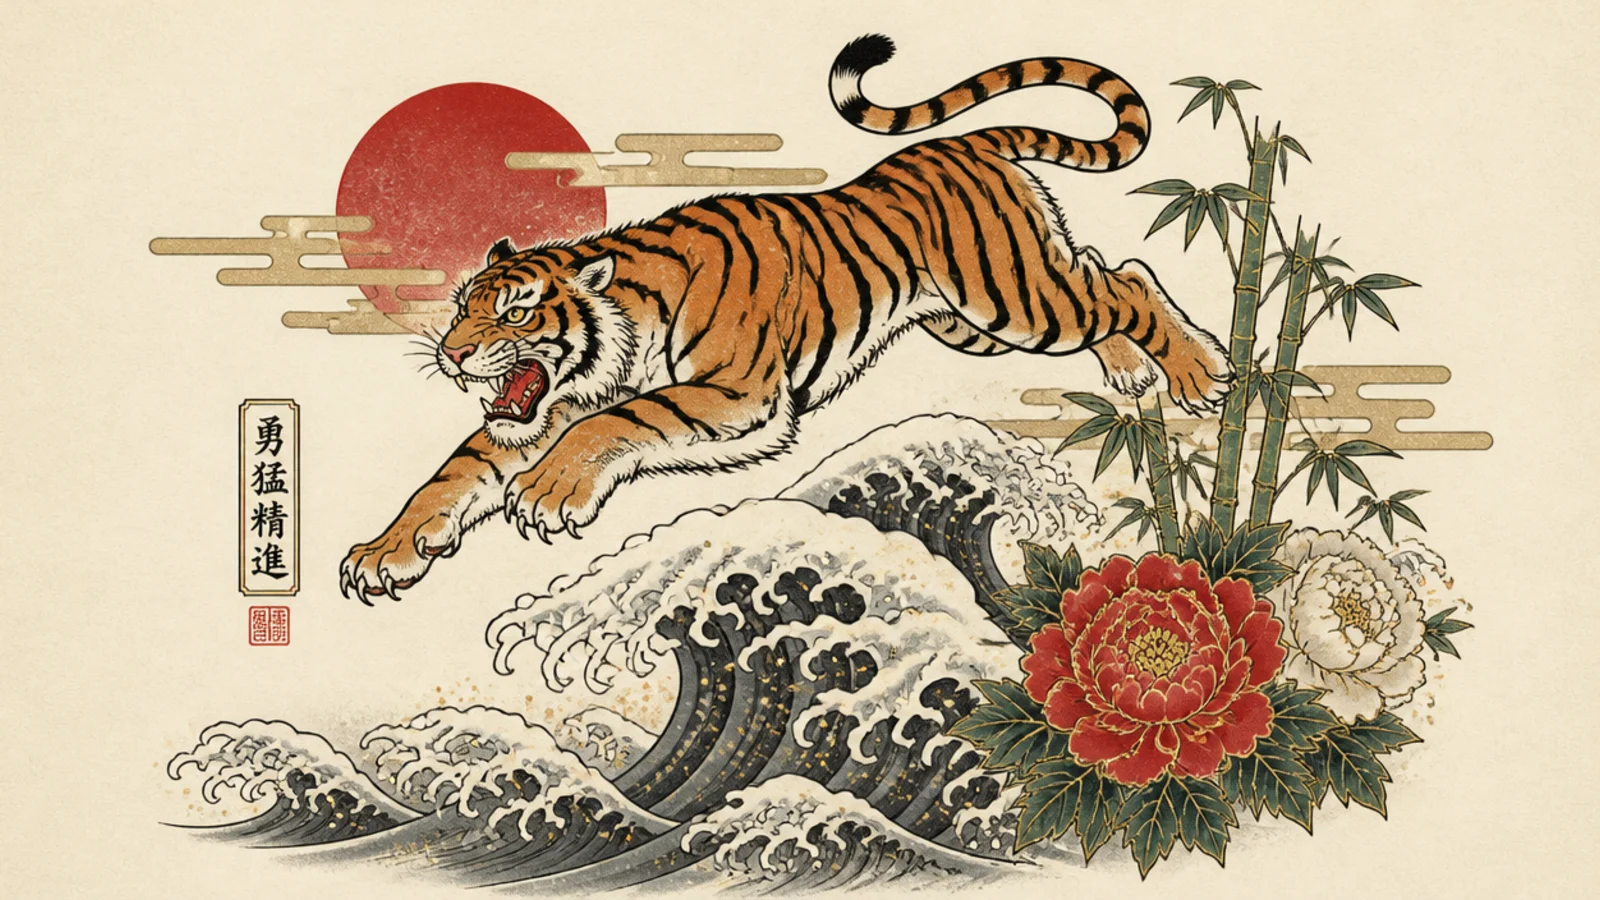
A tiger leaping over a curling wave echoes the famous ukiyo-e wave motif. It teaches the swirling water pattern and how it carries motion under the animal.
Step 1 draw a leaping tiger in bold outline. Step 2 build a curling wave with clawed foam beneath it. Step 3 add spiral foam details and flowing stripes echoing the wave.
Curl the wave foam into little claws like the classic great wave.
Don’t draw flat water; the curling, clawed foam is the signature.
4 Tiger and Dragon
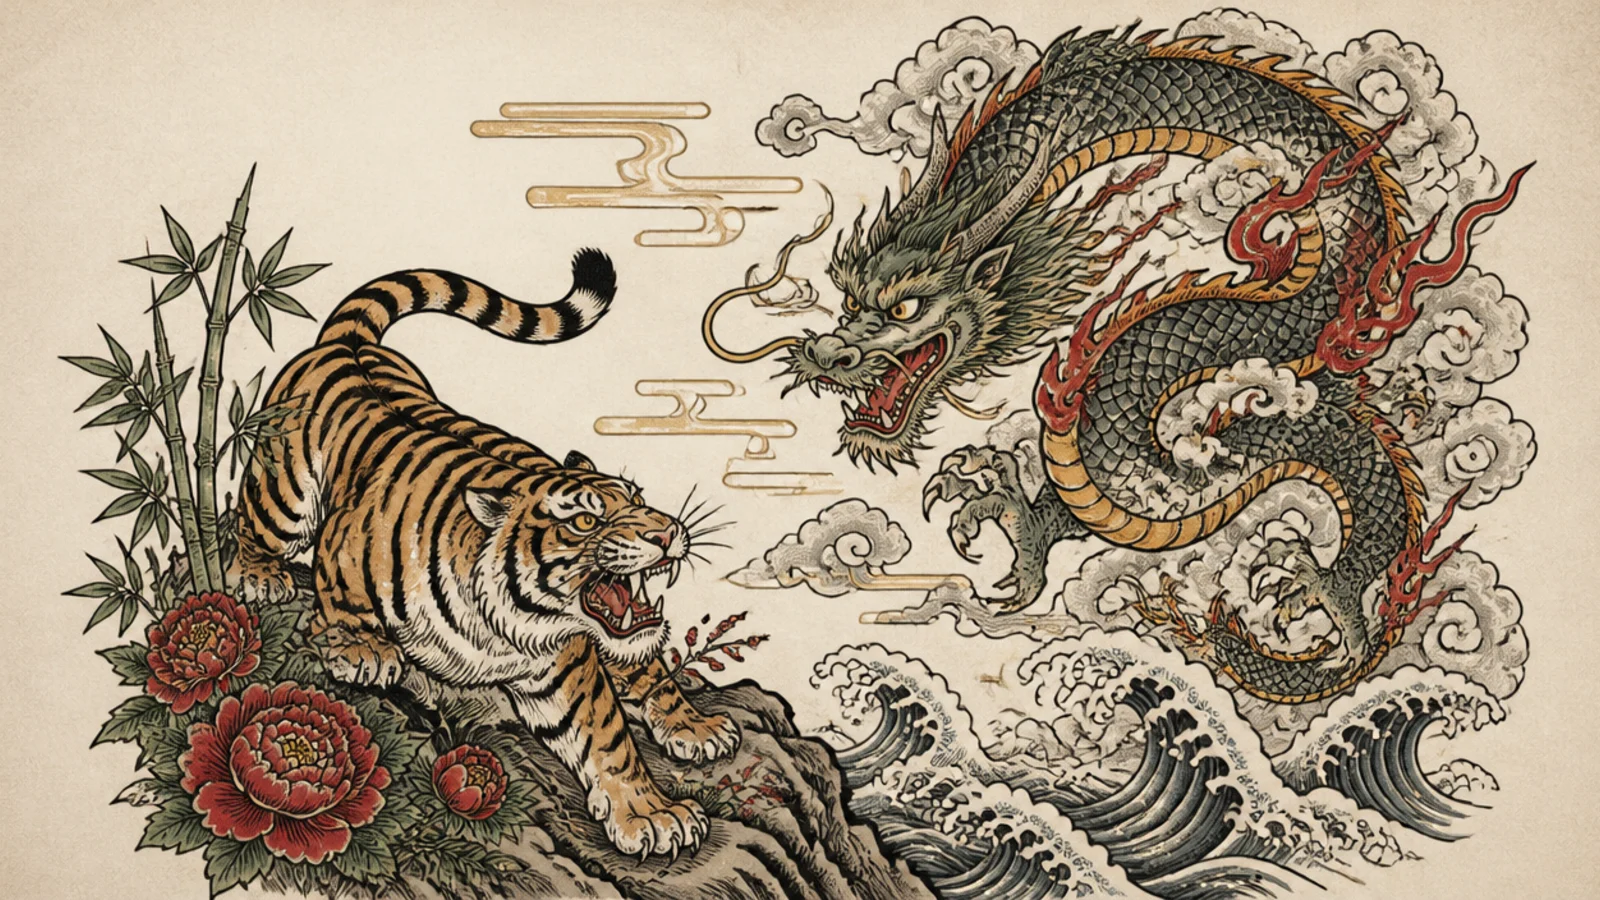
The tiger and dragon facing off is a legendary Japanese pairing of earth and sky. It teaches balancing two dynamic figures in one flowing composition.
Step 1 draw the tiger low on one side in bold outline. Step 2 coil a dragon opposite it, rising above. Step 3 fill the space between with clouds and wind bars connecting them.
Face the two toward each other so the tension reads clearly.
Don’t crowd them together; leave swirling space between the rivals.
5 Tiger Under the Full Moon
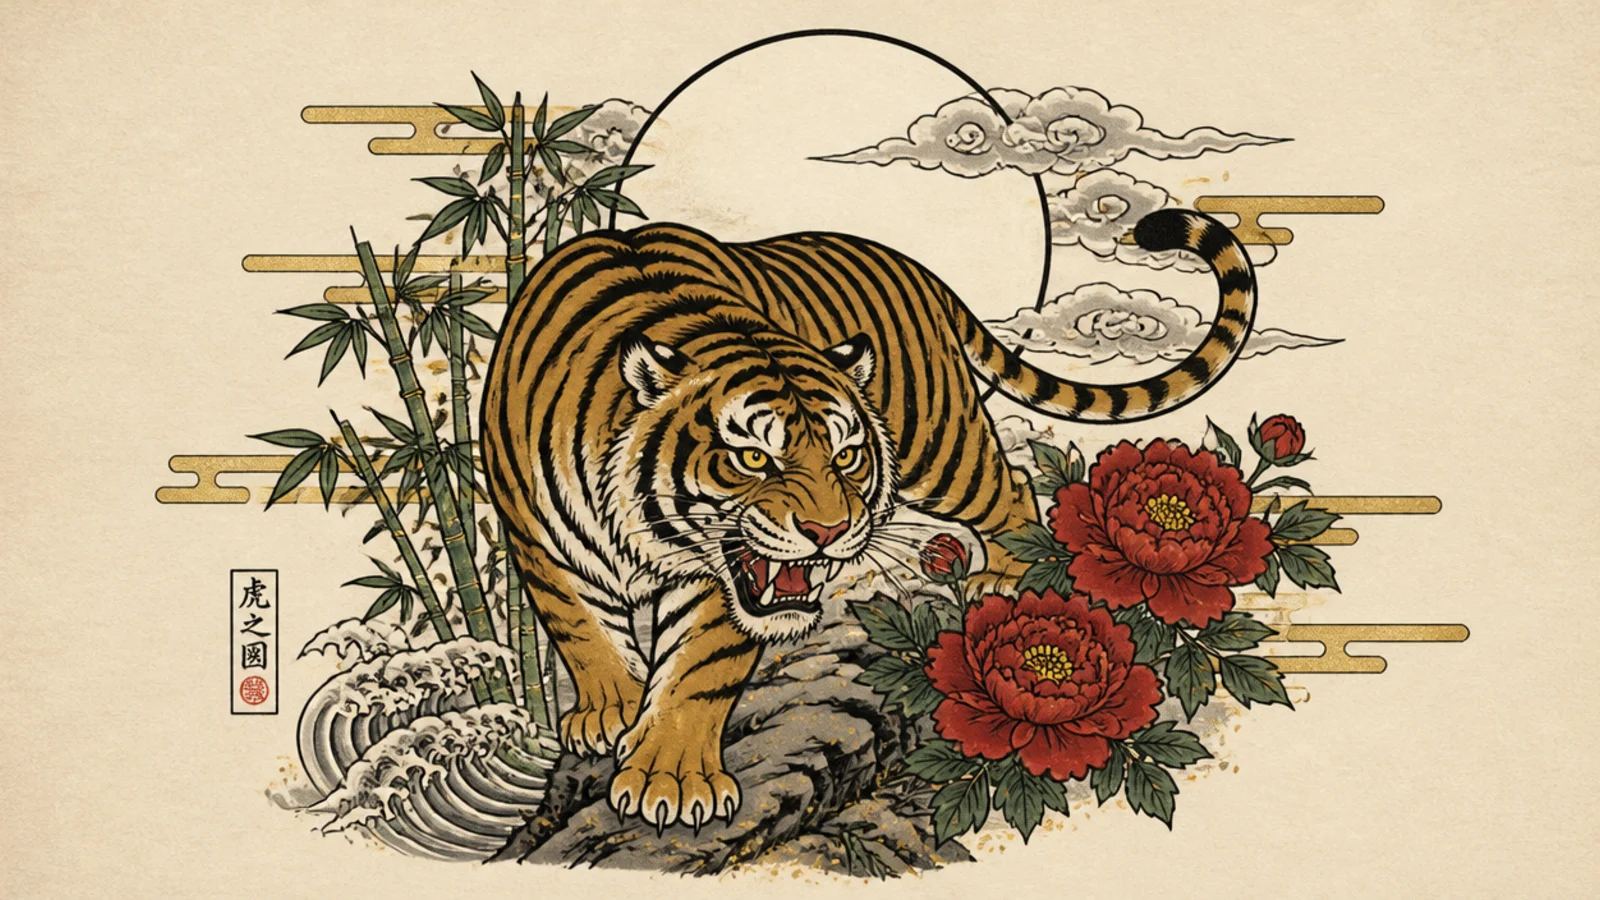
A tiger against a large full moon is serene and graphic. It teaches using a bold circle as a backdrop and framing device for the animal.
Step 1 draw a large moon circle. Step 2 pose a bold-outlined tiger crossing in front of it. Step 3 add a few clouds drifting over the moon and flowing stripes.
Overlap the tiger across the moon so the circle frames it.
Don’t fill the moon with detail; keep it clean behind the tiger.
6 Tiger and Peony Flowers
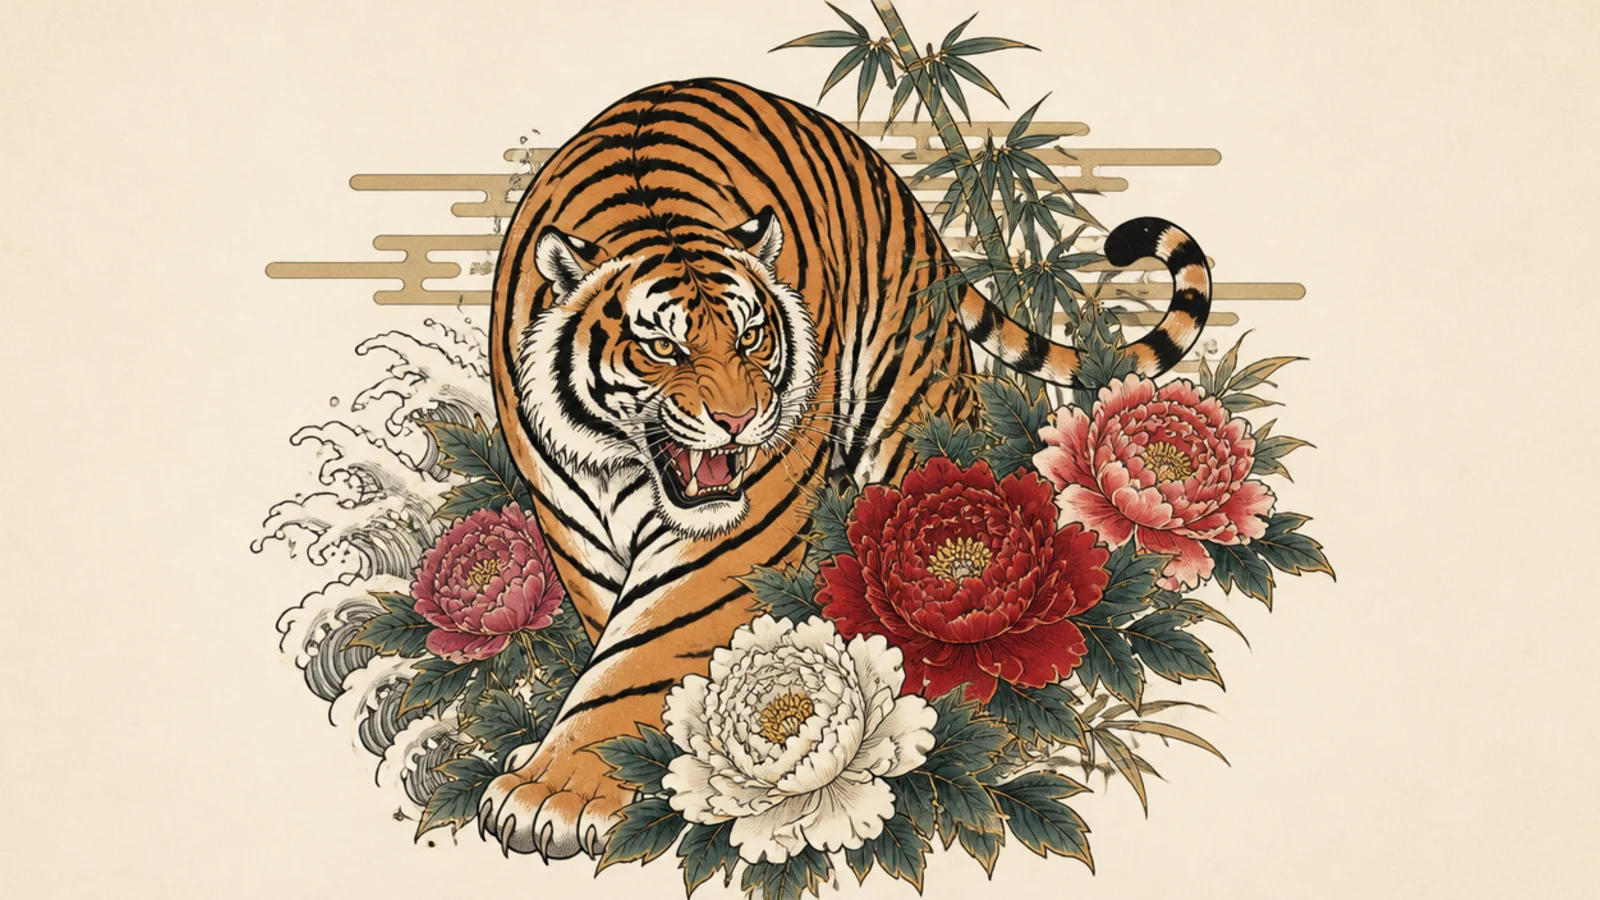
Step 1 draw a bold tiger in a strong pose. Step 2 add large layered peony blooms around it. Step 3 fill gaps with leaves and let the stripes flow toward the flowers.
A tiger among peonies balances fierce and delicate, a beloved irezumi pairing. It teaches the layered peony bloom and how flowers soften a powerful animal.
AvoidDon’t scatter tiny flowers; big bold peonies suit the style.
Pro tipBuild each peony from layered curled petals for a full bloom.
7 Crouching Tiger With Wind Bars
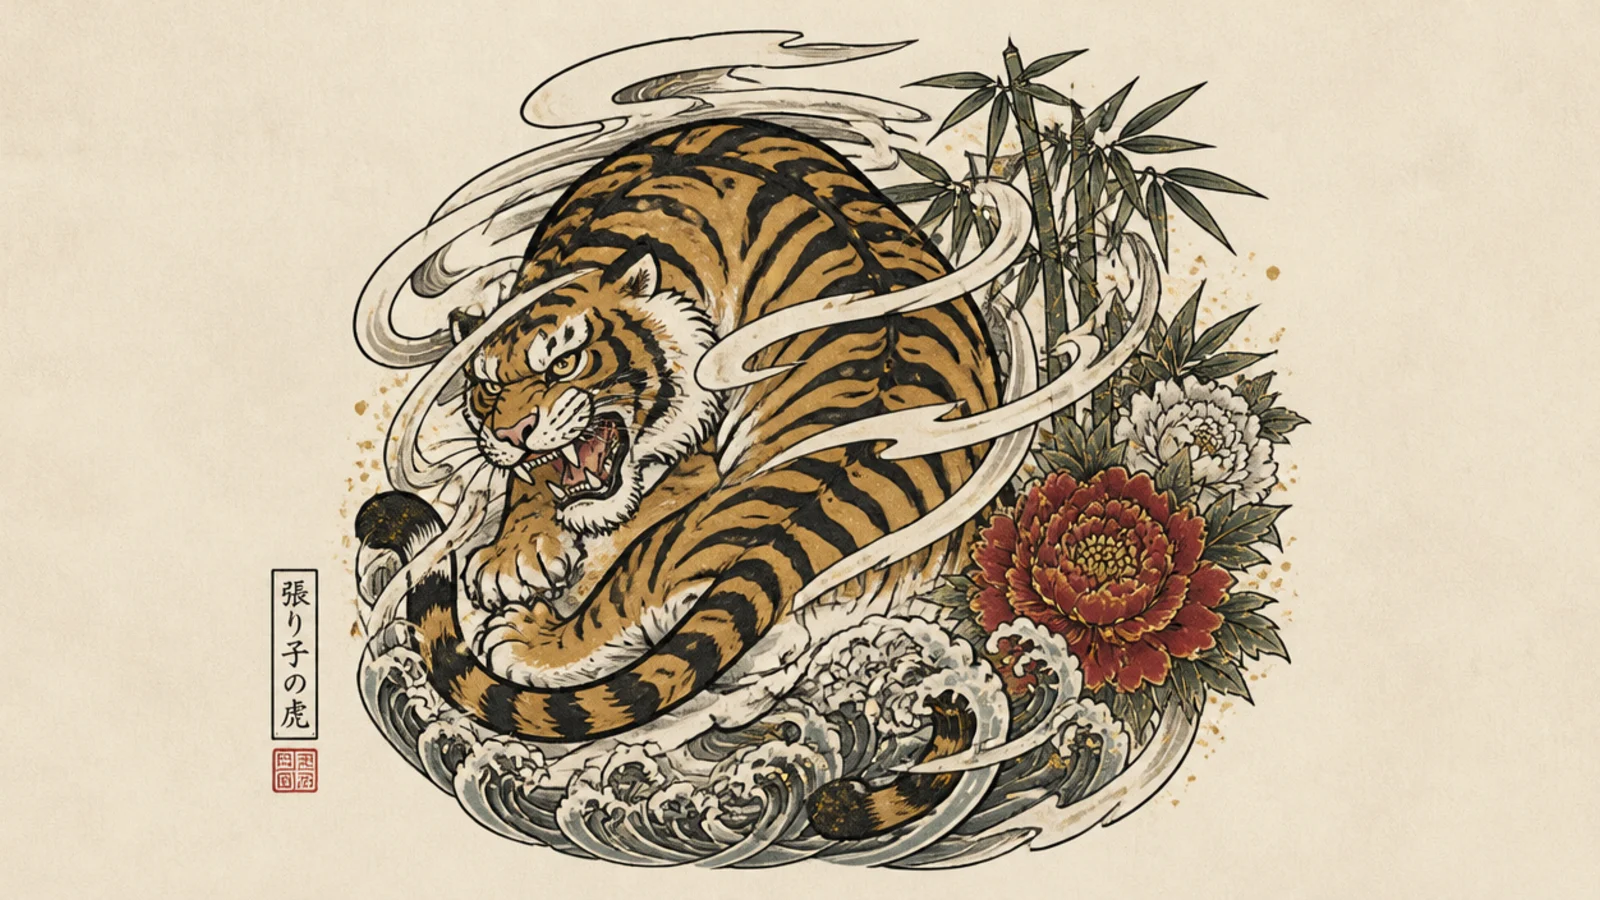
Step 1 draw a crouched, coiled tiger in bold outline. Step 2 sweep long curving wind bars around and behind it. Step 3 taper the wind lines and let them echo the tiger’s curves.
A crouching tiger wrapped in swirling wind bars is pure irezumi energy. It teaches the wind-bar motif that fills empty space with rhythm and movement.
AvoidDon’t draw random lines; wind bars flow together in one current.
Pro tipFlow the wind bars in the same direction as the tiger’s body for unity.
8 Tiger Climbing Rocks
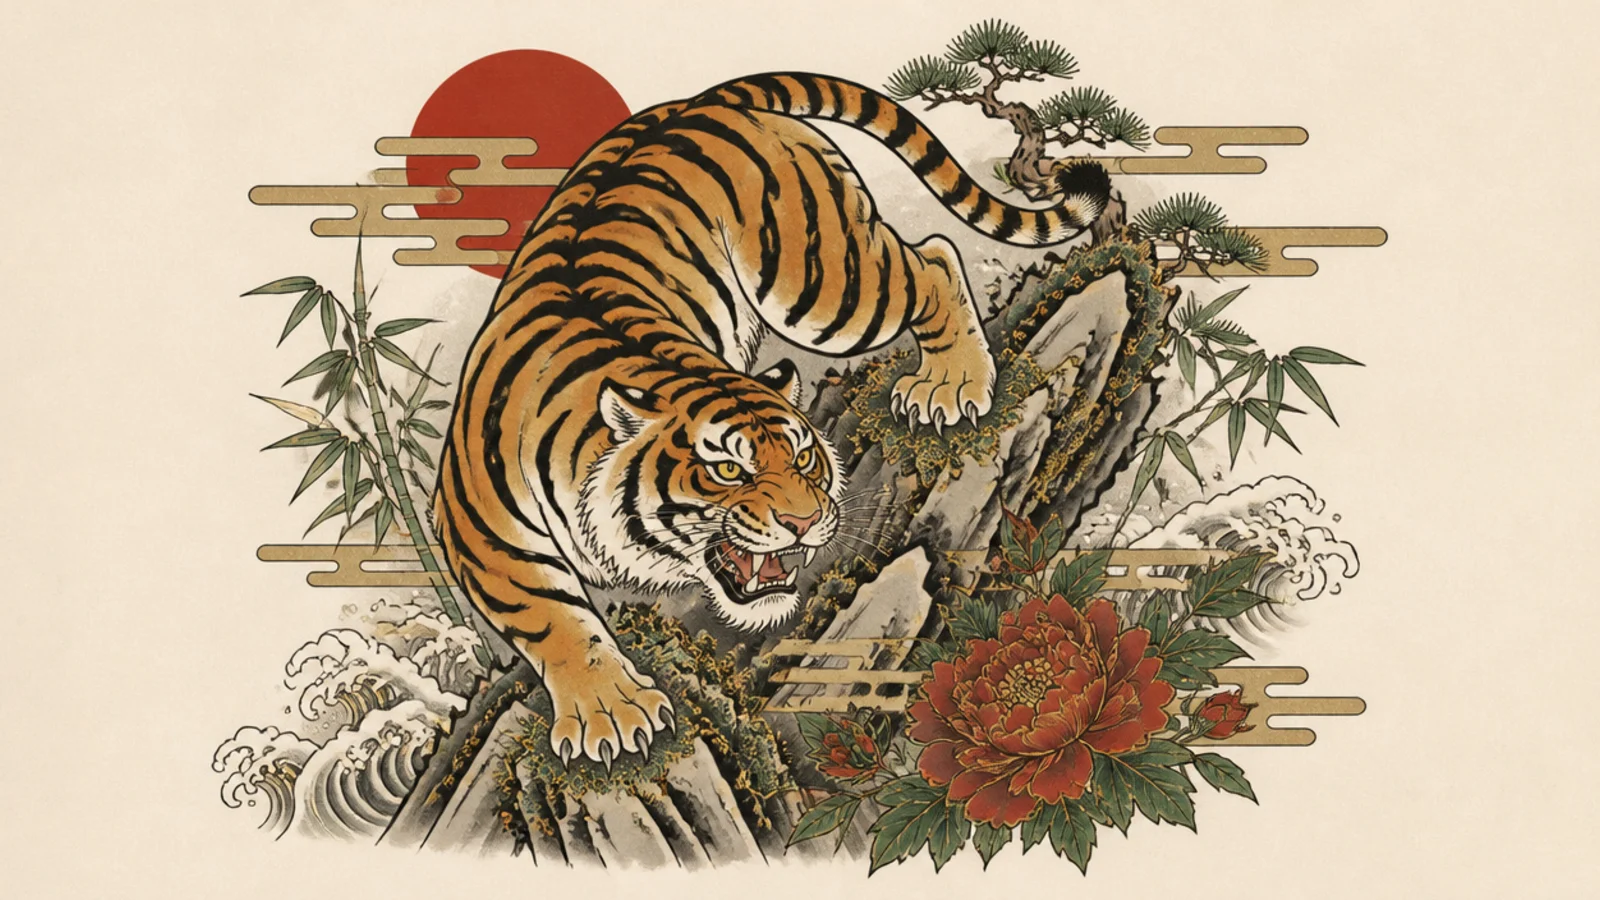
Step 1 draw the tiger climbing on a diagonal in bold outline. Step 2 build angular craggy rocks beneath and around it. Step 3 add moss dots, a few pine sprigs, and flowing stripes.
A tiger scaling craggy rocks shows the powerful body in a dynamic climb. It teaches the angular rock motif against the tiger’s flowing curves.
AvoidDon’t round the rocks; jagged angular rock is the traditional look.
Pro tipAngle the rocks sharply to contrast the tiger’s soft flowing body.
9 Tiger in Slanting Rain
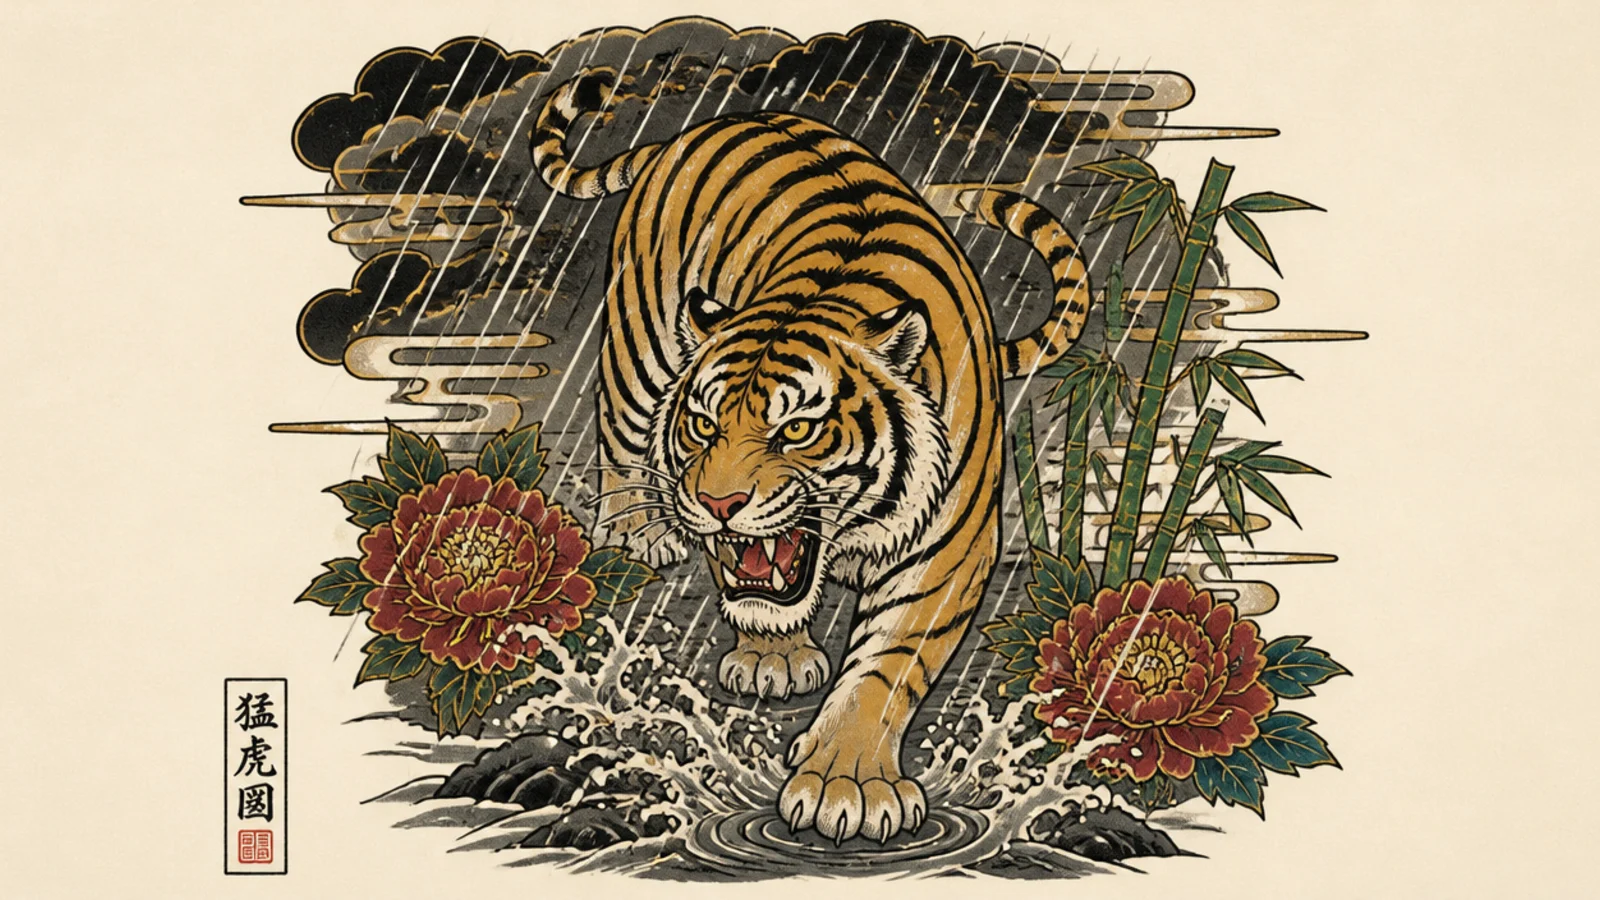
A tiger walking through slanting rain borrows the ukiyo-e rain technique. It teaches the graphic straight-line rain that sweeps mood across the whole scene.
Step 1 draw a bold-outlined tiger walking. Step 2 sweep many straight parallel rain lines diagonally across the whole image. Step 3 add a few splashes at the ground and darken the sky.
Keep all the rain lines parallel and at the same angle for the effect.
Don’t vary the rain angle; uniform slanting lines make the rain read.
10 Vertical Scroll Tiger
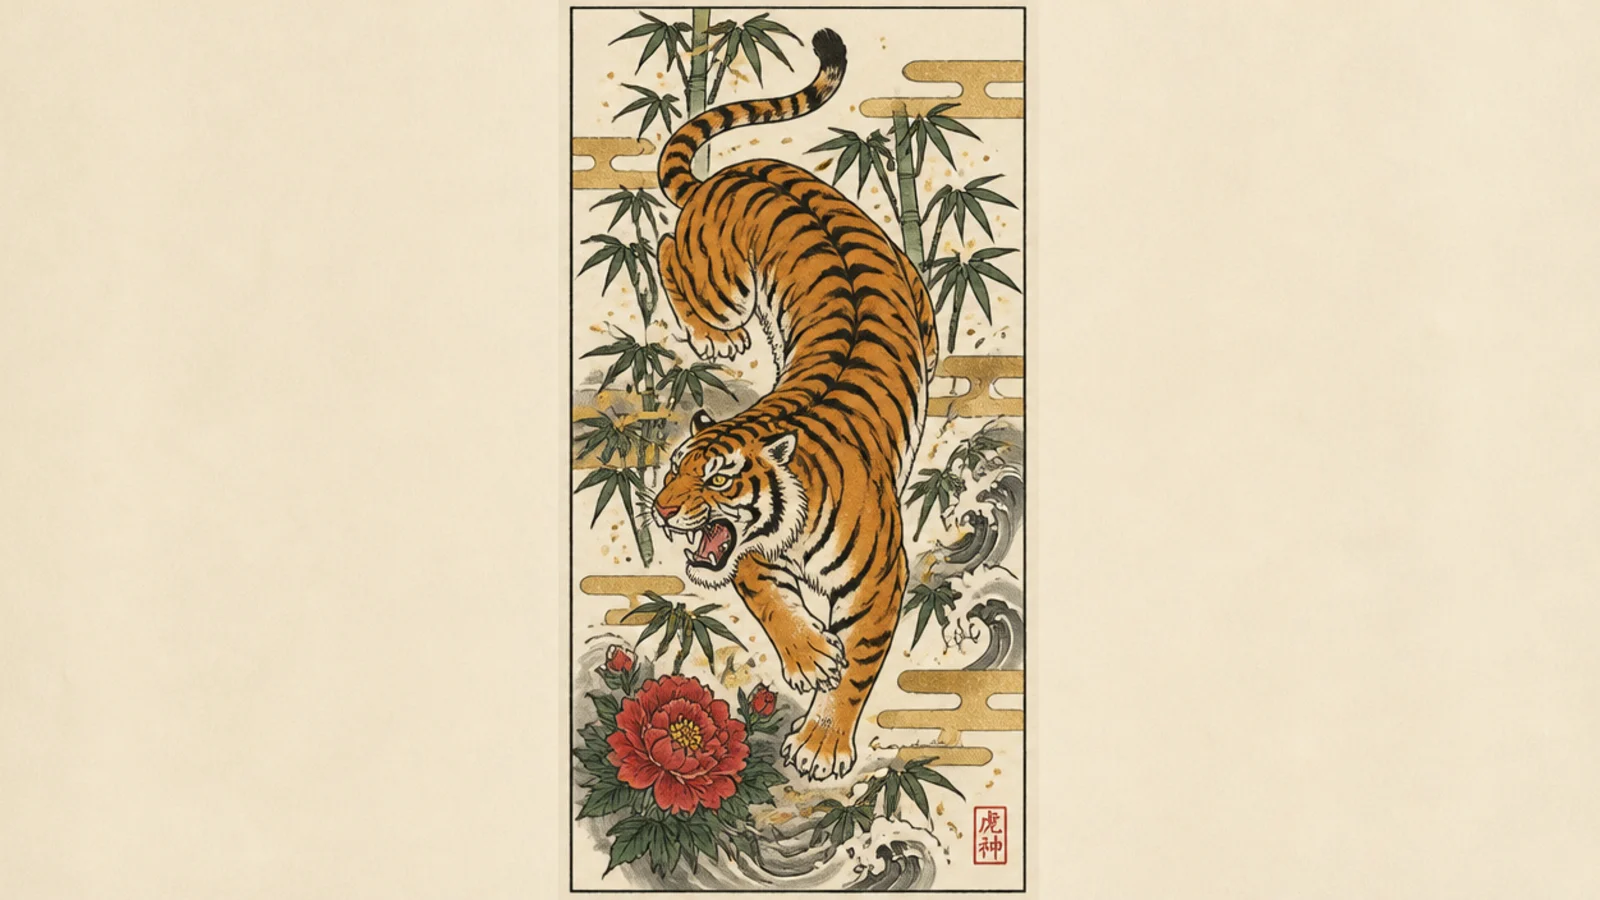
A tiger arranged in a tall vertical scroll format nods to hanging-scroll paintings. It teaches composing the long body to flow down a narrow vertical space.
Step 1 draw a tall narrow frame. Step 2 wind the tiger’s body down it in an S-curve. Step 3 add bamboo or wind bars along the length and a small seal-style mark.
Wind the body in an S so it fills the tall narrow format gracefully.
Don’t draw the tiger horizontally; adapt it to the vertical flow.
11 Sumi-e Ink Tiger
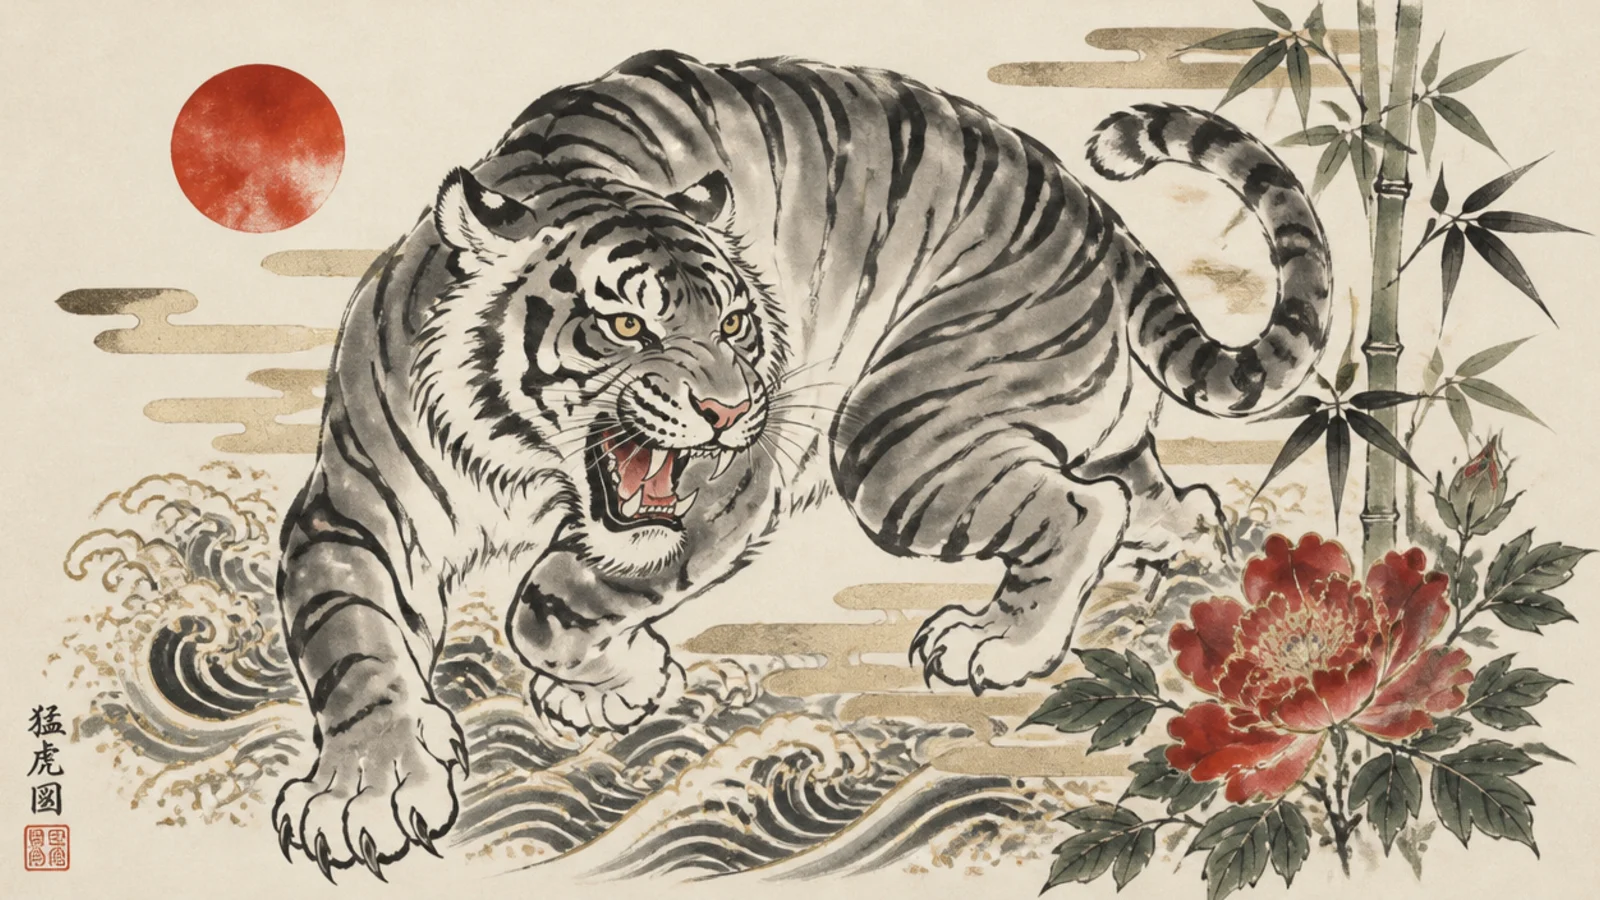
A sumi-e brush tiger is looser and more painterly than bold irezumi outline. It teaches the expressive brush tradition — a few confident tonal strokes over crisp line.
Step 1 lay the tiger’s form in a few broad grey brush strokes. Step 2 add darker accent strokes for the stripes and features. Step 3 leave paper white for highlights and keep it spontaneous.
Load the brush and commit to each stroke; sumi-e rewards confidence.
Don’t overwork it; the freshness of the brush is the point.
12 Tiger Family Motif
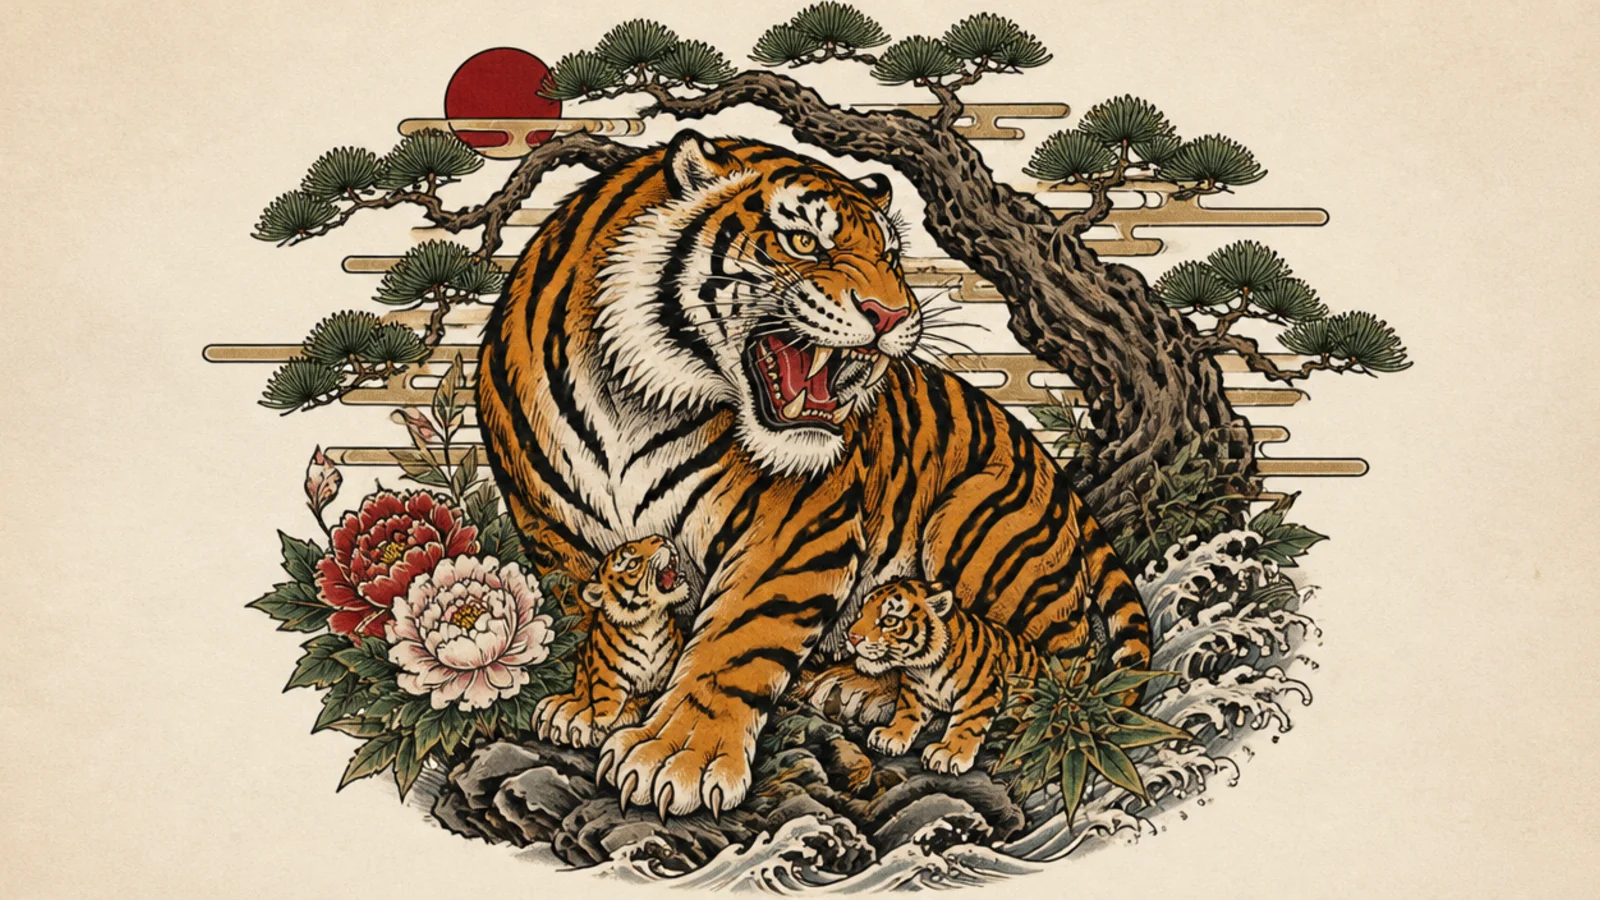
Step 1 draw a large bold-outlined tiger. Step 2 add one or two small cubs at its feet. Step 3 frame them with a gnarled pine, rocks, and a few wind bars.
An adult tiger with cubs among pine is a classic ukiyo-e family scene. It teaches grouping figures within a traditional landscape of pine and rock.
AvoidDon’t scatter the cubs; keep them close to the parent.
Pro tipNestle the cubs against the adult so the family reads as one group.
13 Tiger Tattoo Flash Panel
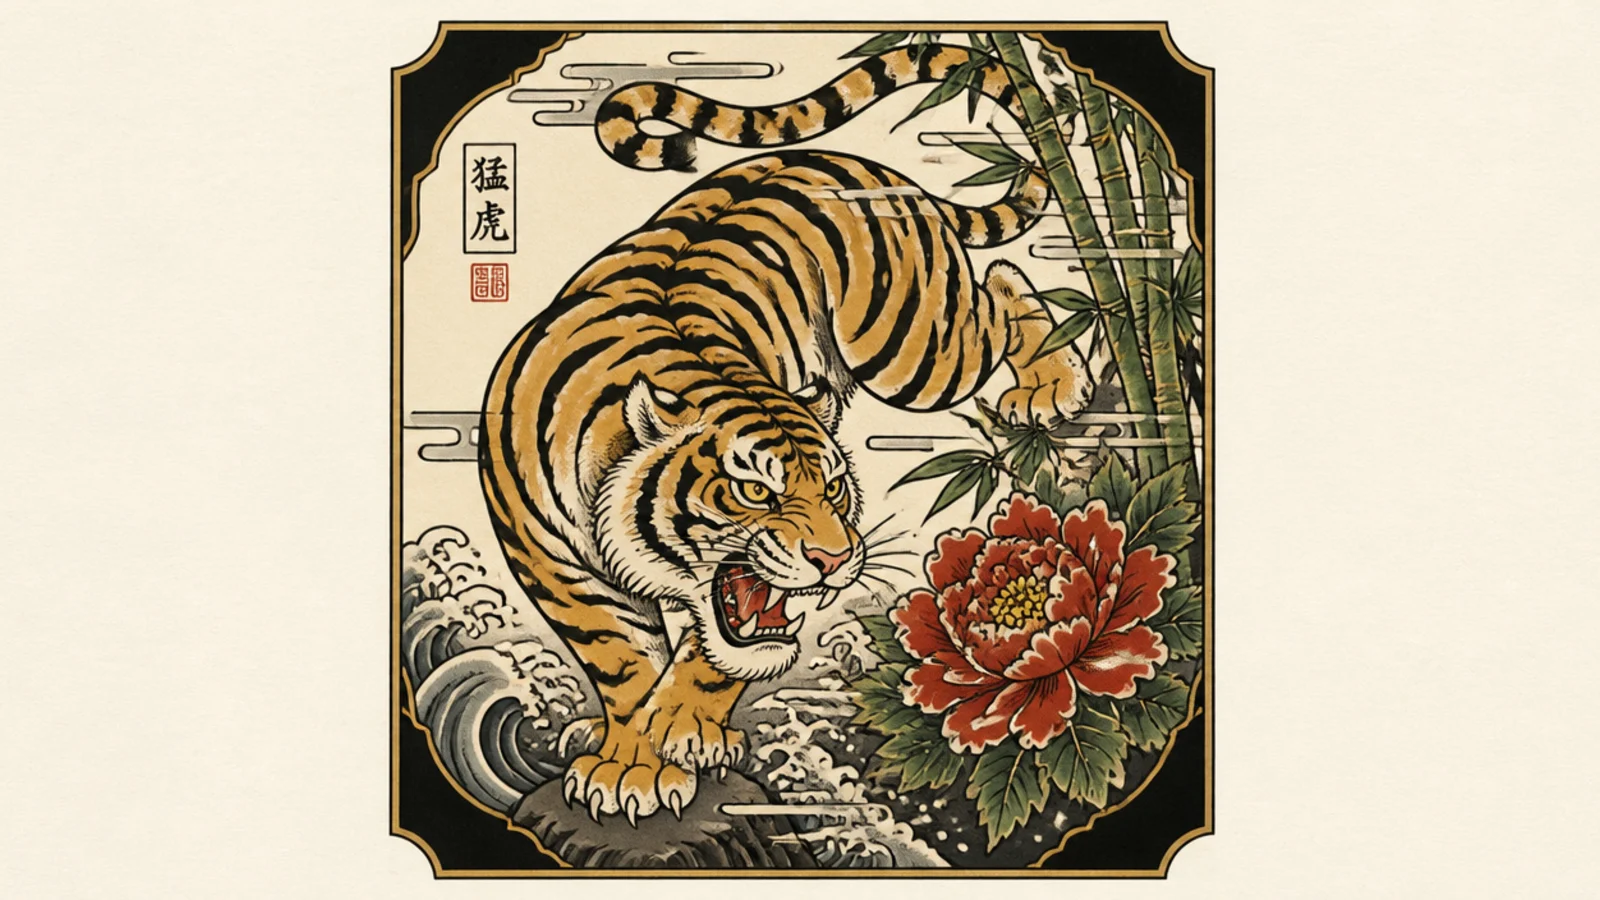
Step 1 draw a bold framed panel shape. Step 2 fit a dynamic tiger inside filling the space. Step 3 add wind bars, a peony, and heavy black shading in the corners.
A tiger designed as a tattoo flash panel is bold, contained, and graphic. It teaches fitting the animal and motifs into a clean framed shape like real irezumi flash.
AvoidDon’t leave dead space; irezumi flash fills the frame with motifs.
Pro tipFill the whole panel edge to edge so the design feels solid and bold.
14 Tiger Family Crest
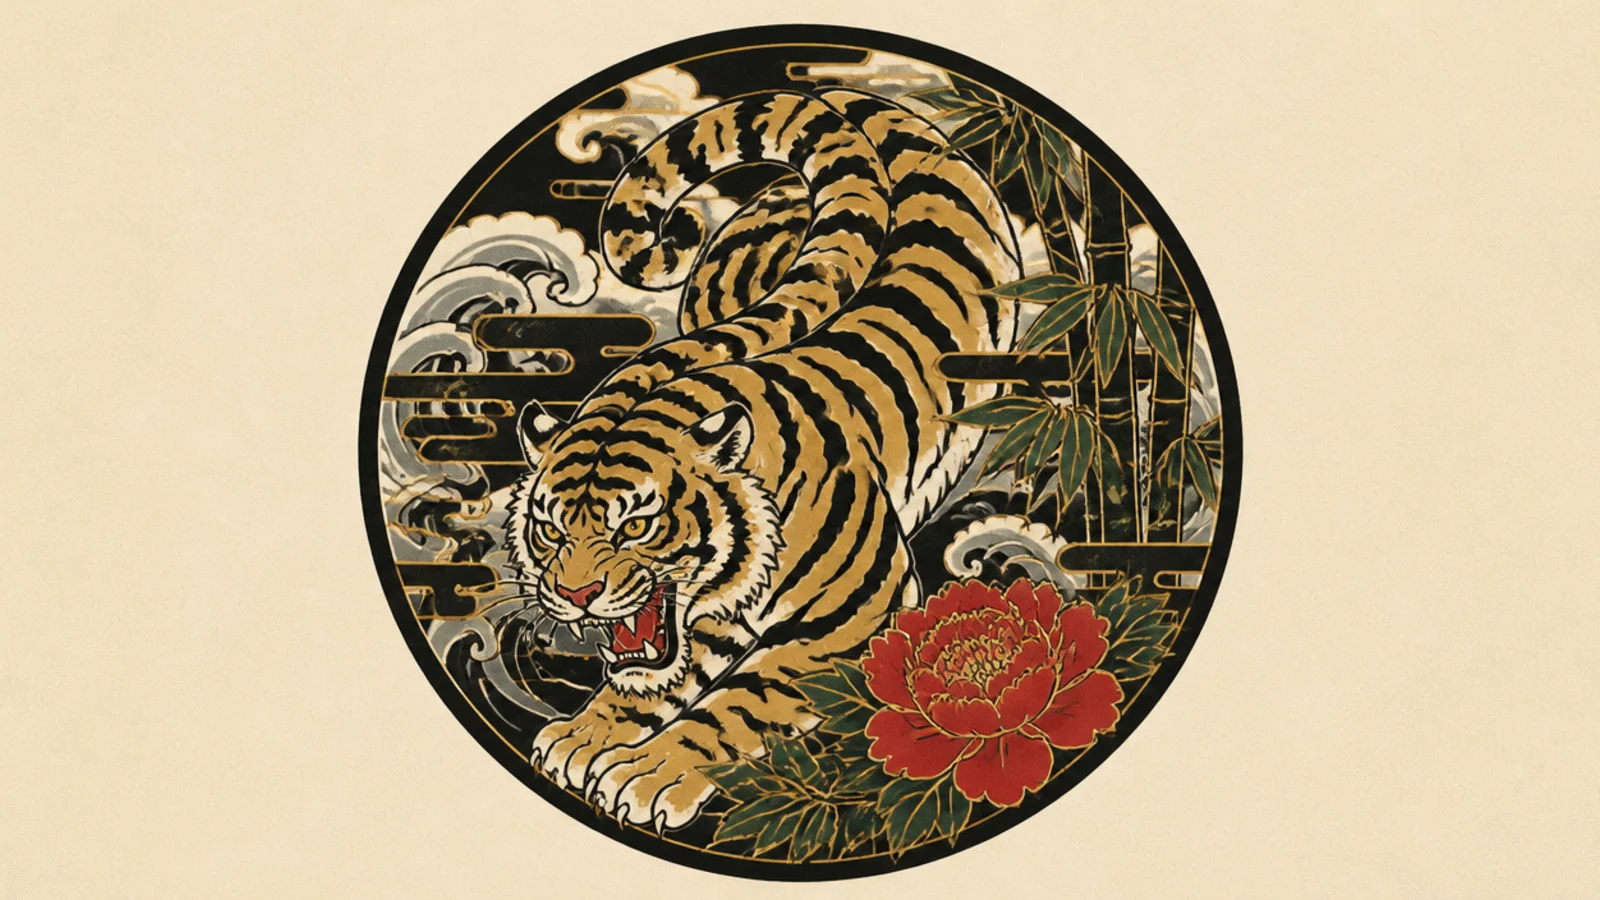
Step 1 draw a clean circle. Step 2 stylize a tiger — often just the head or a curled body — to fit symmetrically inside. Step 3 reduce it to bold flat black shapes with minimal detail.
A tiger stylized into a circular mon crest is bold, symmetrical, and graphic. It teaches simplifying the animal into a clean emblem within a circle.
AvoidDon’t add shading; a mon crest is flat, bold, and graphic.
Pro tipSimplify the tiger to a few bold flat shapes that fill the circle evenly.
15 Full Landscape Scene
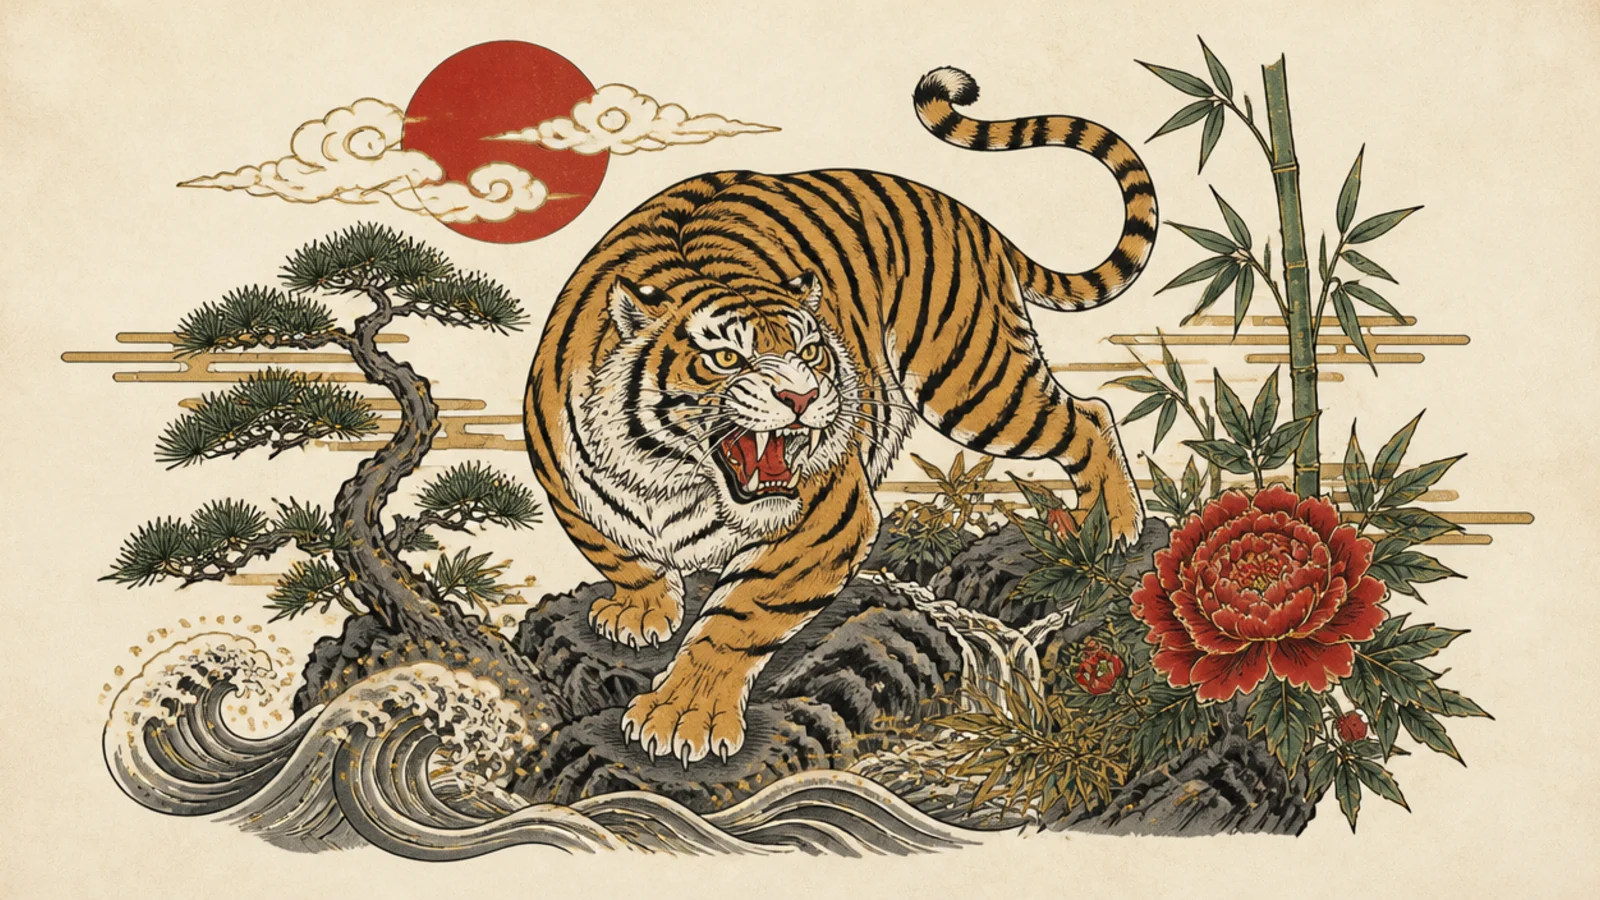
A tiger in a full traditional landscape is the grandest look and the perfect closer. It teaches combining the motifs — waves, moon, pine, wind — into one flowing scene.
Step 1 place a bold-outlined tiger as the focal point. Step 2 add waves below, a moon and clouds above, and pine to one side. Step 3 tie it together with sweeping wind bars and flowing stripes.
Let every motif flow in one direction so the whole scene moves together.
Don’t crowd every motif in equally; keep the tiger the clear focus.



