
1 Quick Gesture Prowl
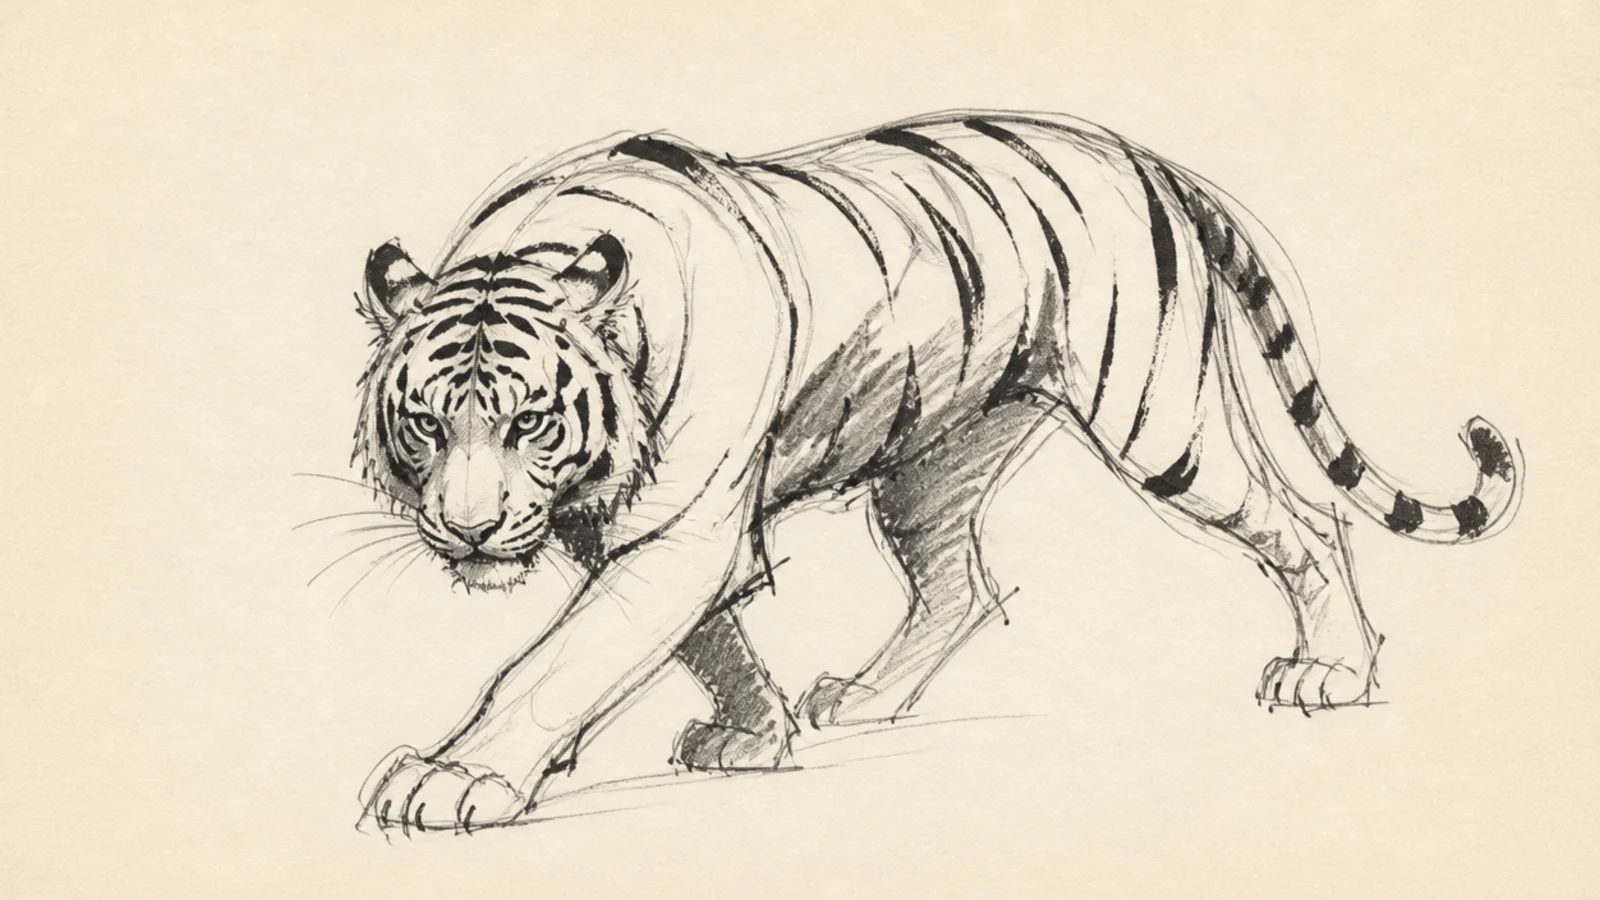
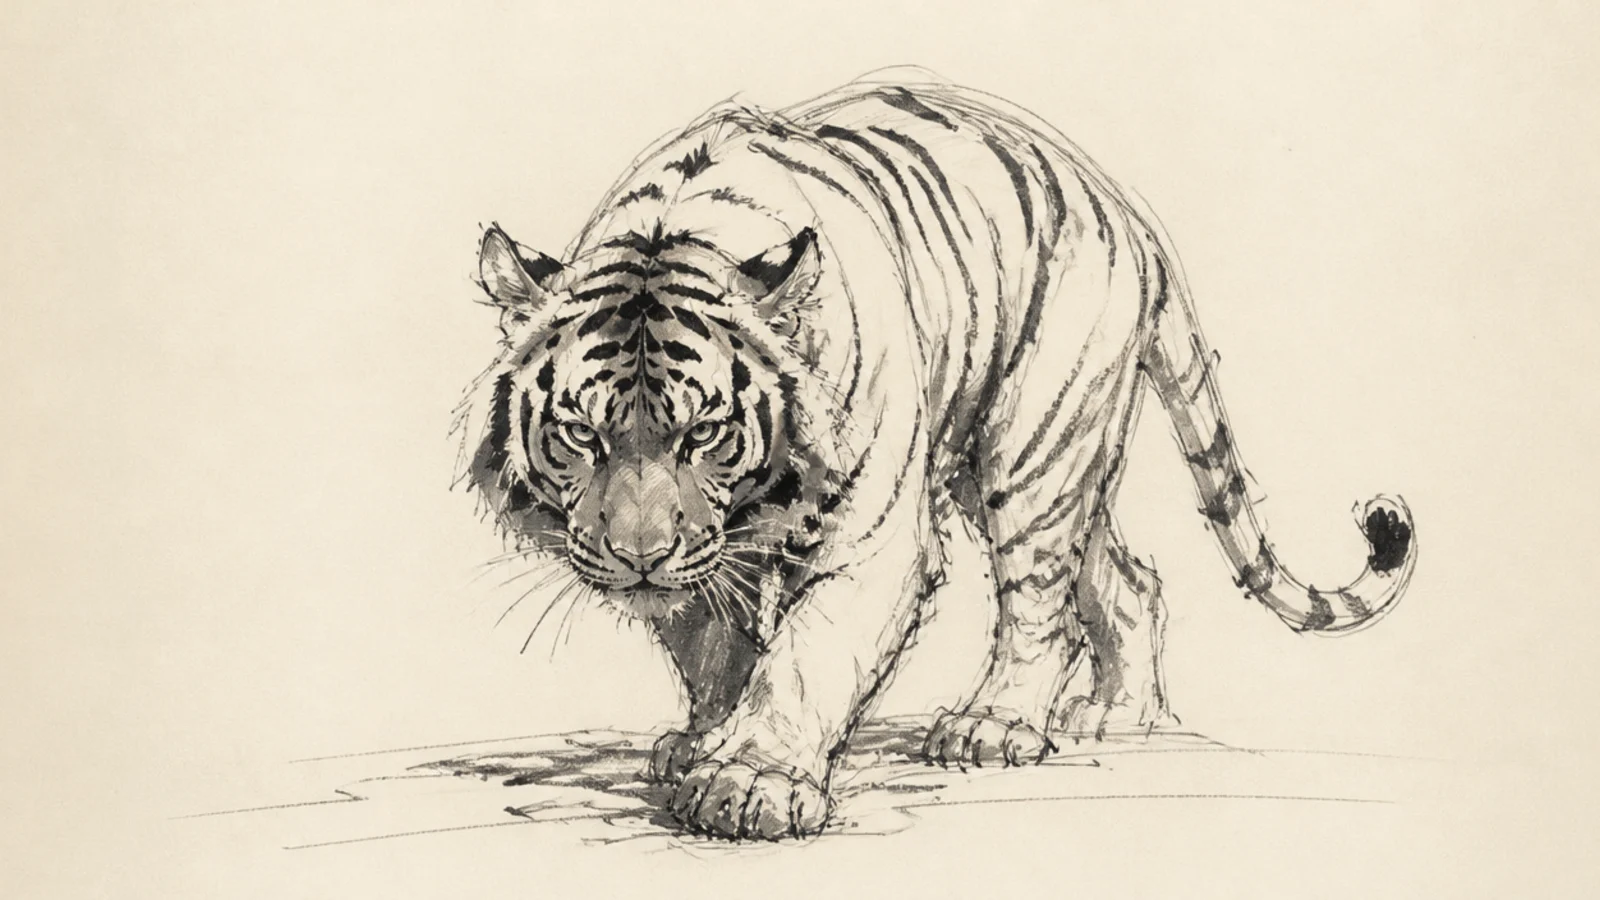
This is the purest sketch on the list — a prowling tiger caught in a handful of flowing lines. It teaches the single most useful habit, catching the whole pose before any detail, so it belongs first.
Pro tipDraw the whole gesture in under a minute so the line stays flowing.
Step 1 draw one long S-curve for the spine from low head to raised tail. Step 2 hang a shoulder mass and hip mass off it. Step 3 add four leg lines and a few stripe flicks, nothing more.
AvoidDon’t stop to fix proportions; catch the movement first, refine later.
2 Crouching Pounce Study
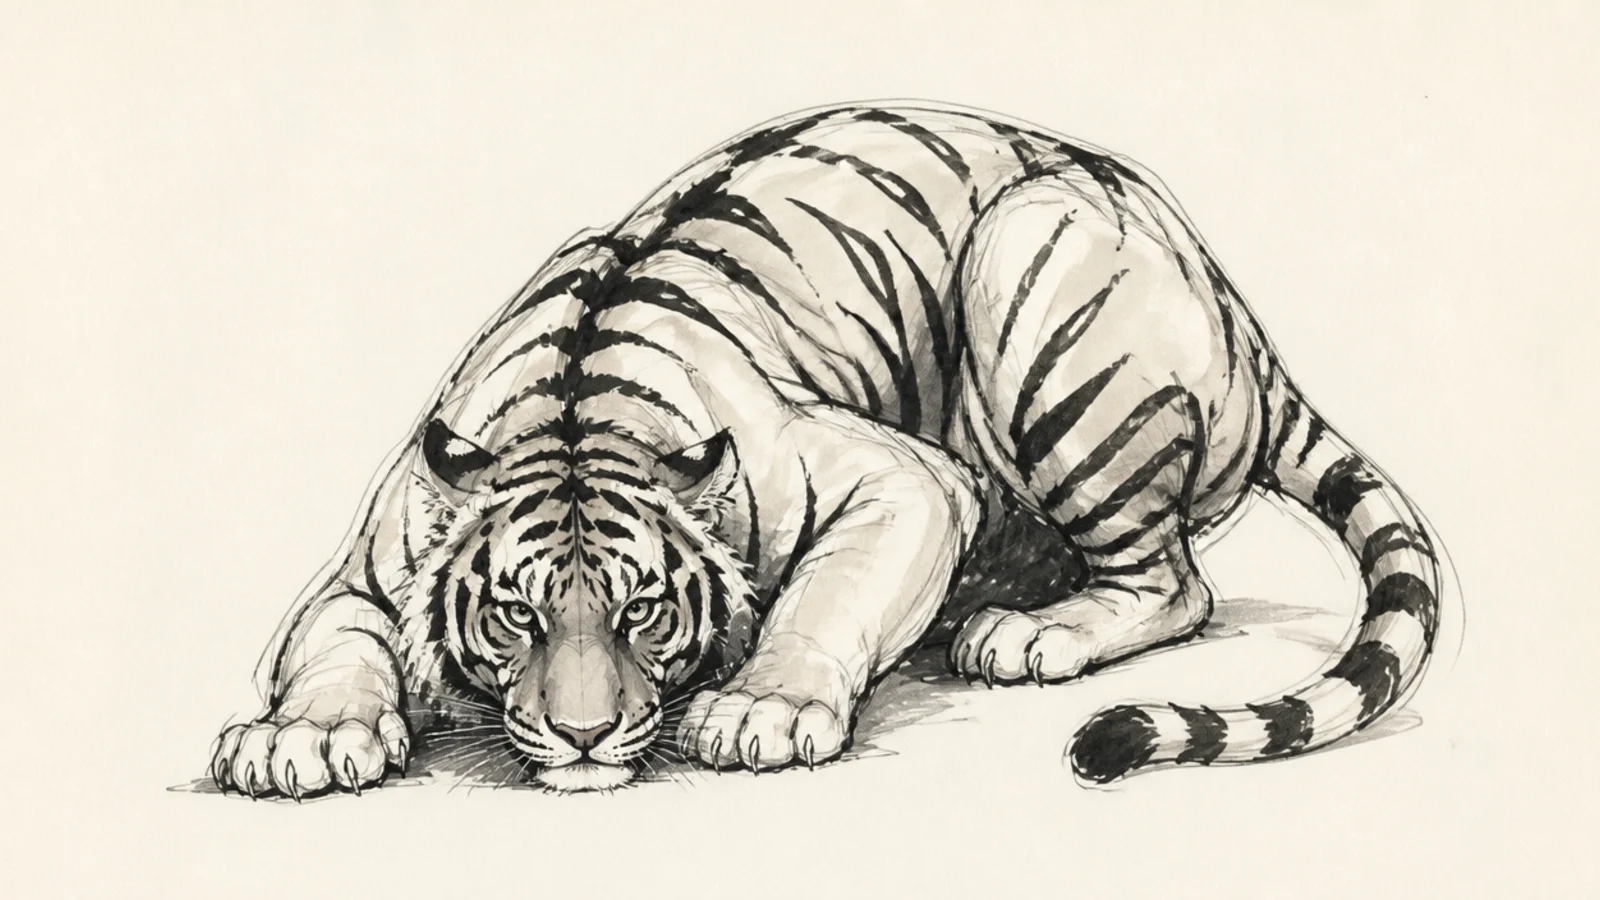
A tiger coiled low before a pounce is all compressed energy. Sketching the tight, folded pose teaches you to pack the body into a spring shape ready to release.
Pro tipBunch the shoulders and hips close together so the pose feels loaded.
Step 1 draw a compressed C-curve for the crouched spine. Step 2 tuck the folded hind legs high and the front paws low and forward. Step 3 keep the head low between the shoulders and flick a few stripes.
AvoidDon’t stretch the body out; a crouch is compact and coiled.
3 Bold Roaring Head in Ink
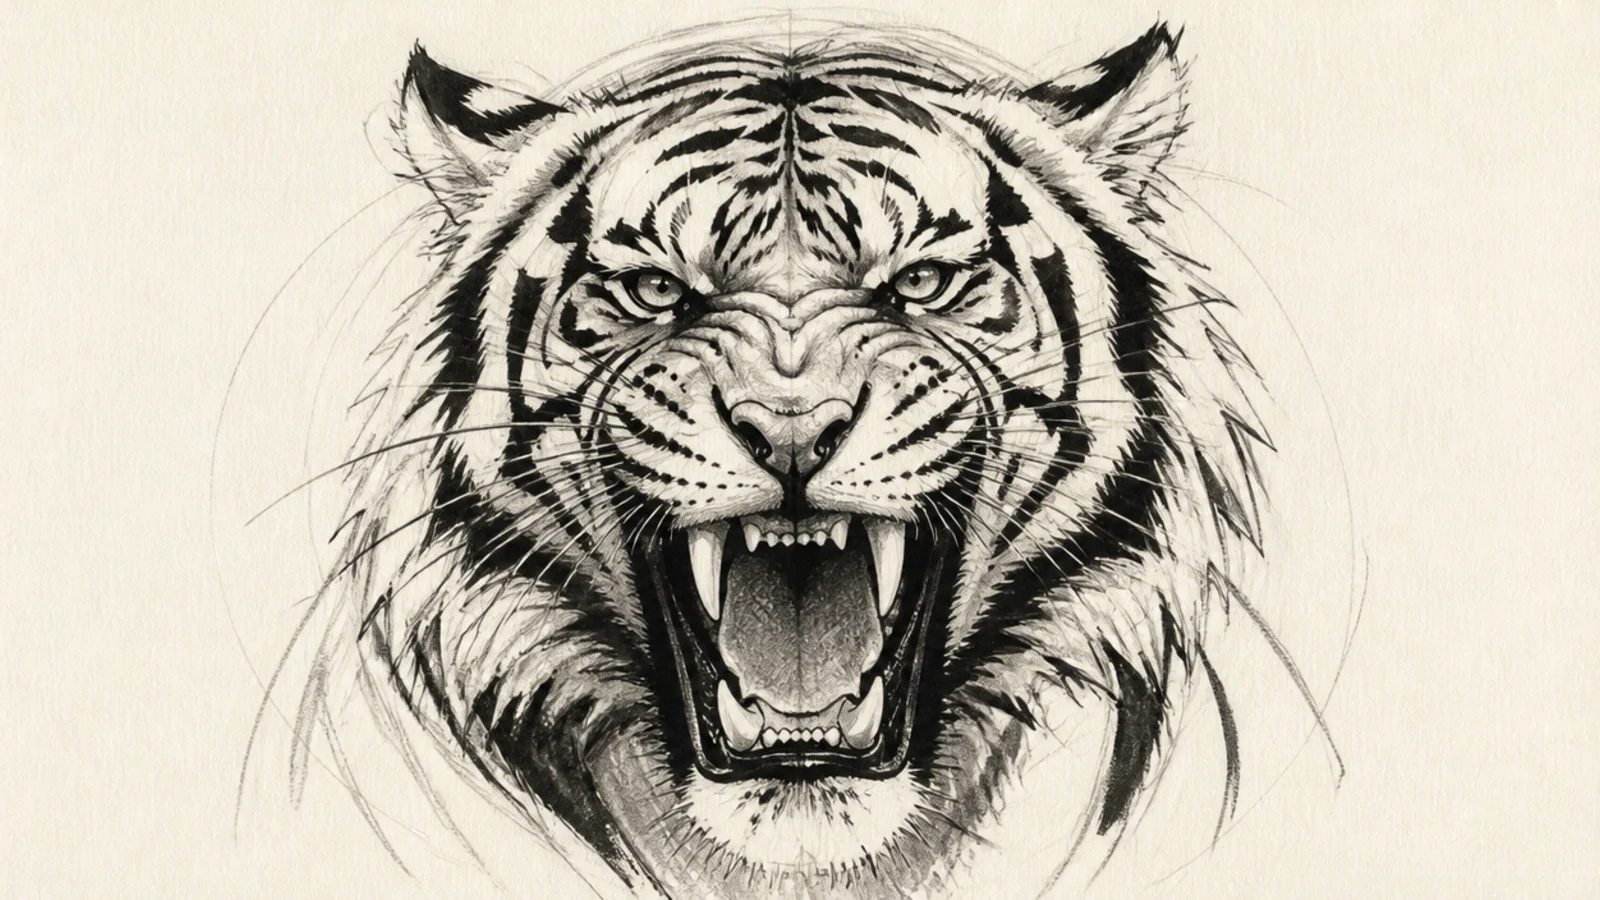
A roaring head drawn straight in ink is dramatic and forces commitment. Working in ink with no erasing builds the confidence that every good sketch needs.
Pro tipCommit to each ink line in one fast stroke; hesitation shows as wobble.
Step 1 pencil a rough head with an open jaw lightly. Step 2 ink the strongest contours — the open mouth, fangs, and brow — in bold confident strokes. Step 3 flick sharp stripe marks and leave the pencil showing.
AvoidDon’t outline everything in ink; ink only the boldest lines for impact.
4 Walking Side Study
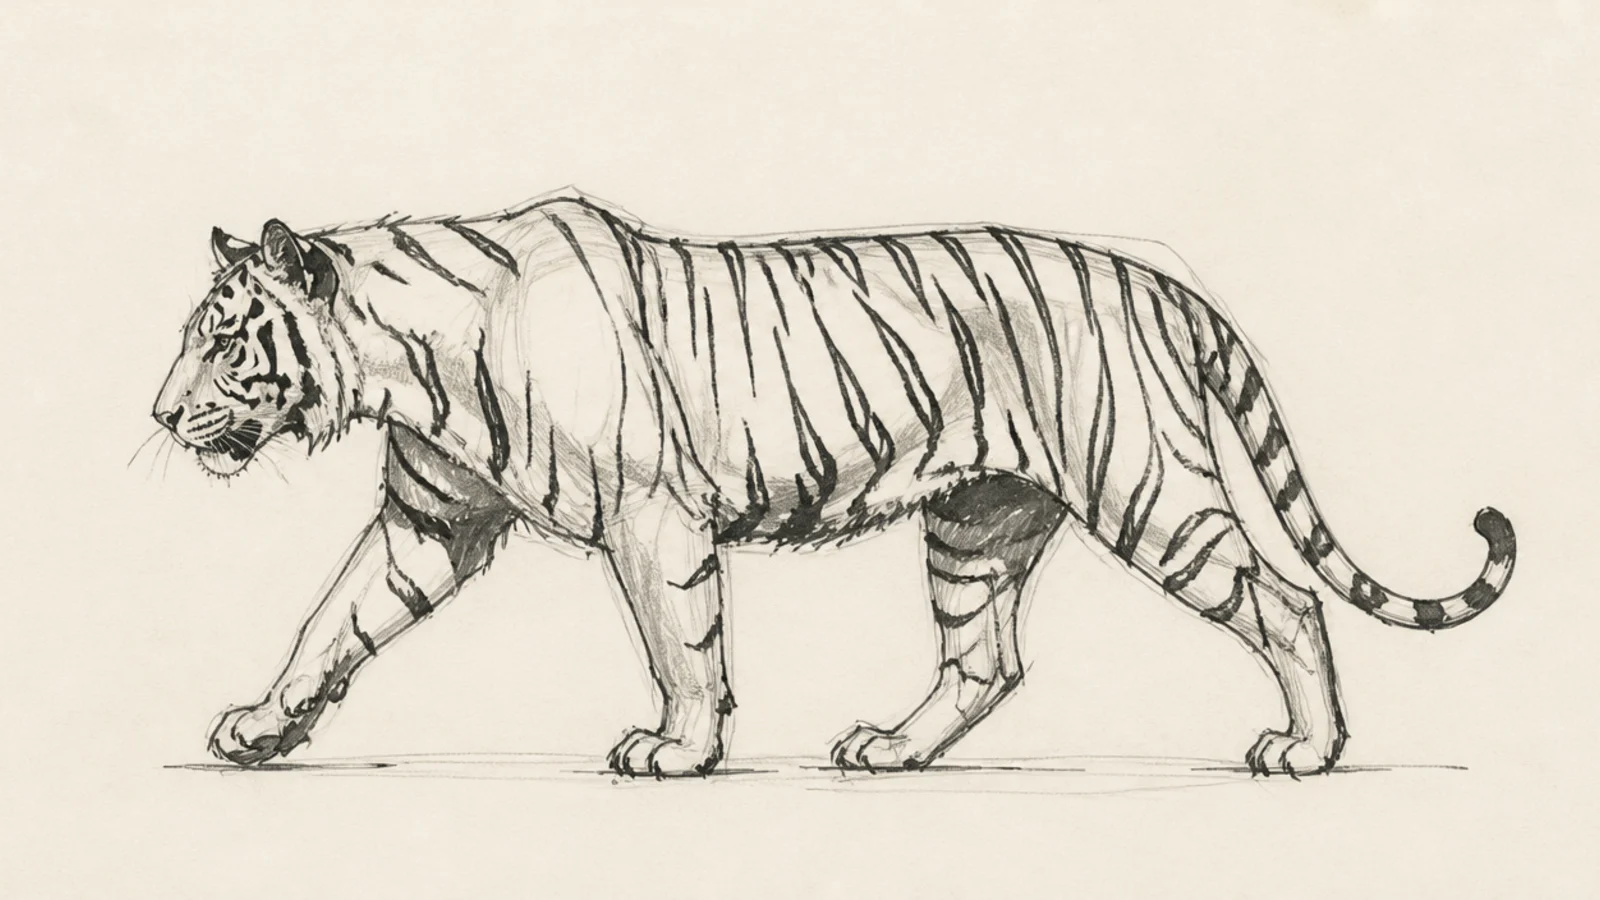
A side-on walking study is where you learn how a tiger’s legs actually move. Sketching the staggered stride and shifting weight teaches believable animal locomotion.
Pro tipOffset the diagonal legs so the tiger reads as mid-stride, not standing.
Step 1 draw the spine and a level belly line. Step 2 place the four legs in a walk — one front and the opposite hind reaching forward. Step 3 sketch the shoulder blade bump and stripe flicks over the ribs.
AvoidDon’t line all four legs up vertically; a walk is a staggered diagonal.
5 Three-Quarter Face Sketch
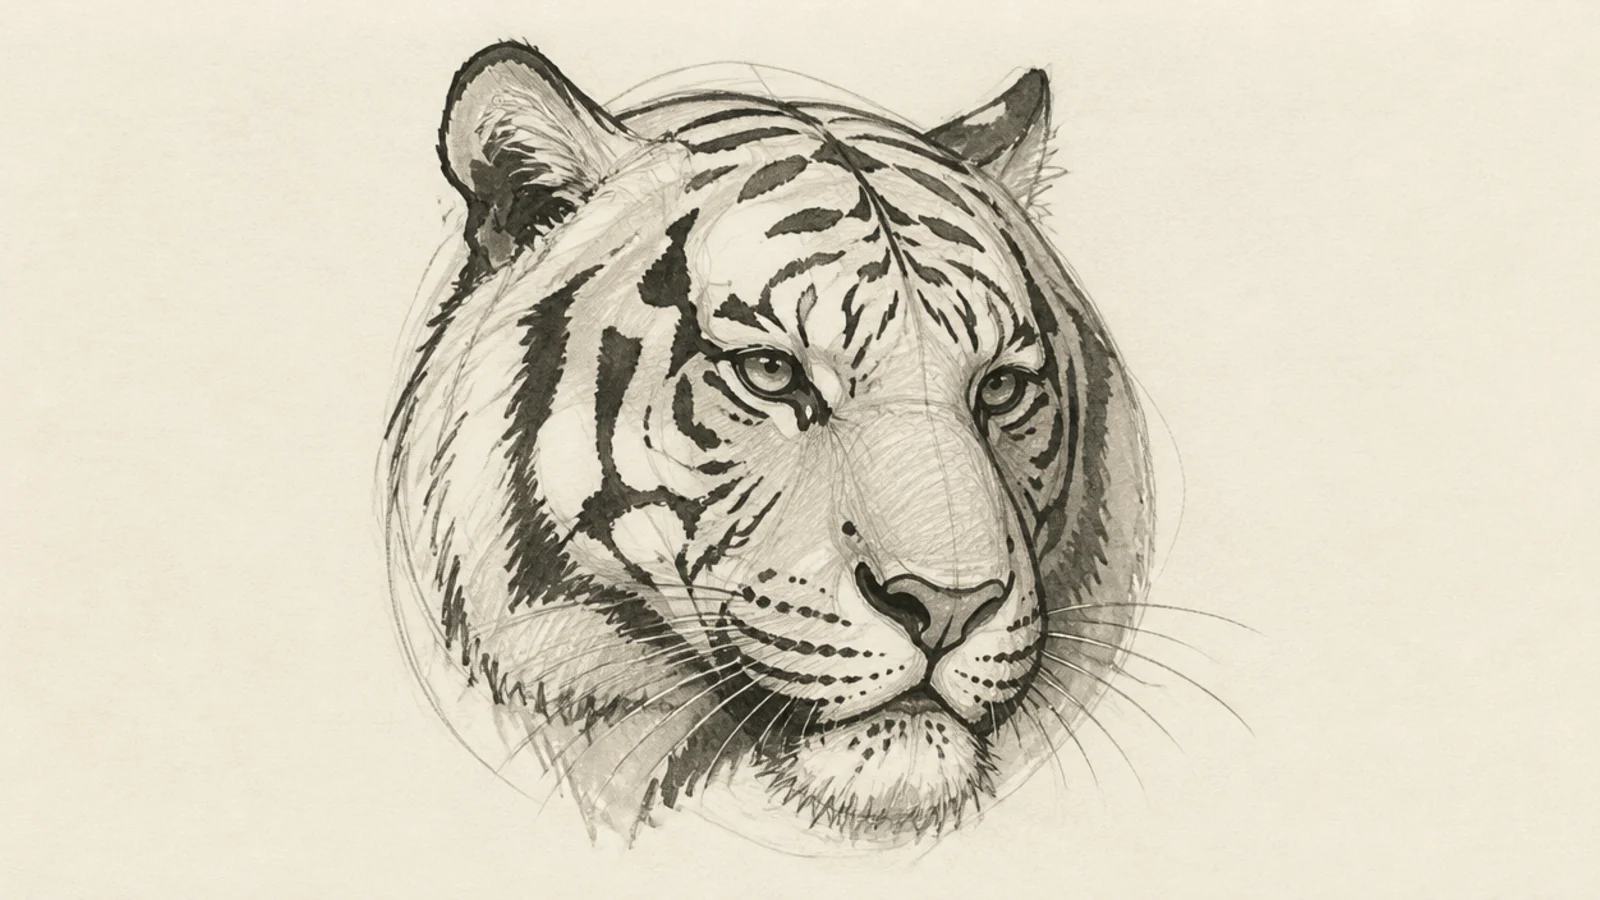
A three-quarter face is more lifelike than a flat front view and teaches foreshortening. Sketching the far side of the face smaller trains your eye for turning forms.
Step 1 draw a tilted egg for the head with a curved center line. Step 2 set the eyes and muzzle along that line, the far side narrower. Step 3 wrap the stripes around the form and shade the far cheek.
Curve the center line of the face to show which way the head turns.
Don’t draw both sides equal; the far side is smaller in three-quarter.
6 Big-Shadow Value Study
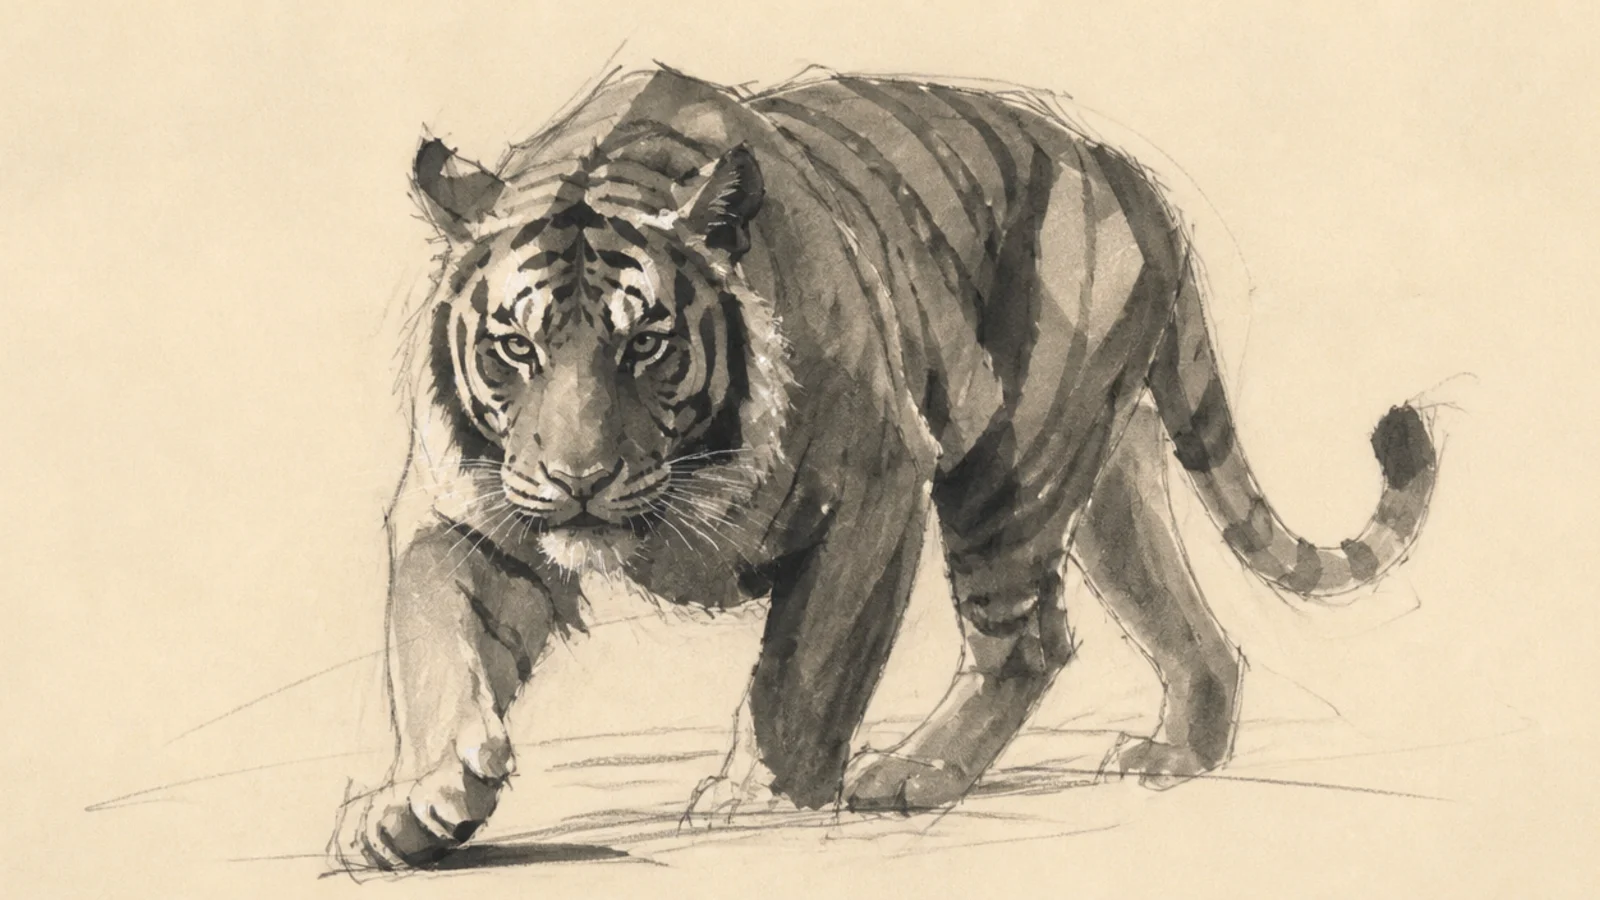
This study skips lines and builds the tiger from big shadow shapes with the side of the pencil. Thinking in masses of light and dark teaches form faster than outlining ever will.
Pro tipSquint at your reference so only the biggest light and dark shapes remain.
Step 1 lightly mark the head and body proportions. Step 2 block the big shadow shapes — under the chin, belly, and far side — with the pencil’s side. Step 3 lift a few highlights and suggest edges only where light meets dark.
AvoidDon’t draw outlines first; let the shadow shapes define the edges.
7 Stretching Yawn Sketch
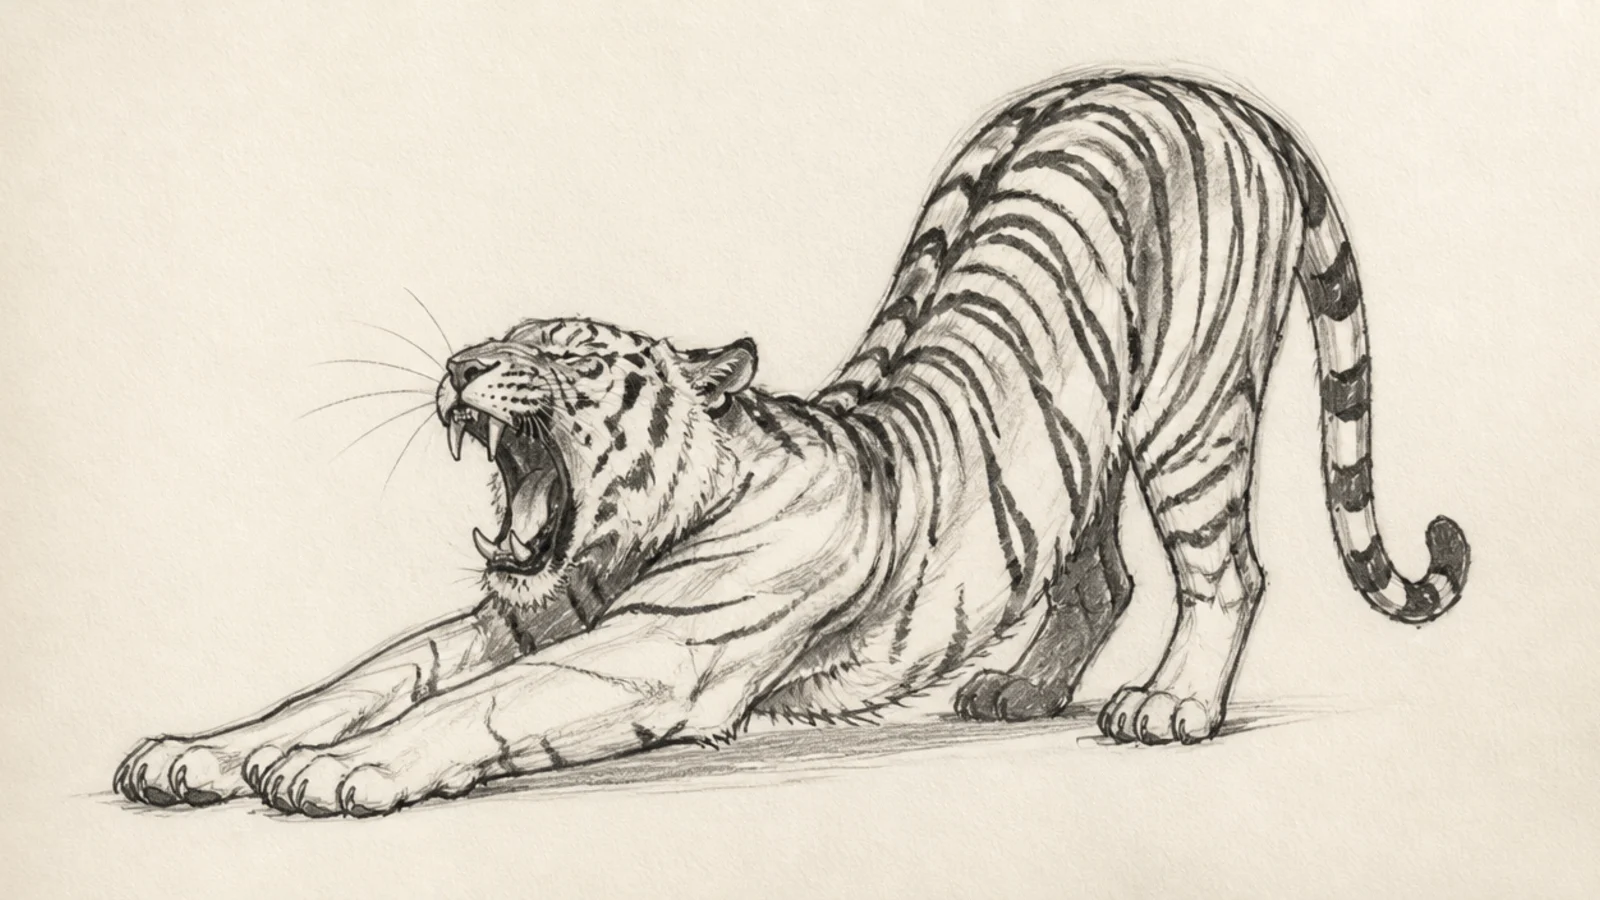
A tiger mid-stretch and yawn is a wonderful gesture full of arc and extension. Sketching the long stretched spine teaches you to exaggerate a pose for life.
Pro tipPush the arch of the back further than feels natural for real stretch.
Step 1 draw a deep arcing spine, back dipped and rear raised. Step 2 stretch the front legs far forward and open the yawning jaw. Step 3 add loose stripes stretching along the pulled-out back.
AvoidDon’t keep the spine level; the deep arc is what sells the stretch.
8 Tiger Paw Detail Study
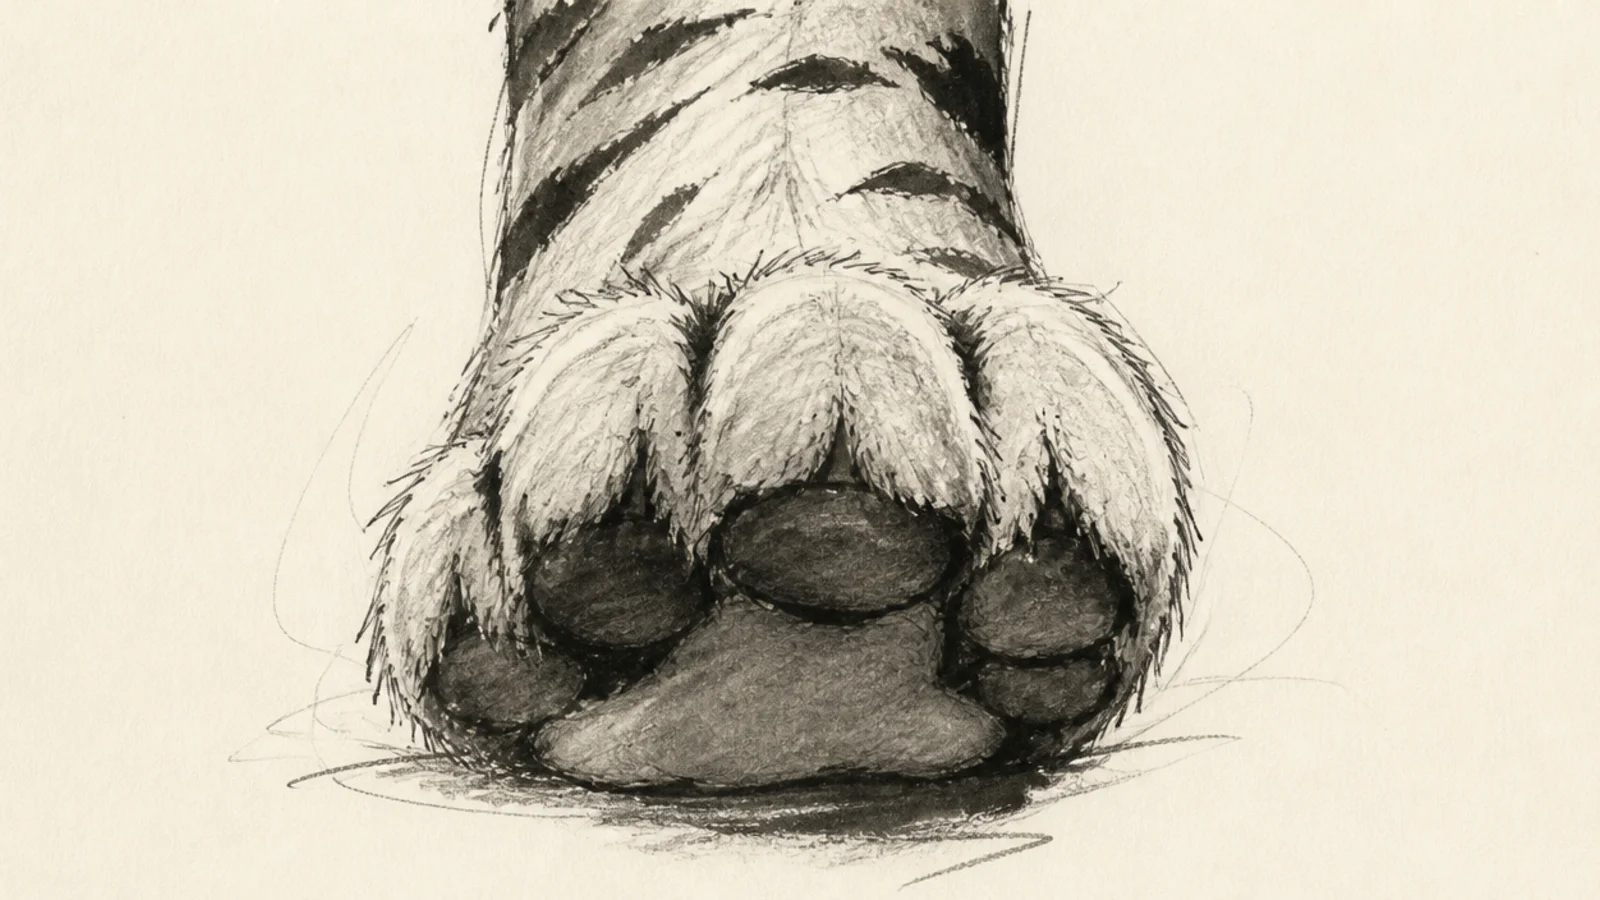
Zooming in on a single paw is a focused study that pays off in every full drawing. Sketching the heavy toes and pad teaches the weight and structure of a big cat’s foot.
Pro tipDraw the paw heavy and blocky; a tiger’s foot carries real weight.
Step 1 draw a rounded mass for the paw. Step 2 divide the front into four toe bumps with a large pad behind. Step 3 shade the underside dark and suggest fur tufts between the toes.
AvoidDon’t show claws out unless pouncing; resting cats keep them sheathed.
9 Back-View Walking Away
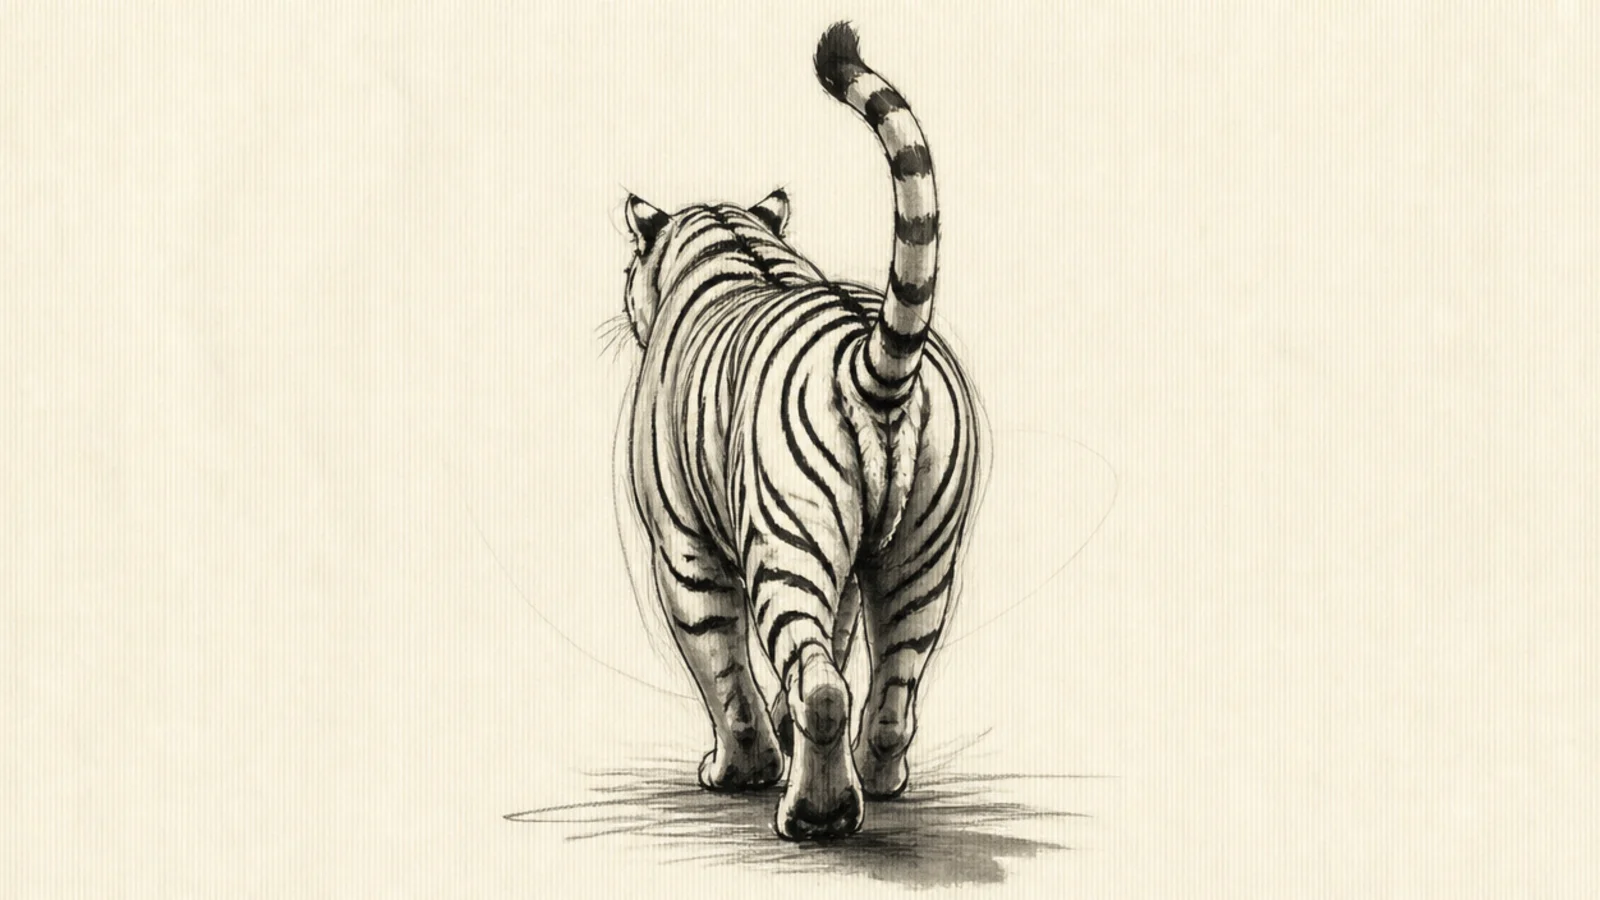
A tiger seen from behind is an unusual, striking angle that teaches foreshortening of the whole body. Sketching the receding back and raised tail builds spatial confidence.
Pro tipCurve the stripes over the rump so the back reads as round, not flat.
Step 1 draw a broad hip mass with the spine receding away small. Step 2 raise the tail and set the two hind paws splayed slightly out. Step 3 wrap horizontal stripes across the rump to show its round form.
AvoidDon’t draw the far body full size; it shrinks as it recedes.
10 Sleeping Tiger Mass
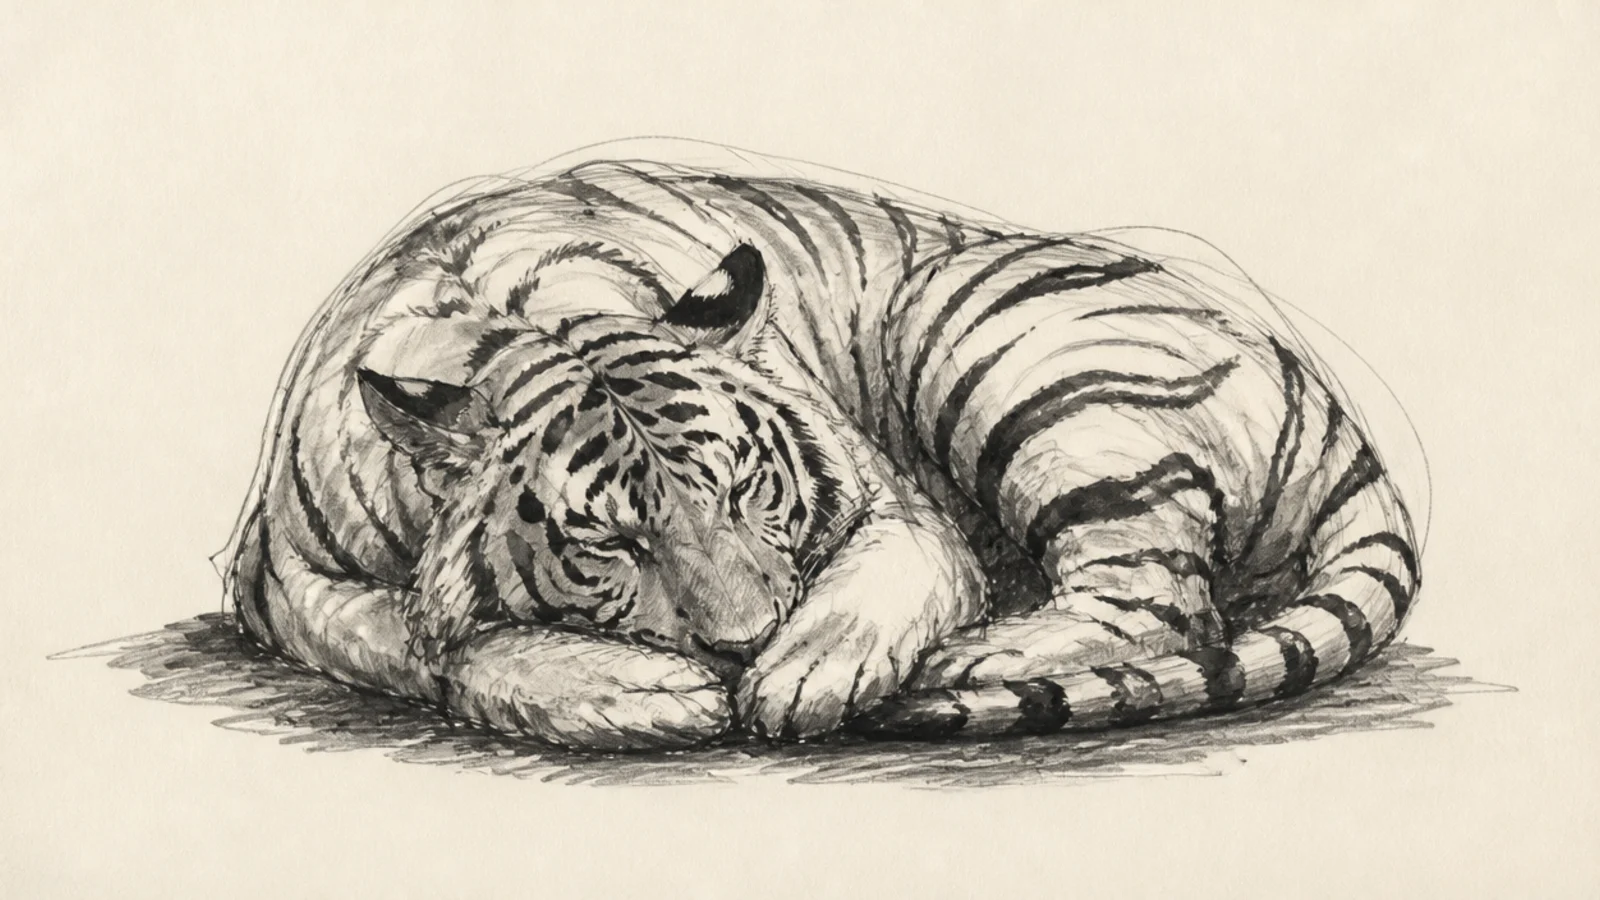
A sleeping tiger is a study in soft, heavy mass with no tension. Sketching the relaxed, sagging form teaches how weight settles when an animal fully rests.
Pro tipLet the contour sag where the body meets the ground to show weight.
Step 1 draw one big soft curve for the curled body. Step 2 tuck the head onto the paws and let the belly sag. Step 3 shade the ground contact heavy and keep the top edges soft.
AvoidDon’t add tension lines; a sleeping tiger is loose and heavy.
11 Snarling Close-Up
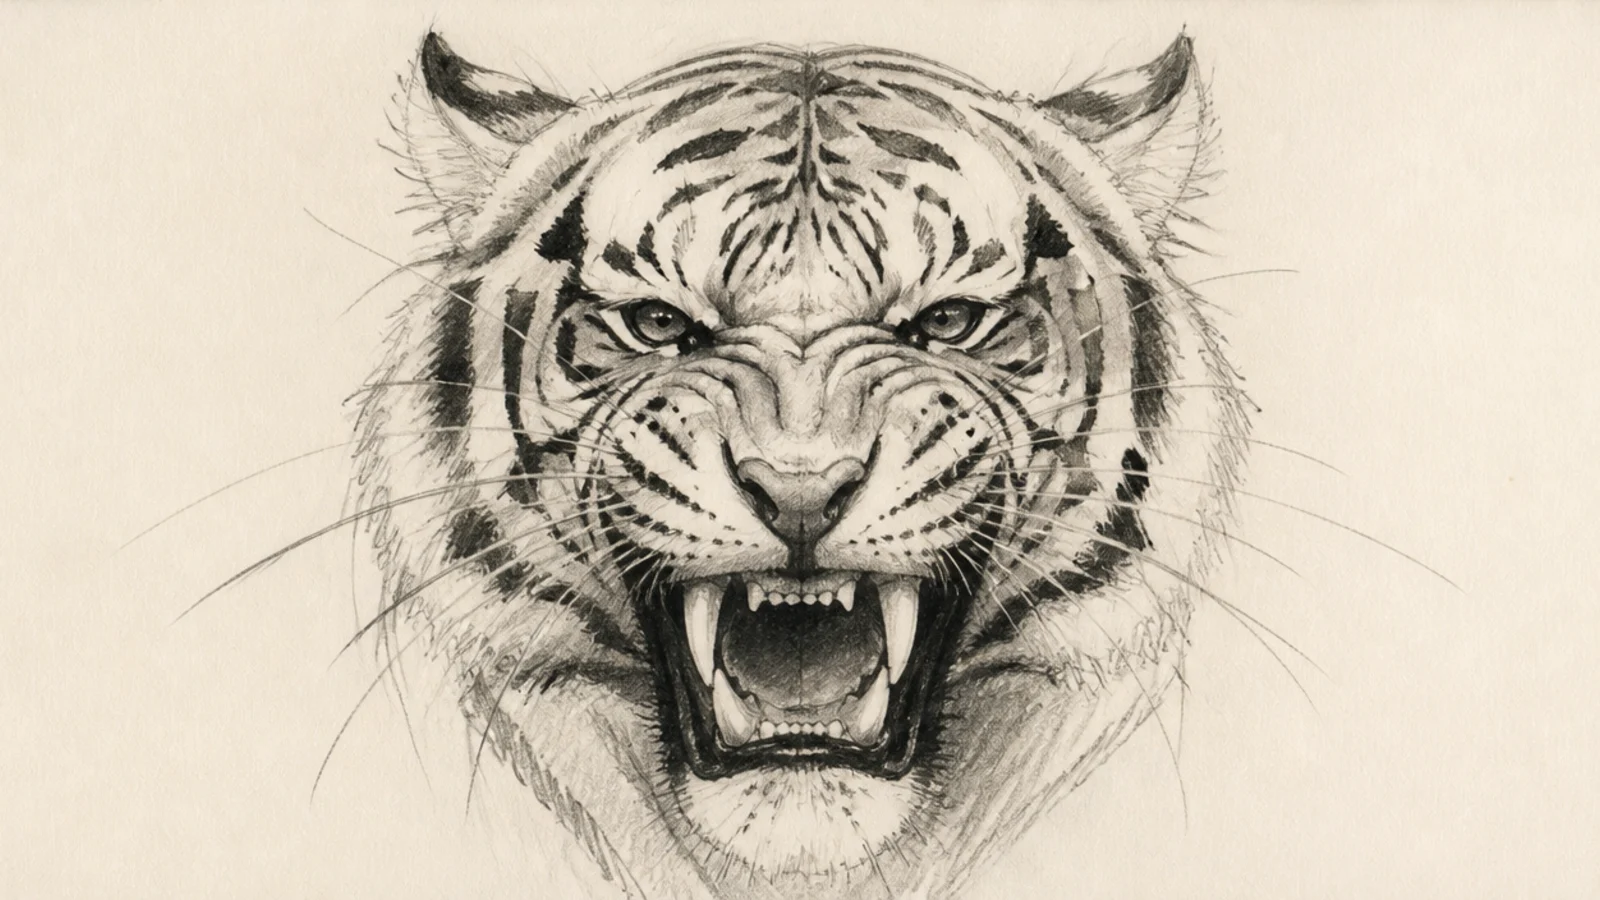
A tight close-up of a snarl is a dramatic study of the muzzle, teeth, and wrinkled nose. Sketching the folds and bared fangs teaches expressive facial structure.
Pro tipStack a few short wrinkle lines on the nose bridge to show the snarl.
Step 1 draw the muzzle large with the nose crumpled up. Step 2 add the curled lip, exposed fangs, and gum line. Step 3 flick the wrinkle lines and whisker dots and shade inside the mouth dark.
AvoidDon’t draw straight teeth; curve the fangs and vary their length.
12 Leaping Action Sketch
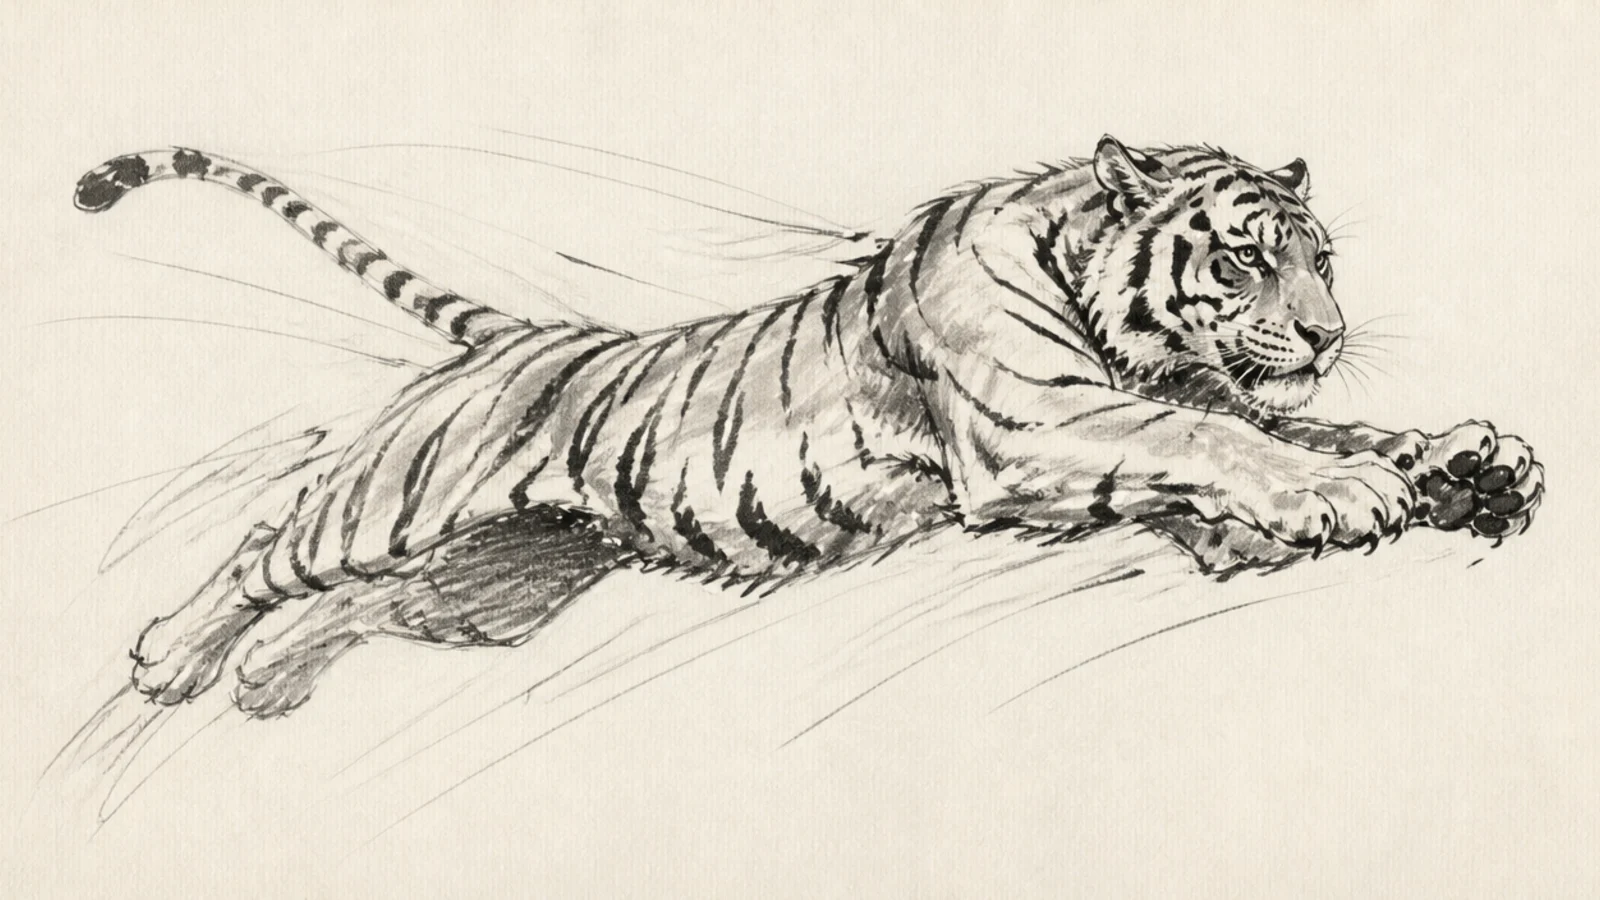
A full leap is the most dynamic pose here, with the body stretched airborne. Sketching the extended flight line teaches you to draw motion and momentum.
Pro tipStretch the body long and diagonal so the leap has real momentum.
Step 1 draw a long stretched spine on a diagonal for the leap. Step 2 reach the front legs forward and trail the hind legs back. Step 3 streak the stripes and add a few speed lines behind.
AvoidDon’t bunch the legs; extend them fully for an airborne feel.
13 Playful Cub Sketch
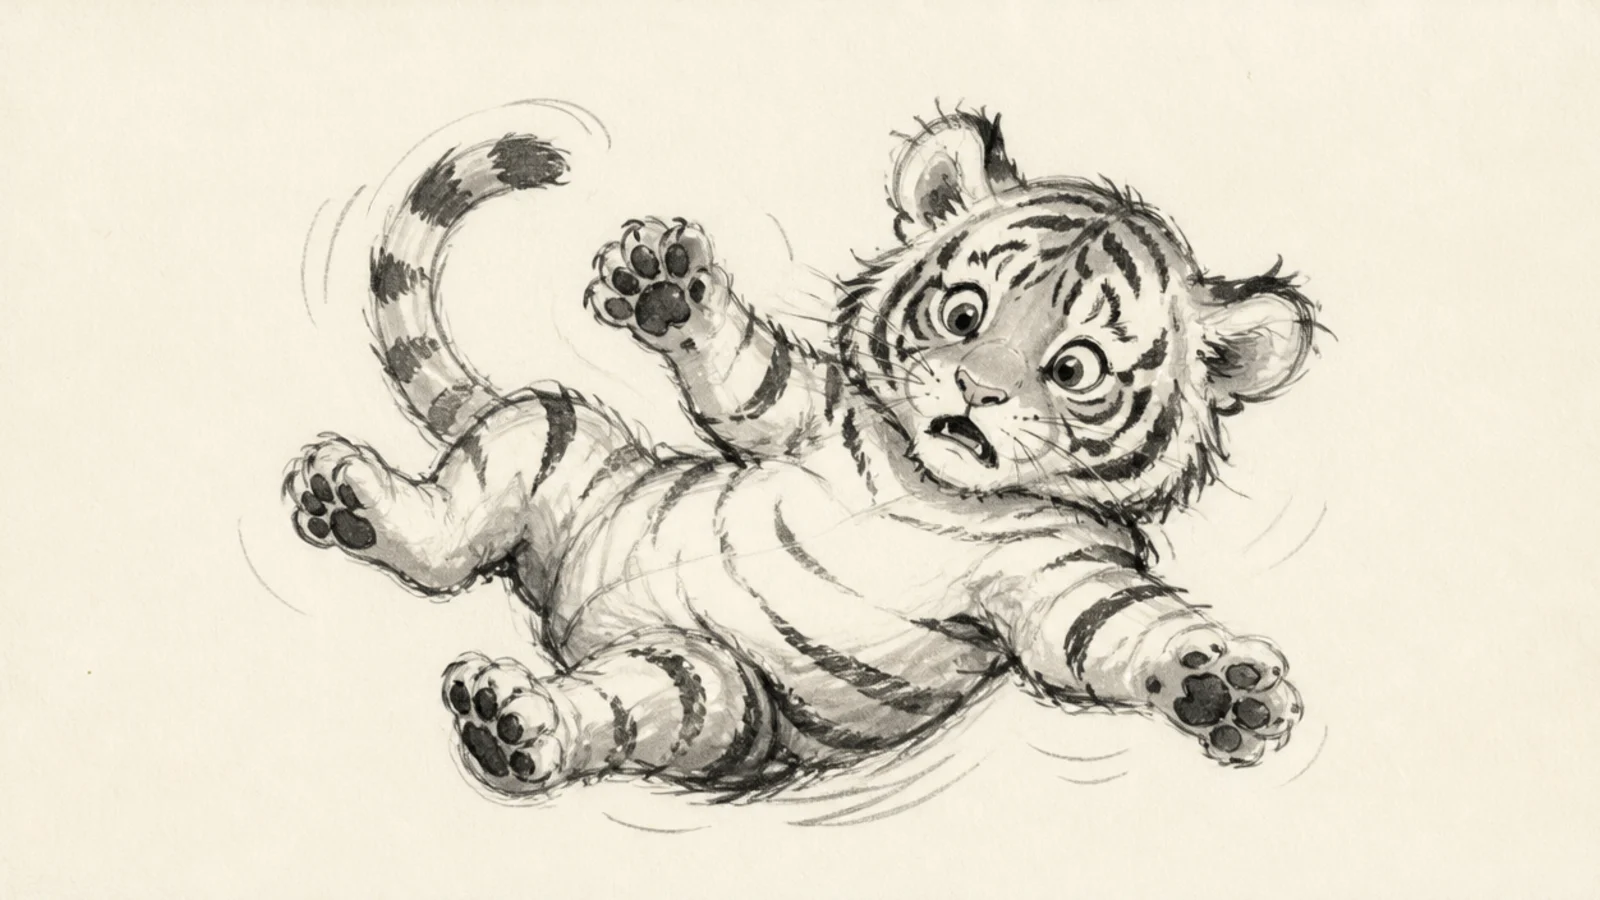
A tumbling cub is a loose, joyful gesture with rounder proportions. Sketching the roly-poly pose teaches soft, bouncy line quality different from an adult’s power.
Step 1 draw a round body with a big head off-balance. Step 2 splay the stubby legs in a tumble. Step 3 keep the lines bouncy and add soft short stripes.
Keep the cub’s lines round and springy, never sharp or heavy.
Don’t use adult proportions; a cub is round with a big head.
14 Continuous Contour Tiger
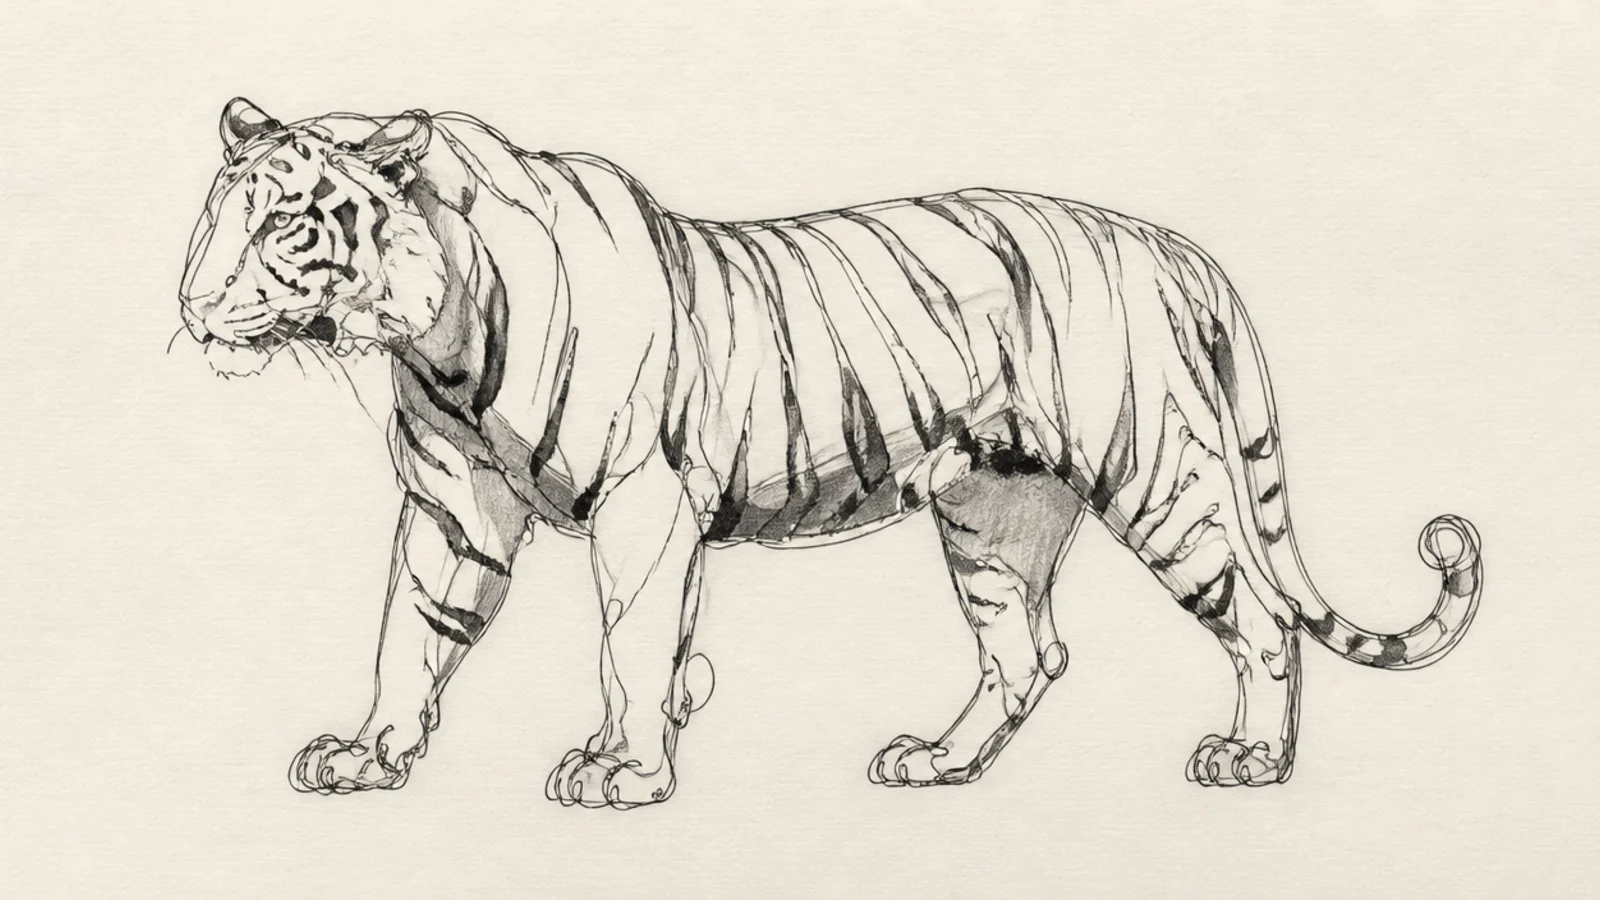
Drawing the whole tiger without lifting the pen is a playful exercise that sharpens observation. The single unbroken line forces you to really look at the form as you travel it.
Pro tipMove your eye along the reference at the same pace as your pen.
Step 1 start at the nose and travel the outline slowly without lifting. Step 2 loop through the ears, back, legs, and tail in one path. Step 3 close the line back at the start and leave it raw.
AvoidDon’t lift the pen to fix a section; keep the single line going.
15 Ink Brush Stripe Study
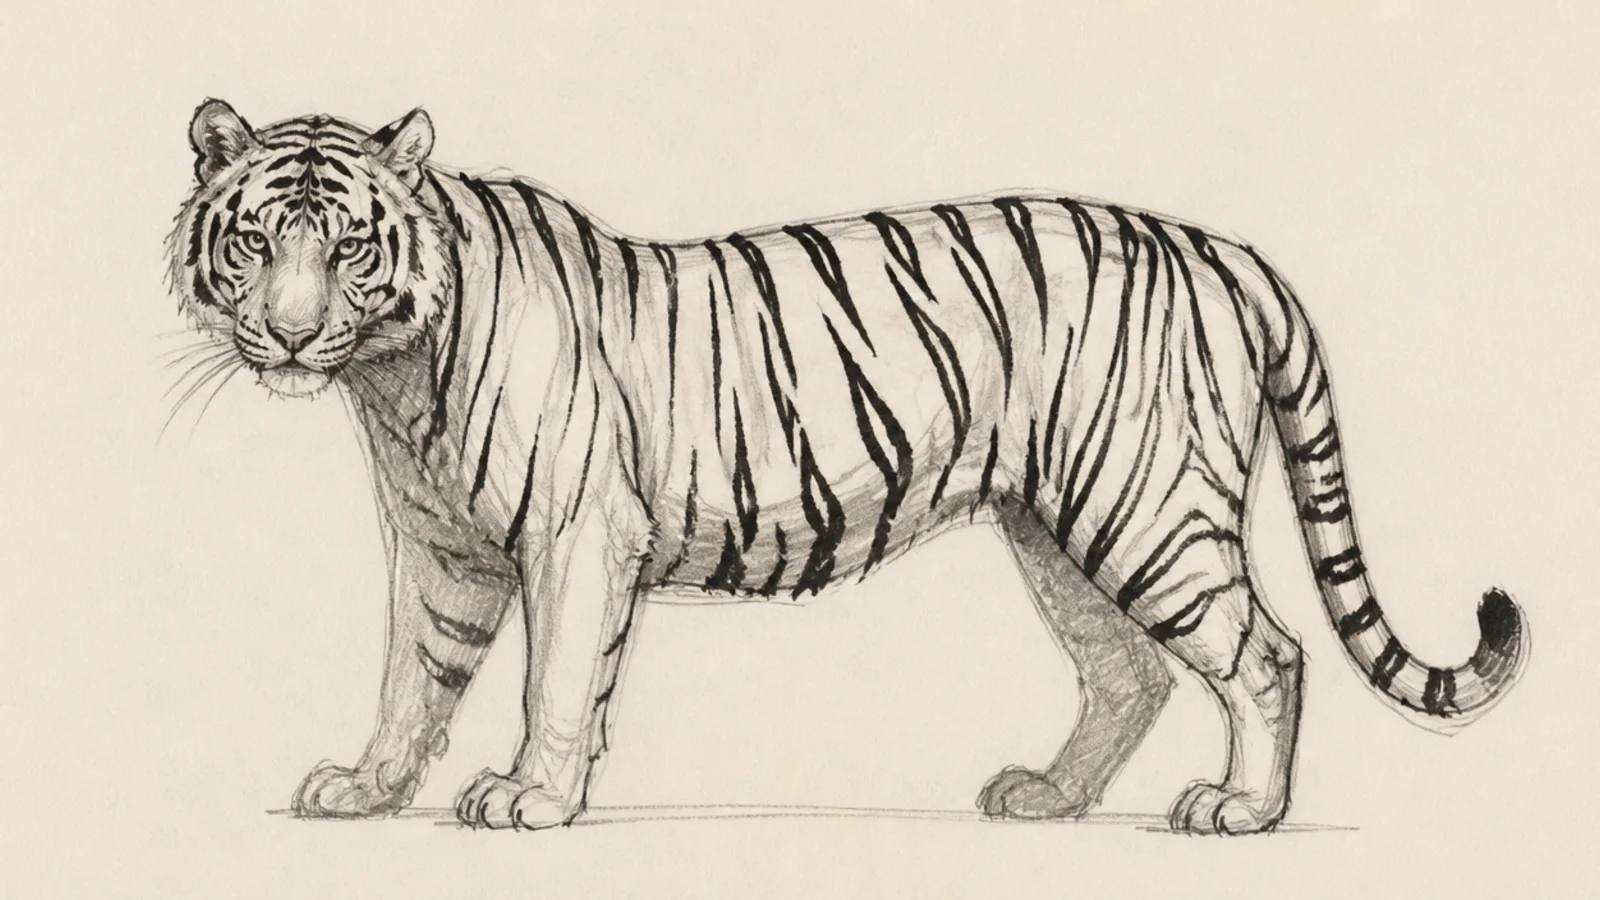
This study is all about the stripes, laid down with a bold brush. Sketching them as pressure strokes teaches how stripes taper, split, and wrap around muscle.
Pro tipPress then lift each stroke so every stripe tapers naturally to a point.
Step 1 draw a simple body contour in pencil. Step 2 lay each stripe as a brush stroke, pressing wide at the spine and lifting to a point at the belly. Step 3 let a few stripes fork and vary their spacing.
AvoidDon’t space the stripes evenly; natural stripes vary and sometimes fork.
16 Shaded Portrait Study
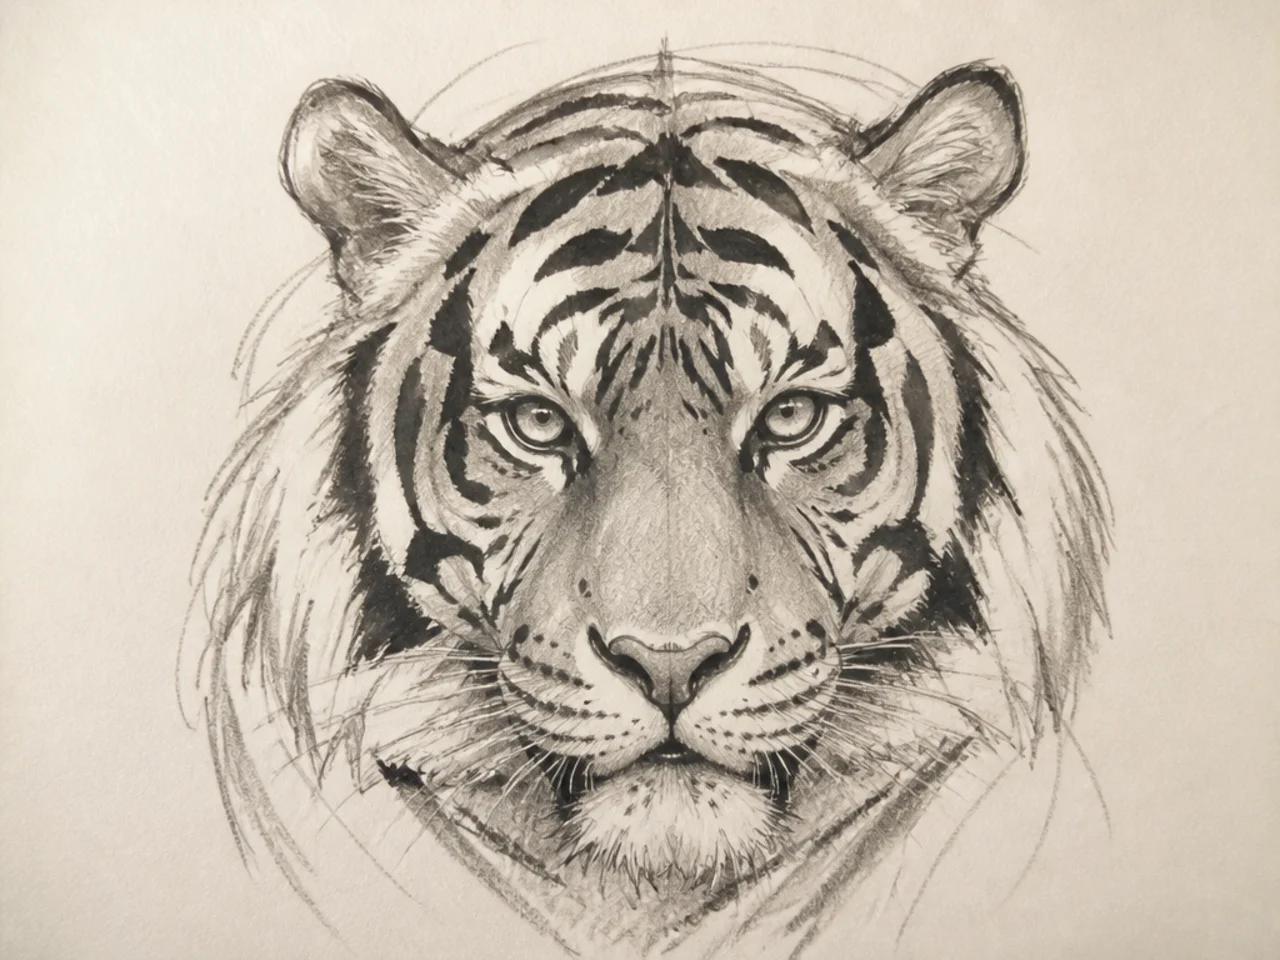
A fully shaded face portrait is the most finished study here, with soft fur and glowing eyes. Sketching the graded values teaches you to turn a flat face into a rounded head.
Step 1 sketch the face structure and features lightly. Step 2 shade the eye sockets, muzzle sides, and under the chin to round the head. Step 3 stroke short fur marks over the shading and darken the stripes last.
Layer short pencil strokes in the fur direction so shading reads as fur.
Don’t smudge flat grey; build value with directional fur strokes.
17 Two Tigers Interacting
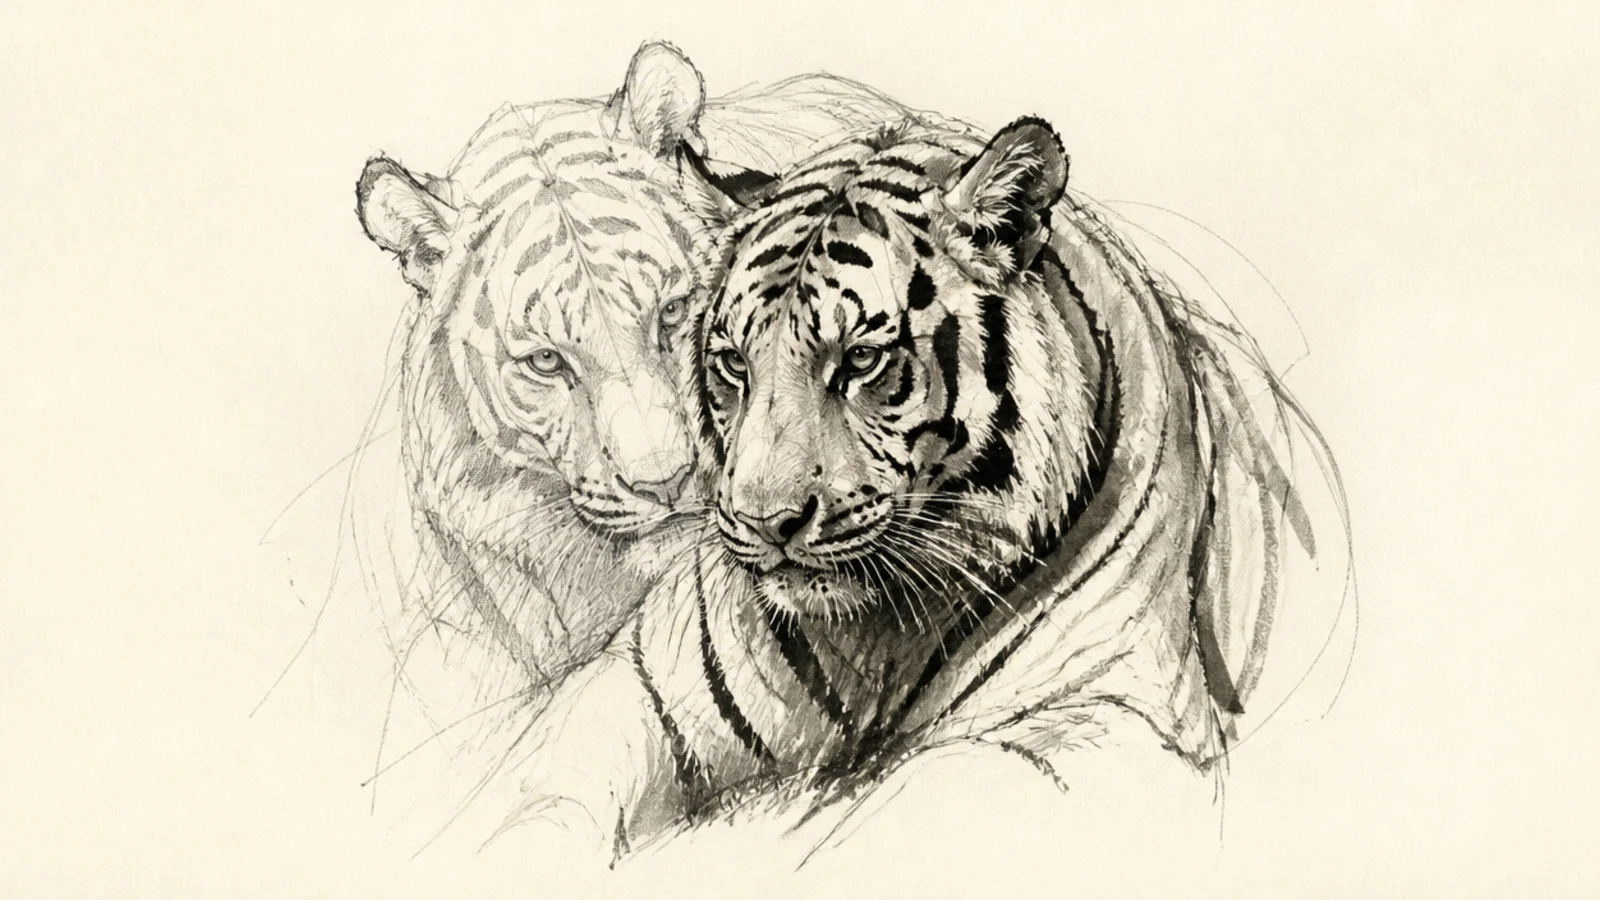
Two tigers together is a composition study about overlap and relationship. Sketching how the forms cross and lean teaches you to stage more than one animal.
Pro tipOverlap the two bodies clearly so one reads as in front of the other.
Step 1 draw two gesture lines that lean toward each other. Step 2 build each body and overlap one in front of the other. Step 3 keep the front tiger crisper and the back one lighter for depth.
AvoidDon’t draw them the same weight; soften the back tiger for depth.
18 Curious Head-Tilt Sketch
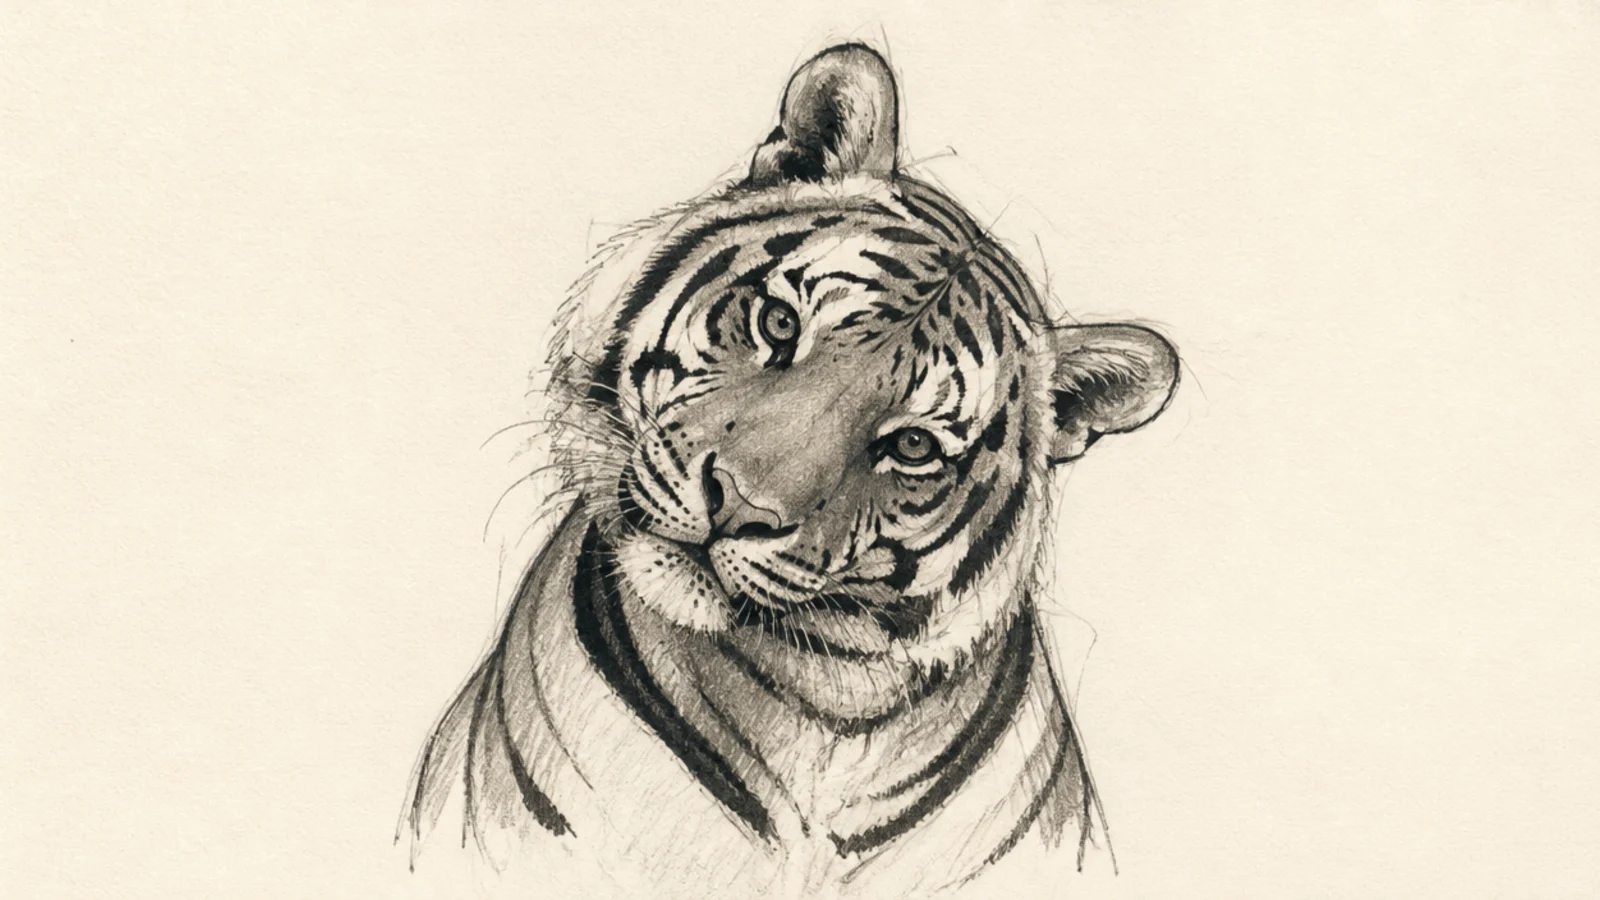
A tilted, curious head is an expressive little study full of character. Sketching the tipped axis teaches you how a simple head angle changes an animal’s whole mood.
Pro tipTip the center line of the face and follow it with every feature.
Step 1 draw the head circle with a tilted center line. Step 2 set the ears and eyes along the tipped axis so the head leans. Step 3 add perked ears and a soft mouth for curiosity.
AvoidDon’t keep the features level; tilt them all with the head axis.
19 Bold Silhouette Fill
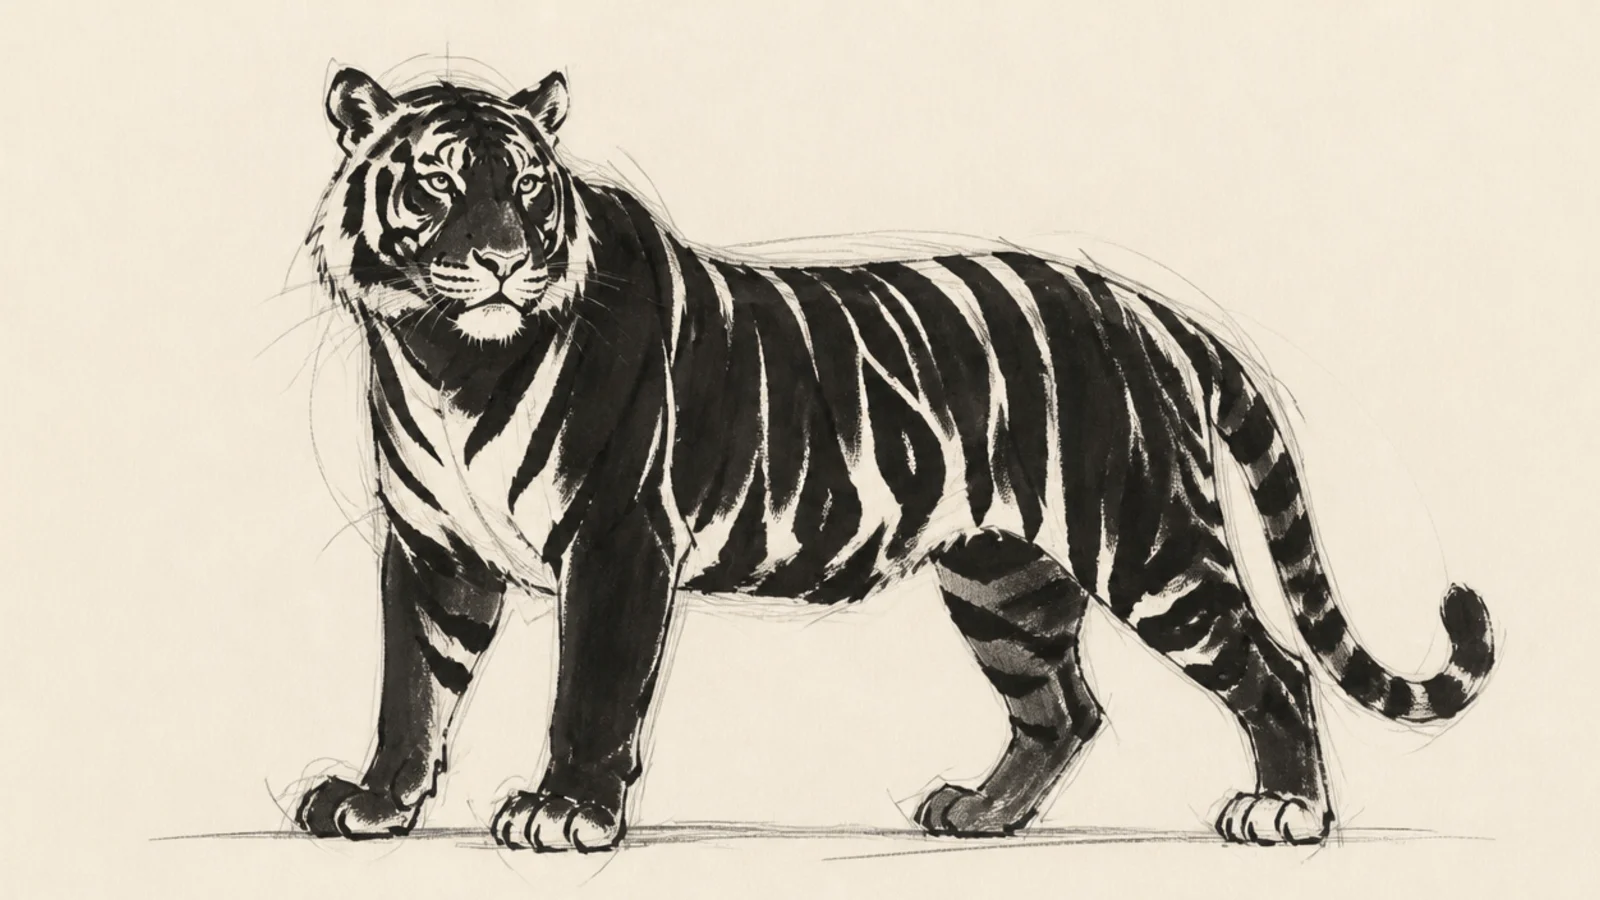
A solid filled silhouette is a graphic study that tests whether your pose reads from shape alone. Sketching it forces a clear, strong outline with no interior crutch.
Pro tipPick a pose that reads clearly as a tiger from the outline alone.
Step 1 draw a strong outline of a full-body tiger in a clear pose. Step 2 fill it solid black or one bold color. Step 3 nick out a few negative-space stripes if you like.
AvoidDon’t rely on inside detail; the silhouette must work as a flat shape.
20 Full-Page Study Sheet
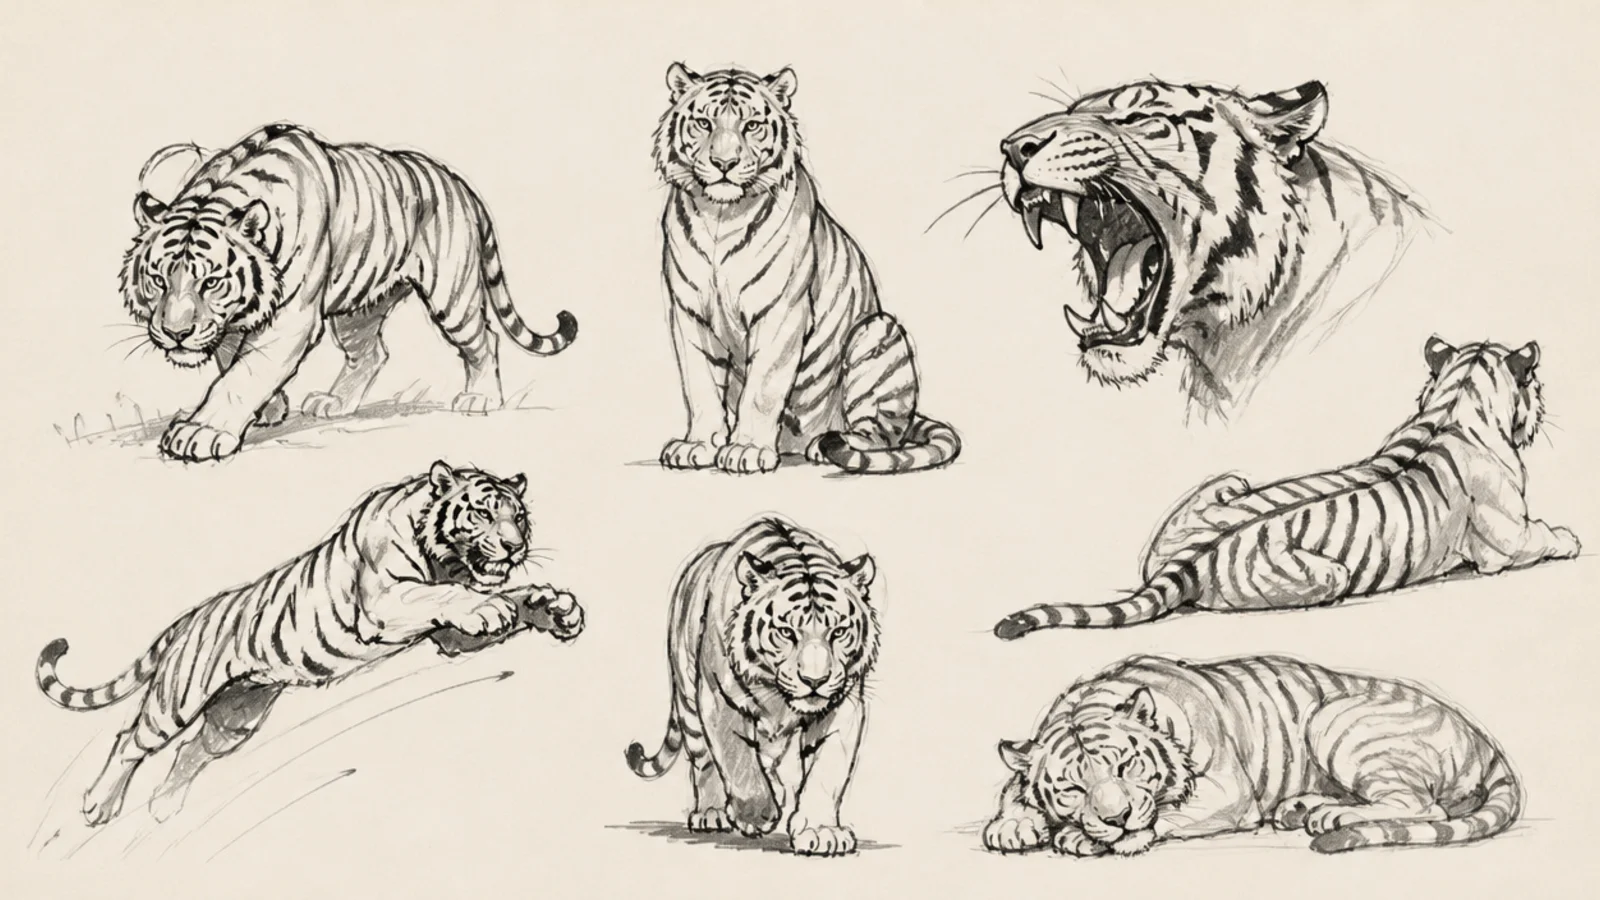
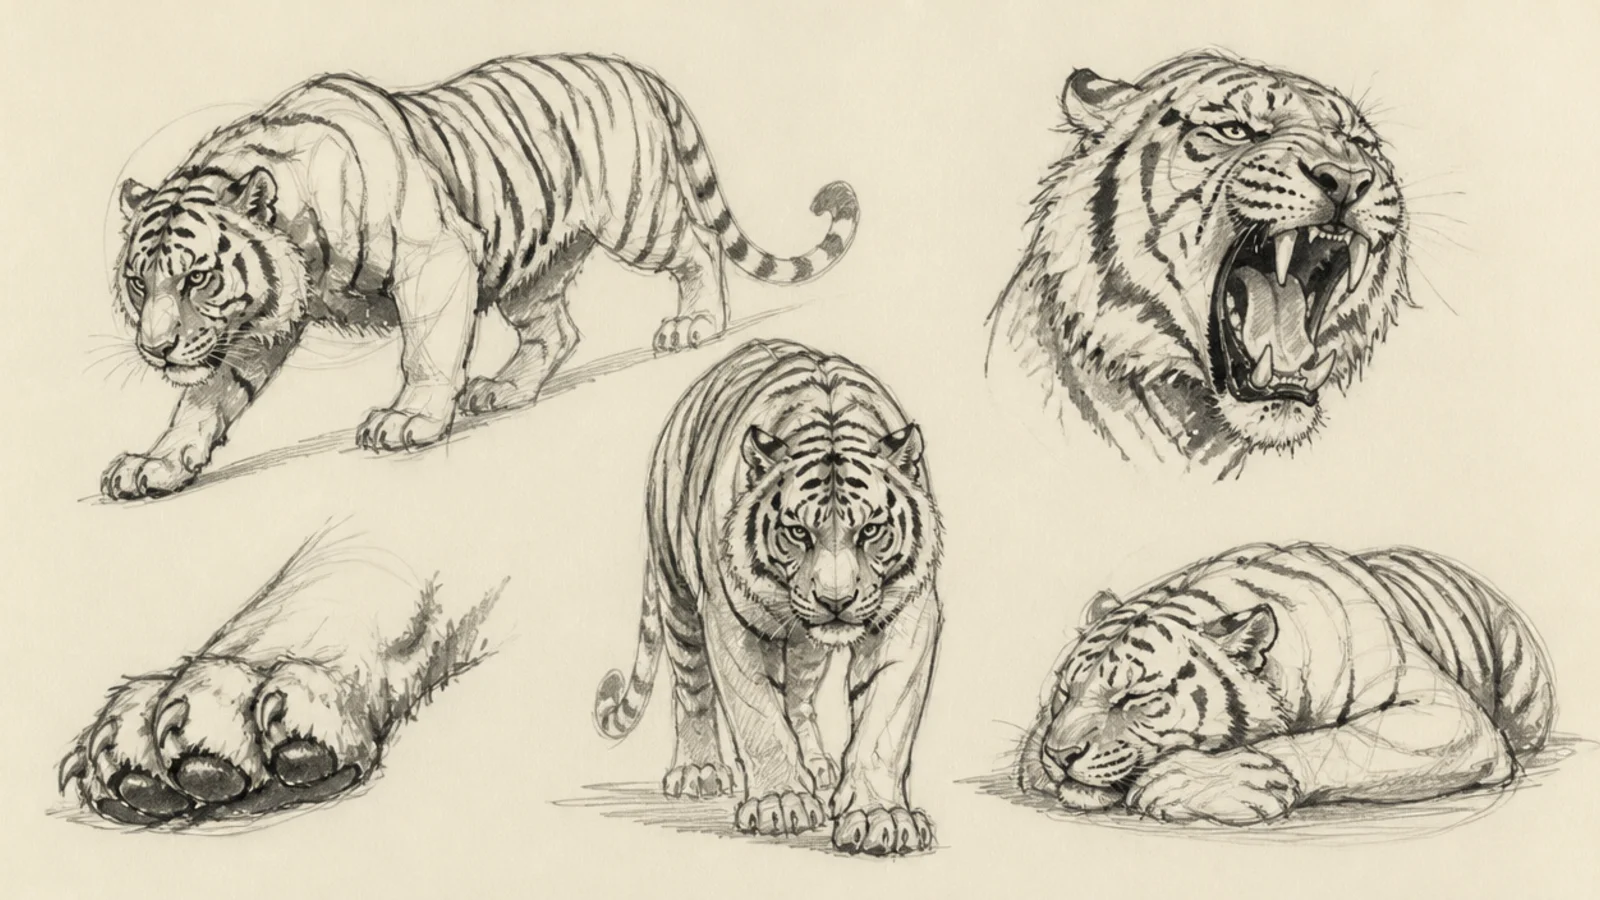
A whole page of small tiger sketches is the perfect closer and the best practice of all. Filling one sheet with quick studies builds range and confidence faster than any single drawing.
Step 1 scatter six to eight small poses loosely across the page. Step 2 give each a different action — prowl, sit, roar, leap, sleep. Step 3 keep them all fast and rough with no erasing.
Rotate through different poses so the page shows real range.
Don’t polish any single sketch; the value is in the variety.



