
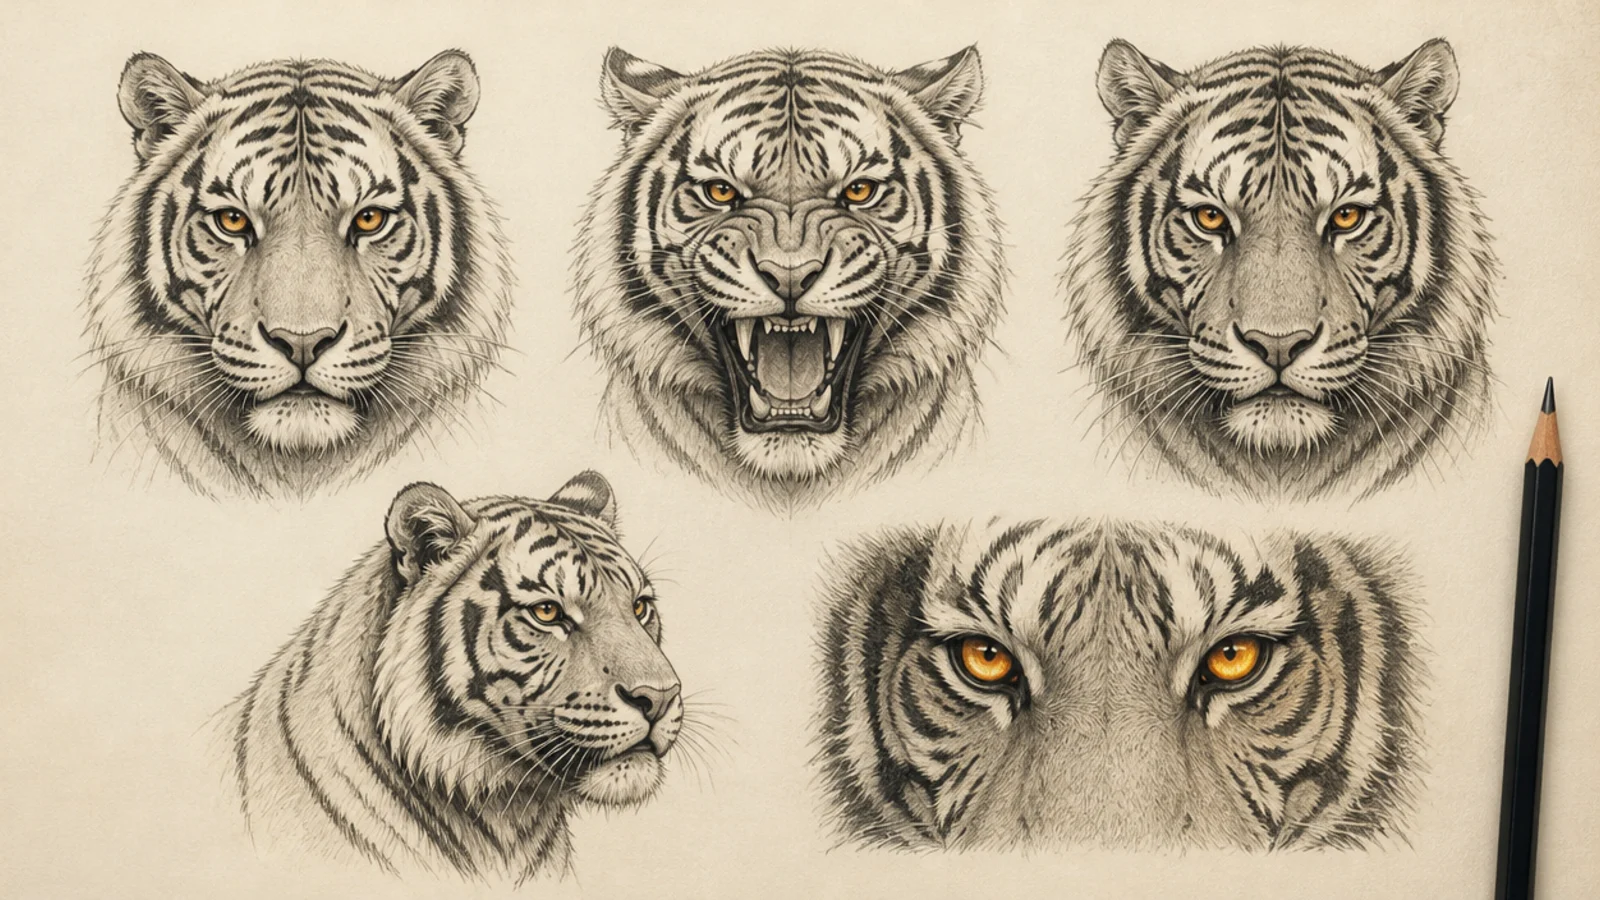
1 Classic Front Portrait
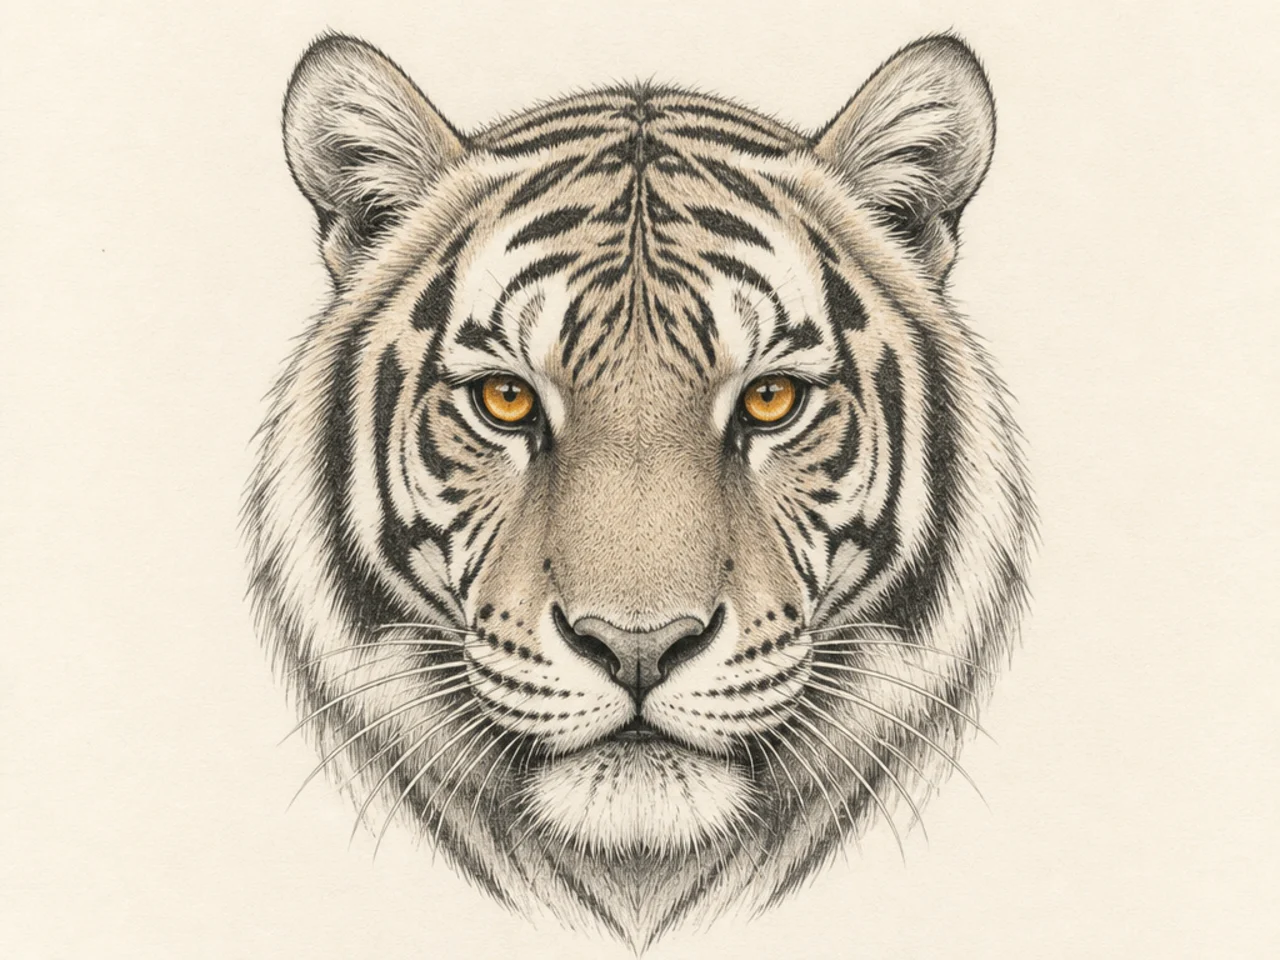
This is the foundation face and the base for the whole list — a calm, balanced front portrait. It teaches the symmetry grid and the outward stripe flow that every other face builds on.
Step 1 draw a broad head with a vertical center line and a horizontal eye line. Step 2 place the eyes, nose, and wide muzzle on the grid. Step 3 flow stripes outward from the center and add ear tufts.
Keep the guide lines light so both eyes land level on the eye line.
Don’t skip the grid; freehand faces drift lopsided almost every time.
2 Fierce Open-Mouth Snarl
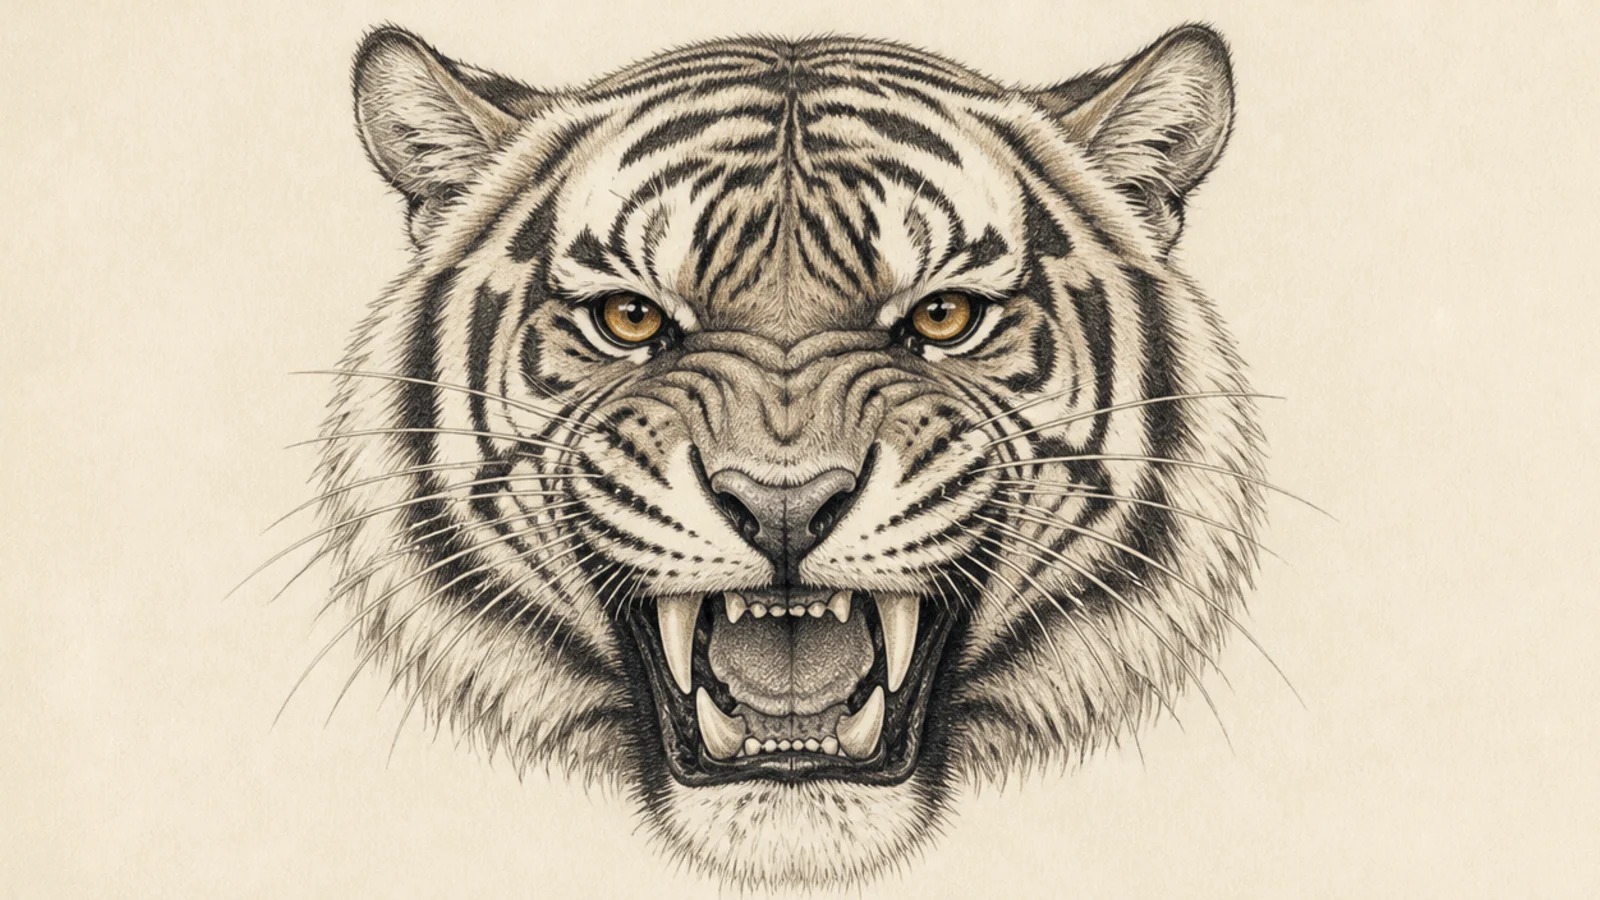
A snarling face is pure drama — bared fangs, a wrinkled nose, and blazing eyes. It teaches how the muzzle folds and the whole face compresses in aggression.
Step 1 build the front face on the grid. Step 2 open the mouth, add curled lips, two top fangs, and a crumpled nose. Step 3 stack wrinkle lines up the muzzle and narrow the eyes fierce.
Pro tipCrumple a few short wrinkles on the nose bridge to show the snarl pulling up.
AvoidDon’t keep the eyes wide and soft; narrow them to match the aggression.
3 Serene Calm Gaze
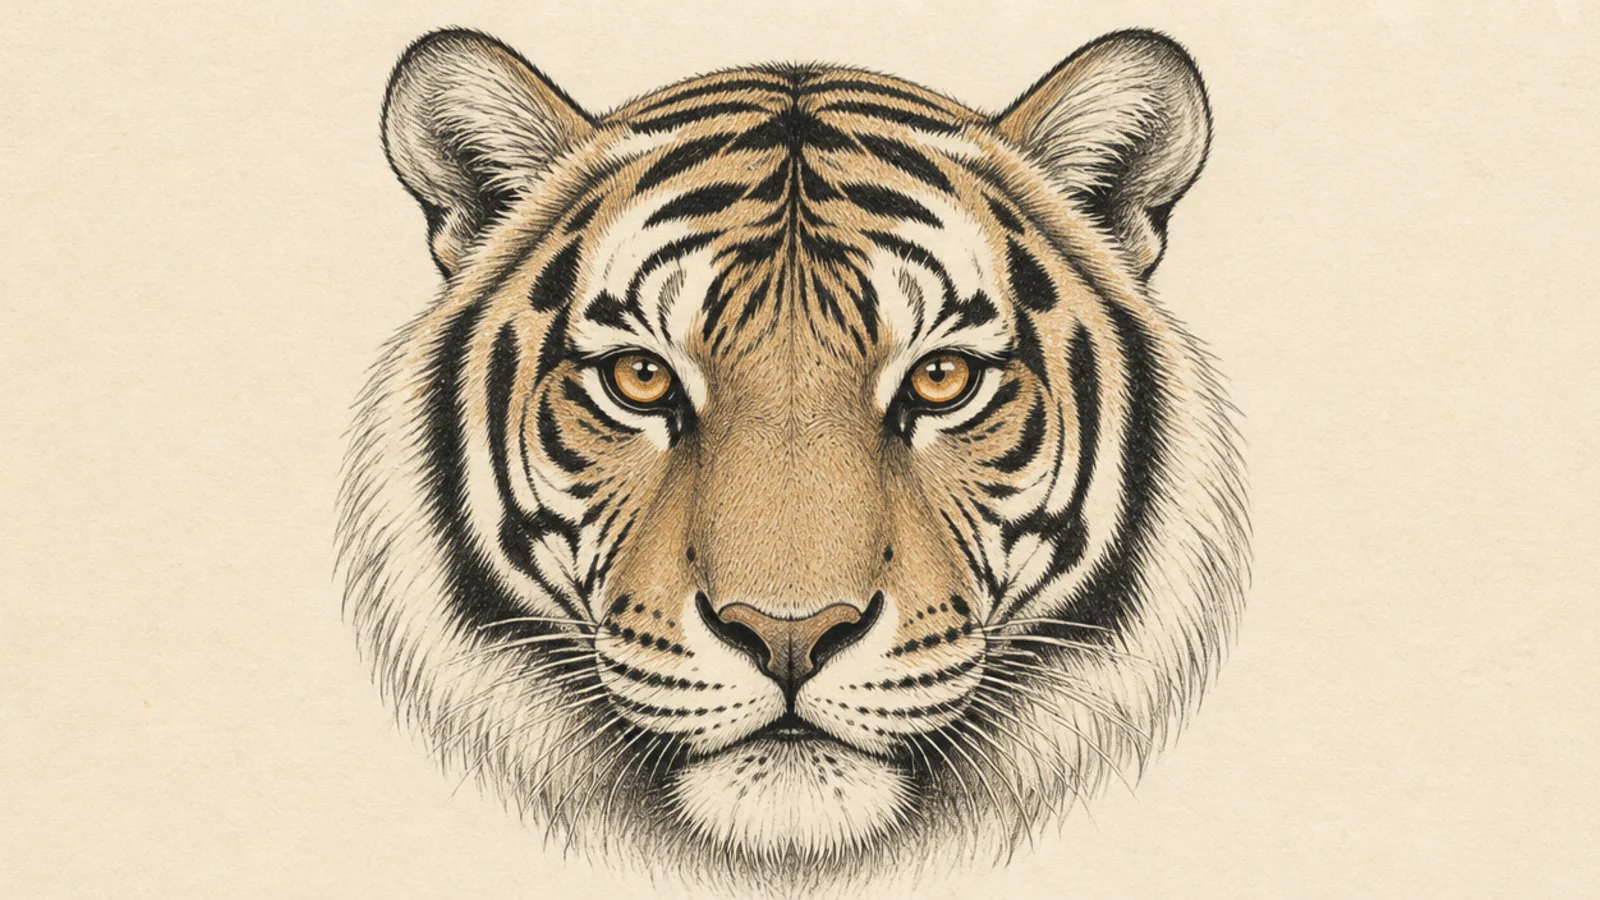
A serene tiger with a soft, steady gaze is quietly powerful. It teaches restraint — relaxed features and gentle eyes that show the animal at rest, not on the hunt.
Step 1 draw the balanced front face. Step 2 open the eyes fully with a soft round iris and no tension. Step 3 relax the mouth into a closed line and keep the stripes smooth and even.
Leave the brow smooth and the eyes wide and calm for a peaceful mood.
Don’t narrow the eyes or wrinkle the brow; calm faces stay smooth.
4 Three-Quarter Turn
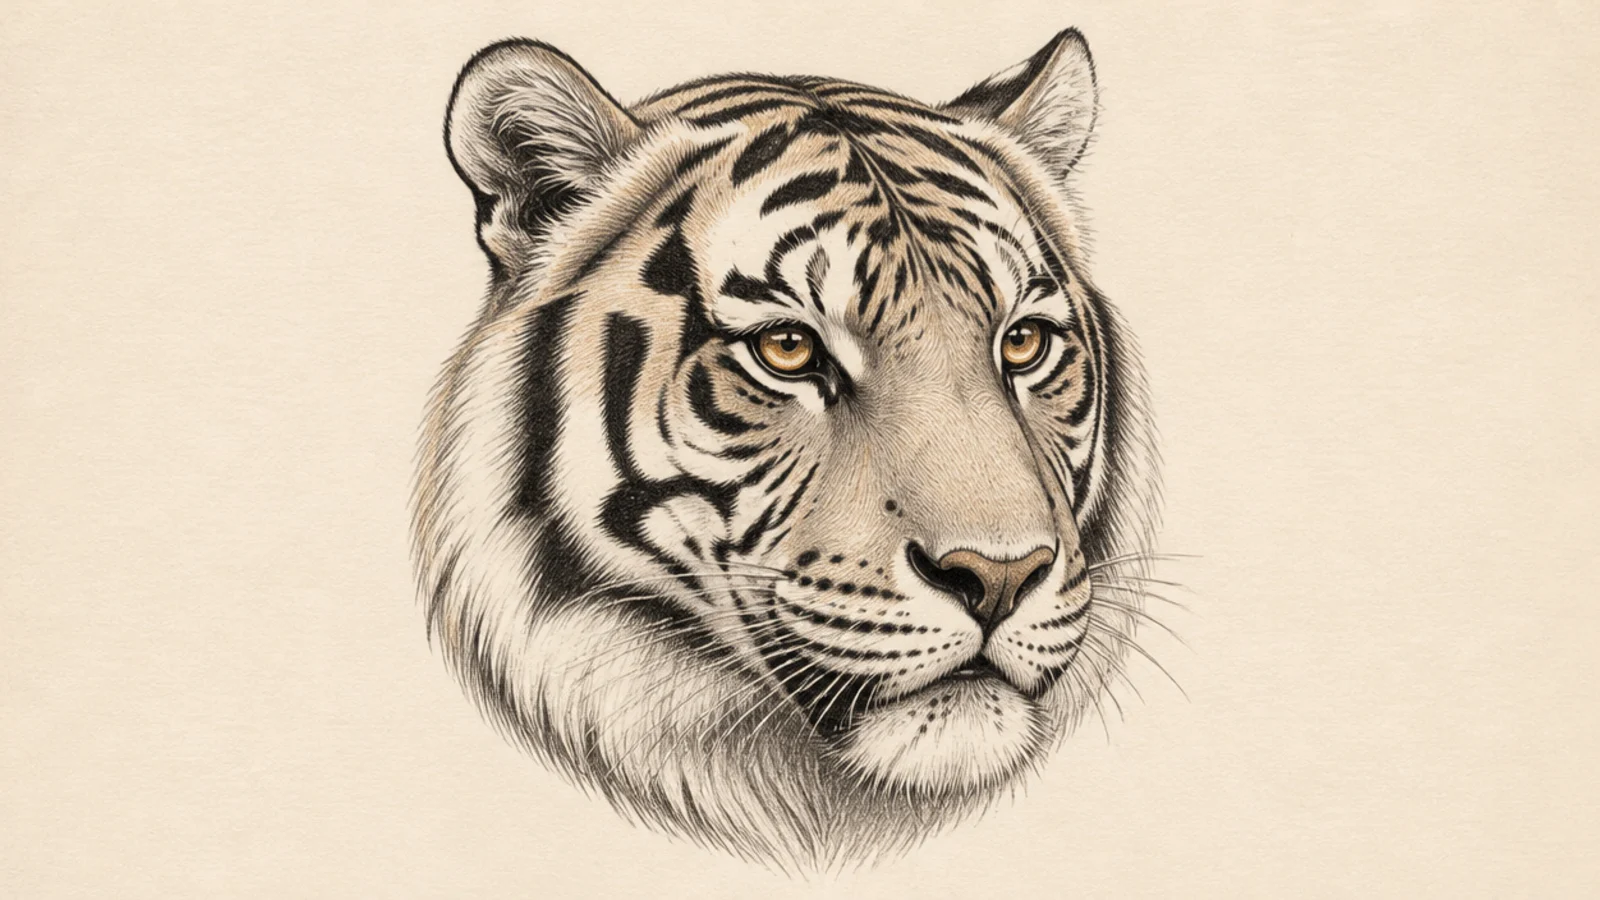
A three-quarter face has real depth and is more lifelike than a flat front view. It teaches how the features and stripes compress on the far side as the head turns.
Step 1 draw a tilted head with a curved center line showing the turn. Step 2 make the far eye and cheek narrower than the near ones. Step 3 wrap the stripes around the muzzle following the turn.
Pro tipCurve the center line and shrink the far side to sell the head turning.
AvoidDon’t draw both sides equal; the far half is smaller in three-quarter.
5 Glowing Amber Eyes Close-Up
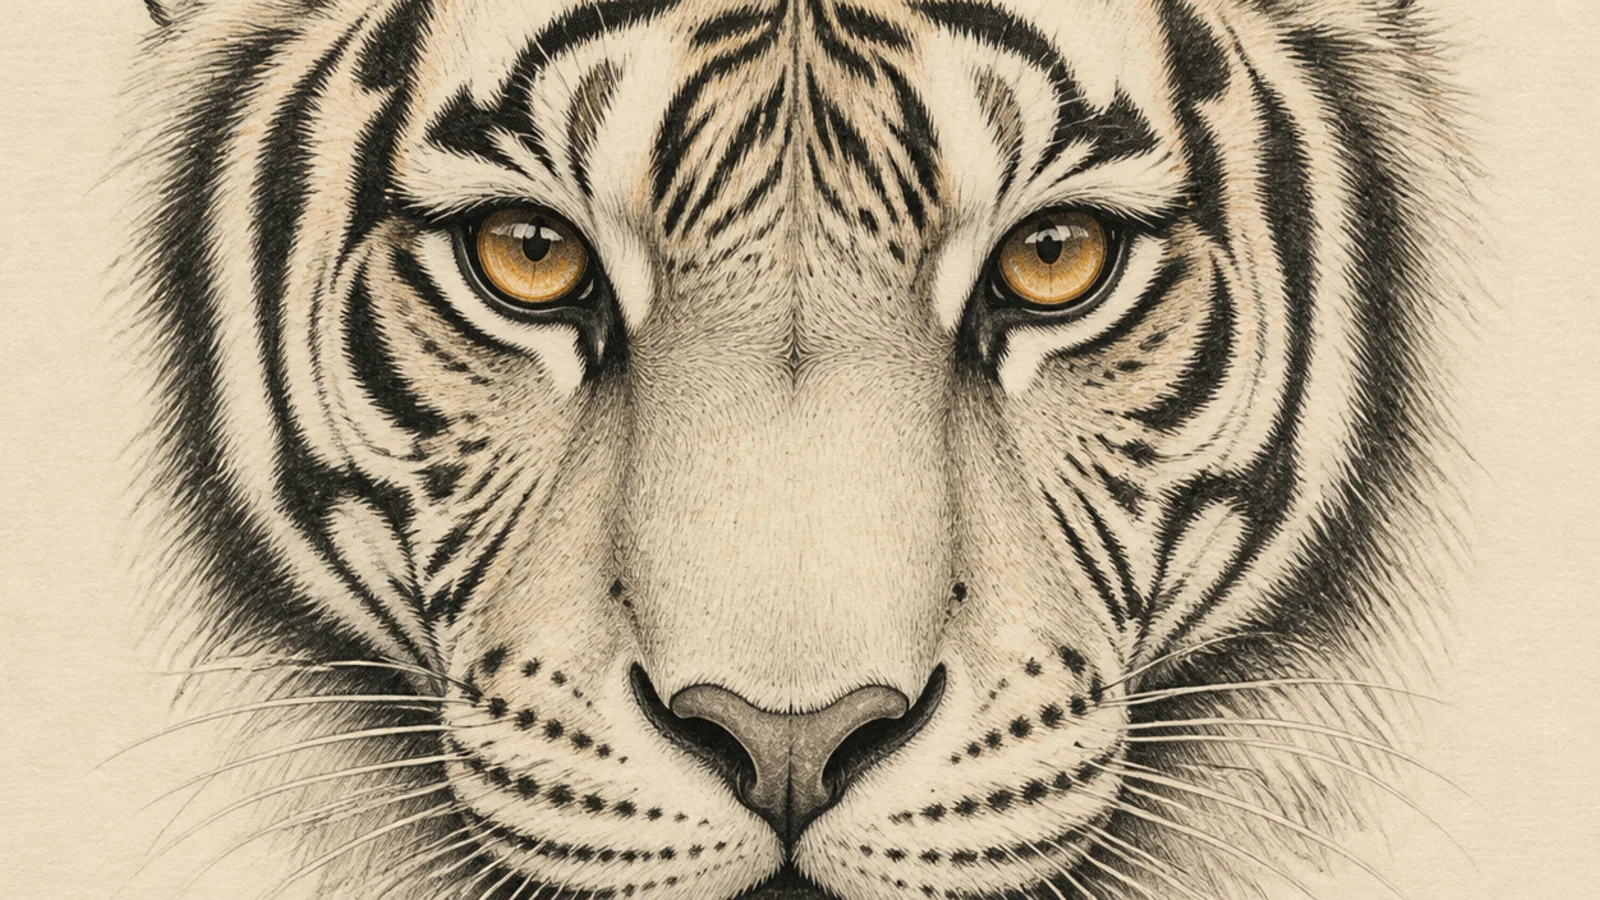
This face crops in tight so the amber eyes dominate. It teaches you to render a glowing, wet eye with layered iris color and a sharp highlight.
Step 1 crop to the eyes, brow, and top of the muzzle. Step 2 layer amber and darker rings in each iris with a big black pupil. Step 3 place one bright highlight and darken the rim and inner corner.
Pro tipKeep the single highlight the brightest white spot on the whole face.
AvoidDon’t flatten the iris one tone; layered rings make the eye glow.
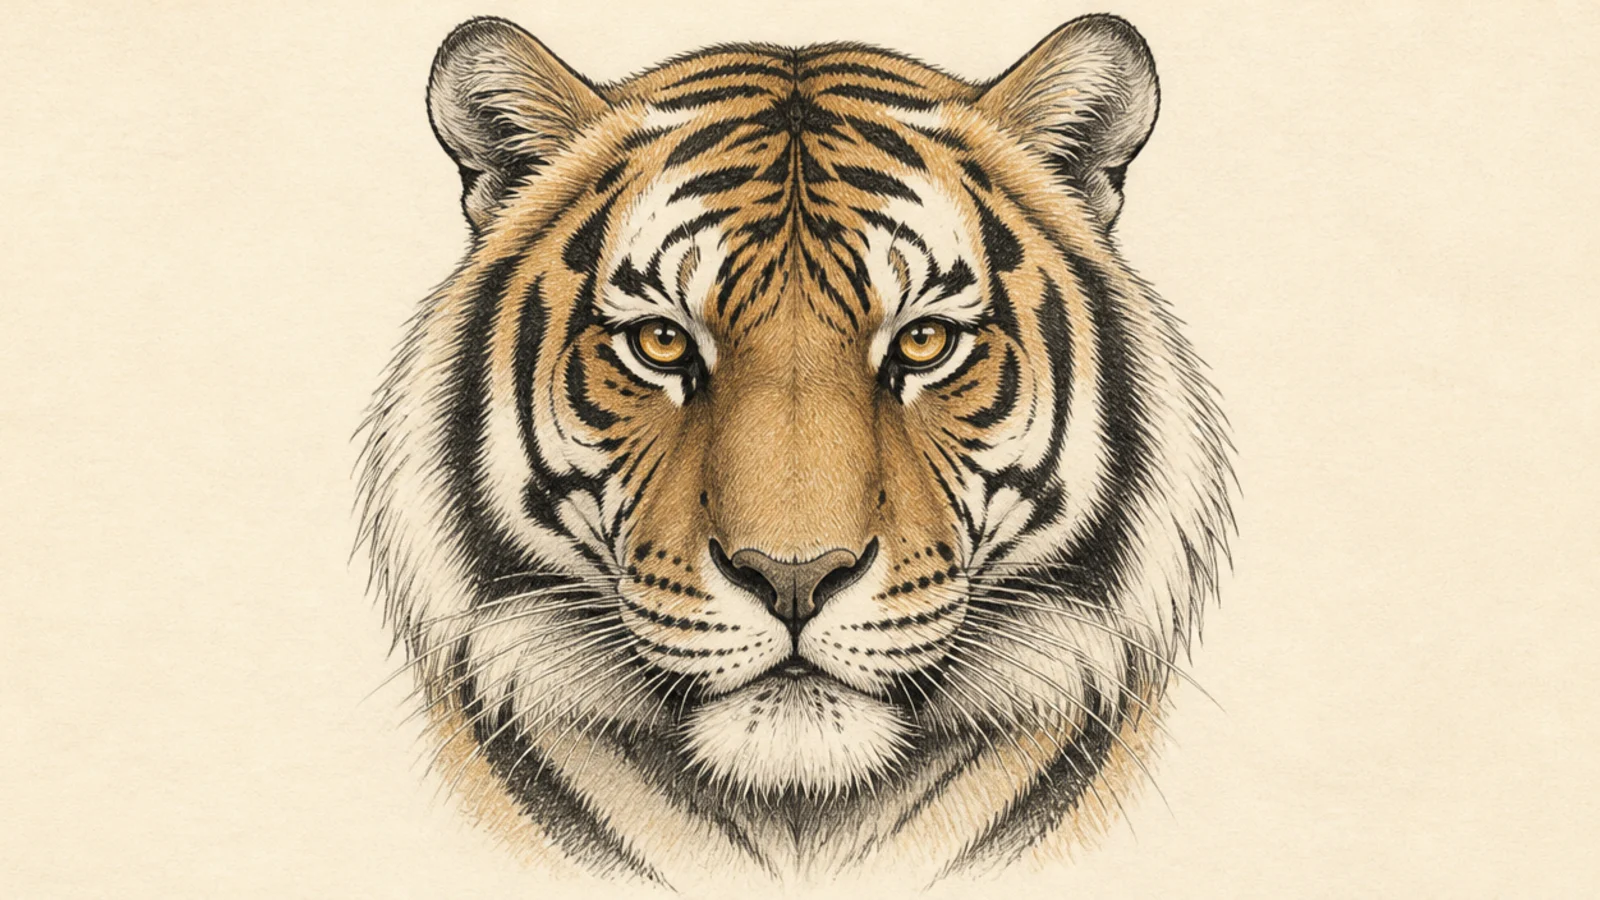
6 Bengal Bold Stripes
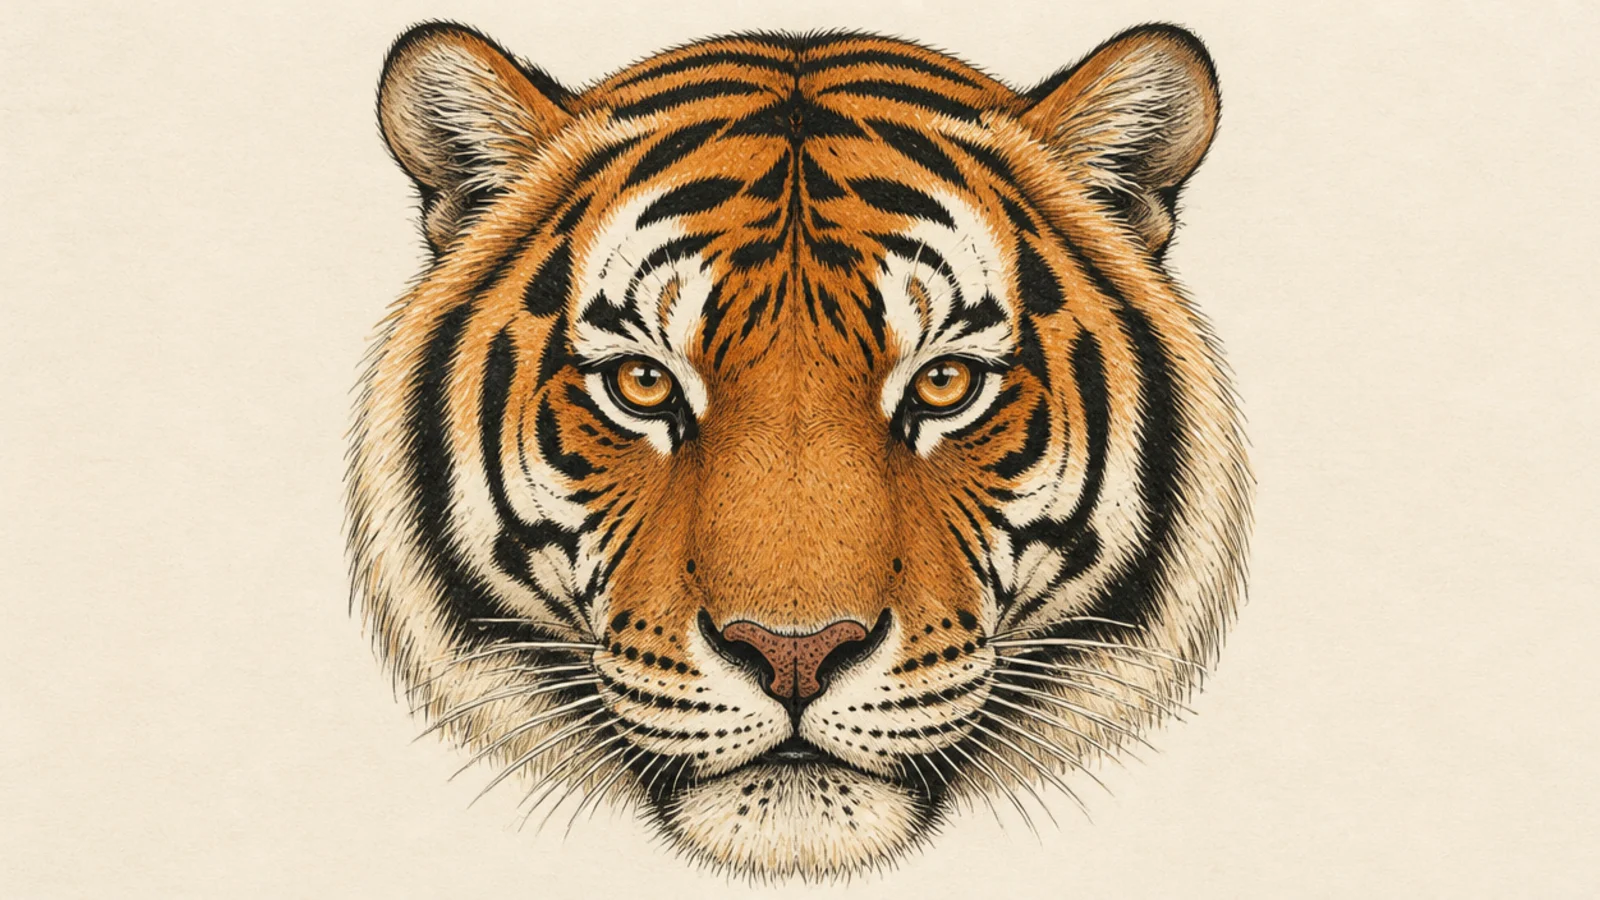
A Bengal face shows off thick, bold stripes on rich orange. It teaches confident stripe design — strong, wide marks with clear tapering and rhythm.
Step 1 build the balanced front face. Step 2 lay thick bold stripes radiating from the center, thicker than usual. Step 3 keep an orange body, cream muzzle, and pure white around the eyes.
Pro tipVary the stripe thickness and spacing so the bold pattern feels natural.
AvoidDon’t make every stripe identical; real patterns are irregular.
7 White Tiger Face
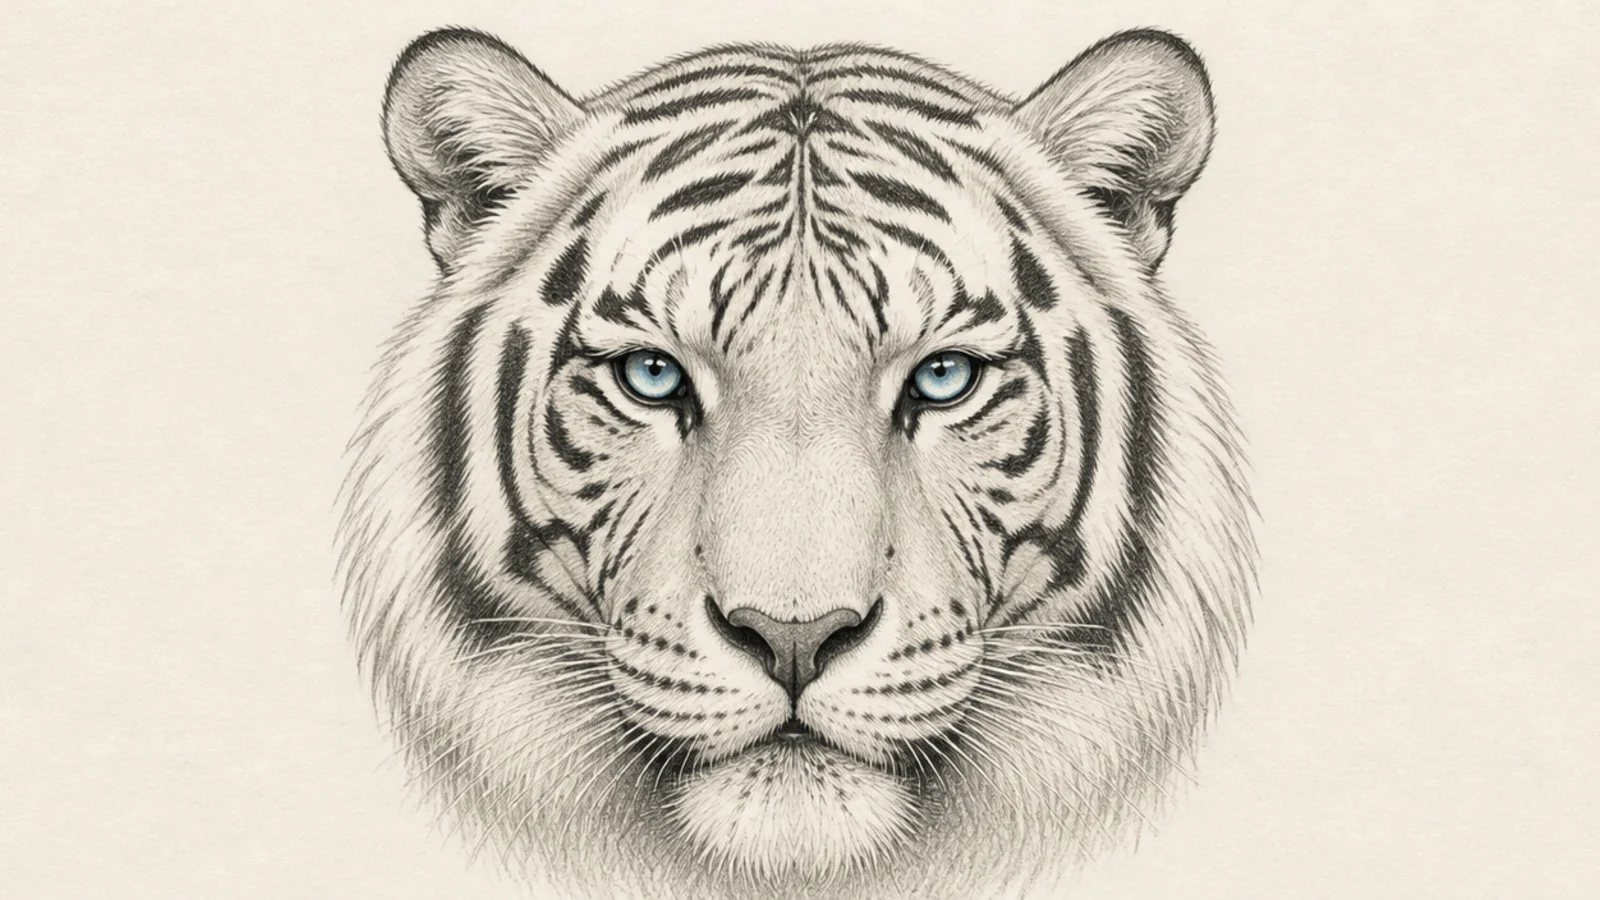
A white tiger face swaps orange for pale fur, dark stripes, and striking blue eyes. It teaches drawing on a light-value coat where shadow, not local color, defines the form.
Step 1 draw the balanced face. Step 2 keep the fur white and lay charcoal-grey stripes. Step 3 color the eyes icy blue with a strong highlight and shade the muzzle sides softly.
Use soft grey shadow to shape white fur since there is no orange to model it.
Don’t leave the white fur flat; gentle shadow gives it form.
8 Sweet Cub Face
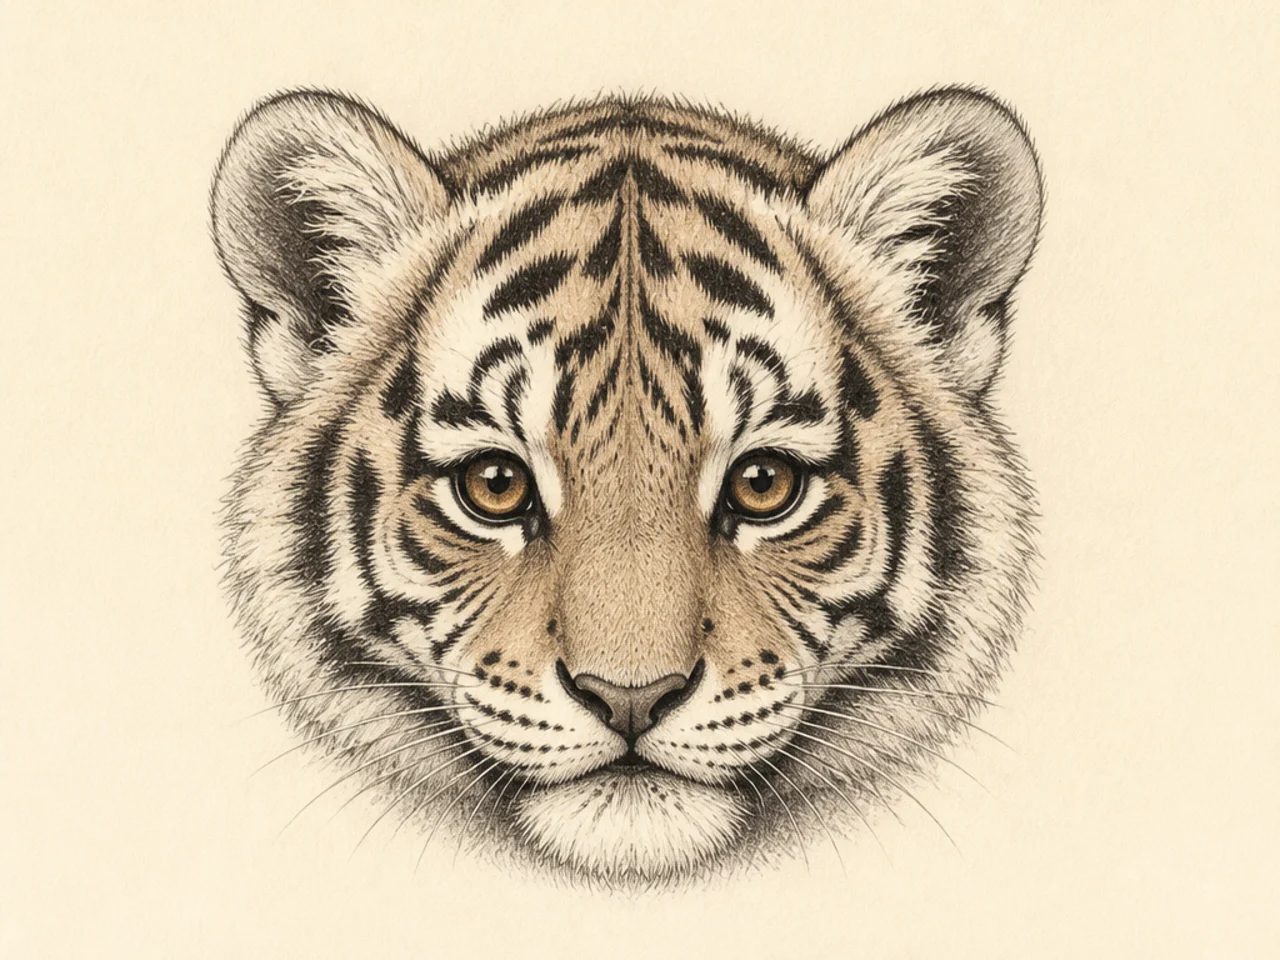
A cub face has baby proportions — huge eyes, a small muzzle, and fuzzy fur. It teaches how shifting proportions younger reads as cute rather than fierce.
Step 1 draw a rounder head with the eye line lower. Step 2 make the eyes large and the muzzle small and short. Step 3 add soft fuzzy stripes and fluffy cheek fur.
Pro tipSet the eyes large and low with a tiny nose for a babyish cub face.
AvoidDon’t use a long adult muzzle; keep it small for a young cub.
9 Full Roar Face
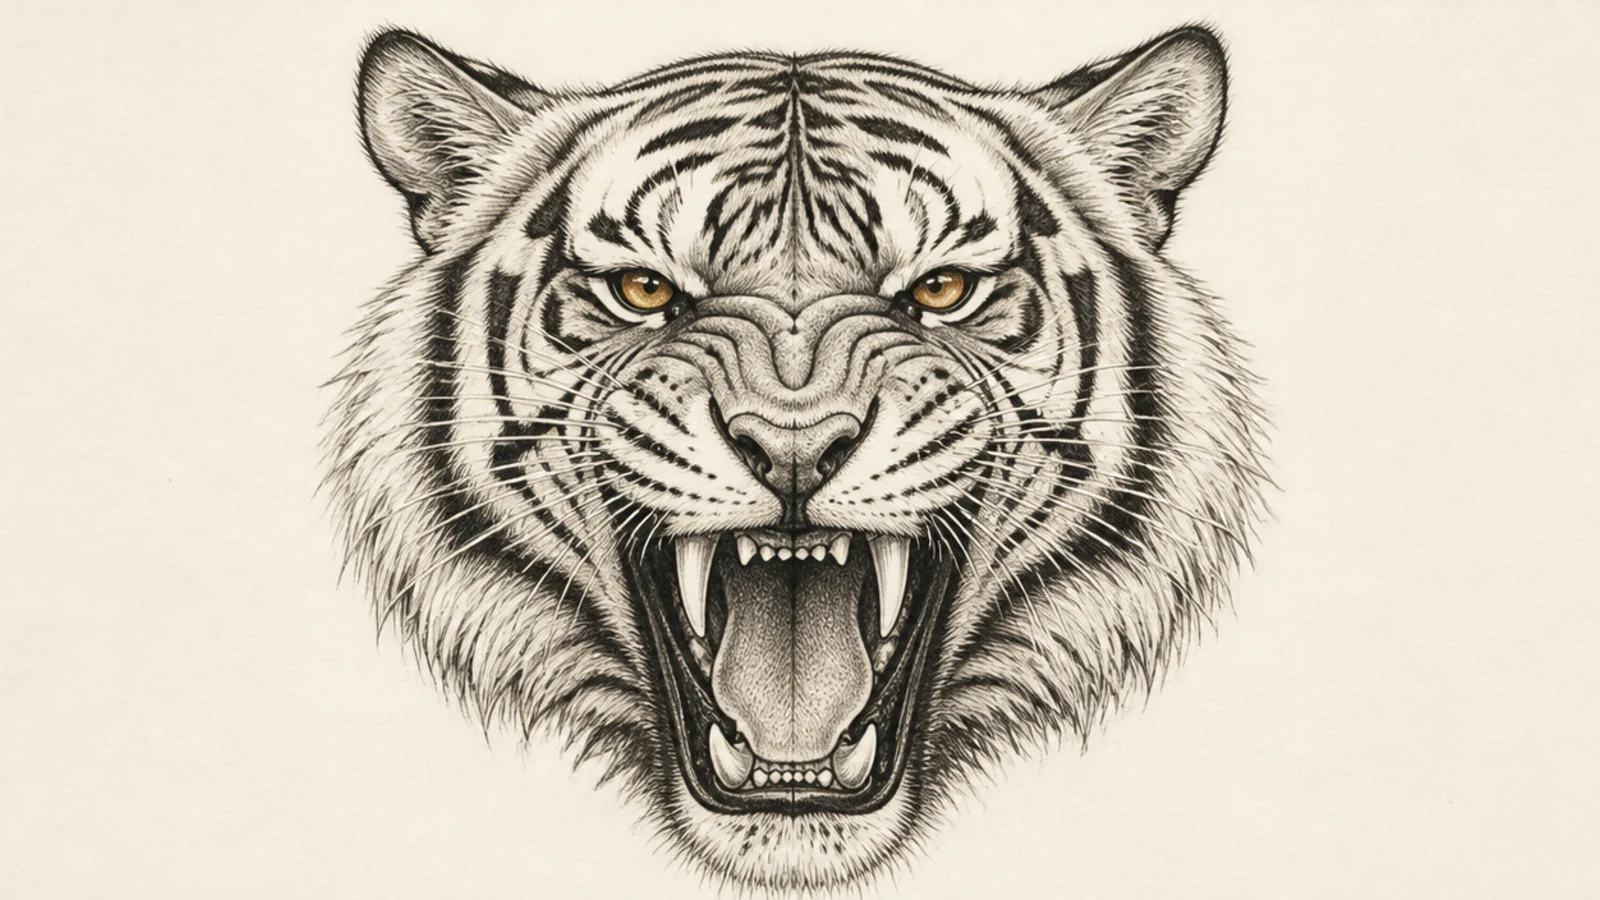
A roaring face is the loudest expression, jaw stretched wide and eyes squeezed. It teaches the full open-mouth structure — lower jaw, tongue, and the ring of teeth.
Step 1 build the face and drop the lower jaw wide open. Step 2 add the curved tongue, top and bottom teeth, and dark throat. Step 3 squint the eyes and pull wrinkle lines from the nose.
Show a dark throat behind the tongue so the open mouth has depth.
Don’t draw a flat open oval; include the jaw, tongue, and teeth.
10 Sharp Side Profile
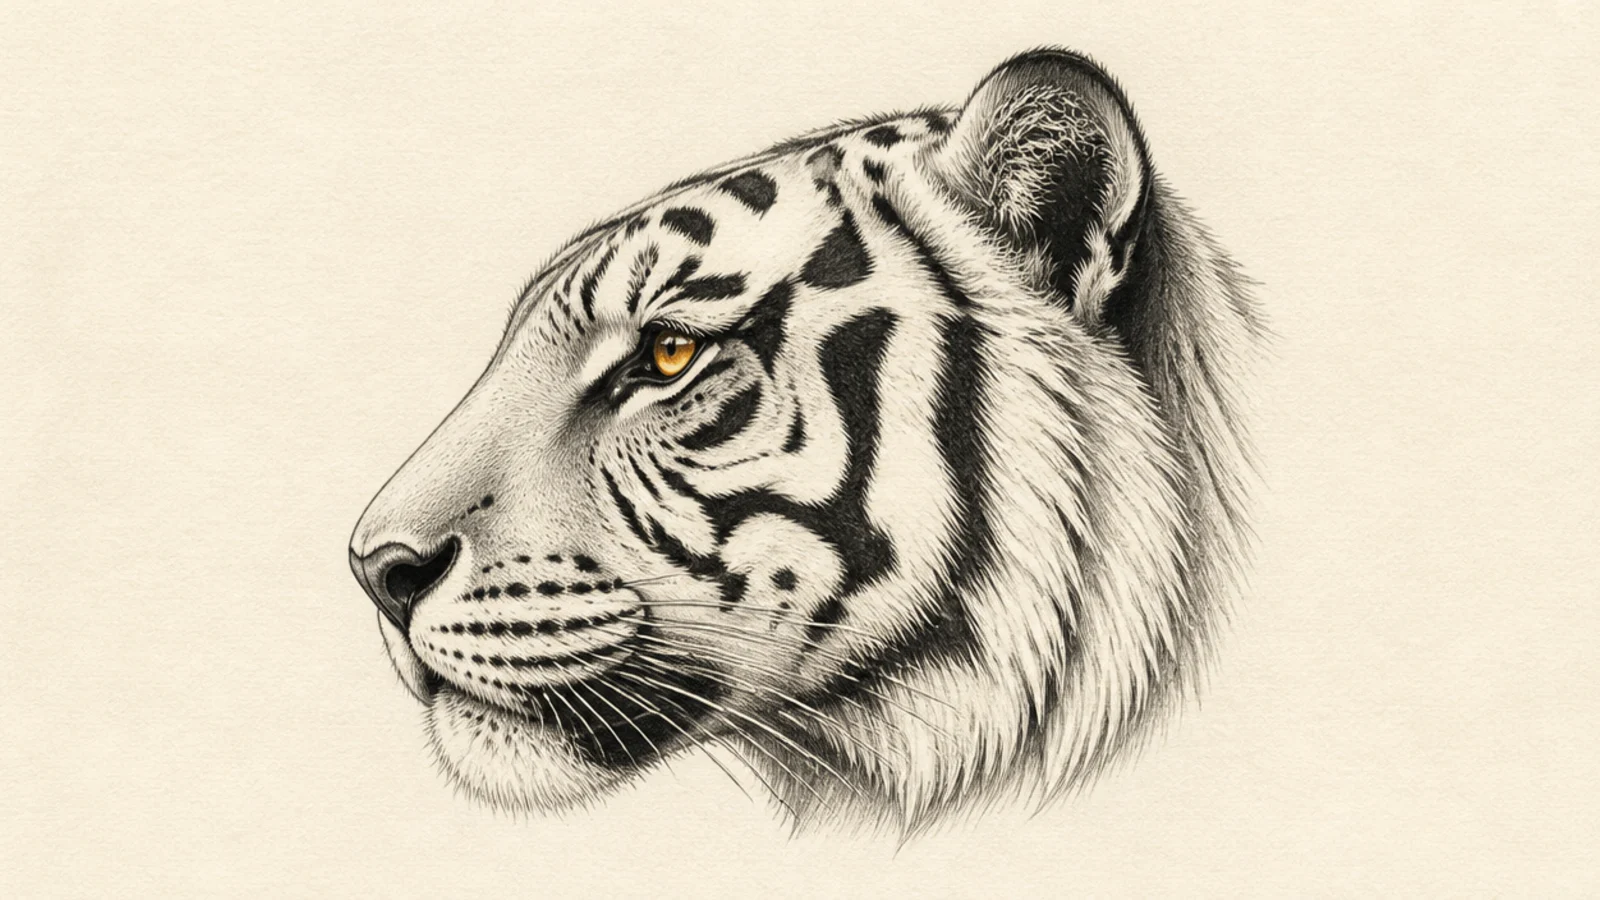
A pure side profile shows the elegant muzzle-to-brow line and a single eye. It teaches the head’s silhouette from the side, which the front view hides.
Step 1 draw the profile outline — forehead, nose dip, muzzle, and jaw. Step 2 place one almond eye and a rounded ear back on the skull. Step 3 flow stripes back along the cheek and neck.
Get the gentle dip between forehead and nose right; it defines the profile.
Don’t draw a straight snout line; the slight brow-to-nose dip is key.
11 Symmetry Mandala Face
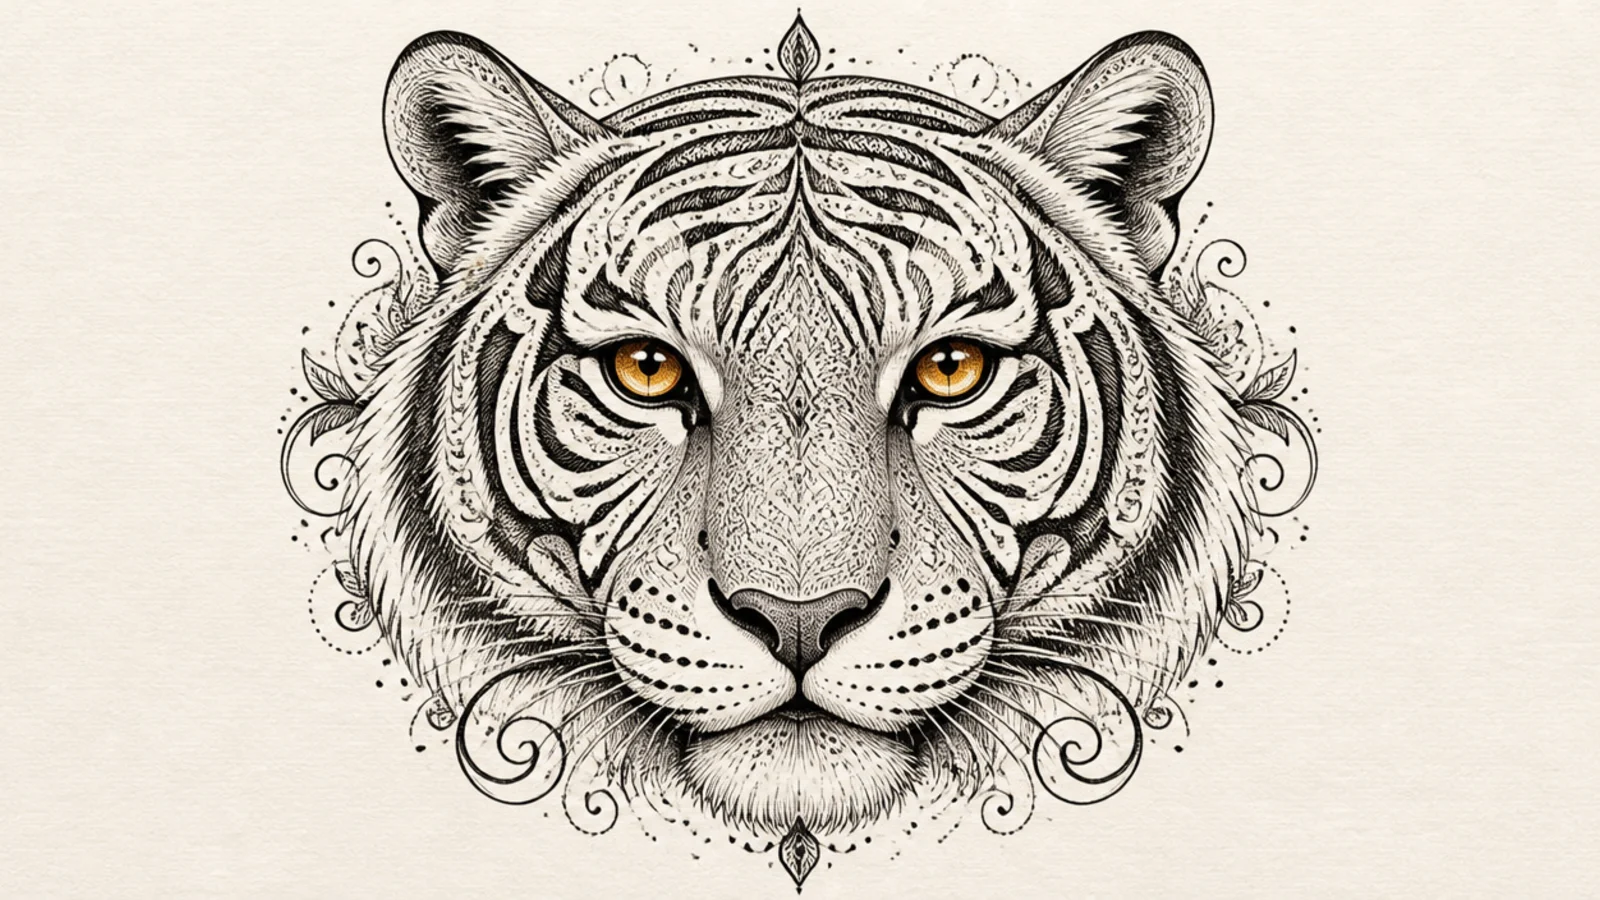
A decorative mandala-style face turns the stripes into ornament. It teaches deliberate, mirrored pattern design and pushes symmetry to a graphic extreme.
Step 1 draw a strict center line and mirror the whole face across it. Step 2 stylize the stripes into curling ornamental shapes. Step 3 add dots and fine lines to fill the pattern evenly.
Mirror every mark exactly left and right for a clean ornamental balance.
Don’t freehand each side; the appeal is perfect mirrored symmetry.
12 Watchful Half-Shadow Face
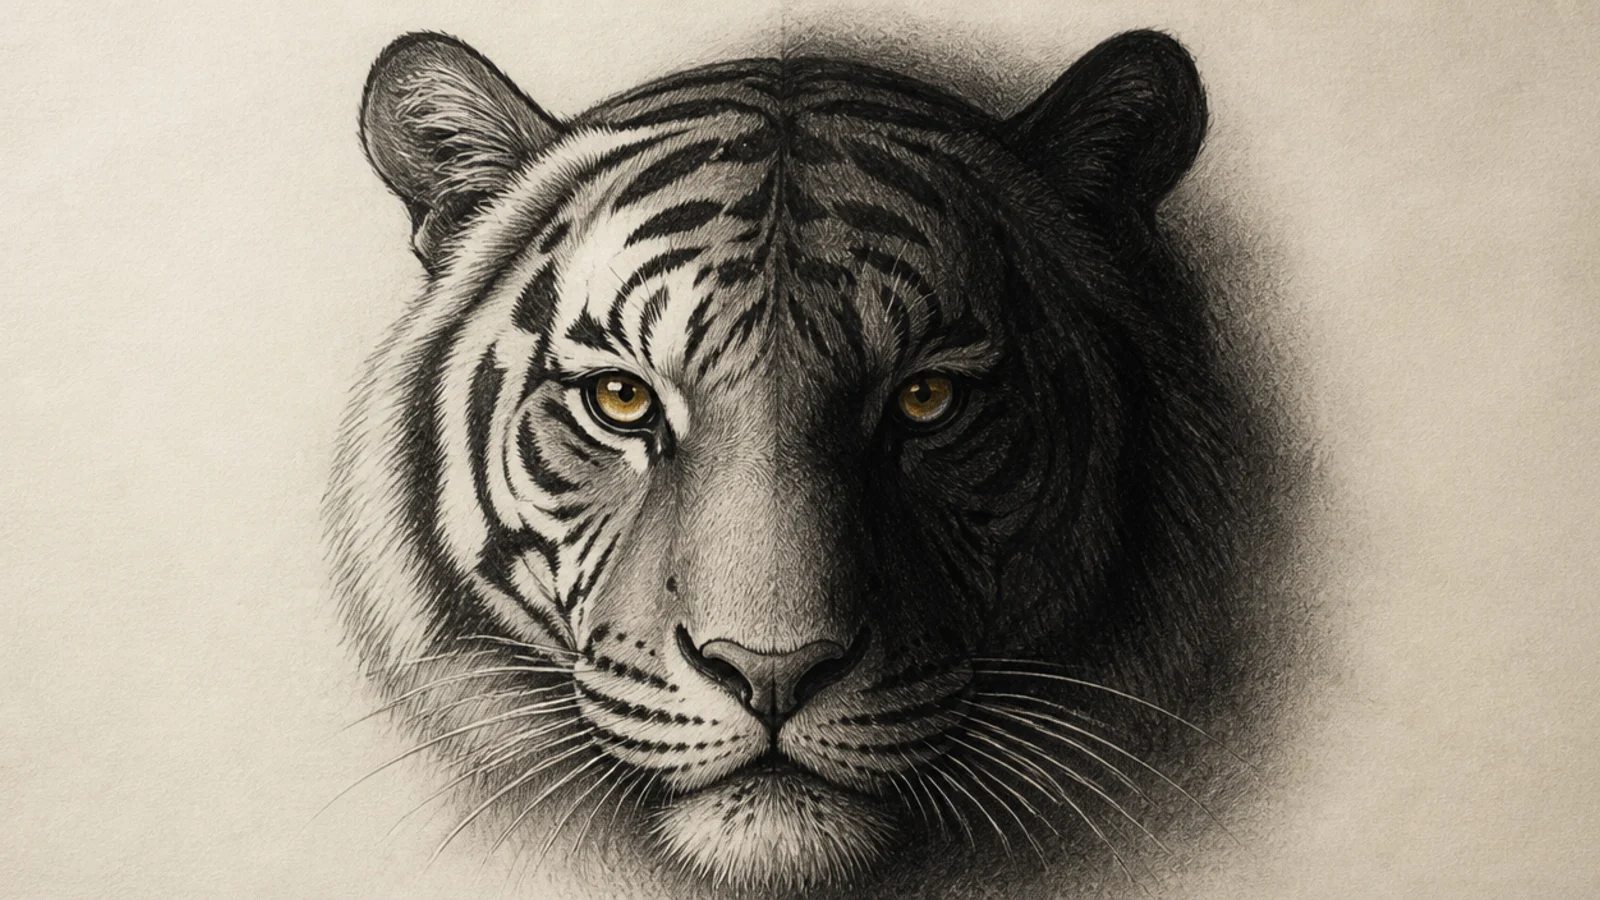
A face split into light and shadow is moody and cinematic. It teaches dramatic lighting — letting half the face fall dark while the lit eye burns bright.
Step 1 draw the front face and pick a side light. Step 2 shade the far half of the face deep, losing some stripes into it. Step 3 keep the lit eye and near stripes crisp and bright.
Pro tipLet stripes and detail dissolve into the shadow side for real drama.
AvoidDon’t light both sides evenly; the split is the whole effect.
13 Wet-Fur Swimming Face
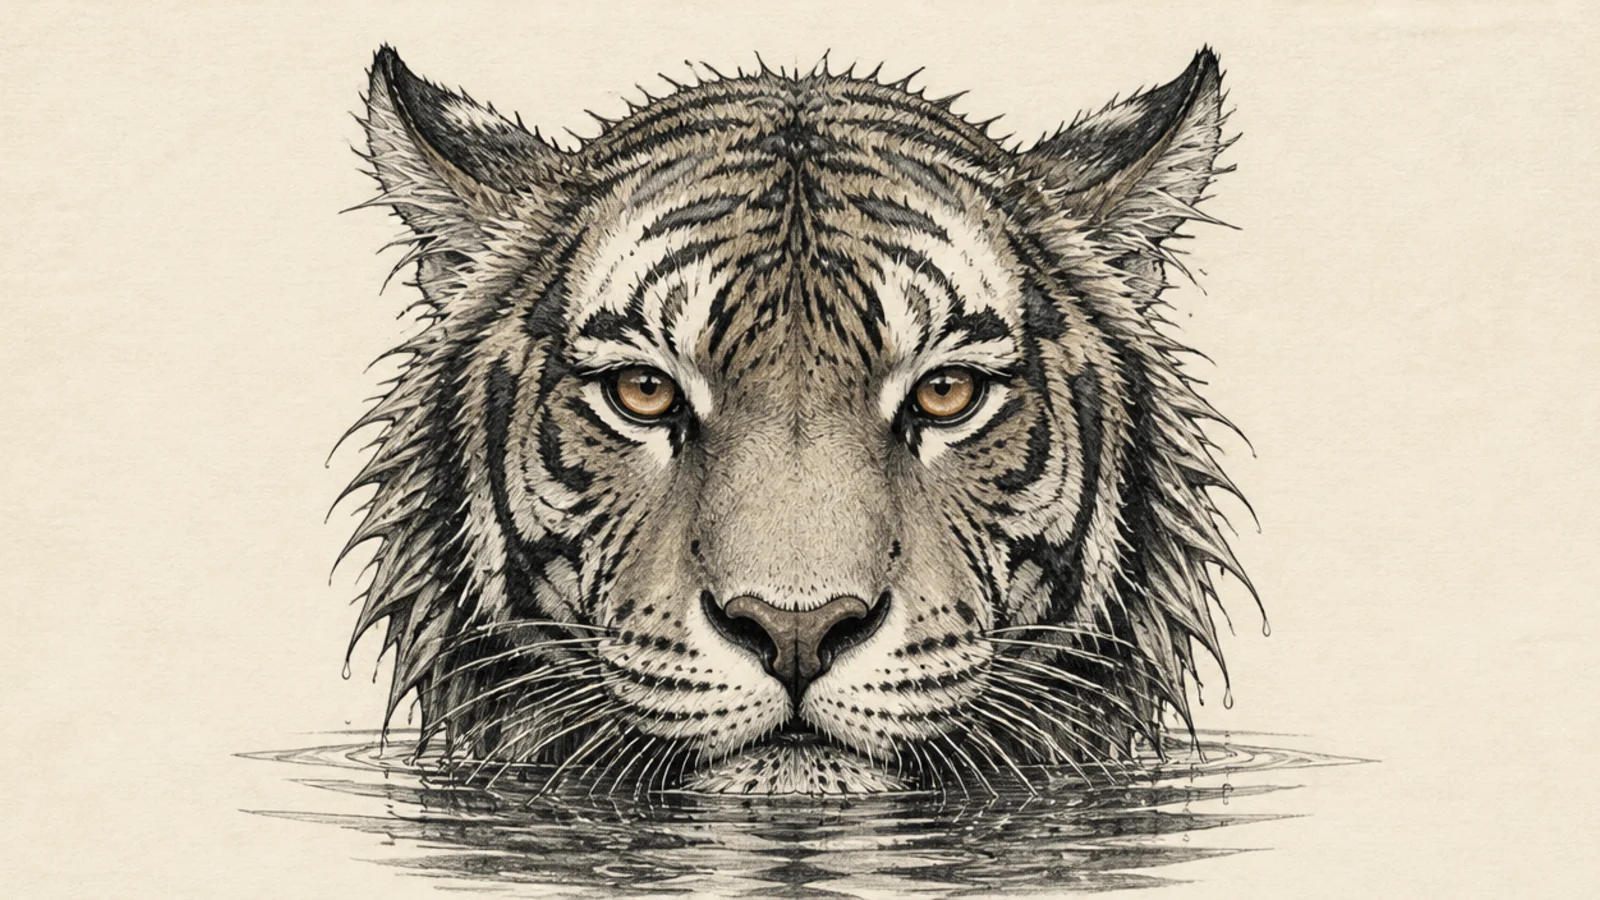
A wet tiger face has clumped, spiky fur and water drops, a fresh challenge. It teaches how wet fur groups into points and sticks to the skull, changing the whole texture.
Step 1 draw the face structure. Step 2 group the fur into wet spiky clumps instead of soft edges. Step 3 add a waterline at the chin, a few drips, and darkened soaked stripes.
Clump the fur into pointed spikes so it clearly reads as wet.
Don’t draw soft fluffy fur; wet fur separates into sharp clumps.
14 Grumpy Squint Face
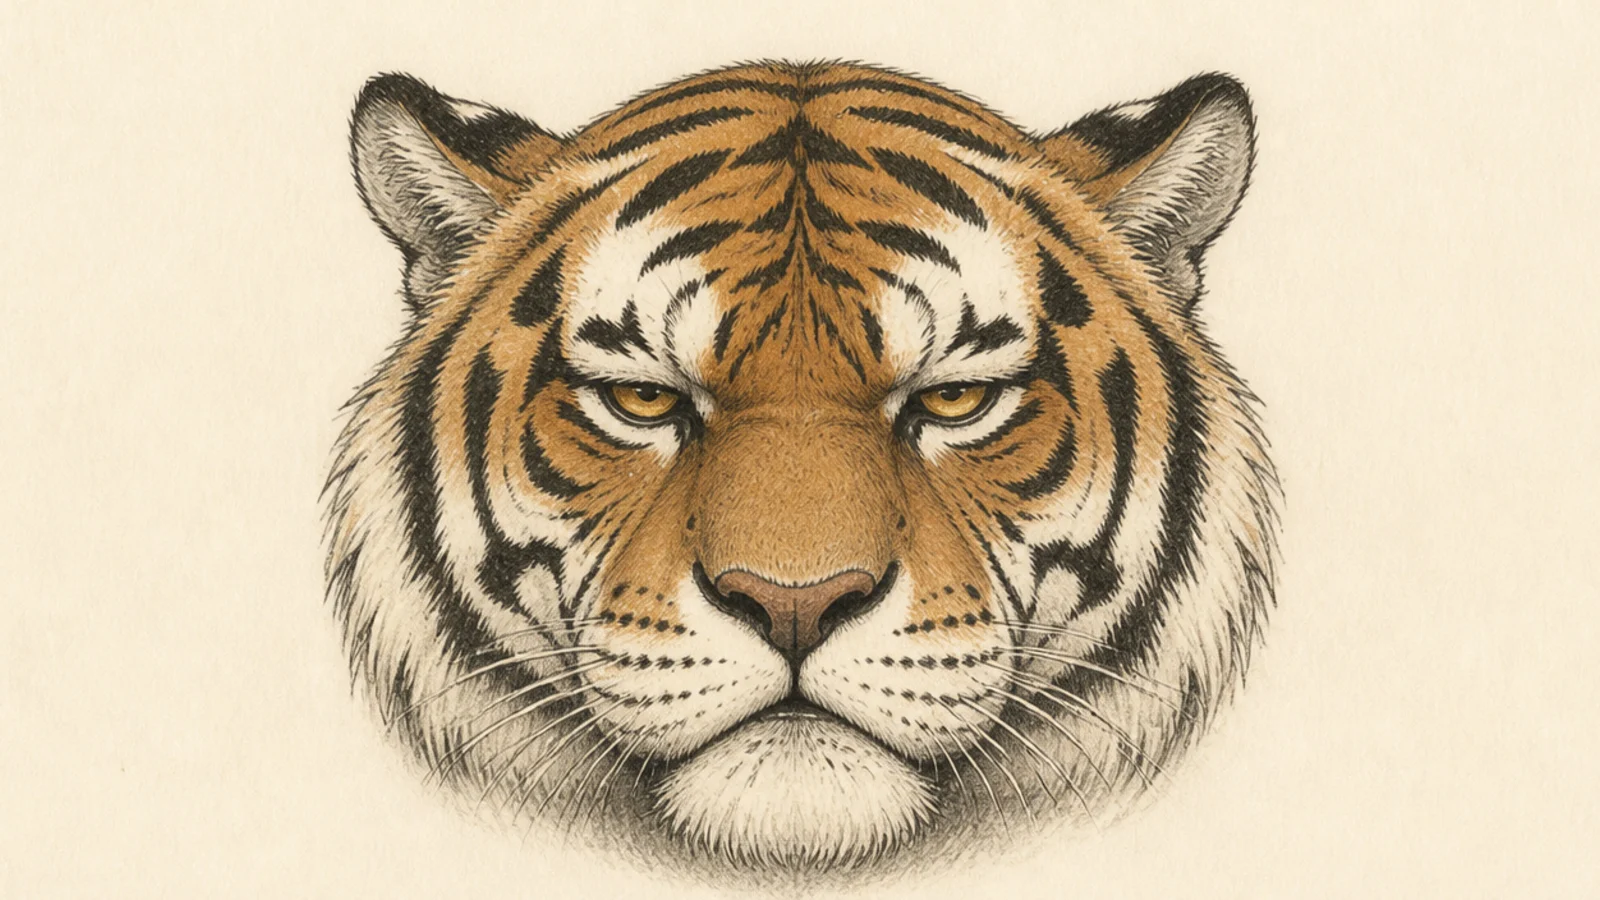
A grumpy, unimpressed tiger is full of character and fun to draw. It teaches how lowered brows and a flat mouth create a clear, readable mood.
Step 1 draw the front face. Step 2 lower the brow stripes hard over half-closed eyes. Step 3 flatten the mouth and turn the corners down slightly.
Pro tipAngle the brow stripes down toward the nose to build the grumpy squint.
AvoidDon’t open the eyes wide; half-closed lids sell the grumpy look.
15 Sniffing Nose Focus
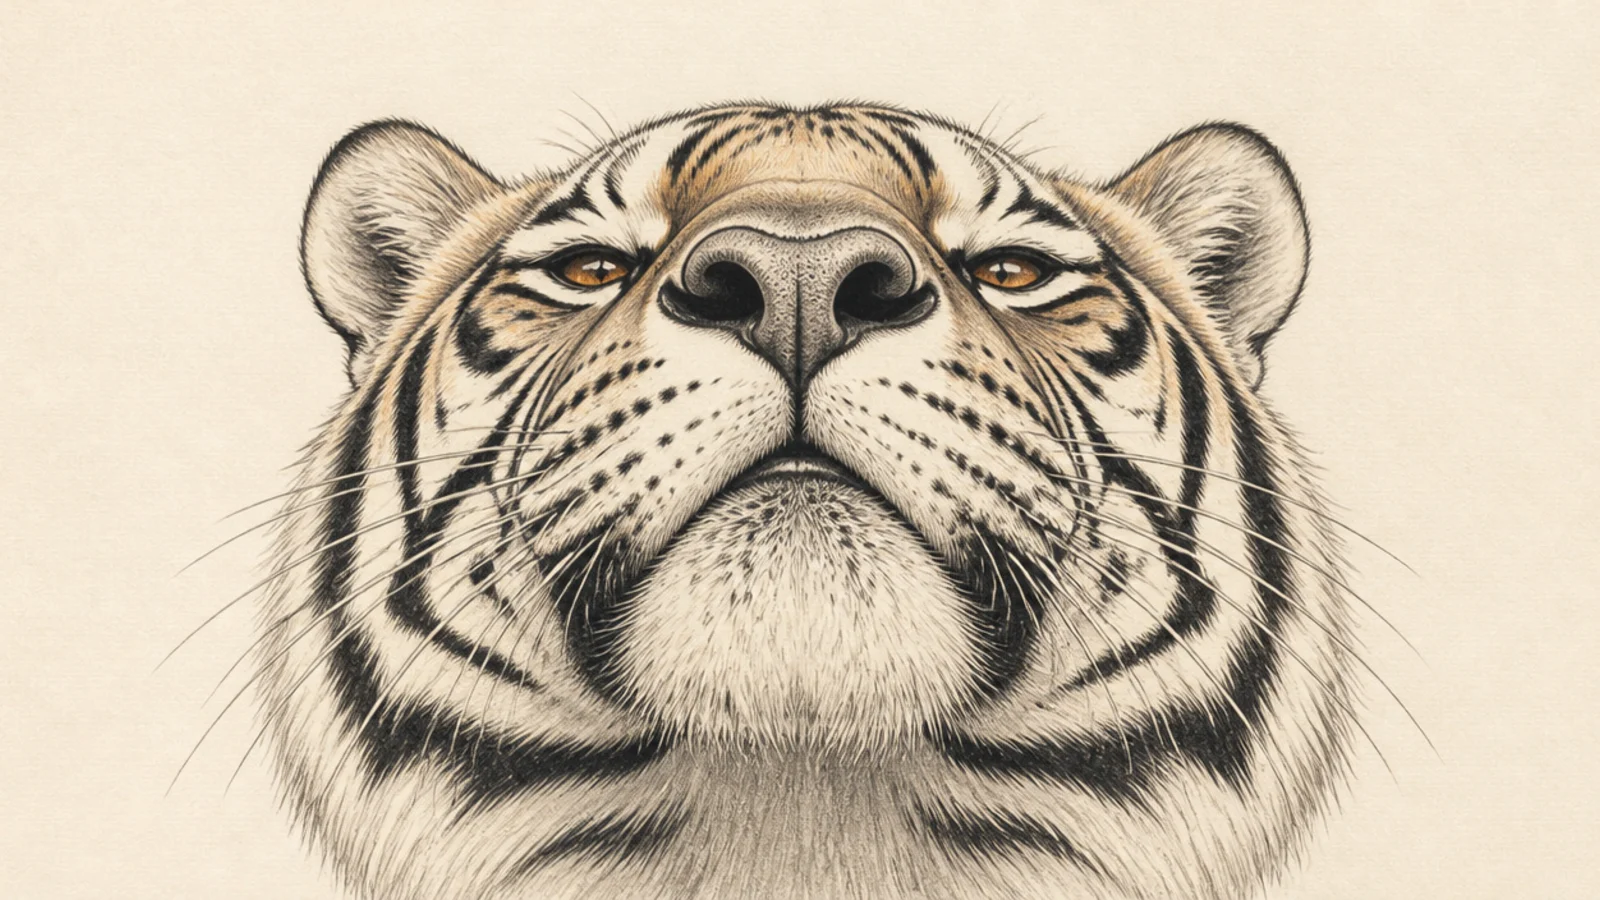
A face tilted up mid-sniff puts focus on the nose and muzzle. It teaches the texture of the nose leather and how the upper lip lifts when scenting.
Step 1 tilt the head up so the muzzle leads. Step 2 draw the nose large with a bumpy leather texture and lifted upper lip. Step 3 half-close the eyes and add whisker dots and stripes.
Texture the nose with tiny bumps and a soft highlight so it looks moist.
Don’t draw a flat triangle nose; give it leathery bumps up close.
16 Night Glow Eyes
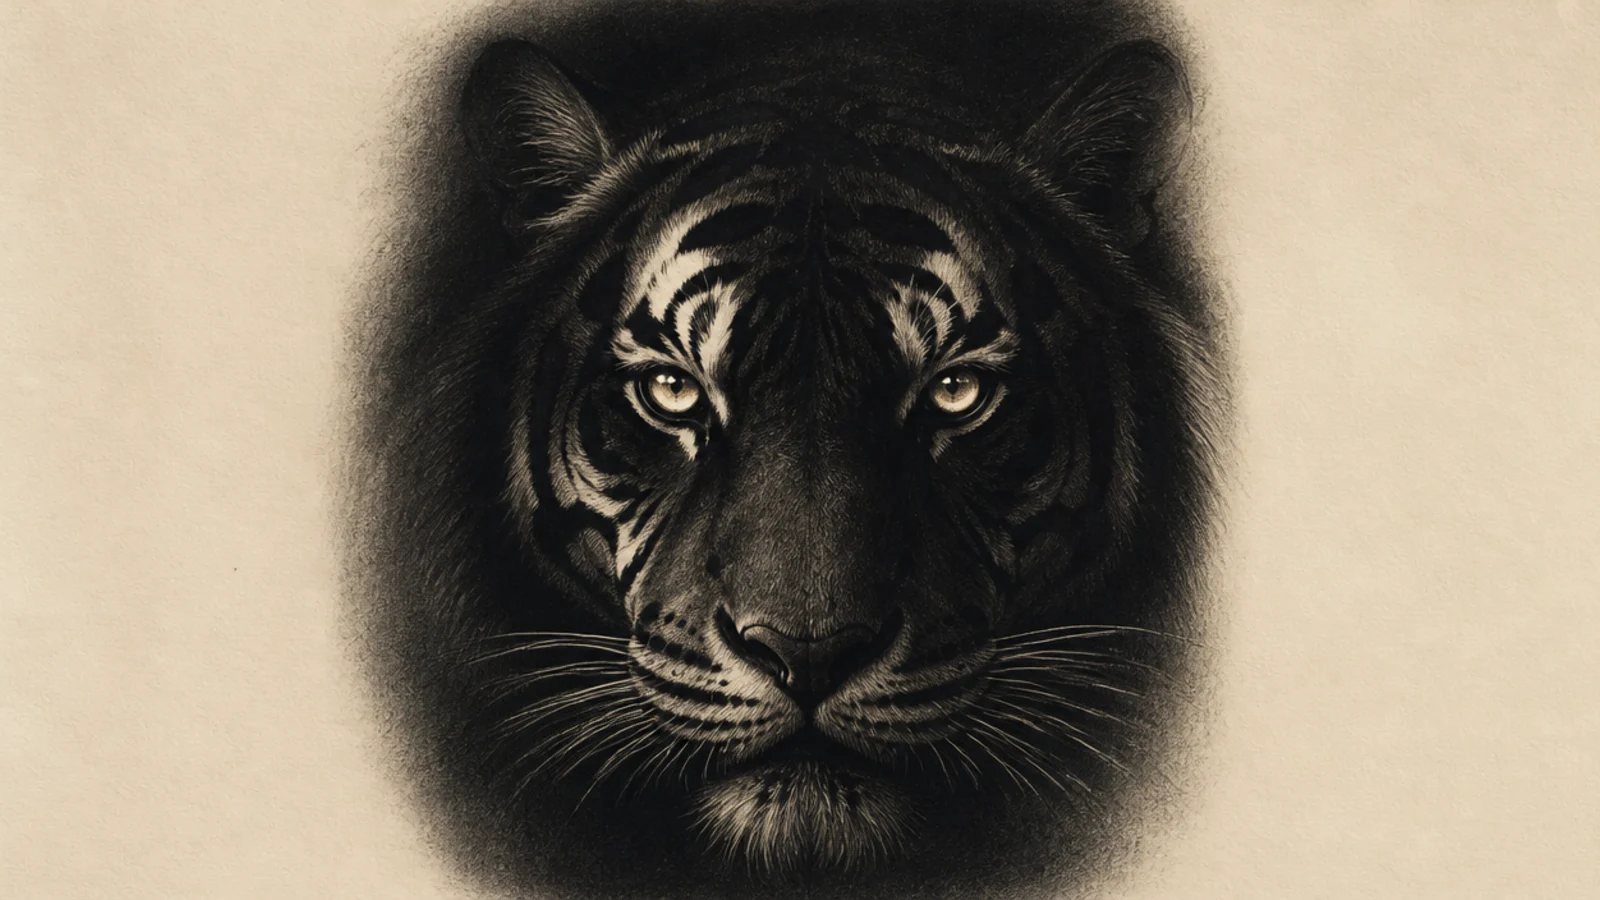
A tiger face in the dark with reflective, glowing eyes is eerie and striking. It teaches high-contrast rendering — a mostly dark face with two lit, mirror-bright eyes.
Step 1 shade the whole face dark with only edge light. Step 2 make the eyes pale and luminous with a bright reflective disc. Step 3 pick out just a few stripe edges catching light.
Pro tipKeep the eyes far brighter than anything else so they seem to glow.
AvoidDon’t render the whole face fully; darkness makes the eyes pop.
17 Old Scarred Warrior Face
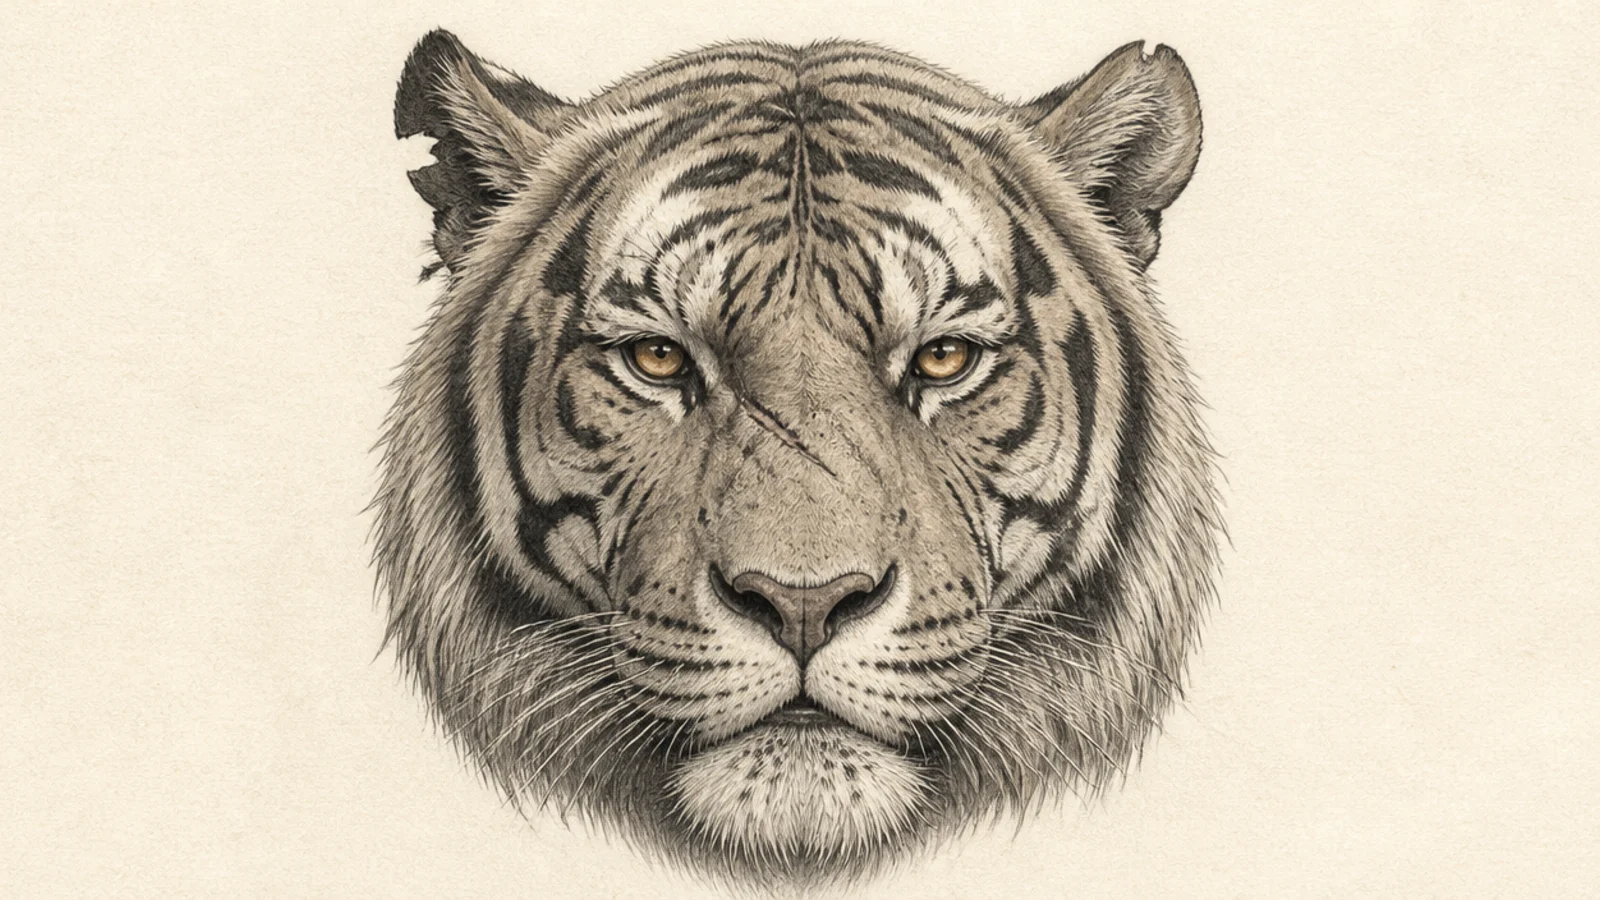
An aged, battle-scarred tiger tells a story in every mark. It teaches character detail — scars, a notched ear, and coarse weathered fur that read as a long life.
Step 1 draw the face a touch gaunter and heavier-browed. Step 2 add a scar across the muzzle, a notch in one ear, and greying cheek fur. Step 3 deepen the eye shadows for a tired, wise gaze.
Pro tipBreak one ear edge and cross a scar over a stripe for a lived-in look.
AvoidDon’t keep the fur pristine; texture and flaws tell the age.
18 Playful Tongue-Out Face
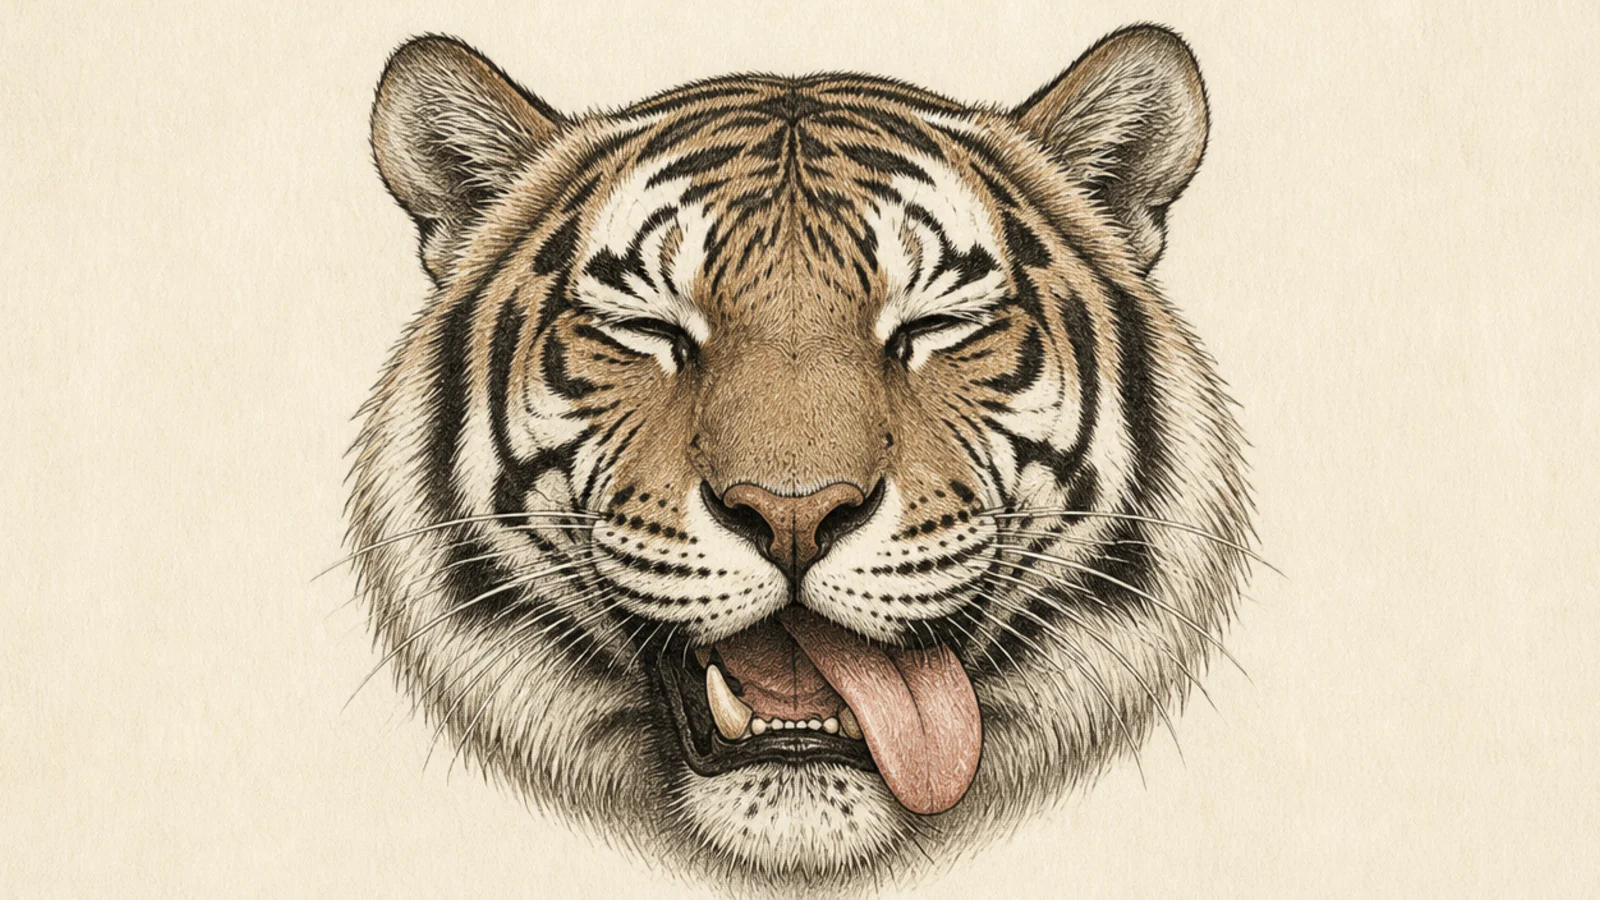
A tiger with its tongue lolling out is unexpectedly goofy and endearing. It teaches a relaxed open mouth without aggression — loose jaw, soft eyes, hanging tongue.
Step 1 draw the calm front face. Step 2 open the mouth softly and hang the tongue out to one side. Step 3 squint the eyes into happy arcs and relax the whole face.
Loll the tongue to one side rather than straight down for a playful feel.
Don’t add fangs or tension; keep it loose and happy.
19 Rim-Lit Sunset Face
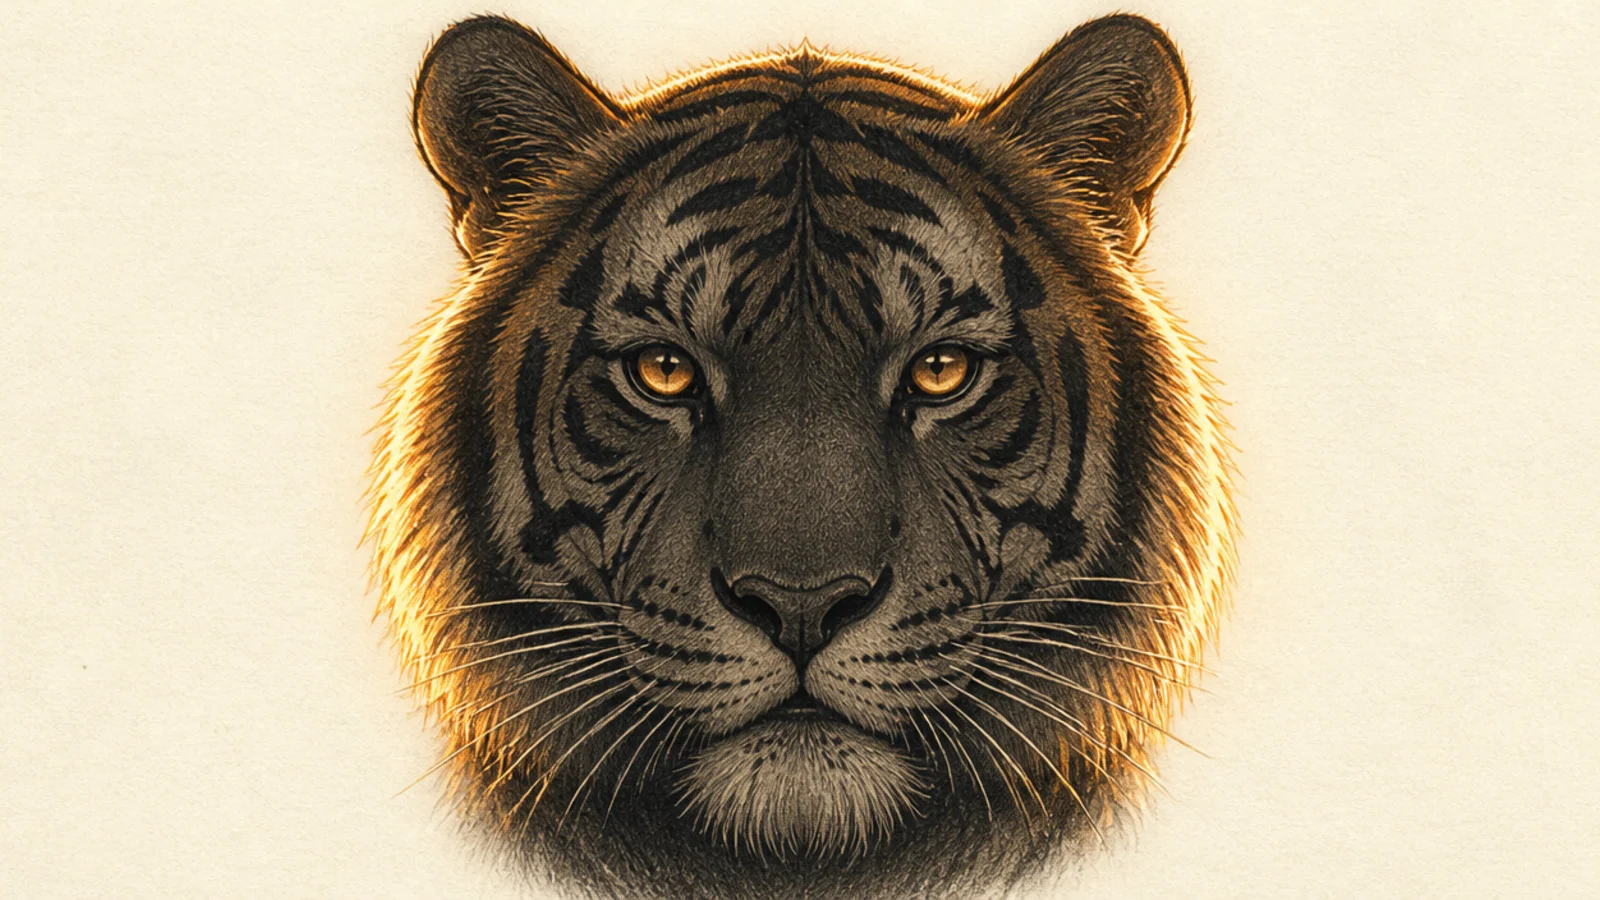
A face backlit by sunset gets a glowing rim of light around its edge. It teaches rim lighting — a bright outline against a shaded face — which looks cinematic and warm.
Step 1 draw the front face and shade the whole thing in shadow. Step 2 trace a bright warm rim along the top of the head, ears, and cheek. Step 3 keep the eyes catching a little of the warm light.
Pro tipRun the bright rim only along edges facing the light, not all around.
AvoidDon’t light the front of the face; the glow lives on the outline.
20 Frost and Ice White Face
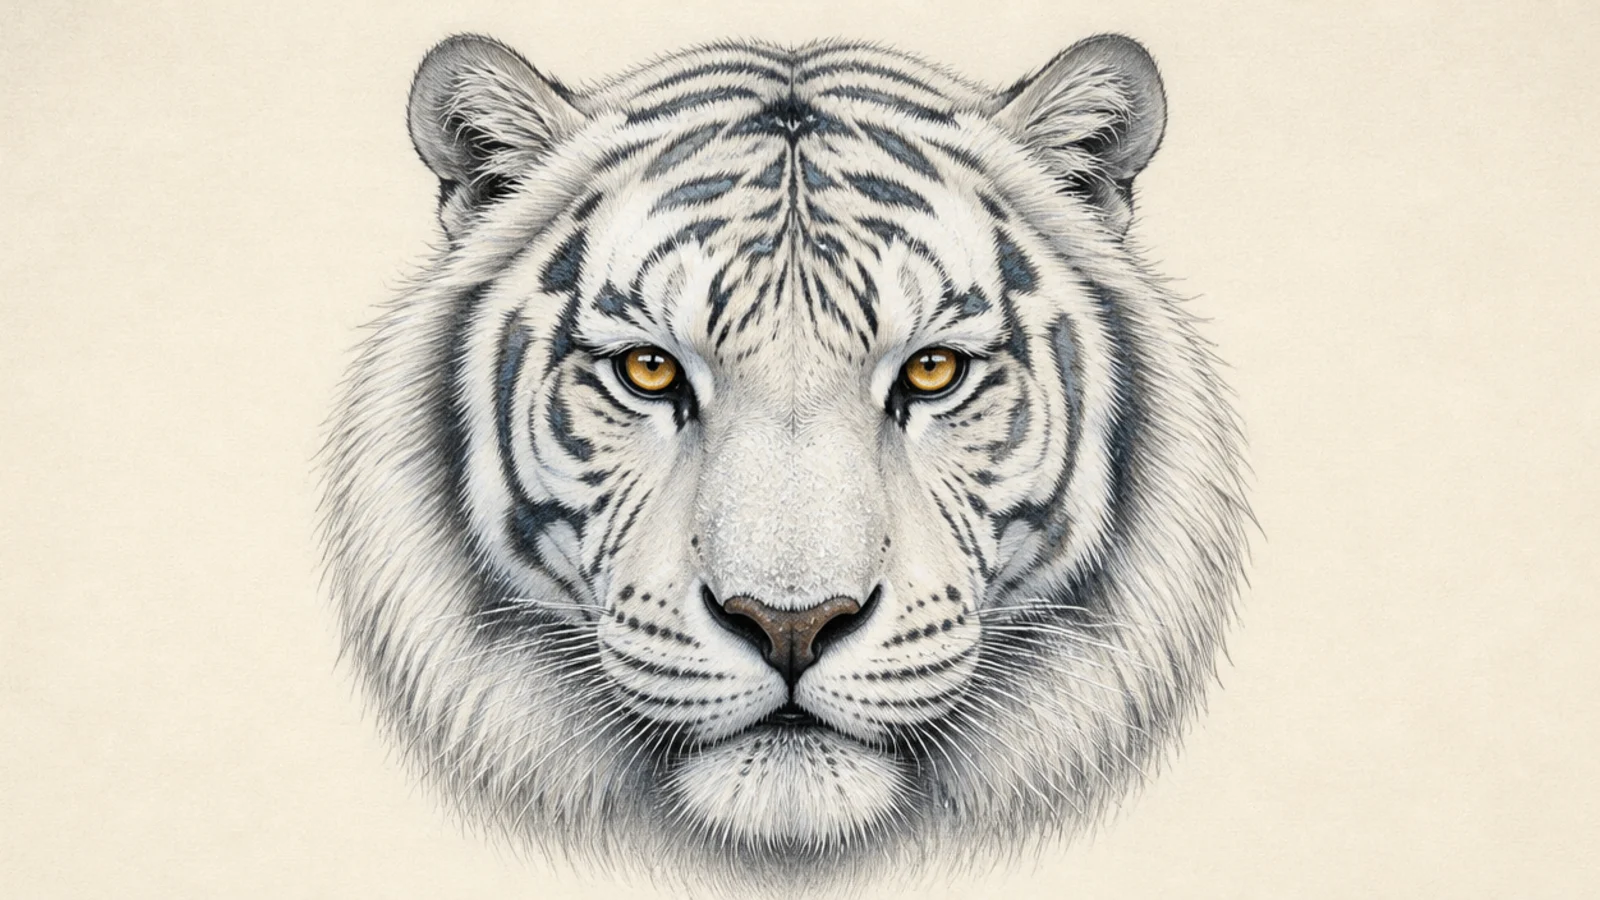
A frosty white tiger face dusted with snow is cool and elegant. It teaches cool-tone rendering — blue-grey shadows, sparkling frost, and crisp white fur.
Step 1 draw the white tiger face. Step 2 shade with cool blue-grey instead of warm tones. Step 3 dust tiny white frost specks on the muzzle and lay grey stripes.
Pro tipPush the shadows blue-grey so the whole face reads cold and frosty.
AvoidDon’t use warm shadows; cool tones sell the frost.
21 Geometric Stylized Face
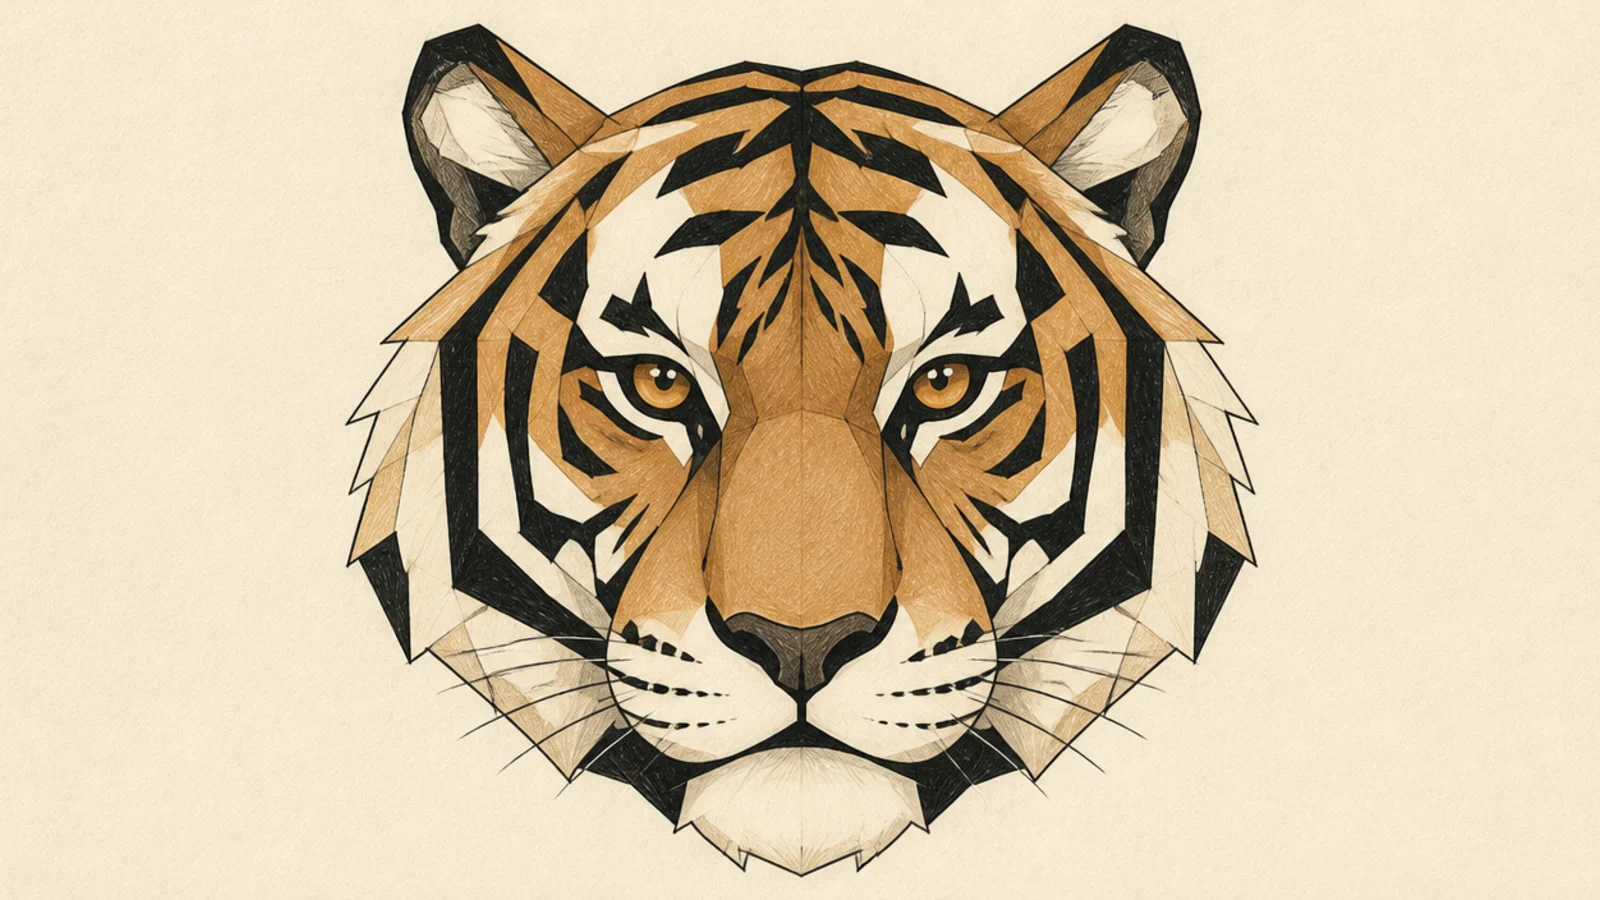
A geometric face breaks the portrait into bold angular planes. It teaches you to simplify a complex head into flat shapes, which sharpens your understanding of its structure.
Step 1 draw the head as connected straight-edged planes. Step 2 turn the eyes, nose, and stripes into angular shapes. Step 3 keep two or three flat tones instead of blended shading.
Simplify every soft curve into a straight edge for the geometric style.
Don’t blend the tones; flat angular shapes define this look.
22 Majestic Portrait Face
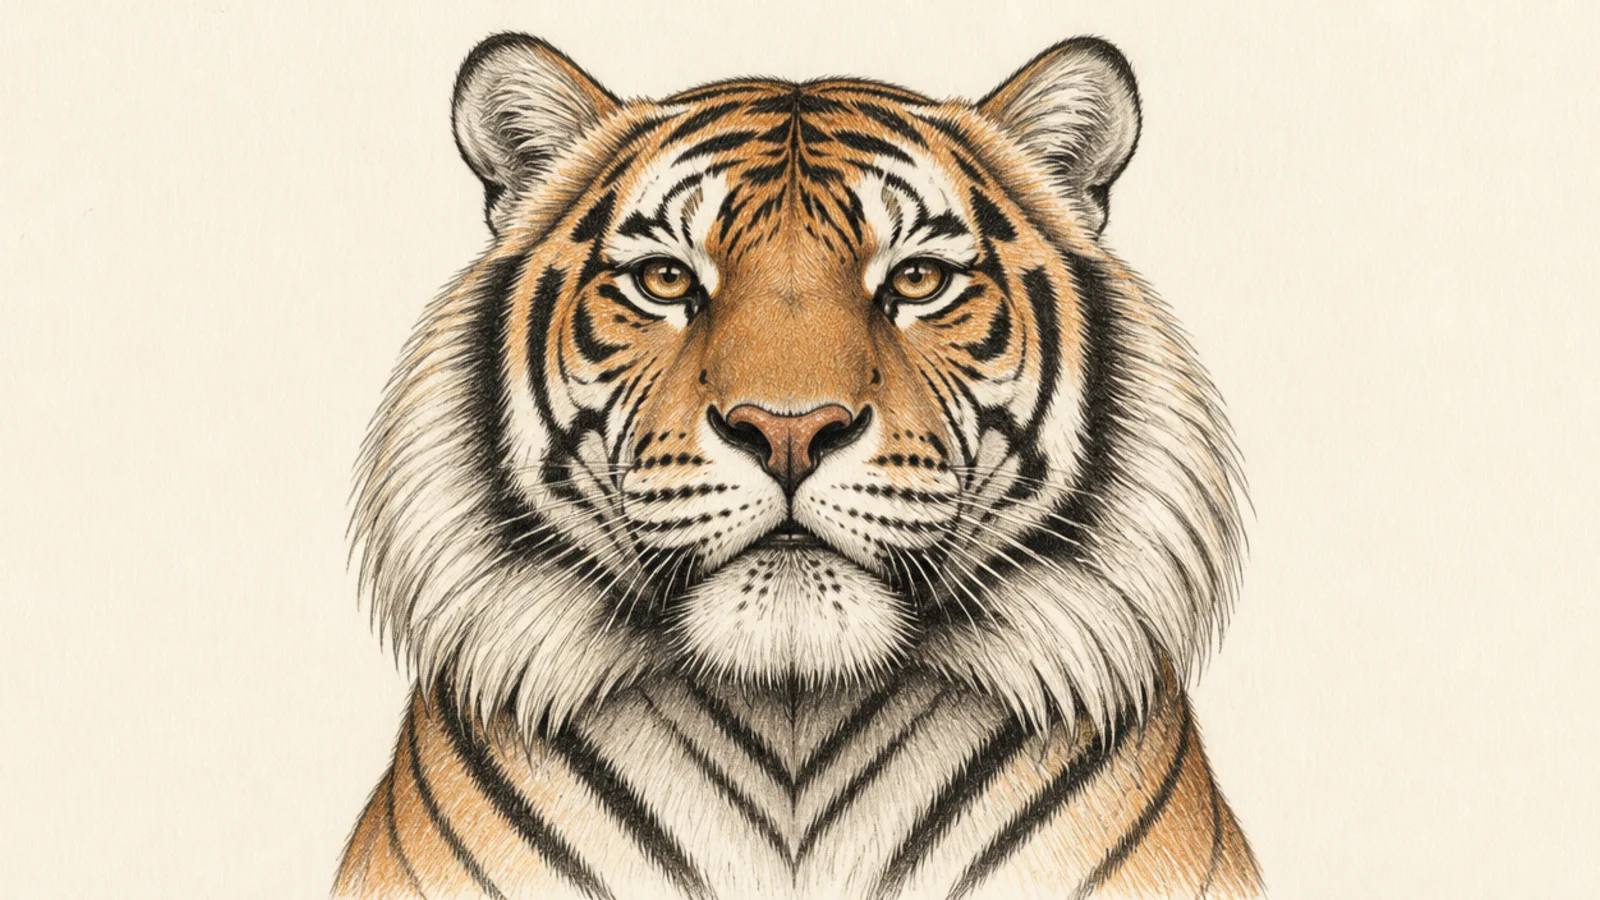
A majestic portrait plays up the full cheek ruff and a proud, level gaze. It teaches how framing fur and a lifted chin give a tiger a regal, commanding presence.
Step 1 draw the balanced face with the chin lifted slightly. Step 2 flare the cheek fur out wide like a ruff. Step 3 keep the eyes level and steady and the stripes clean and symmetrical.
Flare the cheek whiskers and fur wide to frame the face grandly.
Don’t tuck the cheeks in flat; the flared ruff makes it majestic.
23 Realistic Fur Detail Study
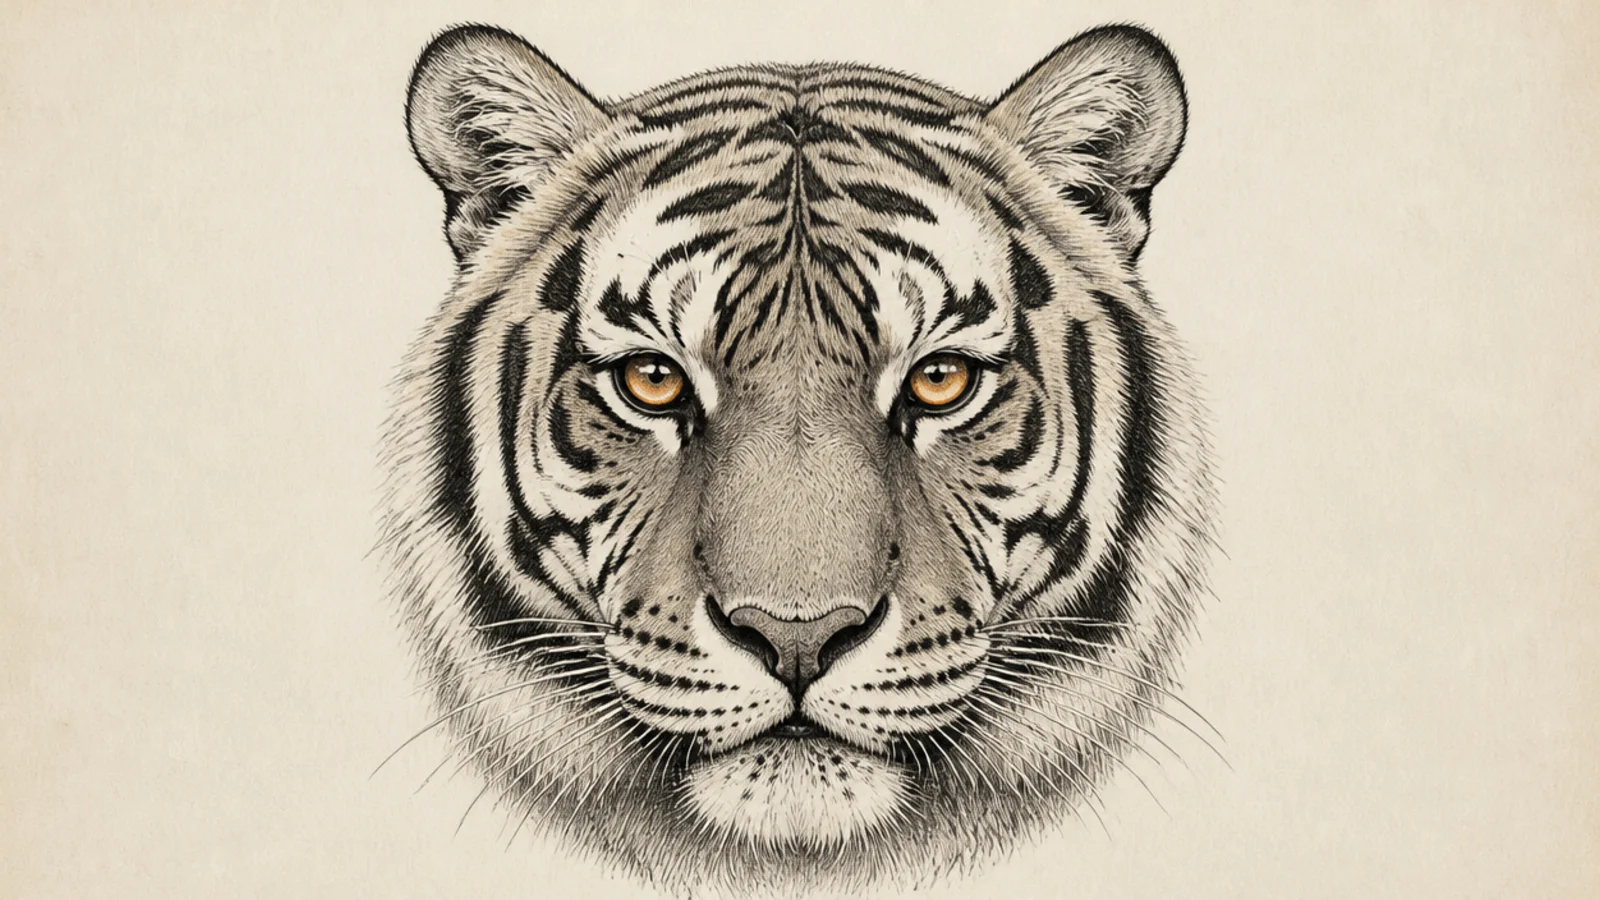
A realistic study renders the face stroke by stroke in fine fur detail. It teaches patient layering — short directional strokes that build soft, believable fur and value.
Step 1 map the face structure and stripe placement lightly. Step 2 layer short strokes in the fur’s growth direction, dark to light. Step 3 sharpen the eyes, nose, and whiskers as the final crisp details.
Pro tipAlways stroke in the direction the fur grows for realistic texture.
AvoidDon’t outline then fill; build the whole face from directional strokes.
24 Face and Water Reflection
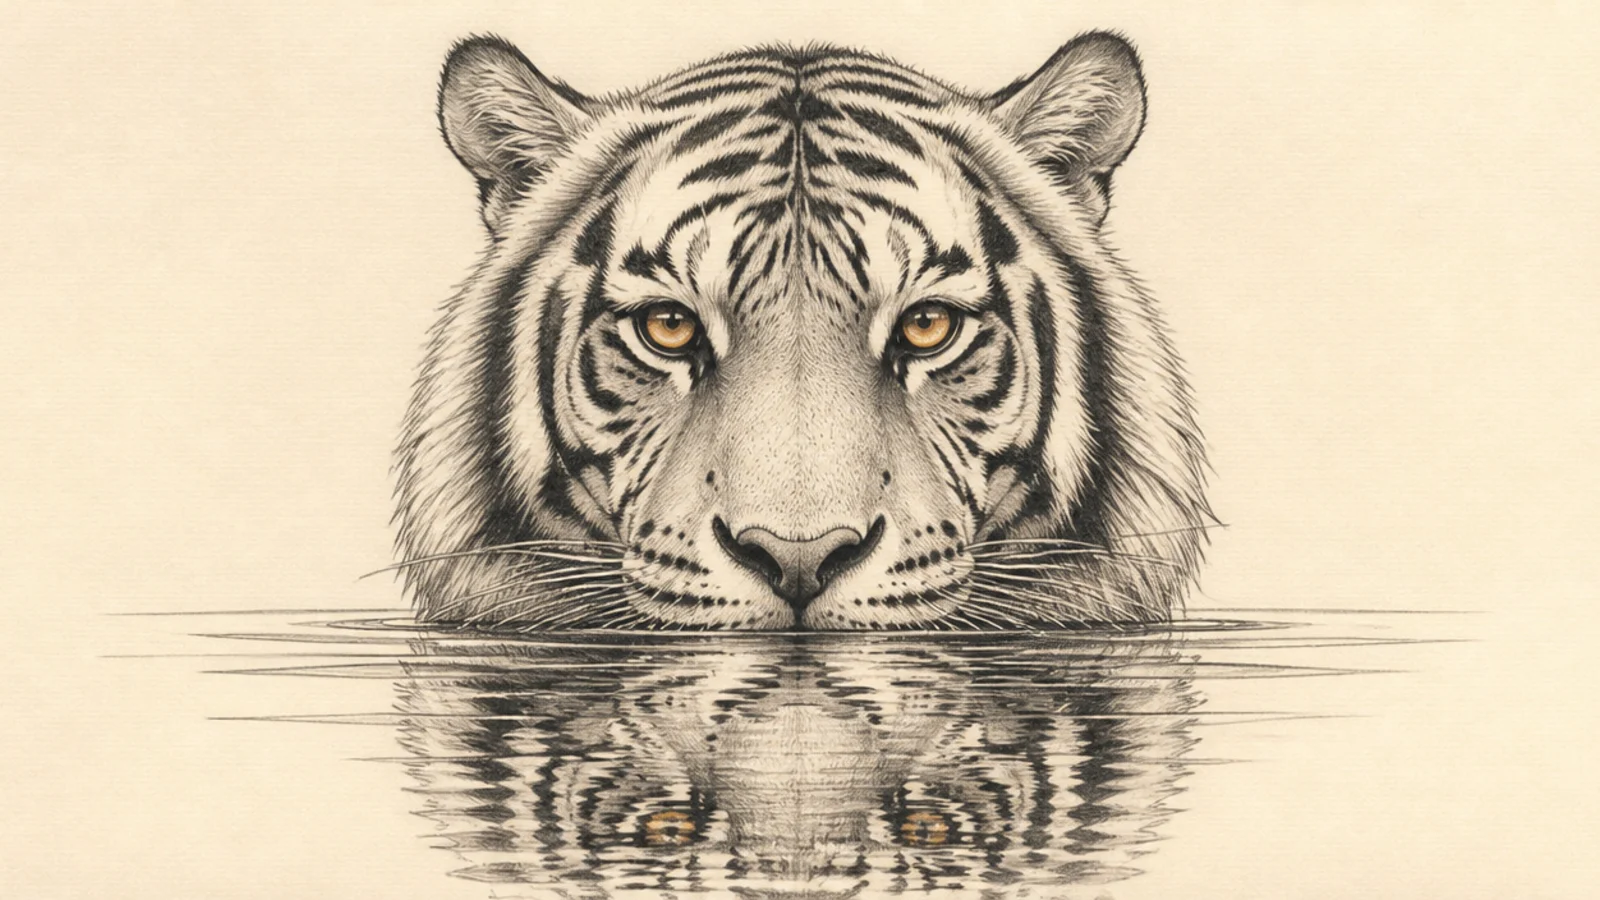
A tiger face mirrored in water doubles the portrait with a rippled twin. It teaches reflection — a softened, broken copy below a waterline that adds mood and depth.
Step 1 draw the face in the top half above a horizontal waterline. Step 2 mirror it below, softer and slightly stretched. Step 3 break the reflection with a few horizontal ripple lines.
Pro tipBlur and ripple the lower reflection so it reads as water, not a copy.
AvoidDon’t make the reflection crisp; soften and ripple it to read as water.
25 Dramatic Low-Angle Face
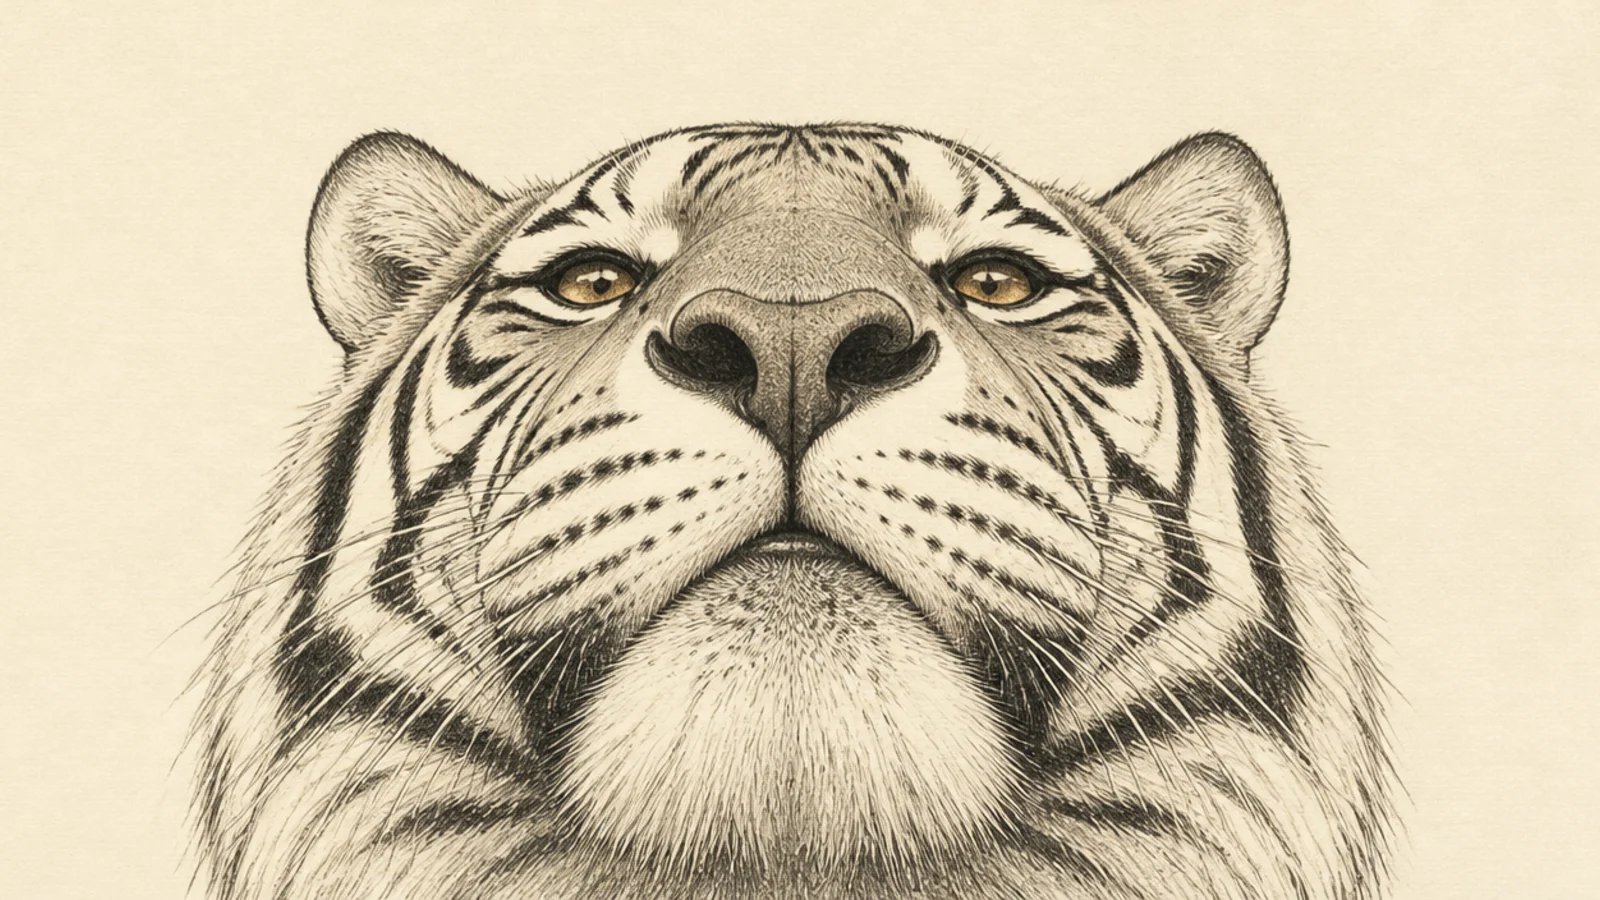
A face seen from below looking down is imposing and powerful, the perfect closer. It teaches an unusual angle — the underside of the jaw forward, the eyes hooded from above.
Step 1 draw the head tipped down toward you, jaw and chin nearest. Step 2 foreshorten the muzzle large and the forehead small. Step 3 hood the eyes under the brow and sweep stripes up and back.
Pro tipPush the chin and lower muzzle largest since they are closest to you.
AvoidDon’t draw it flat-on; the low angle needs foreshortening to work.



