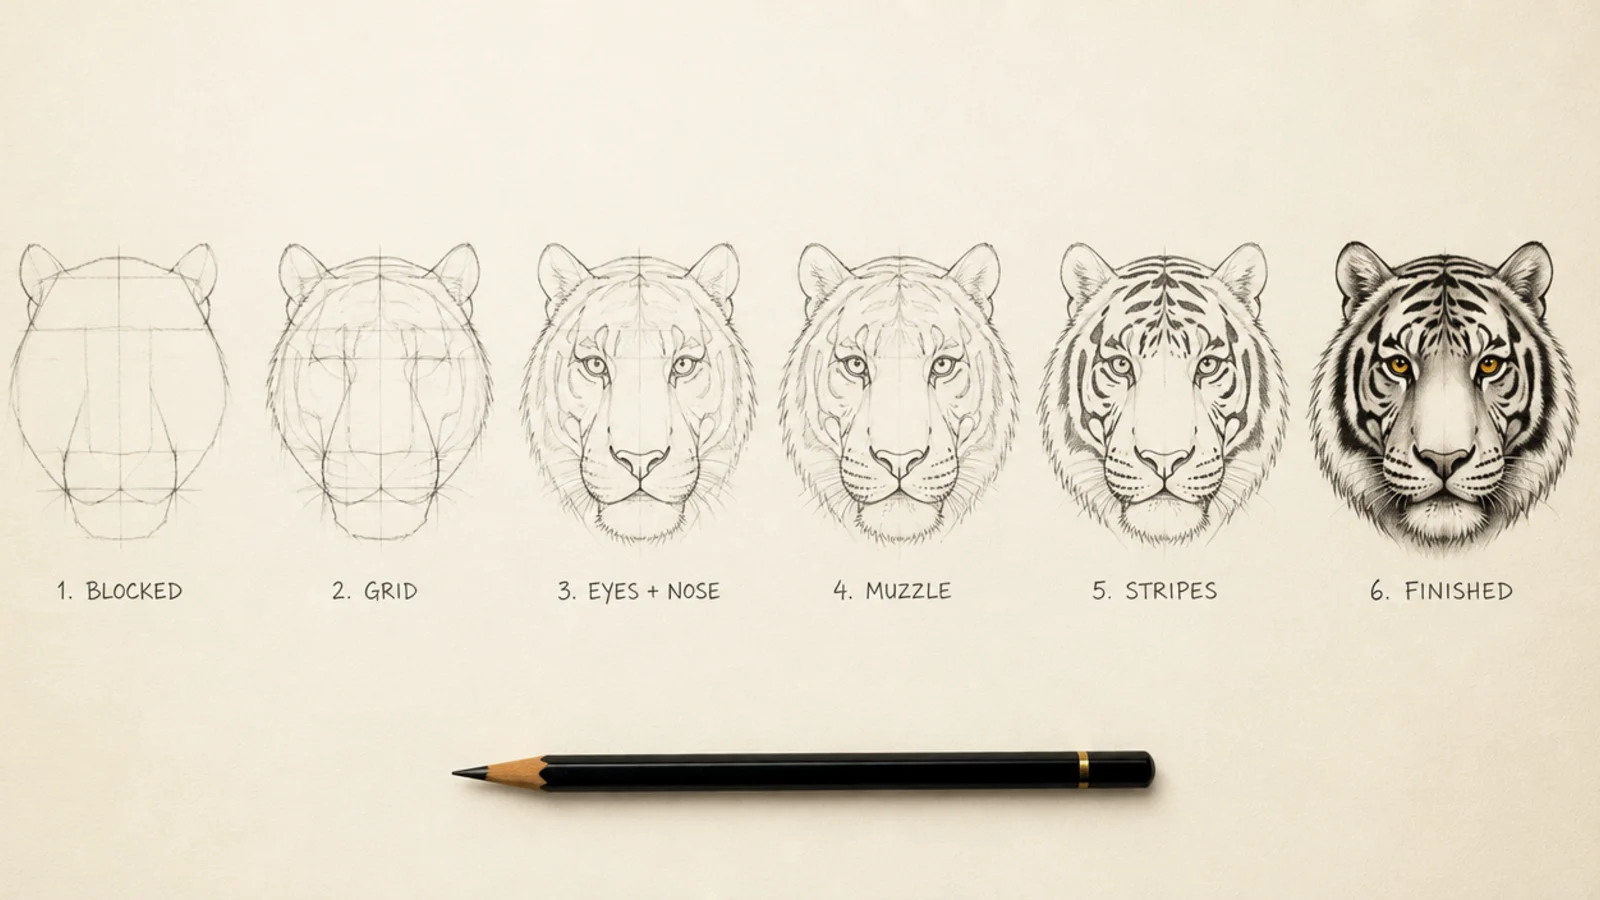
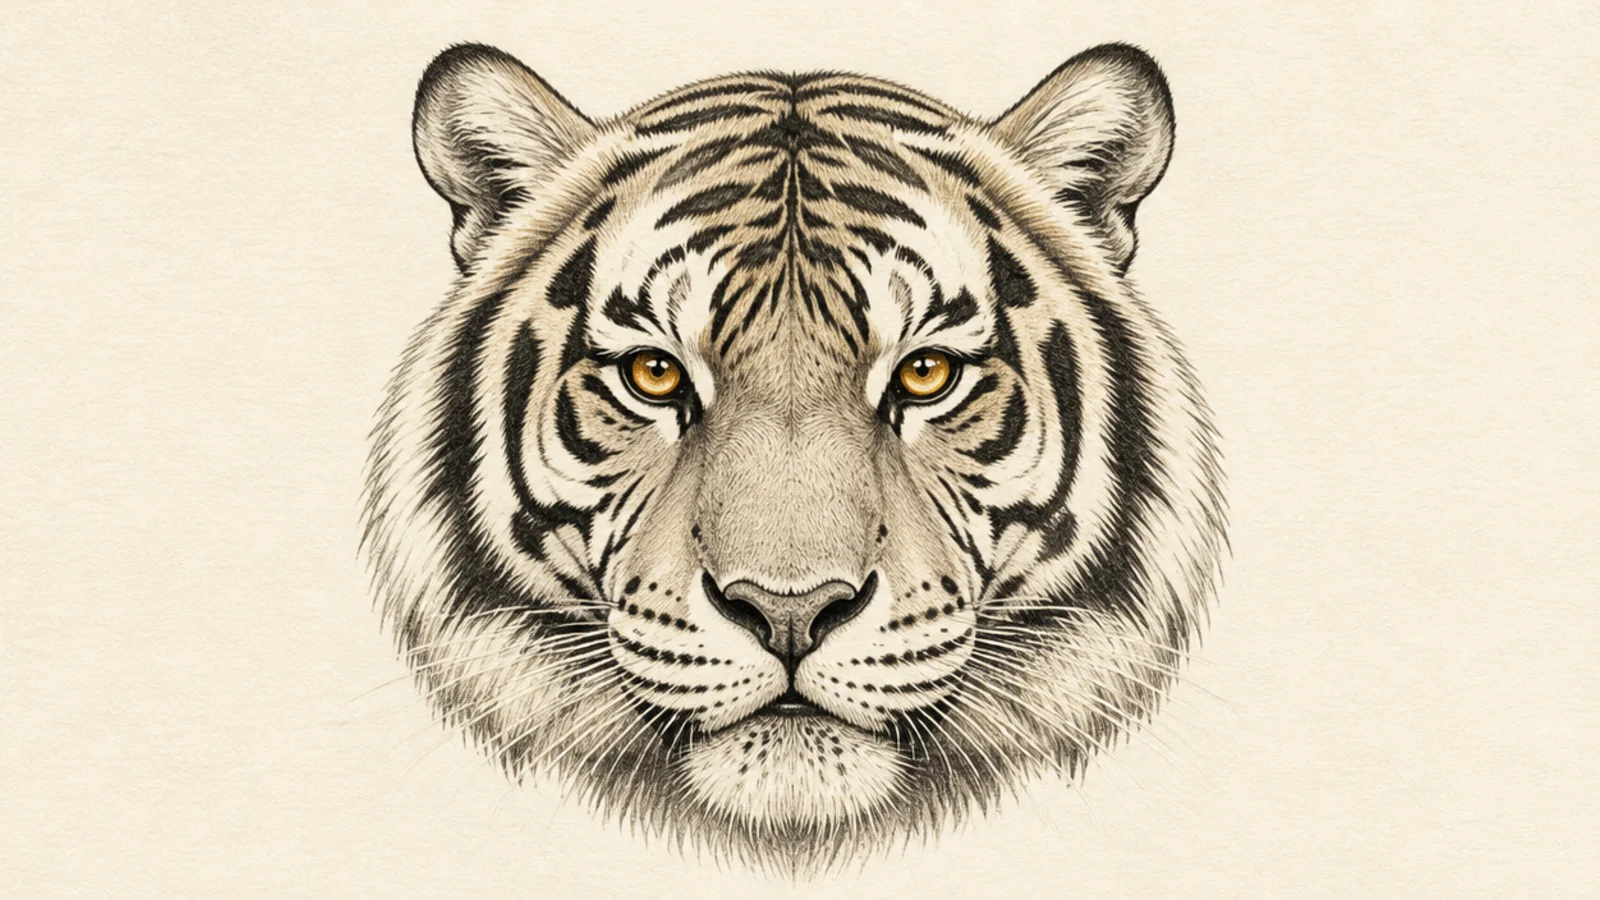
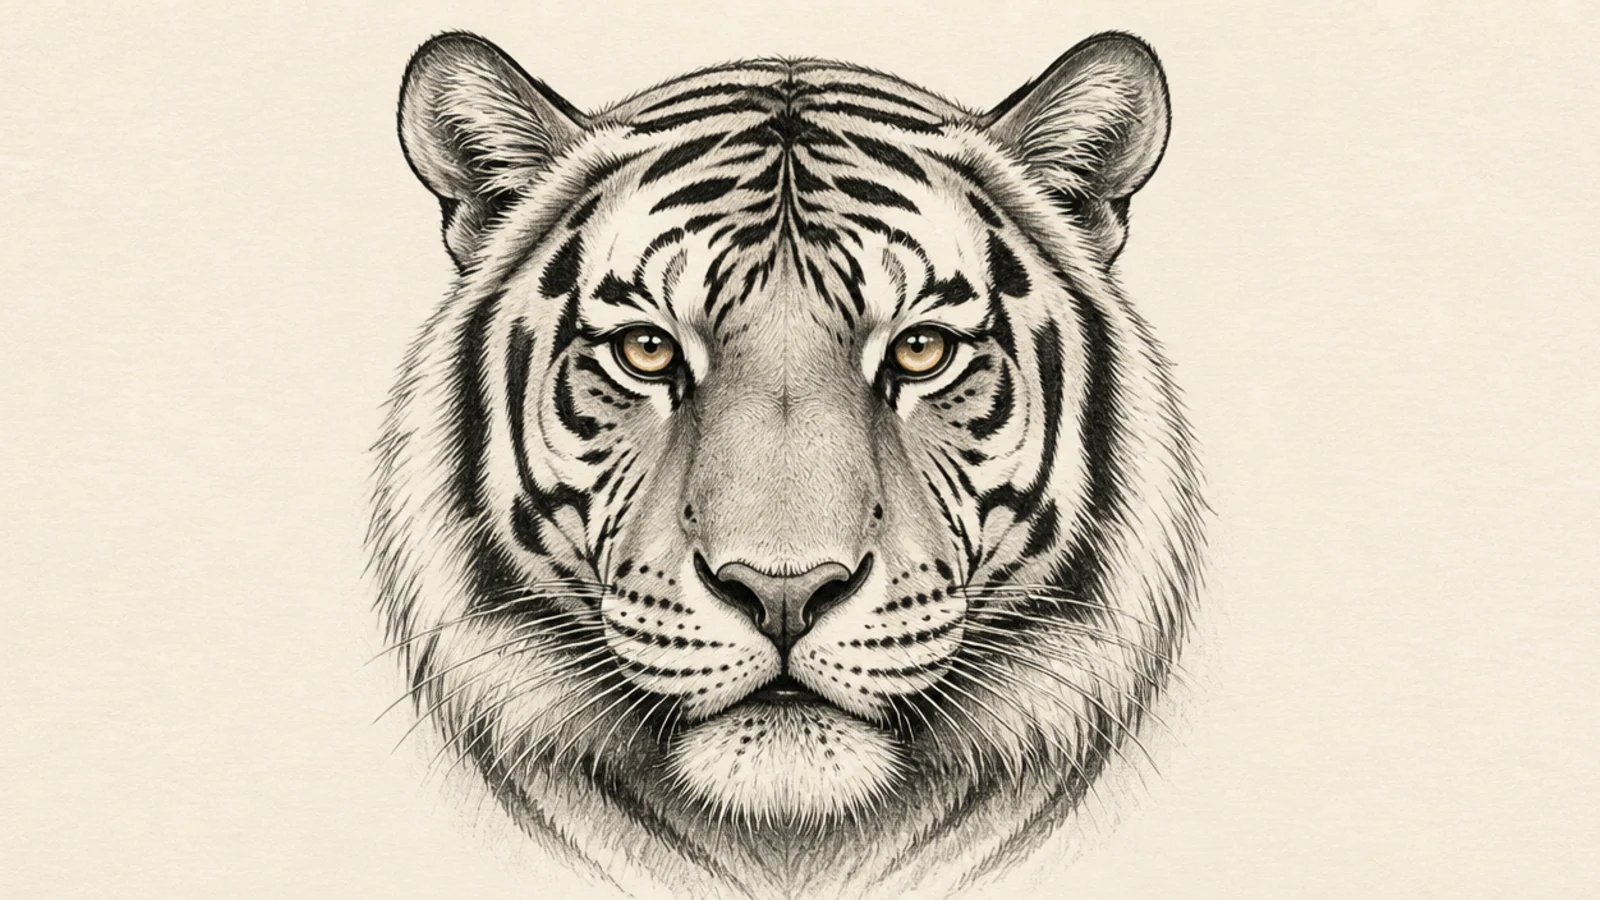
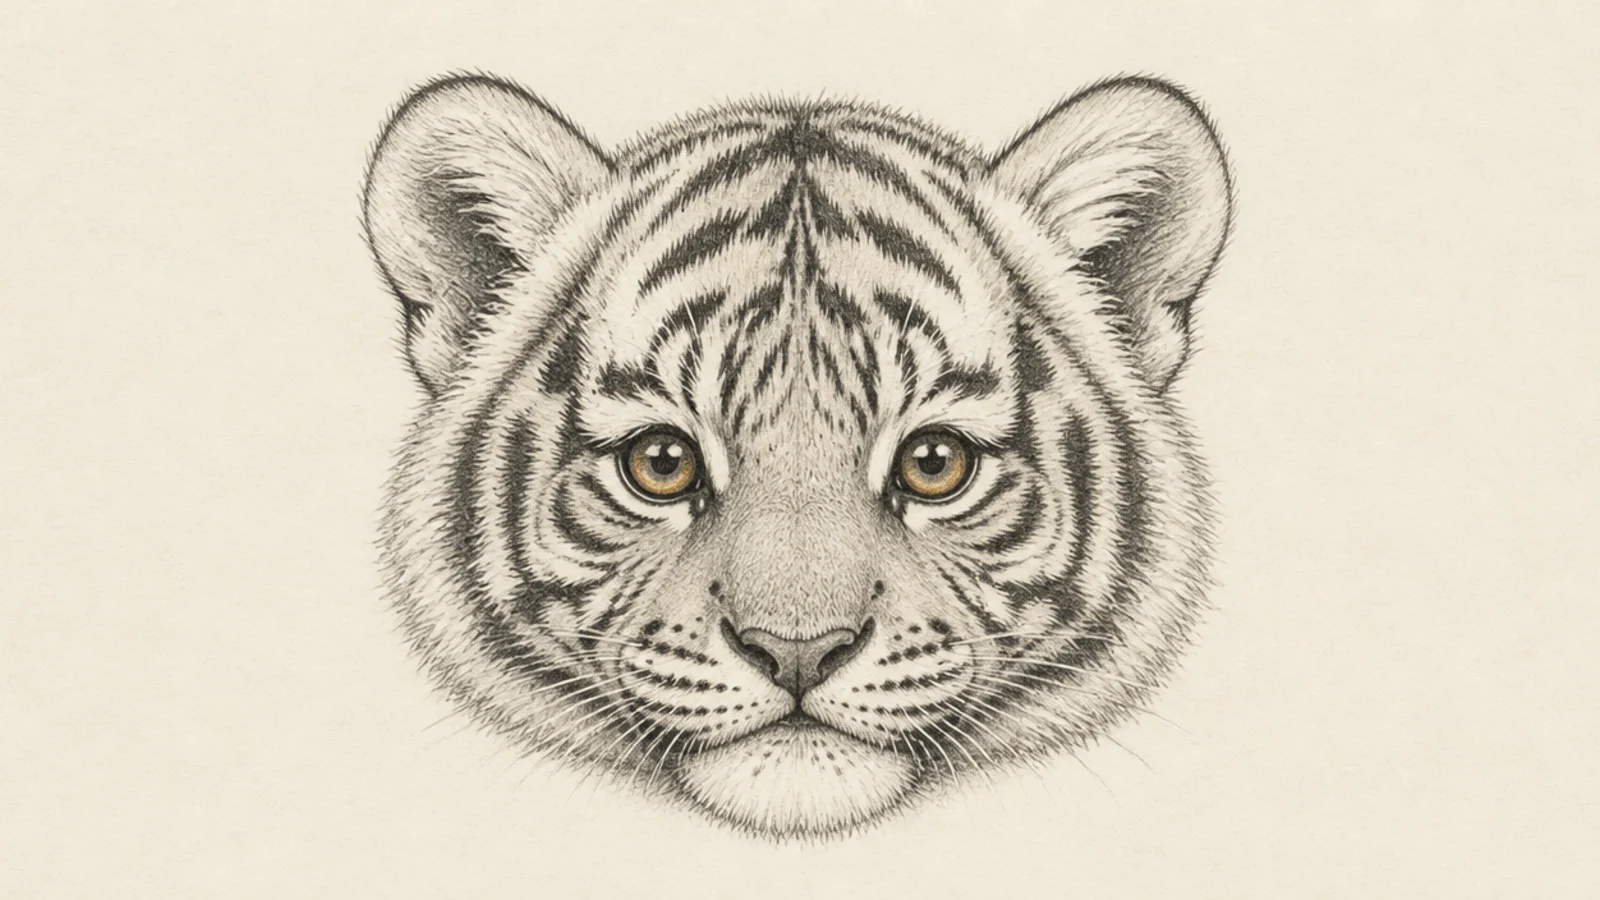
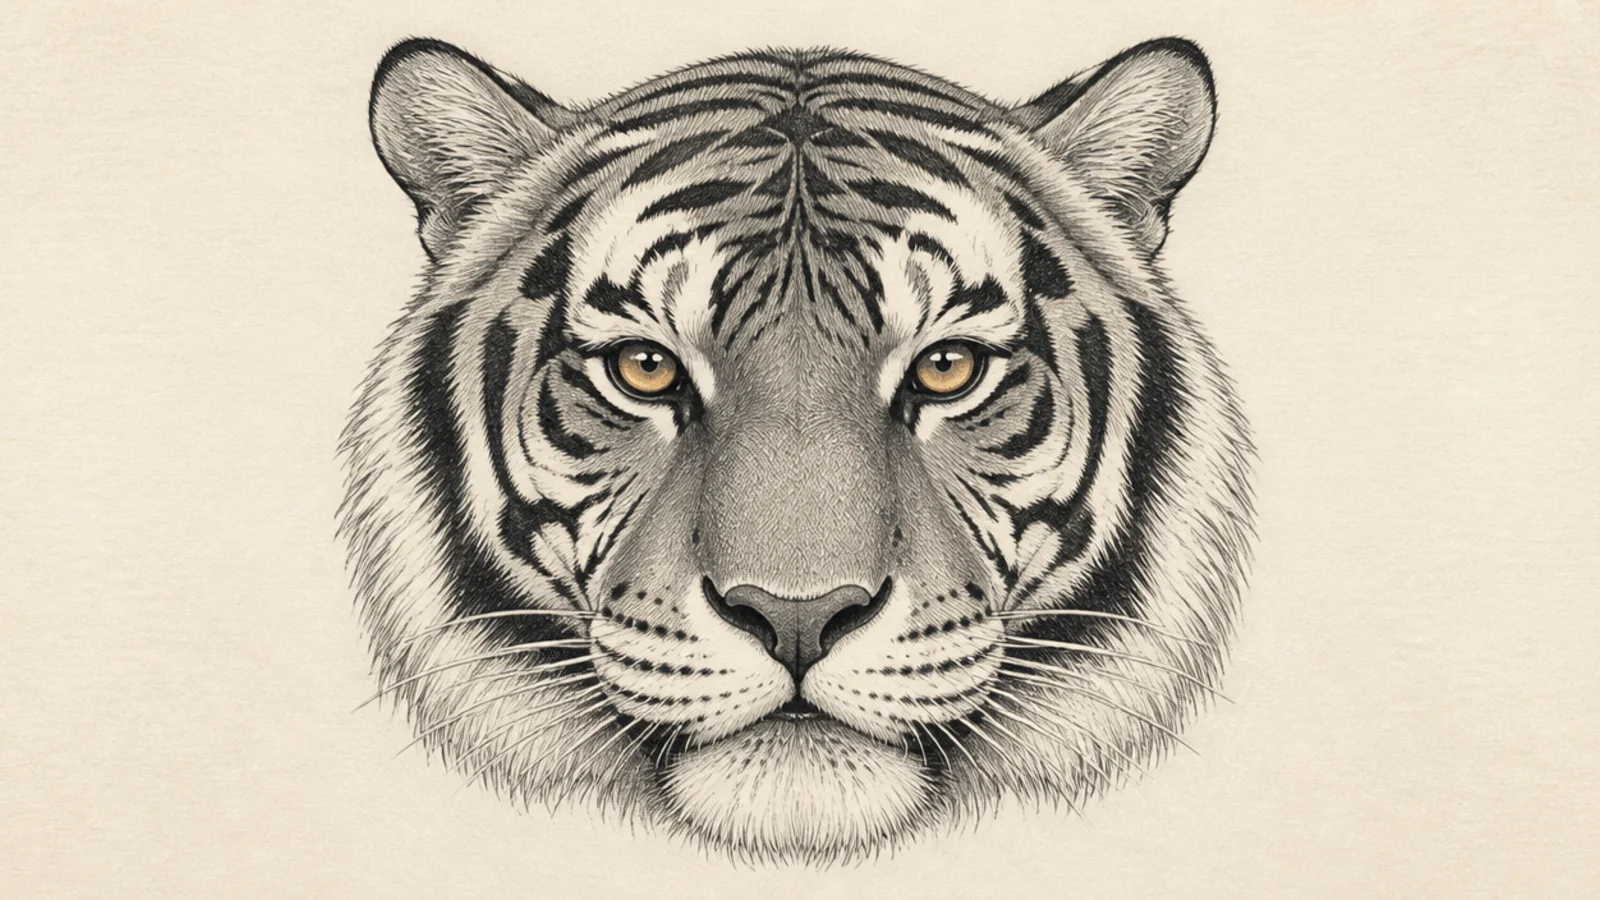
Drawing a tiger head is far easier than it looks once you follow the right order. Work from the big shapes to the small details — block the head, add a symmetry grid, place the features, then stripes and shading last. That sequence keeps you from fussing over eyes or stripes before the structure is set. This guide walks you through 6 simple steps that build a bold front-facing tiger head, plus a few bonus variations to try once you have the basic head down.
The single most important rule for a tiger head is to build symmetry before detail. Start with a rounded head shape and a light grid — a vertical center line and a horizontal eye line — so both eyes, both cheeks, and every stripe can be matched across the center. If you place features by eye without the grid, one side almost always drifts and the head looks off.
Before you start, keep your tools simple — one pencil for construction, a slightly softer one for the darks, and an eraser to clean the grid at the end. Have a reference nearby for the stripe pattern and the eye shape, and keep your lines light early so you can adjust the structure before committing.
These six steps take you from a blank page to a finished tiger head, and the bonus variations after show how to adapt the same method for a snarl, a three-quarter turn, a cub, and more. Follow the steps once as written, then make the head your own.
Step by step
Block the head shape. Lightly draw a rounded shape for the head, a little wider than it is tall since a tiger’s face is broad. Add two rounded ears near the top corners. Keep the line loose and light — you are just setting the overall size and the broad, full-cheeked proportion. Don’t worry about any features yet; you want a clean, correctly shaped base to build on.
Add the symmetry grid. Draw a light vertical center line straight down the middle of the head and a horizontal eye line across the upper-middle. These two guides are the backbone of a balanced tiger head. Because the face is nearly symmetrical from the front, the grid lets you match both eyes, both cheeks, and every stripe. Keep these lines faint so they erase cleanly later.
Place the eyes and nose. On the eye line, draw two almond eyes set high and wide apart with a slight downward tilt at the outer corners. Give each a round iris and a big pupil. Then, down the center line, draw the nose as a soft downward triangle and mark where the wide muzzle begins. Check that both eyes sit at the same height and are the same size before moving on.
Draw the muzzle and mouth. Below the nose, draw the wide muzzle as two soft rounded pads with the classic W-shaped mouth line beneath them. Add the cream chin and a few whisker dots on the muzzle pads. Keep the muzzle low and broad like a big cat, not narrow like a dog. This wide muzzle is a big part of what makes the head read unmistakably as a tiger.
Add the stripes. Flow the stripes outward from the center line — sweeping up and back over the brow, fanning across the cheeks, and curving around the muzzle. Make them thicker where they start near the center and taper each to a point at the edges. Mirror every stripe across the center line so both sides match. Keep them bold and a little irregular rather than many thin, even marks.
Shade and finish. Erase the grid, then shade to round the head. Darken the eye sockets, the sides of the muzzle, under the chin, and inside the ears, keeping the top of the head and nose bridge lighter. Deepen the stripes and the nose, add a bright highlight in each eye, and stroke short fur marks along the edges. This final light-and-dark pass lifts the flat head into one with real form.
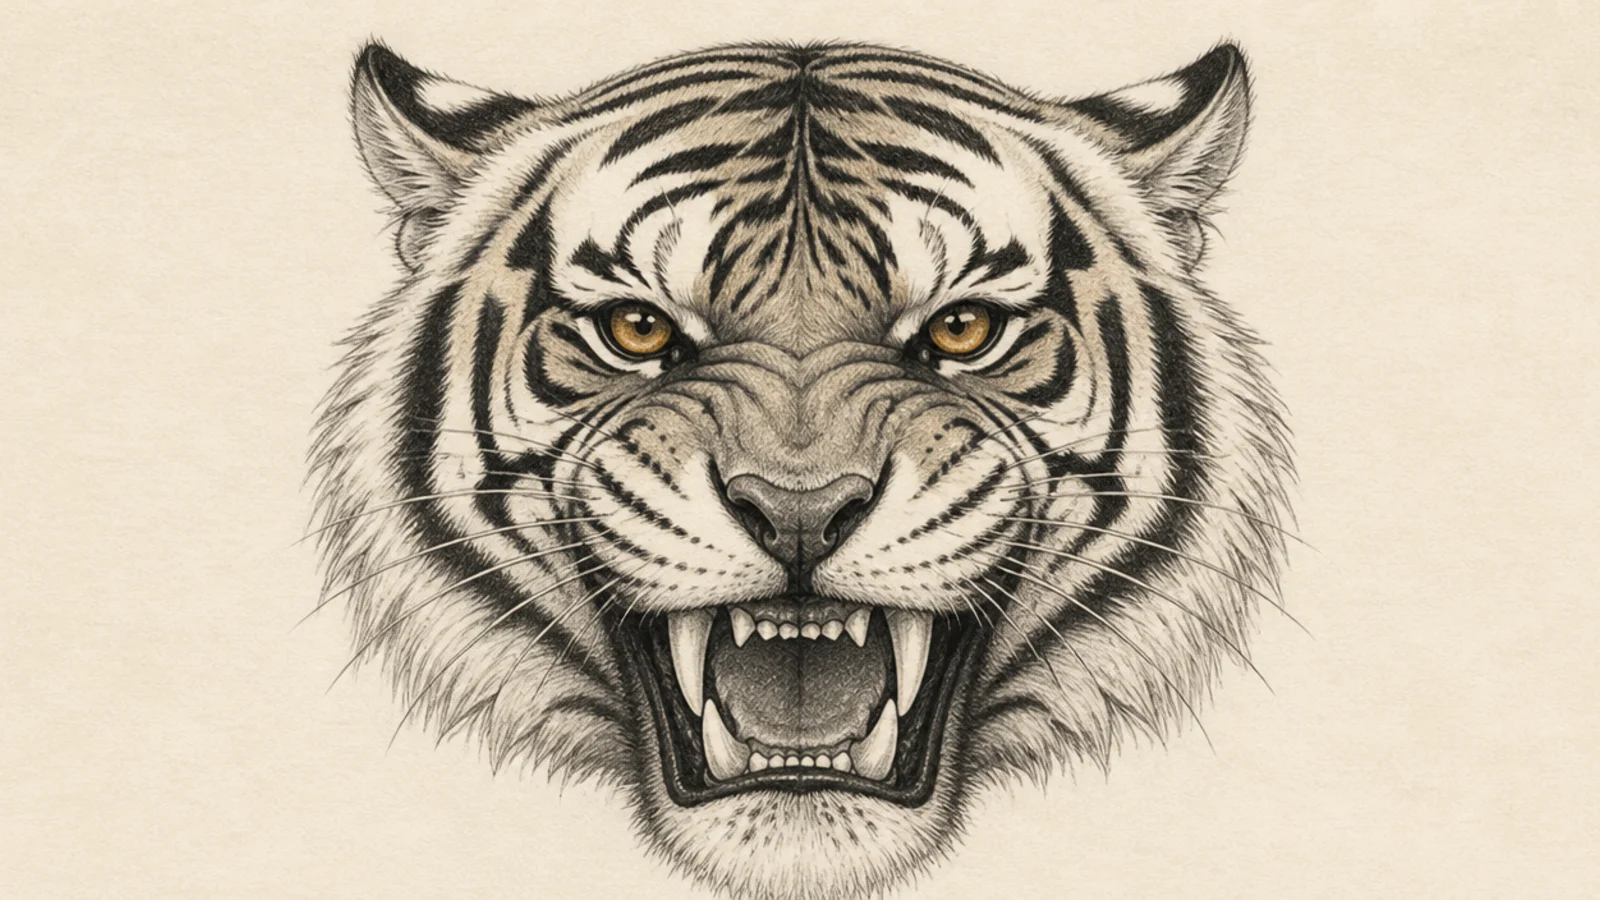
The same method with an aggressive expression — bared fangs and a wrinkled muzzle. It shows how the head structure holds up when the face compresses into a snarl.
Follow all six steps, then open the mouth, add curled lips and two top fangs, and crumple wrinkle lines up the nose. Narrow the eyes to match.
Pro tipStack a few short wrinkles on the nose bridge to sell the snarl.
AvoidDon’t keep the eyes wide and calm; narrow them for aggression.
The head seen in full side profile, which the front method sets you up for. It teaches the muzzle-to-brow silhouette and a single eye.
Draw the profile outline — forehead, nose dip, muzzle, and jaw — place one almond eye, and set a rounded ear back on the skull. Flow stripes back along the cheek.
Get the gentle dip between forehead and nose right; it defines the profile.
Don’t draw a straight snout; the slight brow-to-nose dip is key.
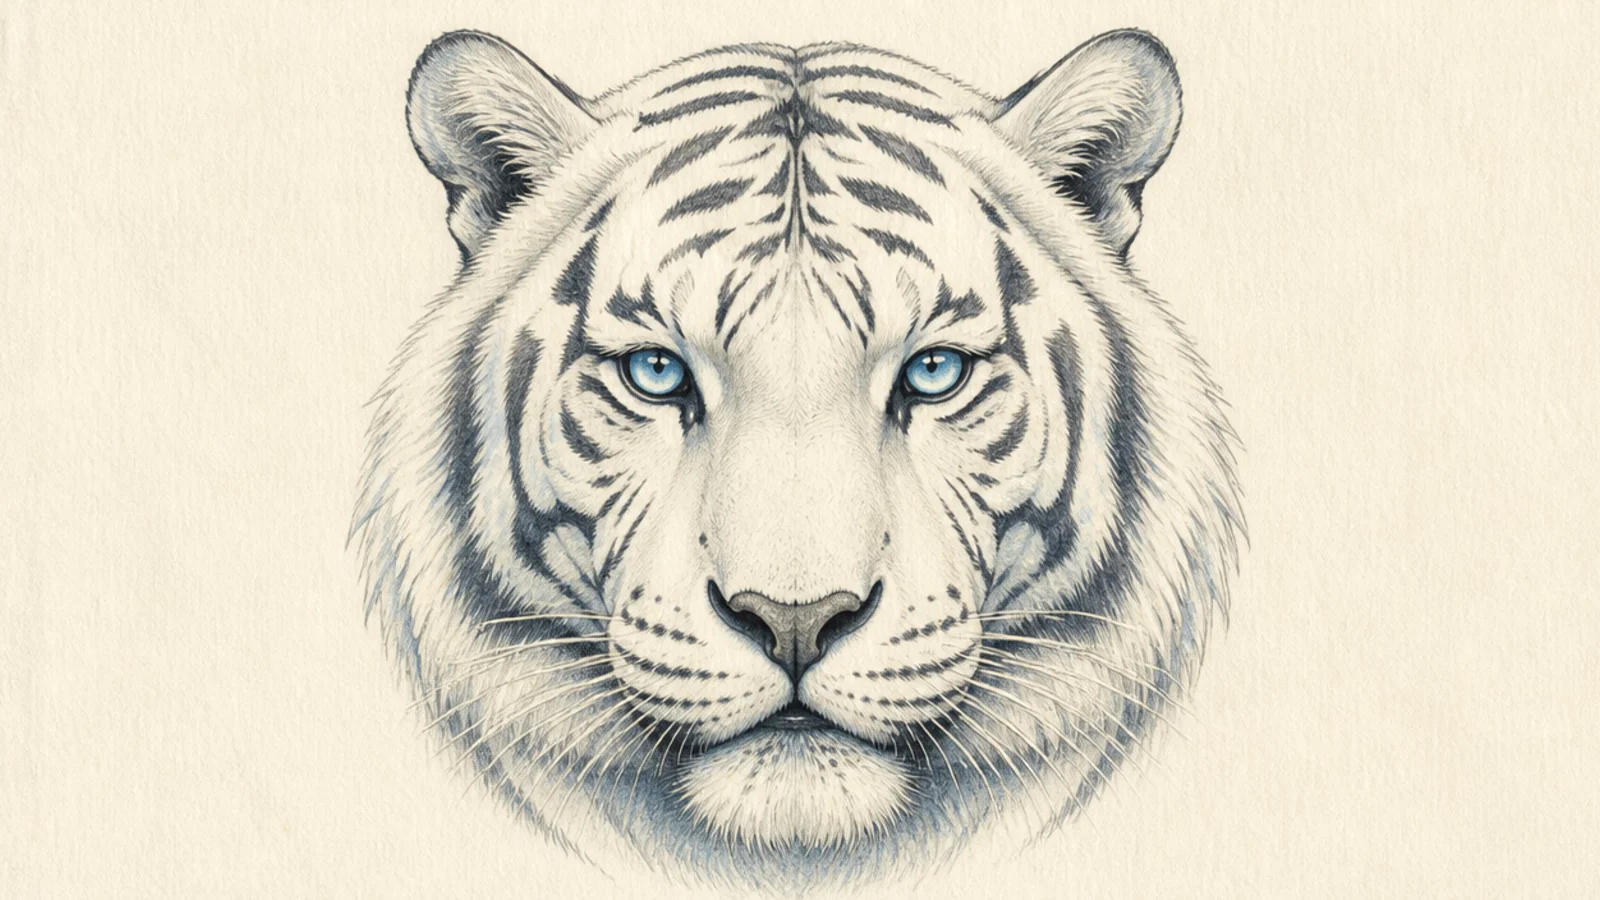
The same head as a white tiger, shaped by cool shadow instead of orange. It teaches modeling a pale coat where shadow, not color, gives form.
Follow the steps but keep the fur white, shade the shadows cool grey, lay charcoal stripes, and color the eyes icy blue with a strong highlight.
Pro tipUse cool blue-grey shadow so the white fur reads crisp and icy.
AvoidDon’t leave the white fur flat; gentle cool shadow gives it form.
Quick answers
How do you draw a tiger head step by step?
Start with a rounded head shape, add a symmetry grid of a center line and eye line, then place the eyes, nose, muzzle, and ears on the grid. Flow the stripes outward from the center line and finish with shading to round the head. Building the grid and structure before the details is what keeps both sides balanced and the head looking right.
How do I keep a tiger head symmetrical?
Draw a light vertical center line down the face and a horizontal eye line across, then mirror every feature and stripe on both sides of the center. Place the two eyes at the same height on the eye line and match each cheek stripe left and right. The grid is what prevents one eye drifting higher or one side coming out wider.
Where do the eyes go on a tiger head?
On the horizontal eye line, set high and wide apart with a slight downward tilt at the outer corners. Tiger eyes sit fairly high on the face, which reads as alert and focused. Space them about one eye-width apart and give each a round amber iris with a bright highlight so the head comes alive.
How do I shade a tiger head so it looks round?
After the line work, shade the eye sockets, the sides of the muzzle, under the chin, and inside the ears with soft graded pencil. Those shadows turn a flat outline into a rounded head with real form. Keep the top of the head and the bridge of the nose lighter where the light hits, and build the shading gradually rather than pressing dark at once.