
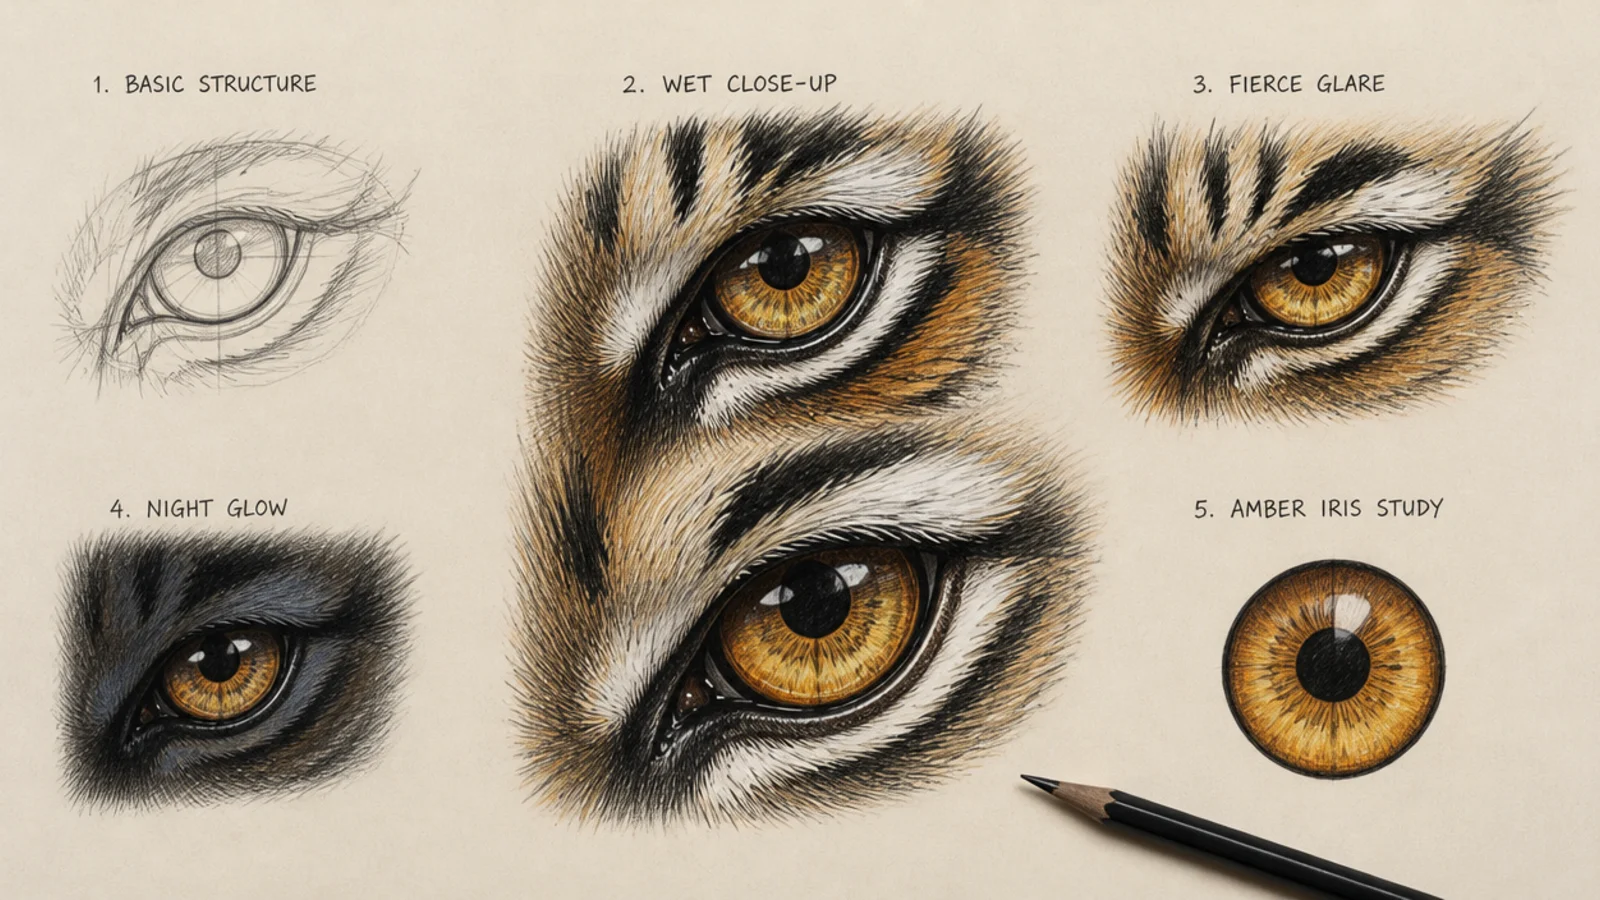
1 Basic Tiger Eye Structure
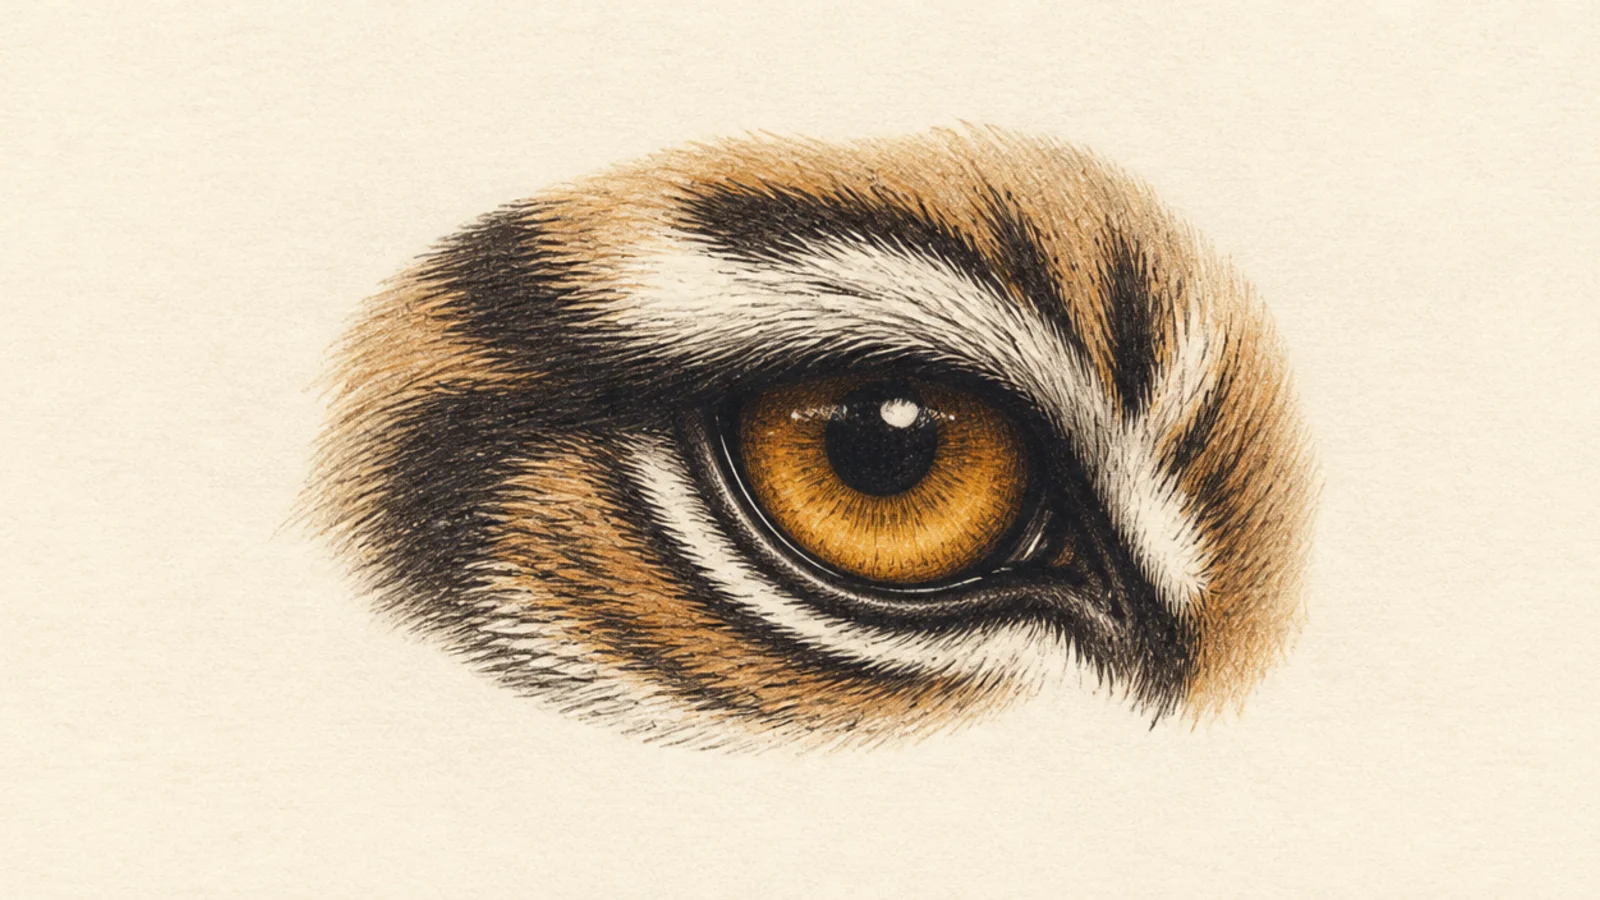
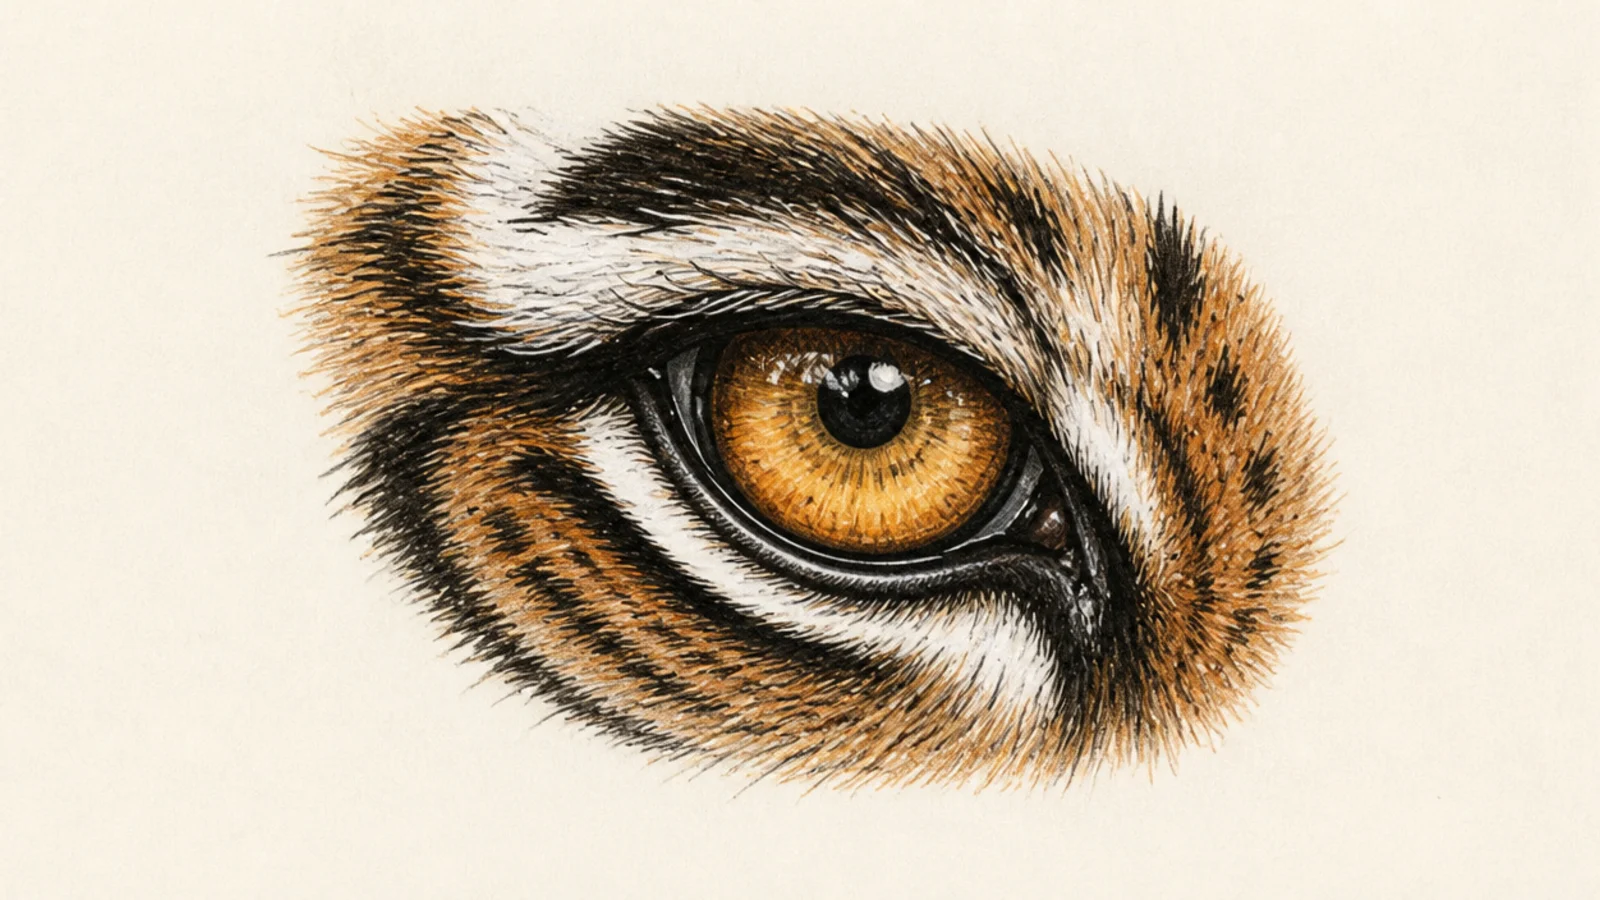
This is the foundation study and the base for the whole list — one clean tiger eye built correctly. It teaches the iris layers, dark rim, and single highlight everything else relies on.
Step 1 draw an almond eye with a downward outer tilt. Step 2 add a round iris and big pupil, layering amber to dark. Step 3 darken the rim, leave one highlight, and shade the brow above.
Place the single highlight where the upper lid meets the iris.
Don’t flatten the iris one tone; layered rings give it depth.
2 Wet Eye Extreme Close-Up
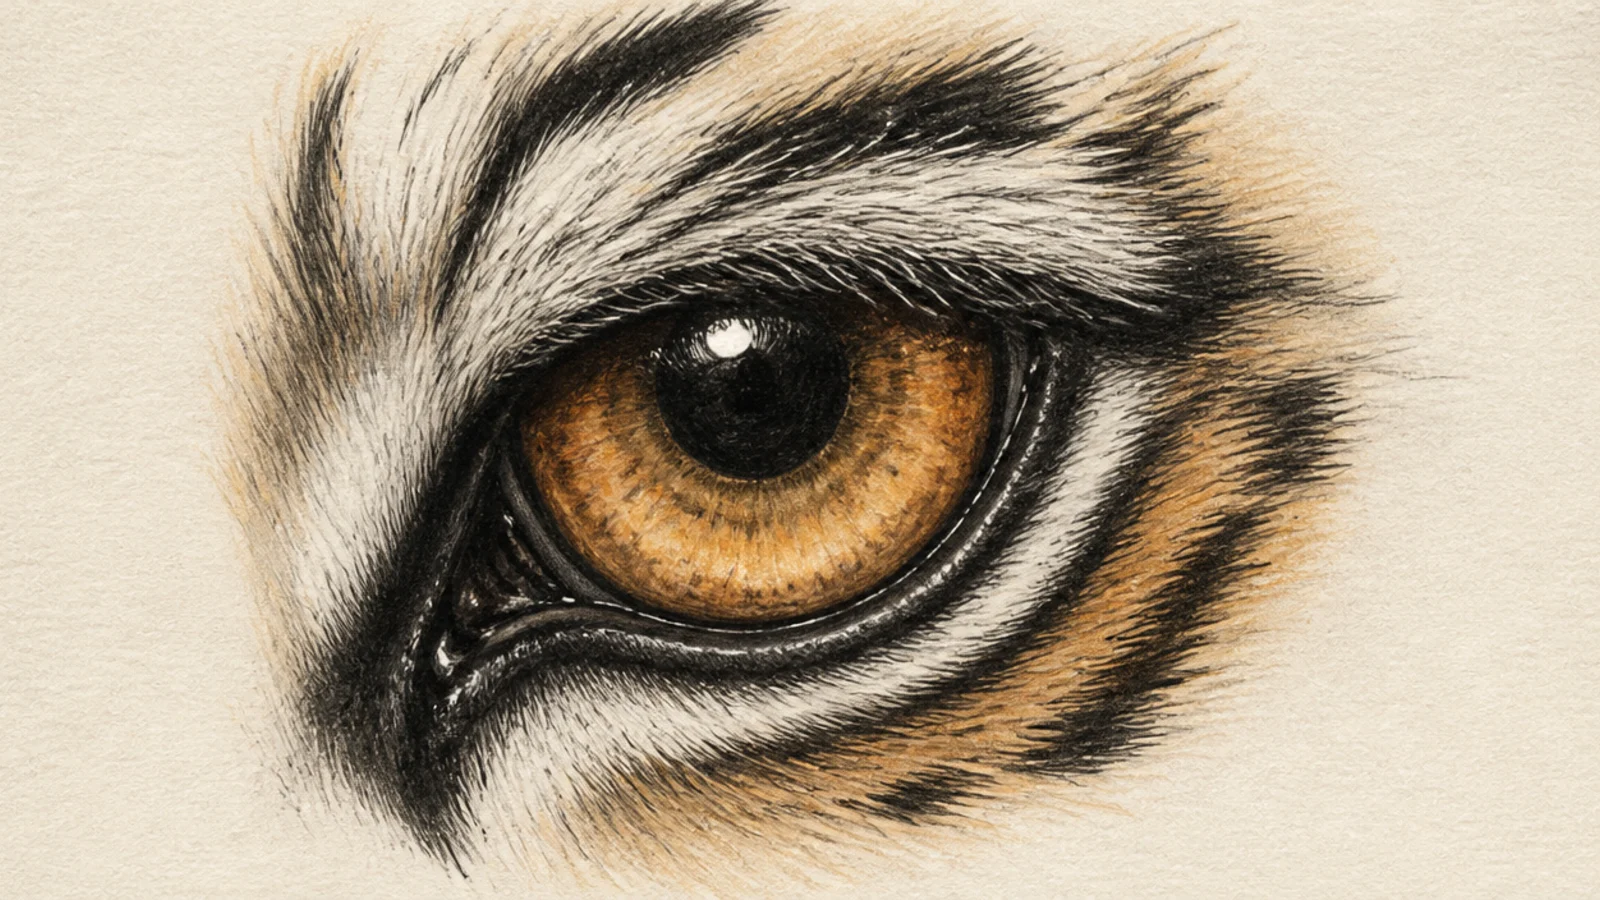
An extreme close-up on a wet, glistening eye is a showcase of the highlight. It teaches how a strong highlight and a soft reflection make the eye look moist.
Step 1 draw the eye large, filling the frame. Step 2 render the iris in fine amber detail with a big highlight. Step 3 add a soft secondary reflection and a wet gleam along the lower lid.
Add a tiny second reflection opposite the main highlight for wetness.
Don’t over-highlight; one main gleam plus a faint one reads as wet.
3 Fierce Narrowed Glare
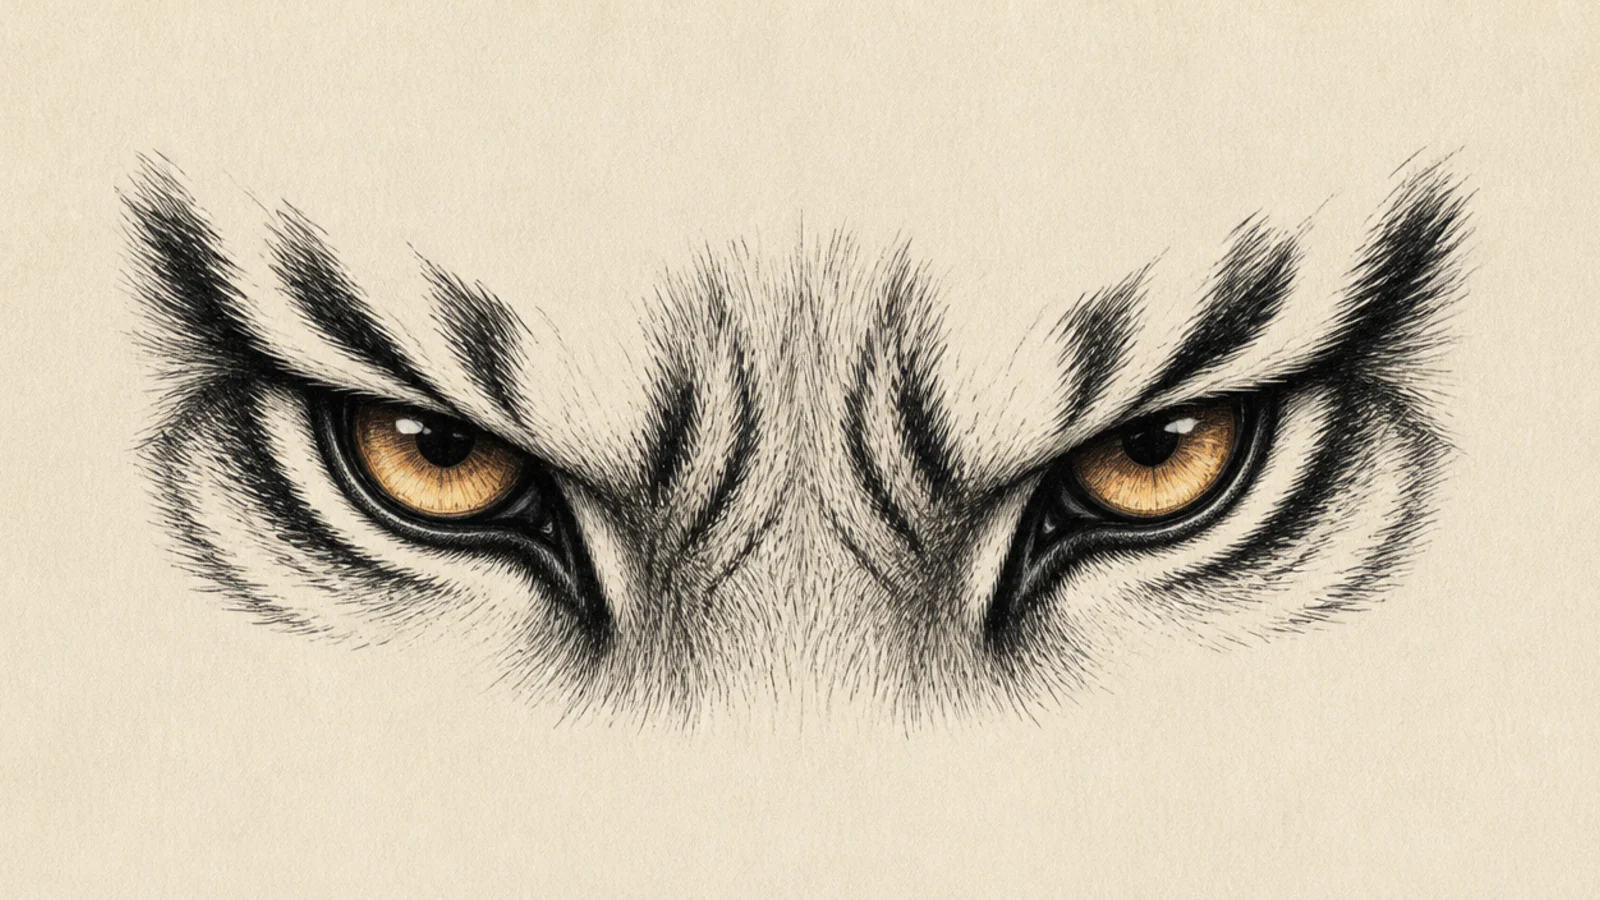
A narrowed, glaring pair of eyes is pure intensity. It teaches how lowering the brow and narrowing the lids turns a calm gaze into a threat.
Step 1 draw two eyes with the upper lids lowered. Step 2 press an angled brow down over them. Step 3 keep the irises bright under the lids and darken the rims hard.
Lower the brow and lids together so the glare feels focused.
Don’t open the eyes wide; the narrowed lids make the glare.
4 Alert Wide Eyes
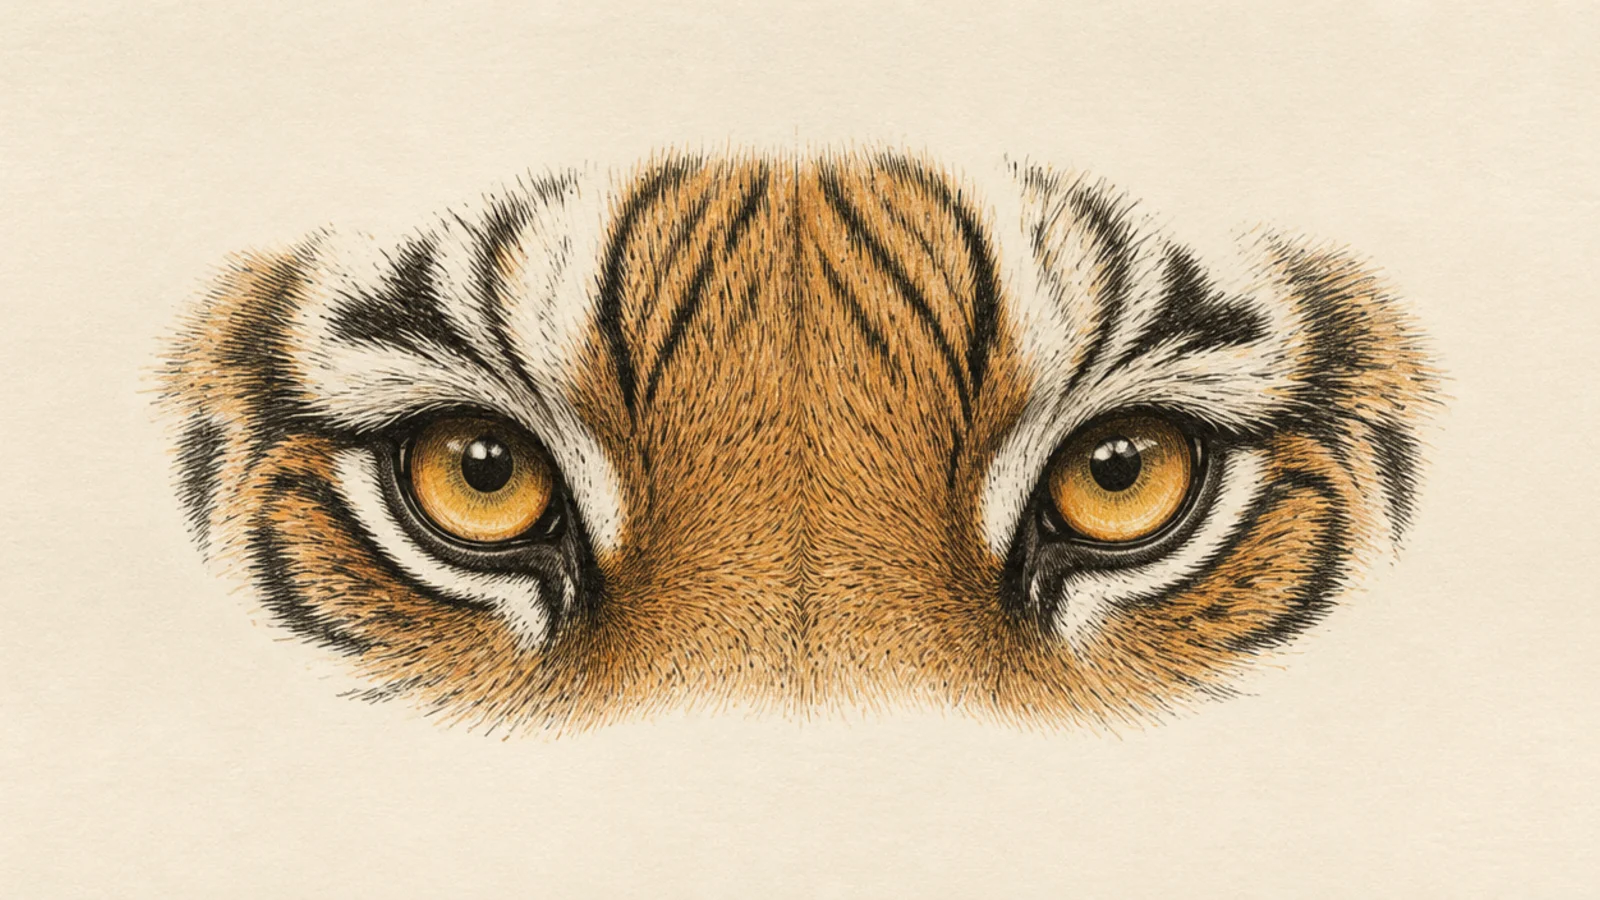
Wide, alert eyes fixed forward read as sharp focus. It teaches the fully open eye and how a big round iris signals attention.
Step 1 draw two fully open almond eyes. Step 2 show a bit of the iris rim all around for wideness. Step 3 add bright highlights and a smooth raised brow.
Pro tipShow a little iris rim all the way around for an alert, wide look.
AvoidDon’t hood the eyes; wide-open lids read as alert.
5 Glowing Night Eyes
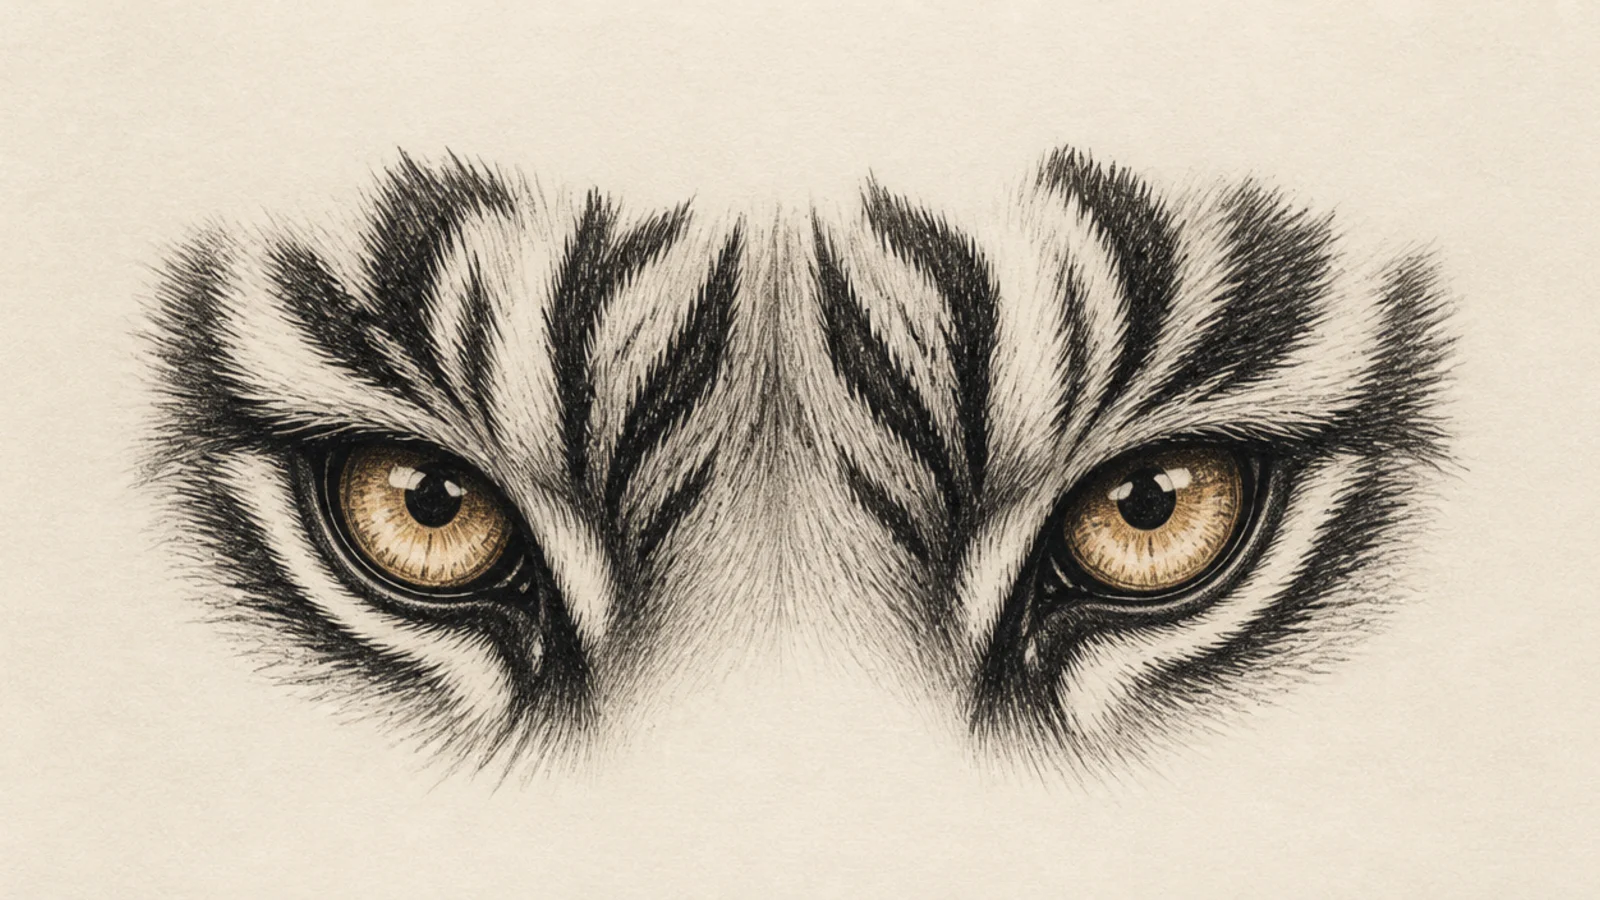
Reflective eyes glowing in the dark are eerie and dramatic. It teaches high-contrast night rendering where the eyes become the only light.
Step 1 shade the surrounding area very dark. Step 2 make the irises pale and luminous with a bright reflective disc. Step 3 add a faint glow halo and keep everything else black.
Pro tipMake the eyes far brighter than anything around them to seem to glow.
AvoidDon’t render the face; darkness makes the glow work.
6 Side-Profile Eye
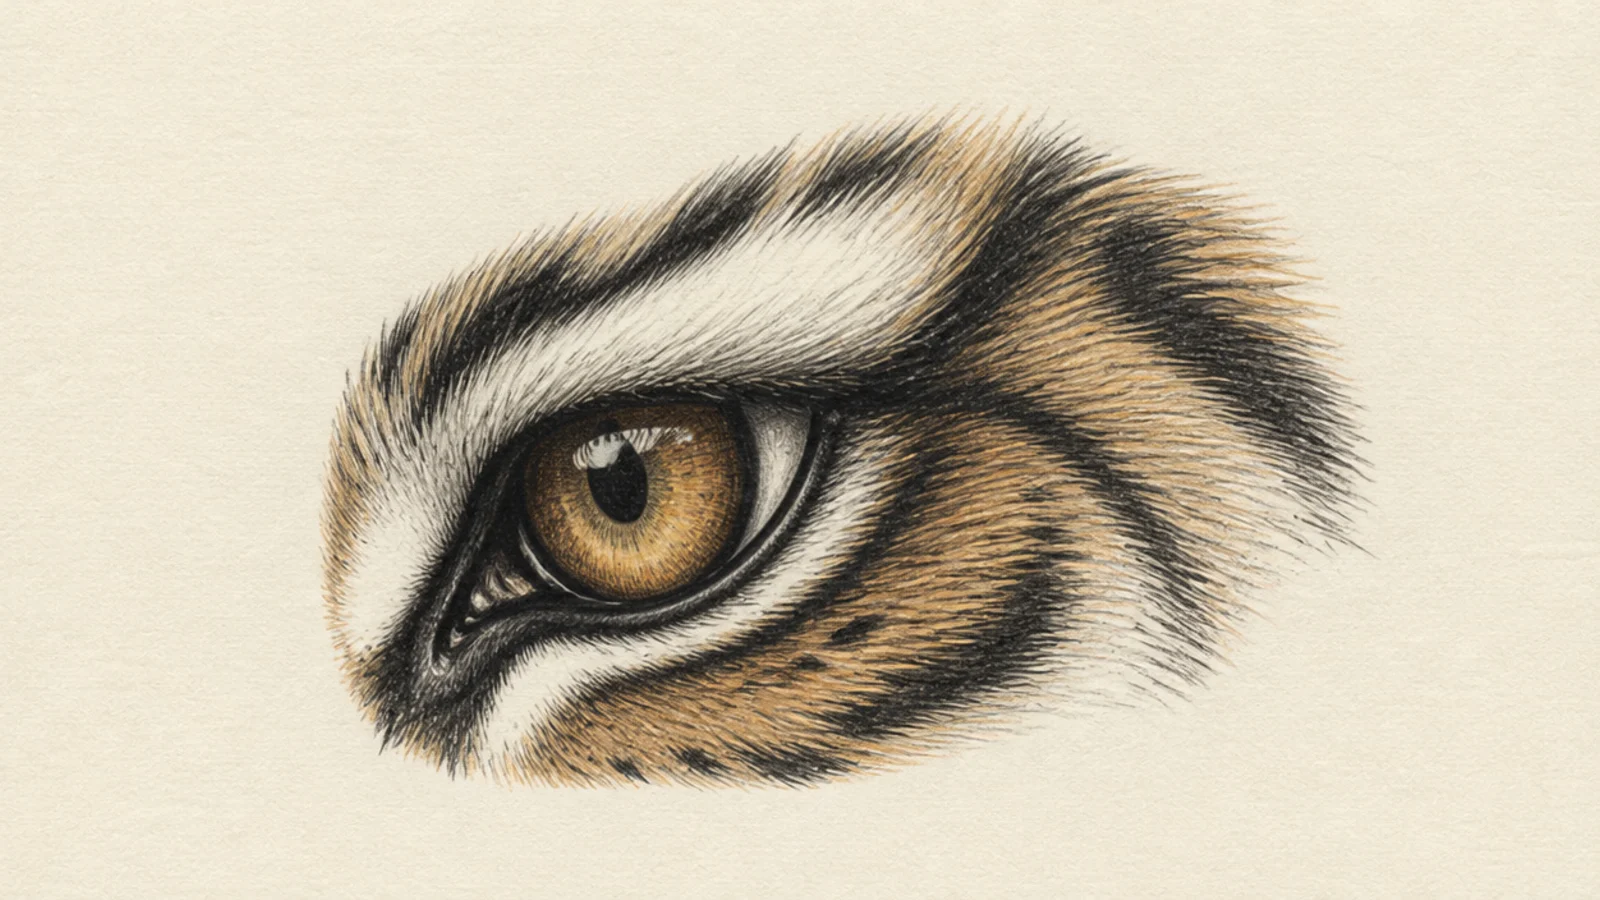
An eye seen in profile shows the iris as an oval and the lids from the side. It teaches how the eye’s shape changes with the head’s angle.
Step 1 draw the eye as a narrower shape seen from the side. Step 2 turn the iris into an oval and set the highlight forward. Step 3 add the brow ridge and flowing fur behind.
Pro tipCompress the iris into an oval since you see it at an angle.
AvoidDon’t draw a round front-on iris; a profile eye is foreshortened.
7 Amber Iris Color Study
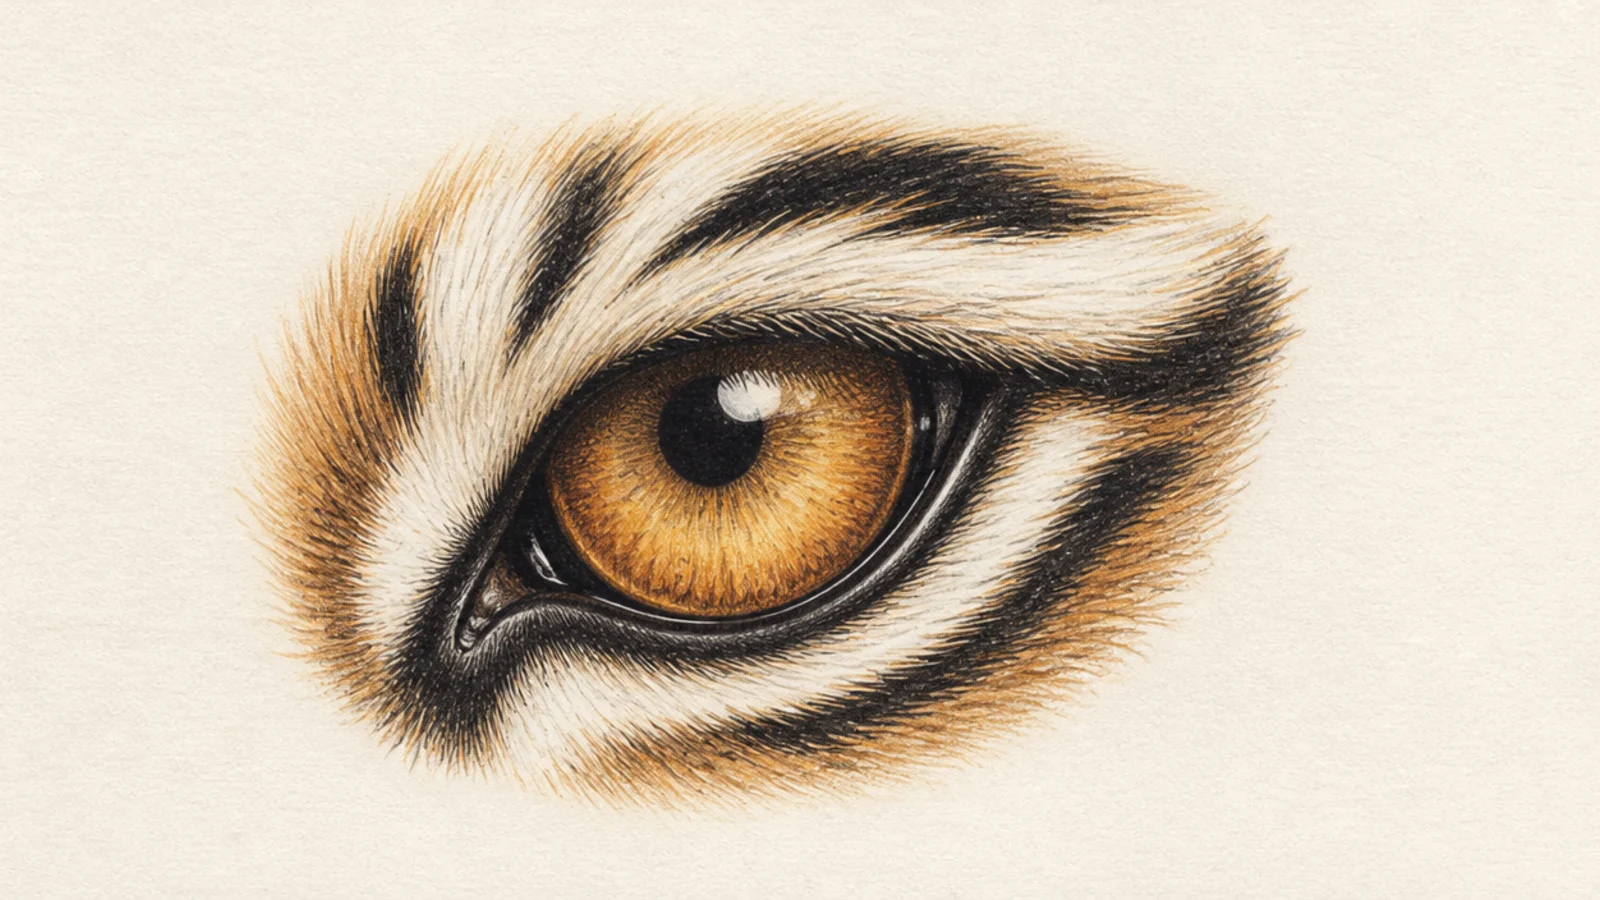
A focused study of just the amber iris breaks down its color layers. It teaches building the glowing gold from light center to dark rim in rings.
Step 1 draw the iris and pupil large. Step 2 layer a light gold near the highlight into deeper amber outward. Step 3 add fine radiating lines from the pupil and a dark outer ring.
Pro tipRadiate fine lines out from the pupil like spokes for iris texture.
AvoidDon’t blend it flat; the radiating rings give the iris life.
8 Reflection in the Eye
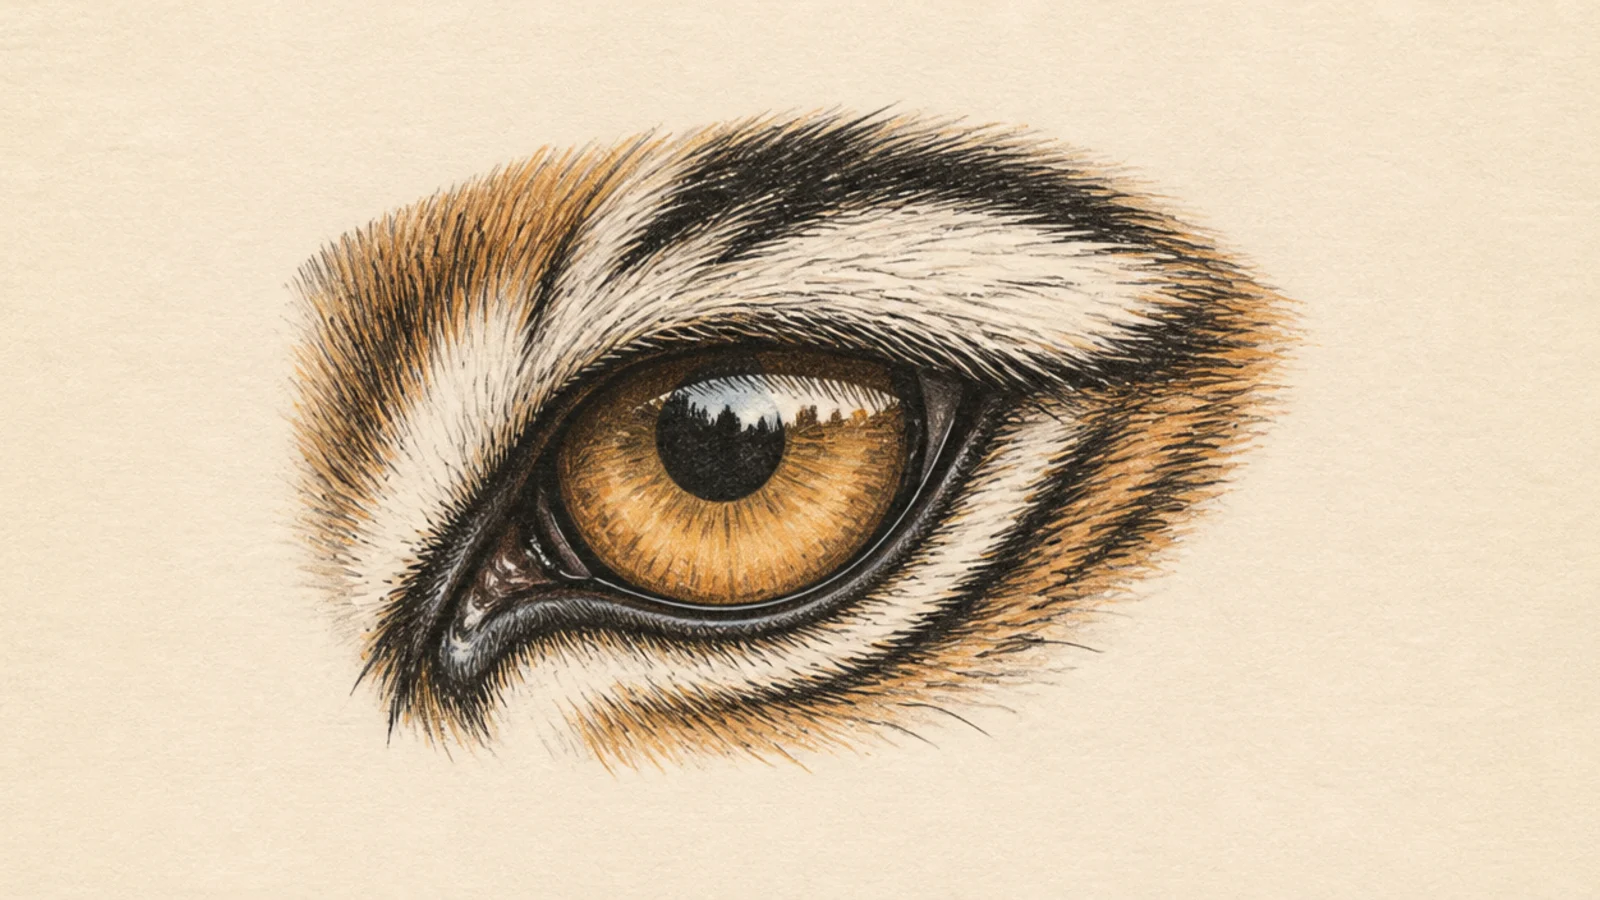
An eye with a tiny landscape reflected in it is a striking detail piece. It teaches placing a soft mirrored scene inside the highlight area.
Step 1 draw a large detailed eye. Step 2 in the highlight zone, sketch a faint reflected horizon or trees. Step 3 keep the reflection pale and soft so the eye still reads.
Pro tipKeep the reflected scene faint so it does not overpower the iris.
AvoidDon’t make the reflection sharp; a soft hint reads as a reflection.
9 Sleepy Half-Closed Eyes
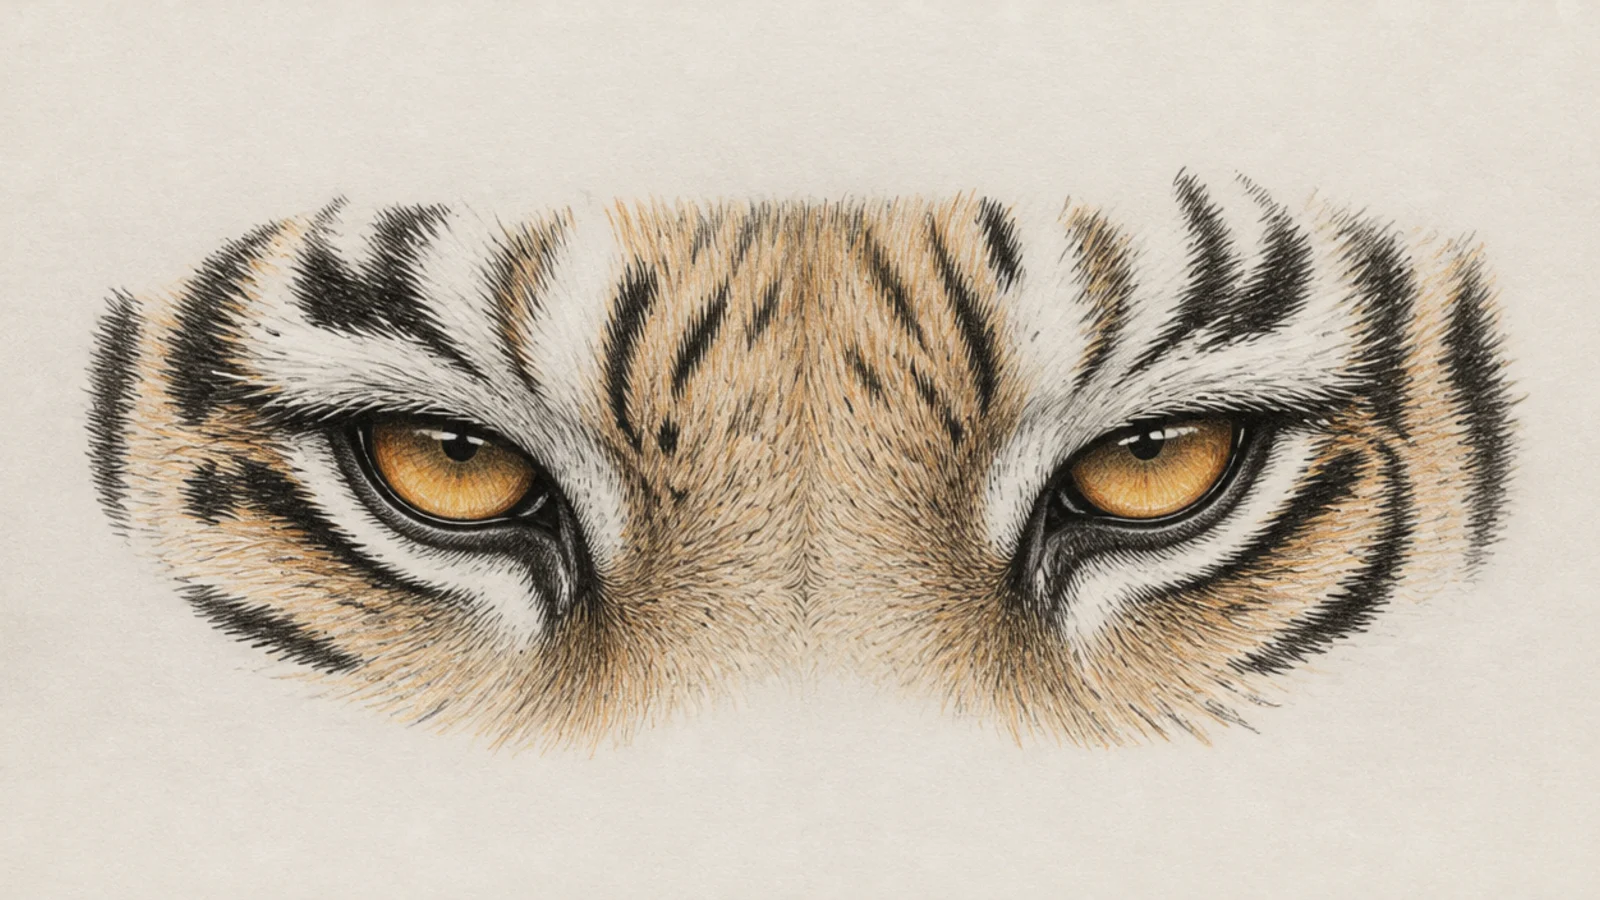
Half-closed, relaxed eyes read as sleepy or content. It teaches the drooping lid and how a covered iris softens the whole expression.
Step 1 draw the upper lids lowered halfway over the irises. Step 2 relax the brow smooth. Step 3 keep a soft highlight on the visible iris and a heavy lower lid.
Drop the upper lid halfway and smooth the brow for a sleepy calm.
Don’t lower the brow angrily; a smooth brow reads as relaxed.
10 Teary Emotional Eye
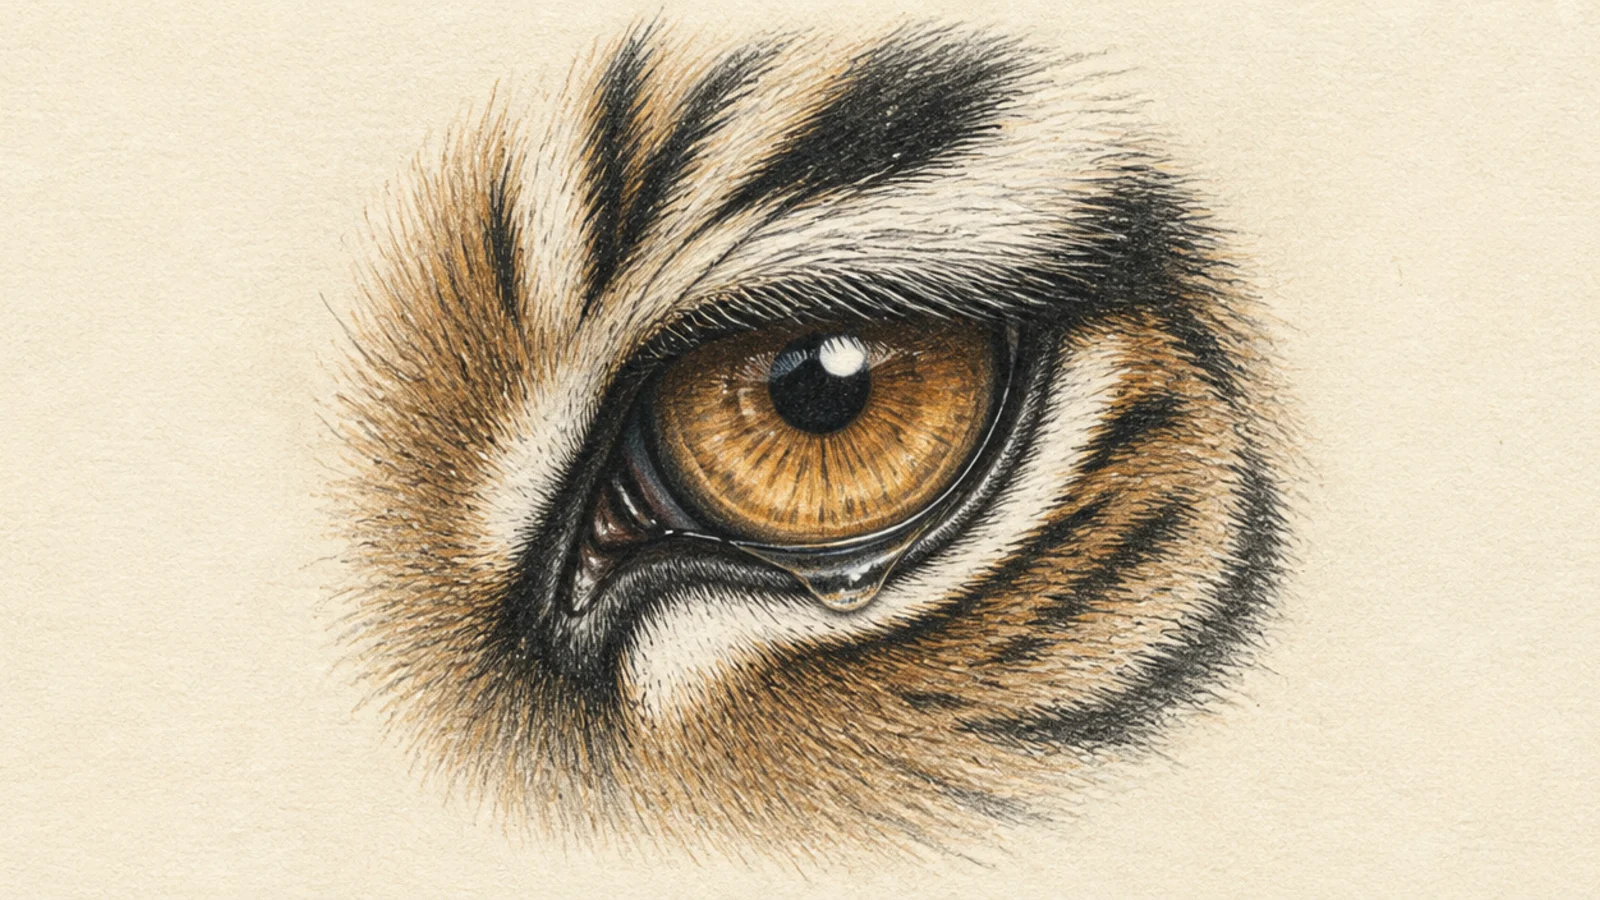
An eye brimming with a tear adds surprising emotion to a fierce animal. It teaches rendering water pooling and catching light along the lid.
Step 1 draw a large soft eye. Step 2 add a glistening water line along the lower lid. Step 3 add extra highlights in the pooled tear and a soft reflection.
Pool the tear along the lower lid with its own bright highlight.
Don’t add a running drip; a brimming pool reads more tender.
11 Big Innocent Cub Eyes
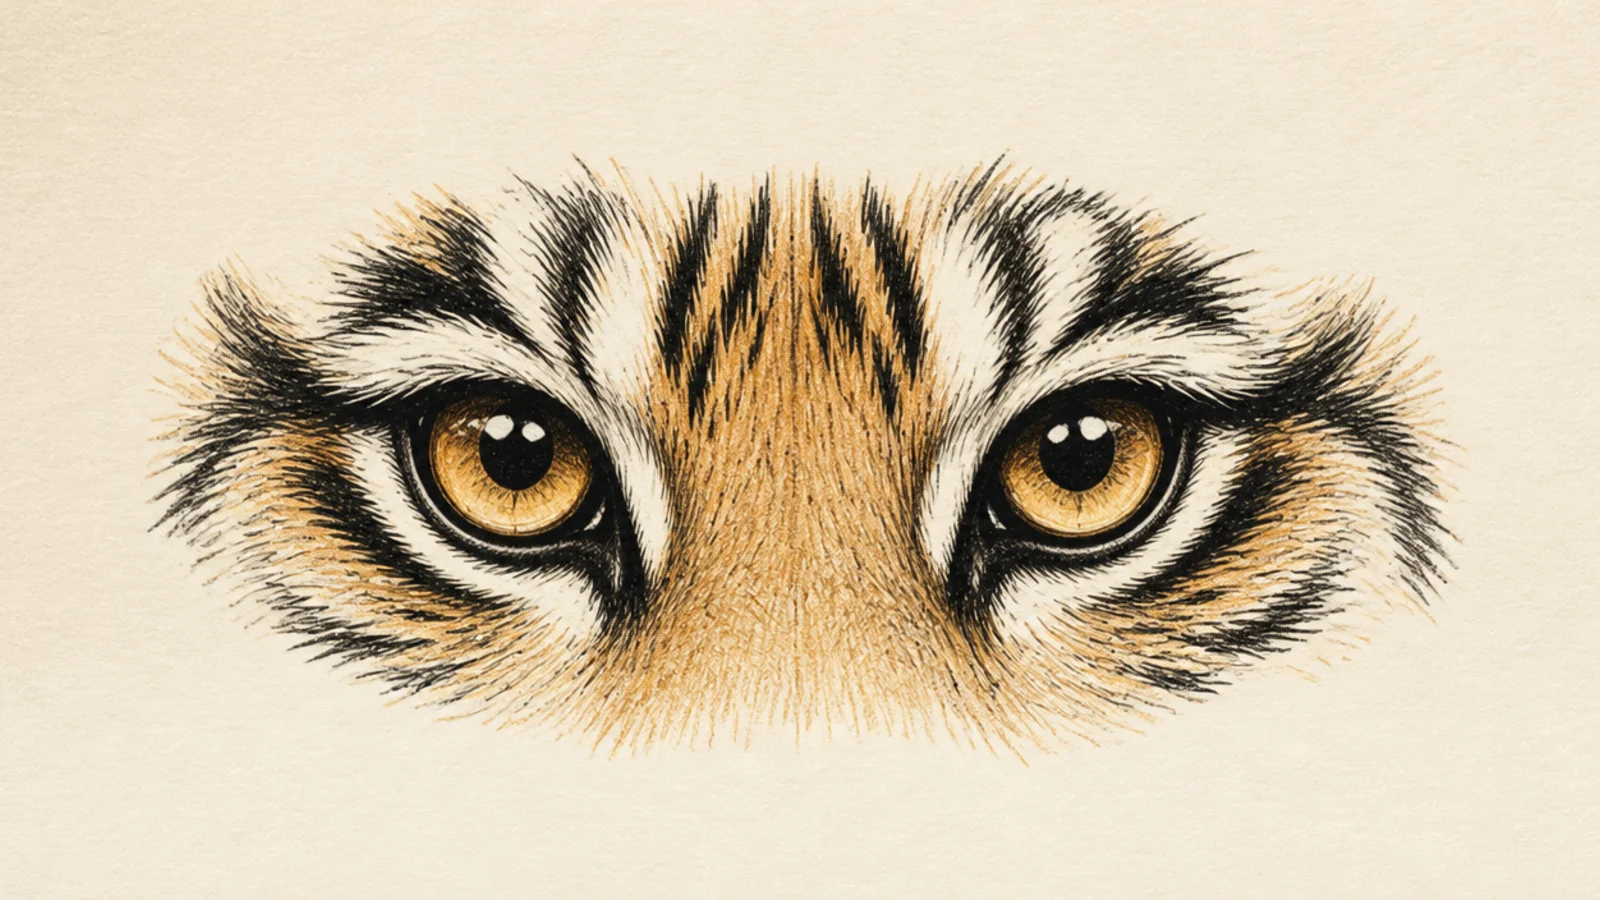
Large, round cub eyes read as innocent and sweet, the opposite of fierce. It teaches how oversized irises and big highlights signal youth.
Step 1 draw two big round eyes with little tilt. Step 2 make the irises large with two highlights each. Step 3 soften the brow and keep the rims gentle.
Enlarge the irises and add a second highlight for an innocent cub look.
Don’t narrow or tilt them; round soft eyes read as young.
12 Angry Contracted Pupils
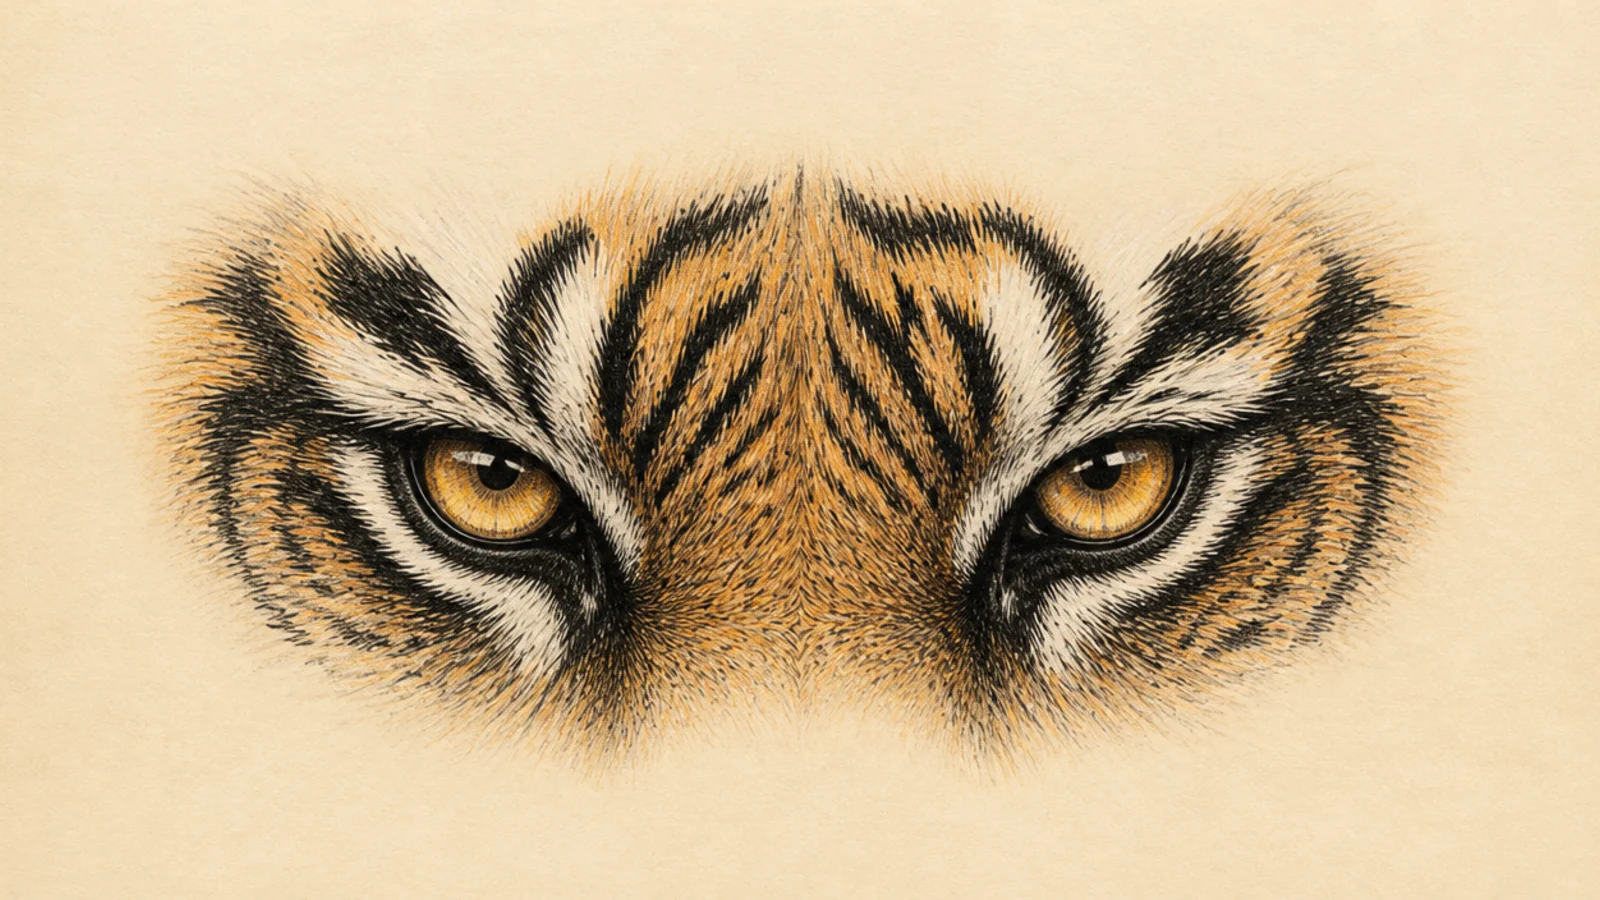
Eyes with small contracted pupils in bright light look intense and hard. It teaches how pupil size changes the whole mood of the gaze.
Step 1 draw the eyes open with a heavy brow. Step 2 shrink the pupils small in the bright amber iris. Step 3 darken the rims and add a small sharp highlight.
Shrink the pupils small to read as bright light and cold intensity.
Don’t draw big soft pupils; small ones look harder and fiercer.
13 Three-Quarter View Eyes
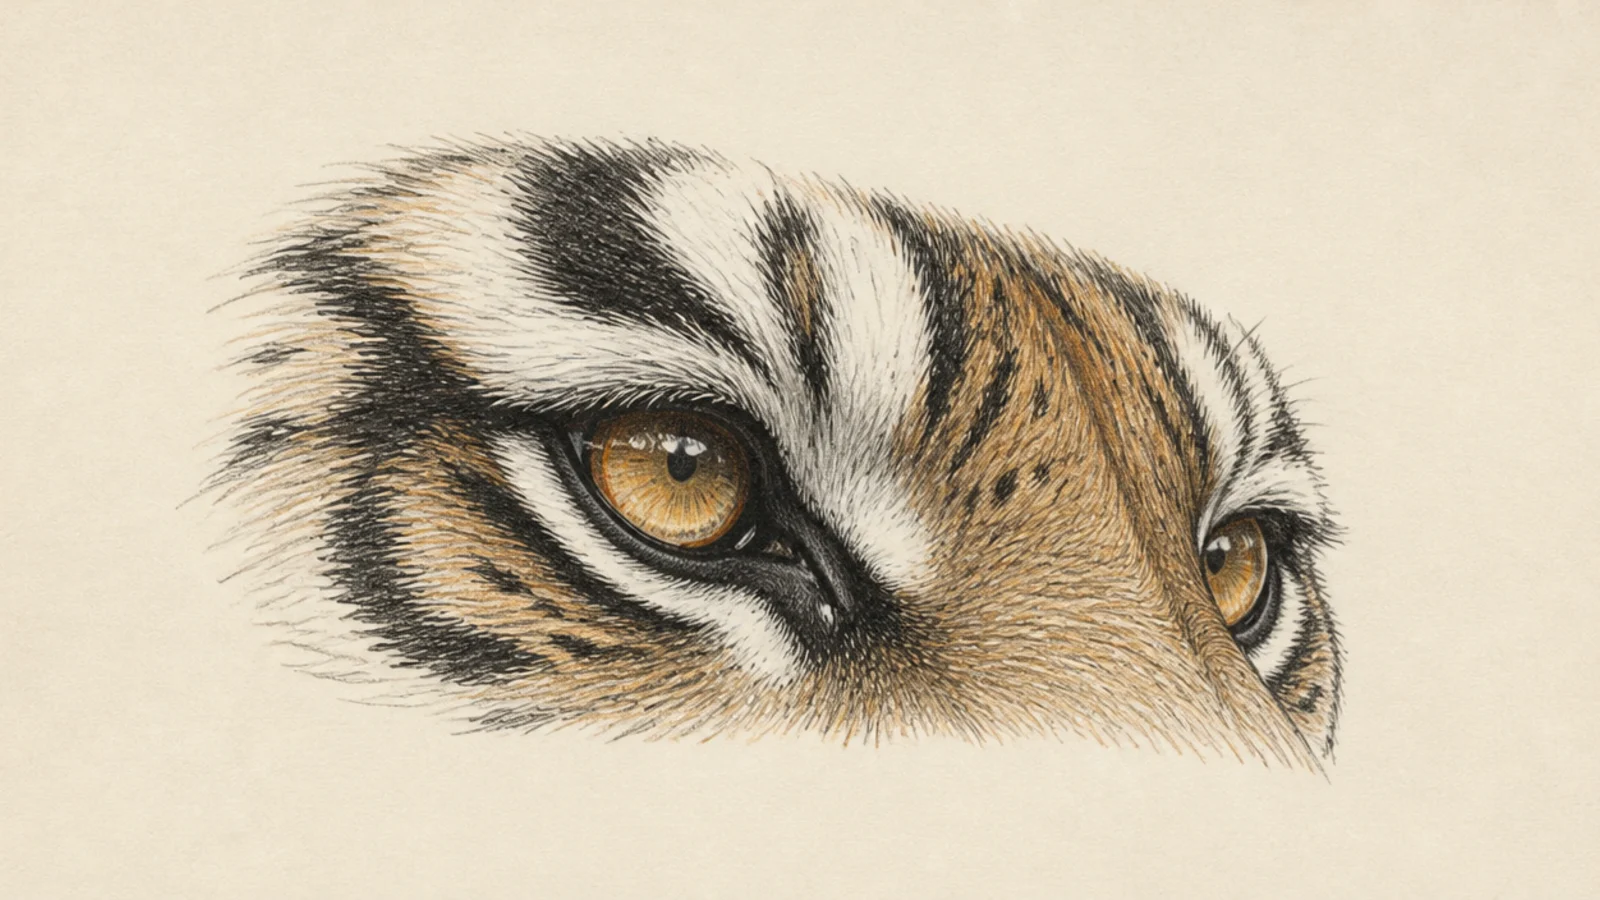
Eyes at a three-quarter angle teach foreshortening across the face. It shows how the far eye compresses and the irises shift with the turn.
Step 1 draw the near eye full and the far eye narrower. Step 2 shift both irises slightly toward the turn. Step 3 keep the highlights matched despite the angle.
Pro tipNarrow the far eye and shift both irises the same way for the turn.
AvoidDon’t draw both eyes equal; the far one compresses in three-quarter.
14 Battle-Scarred Eye
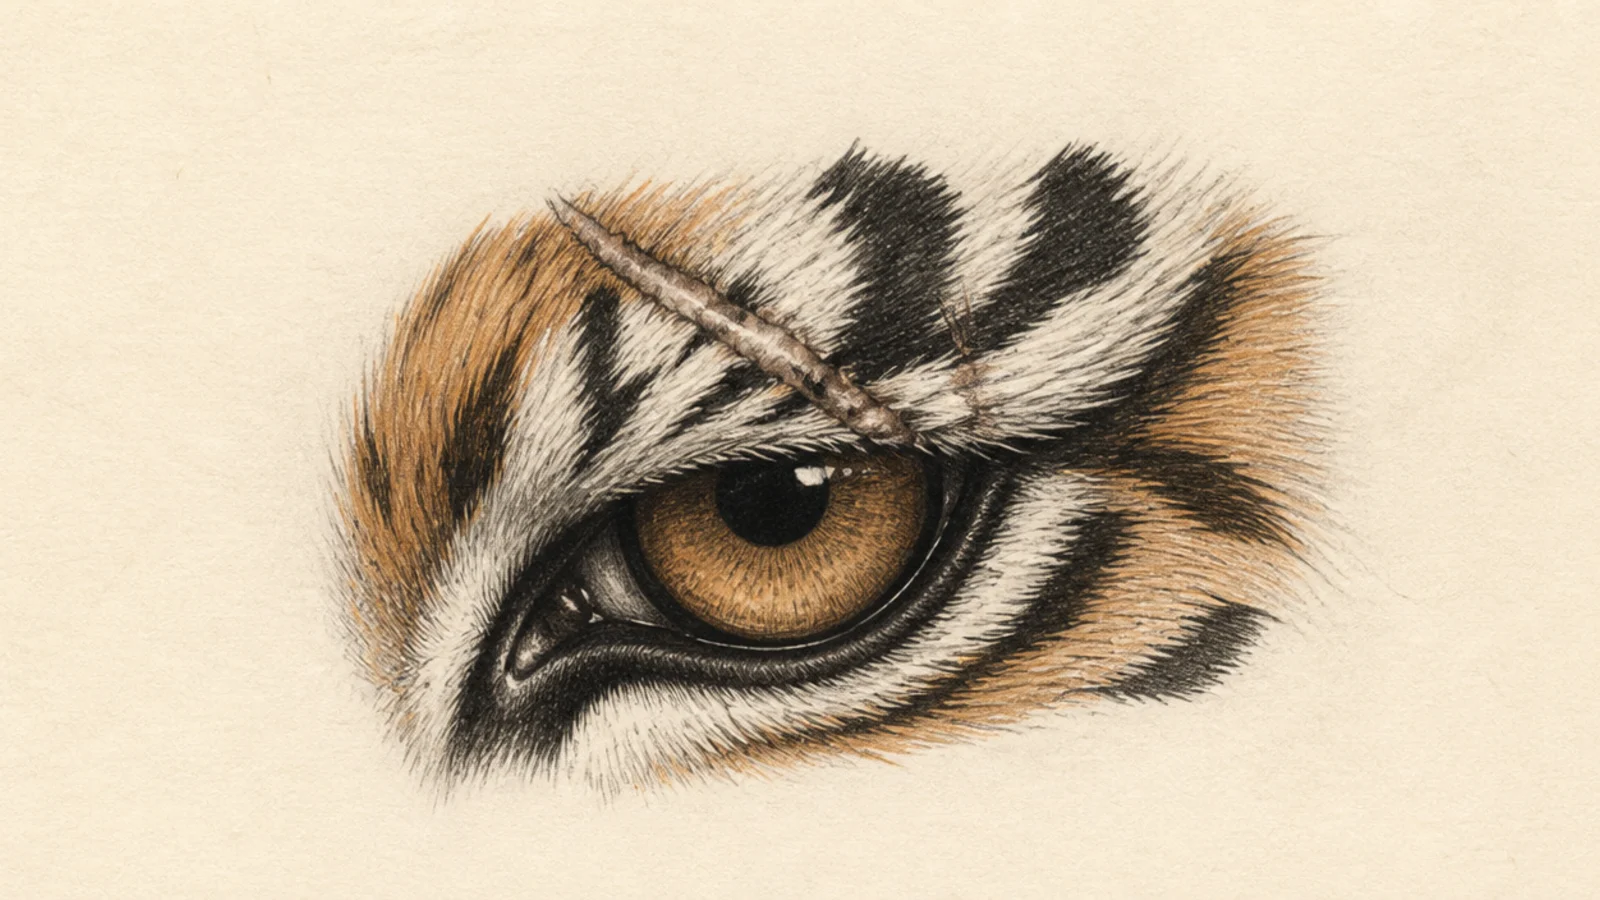
An eye with a scar crossing the brow tells a story of a hard life. It teaches adding a healed scar and how it interrupts the fur and stripe flow.
Step 1 draw a fierce eye. Step 2 cross a healed scar line through the brow and lid. Step 3 break the fur and a stripe where the scar passes and shade it slightly.
Pro tipBreak the fur direction along the scar so it reads as healed skin.
AvoidDon’t keep the fur flowing over the scar; interrupt it to show damage.
15 Sunset-Lit Eye
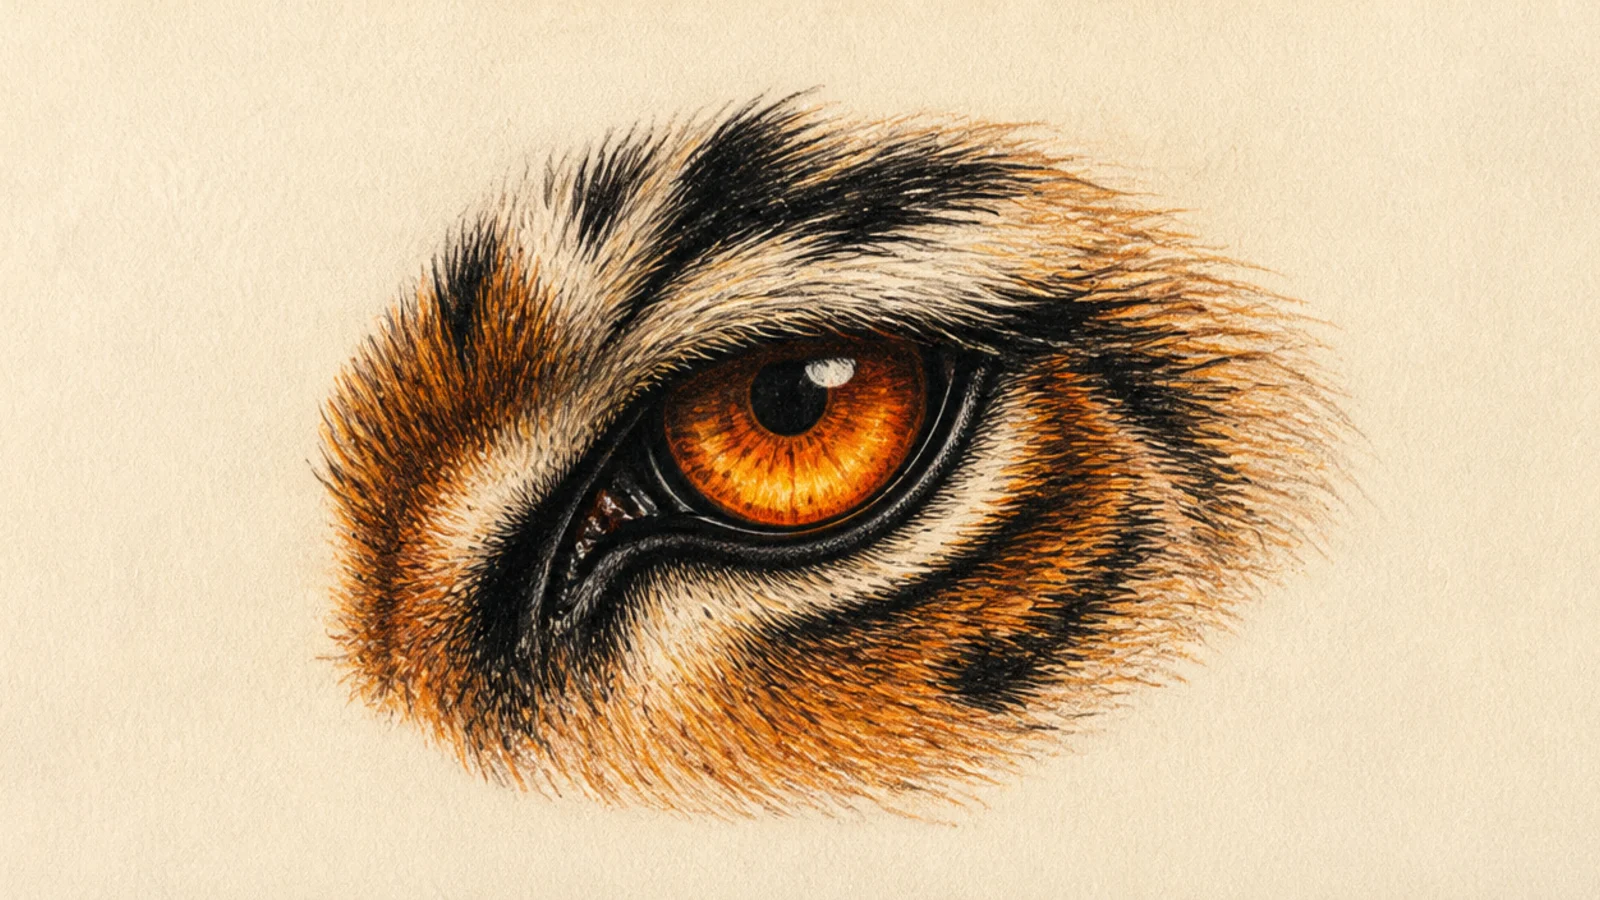
An eye lit by warm sunset glows in rich orange tones. It teaches colored lighting and how a warm light shifts the amber even warmer.
Step 1 draw the eye and surrounding fur. Step 2 warm the whole iris and rim toward orange-red. Step 3 place a warm-toned highlight and glow the lit side of the fur.
Push the iris and highlight warm to match the sunset light.
Don’t keep it neutral; the warm glow is the whole effect.
16 Locked-On Predator Pair
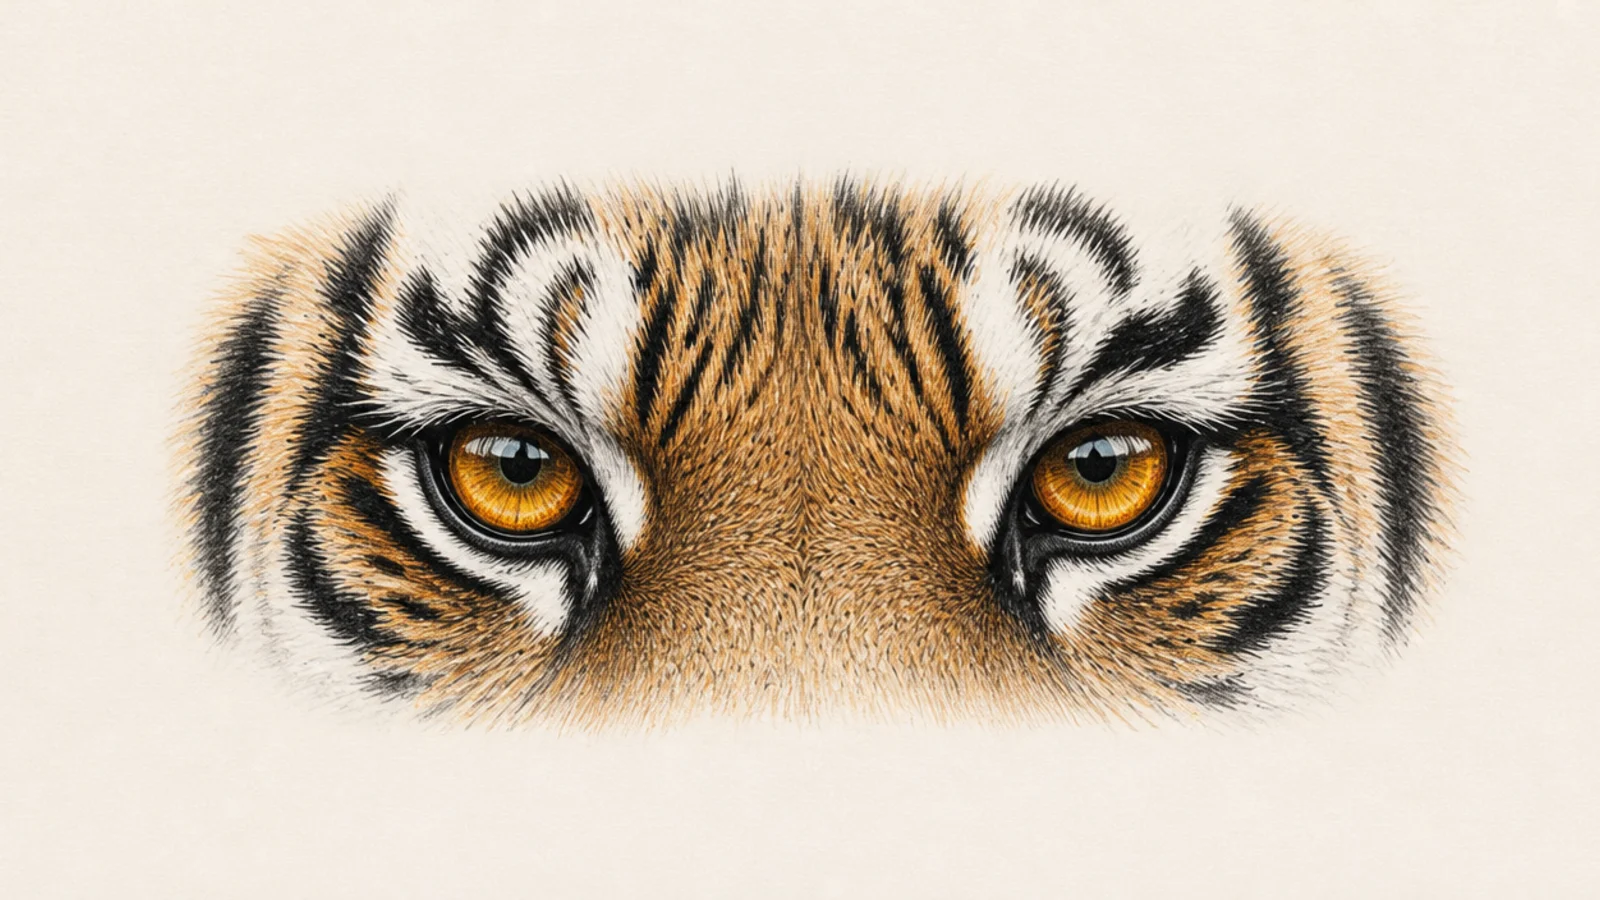
A pair of eyes locked dead forward reads as pure predatory focus. It teaches converging both gazes on the viewer for an unsettling stare.
Step 1 draw two level eyes facing straight forward. Step 2 center both pupils and irises on the viewer. Step 3 match the highlights exactly and press the brow slightly down.
Pro tipCenter both pupils on the viewer so the stare locks straight on.
AvoidDon’t let the eyes drift apart; a locked pair is what unsettles.
17 Rain-Wet Eye
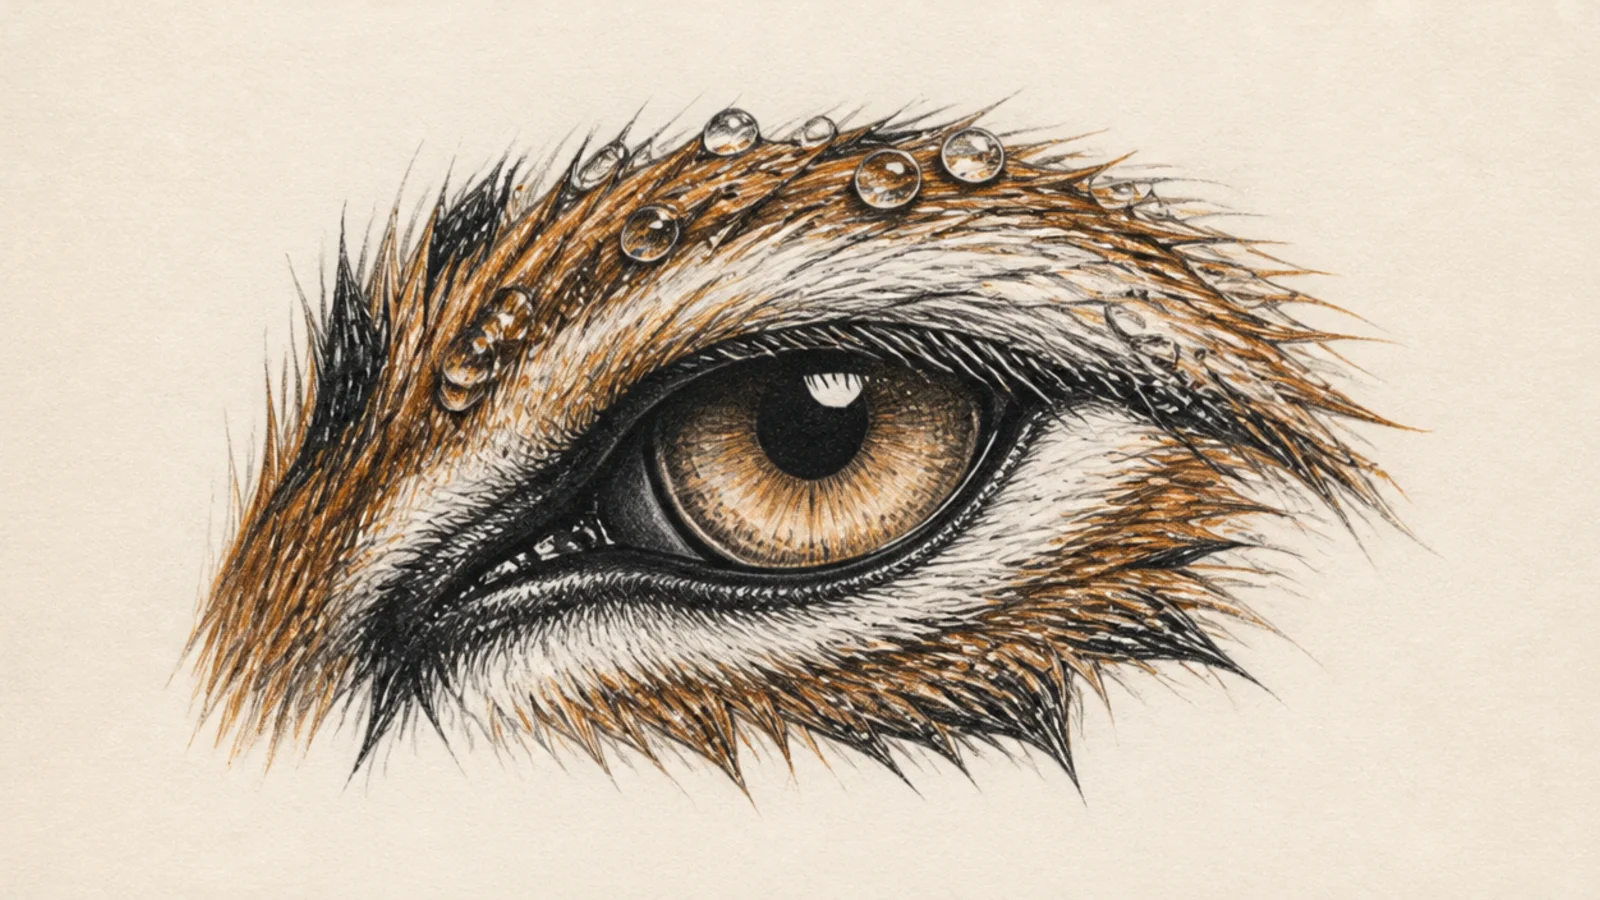
An eye framed by rain-soaked fur and droplets is fresh and atmospheric. It teaches wet clumped fur and water beads around the eye.
Step 1 draw the eye with a strong highlight. Step 2 clump the surrounding fur into wet spikes. Step 3 add a few round water droplets catching light on the fur and brow.
Pro tipGive each droplet its own tiny highlight so it looks like water.
AvoidDon’t draw soft dry fur; wet clumped spikes sell the rain.
18 Rare Green-Eyed Variation
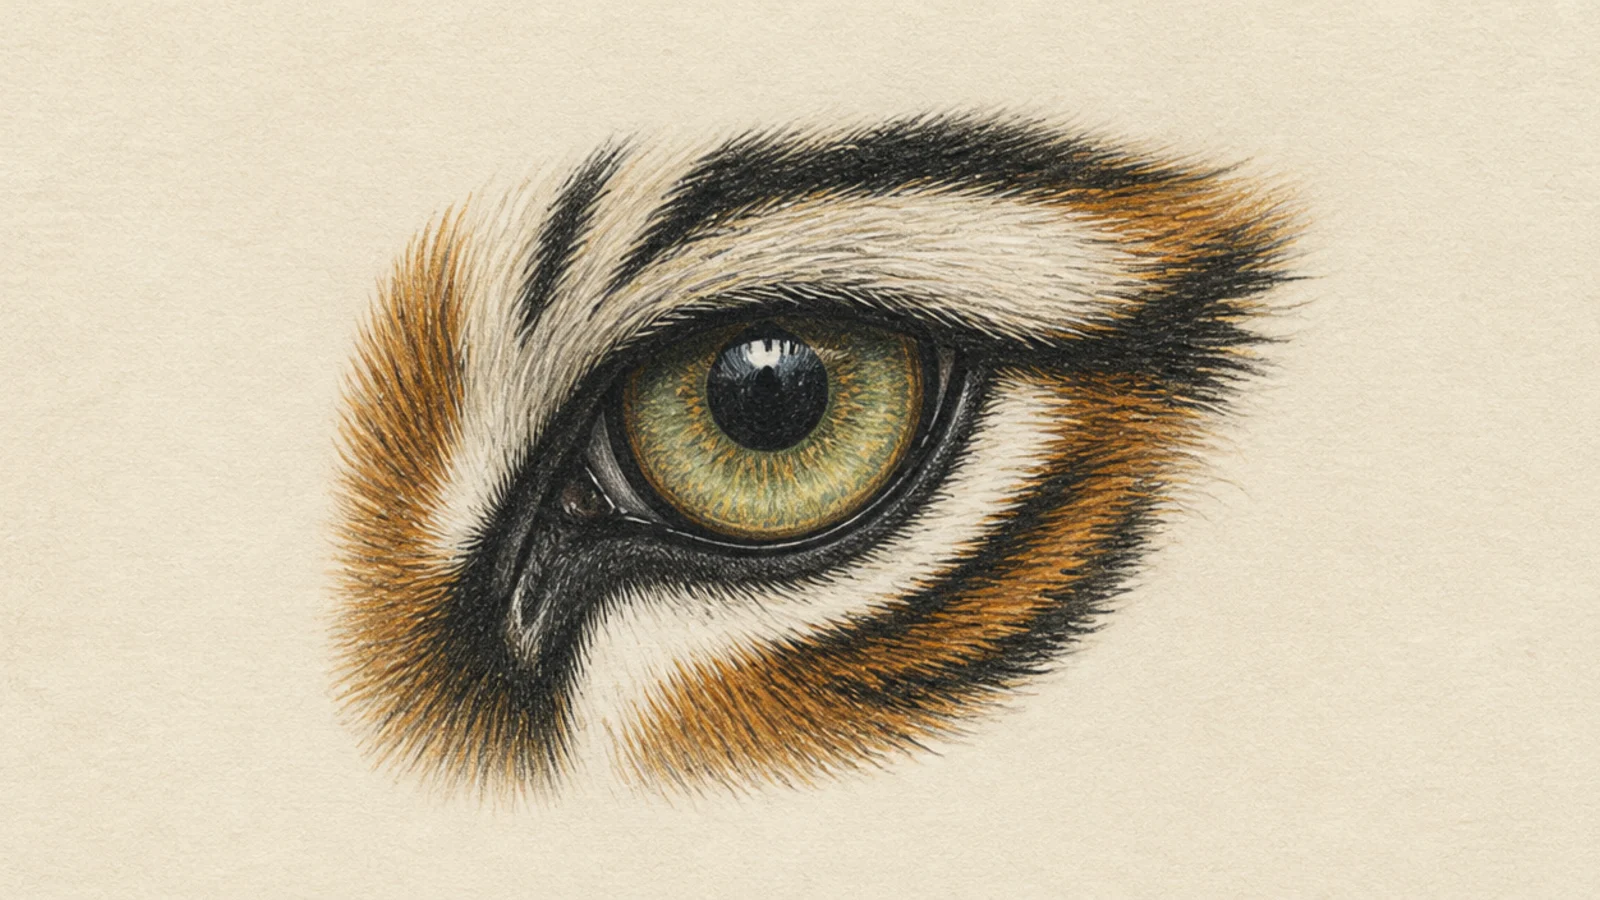
A rare green-gold eye is a beautiful variation from the usual amber. It teaches shifting the iris palette while keeping the same structure and highlight.
Step 1 draw the eye structure as usual. Step 2 layer the iris green-gold instead of amber. Step 3 keep the dark rim, big pupil, and single bright highlight.
Keep the structure identical; only the iris hue changes to green-gold.
Don’t change the highlight or rim; only the color shifts.
19 Stylized Graphic Eye
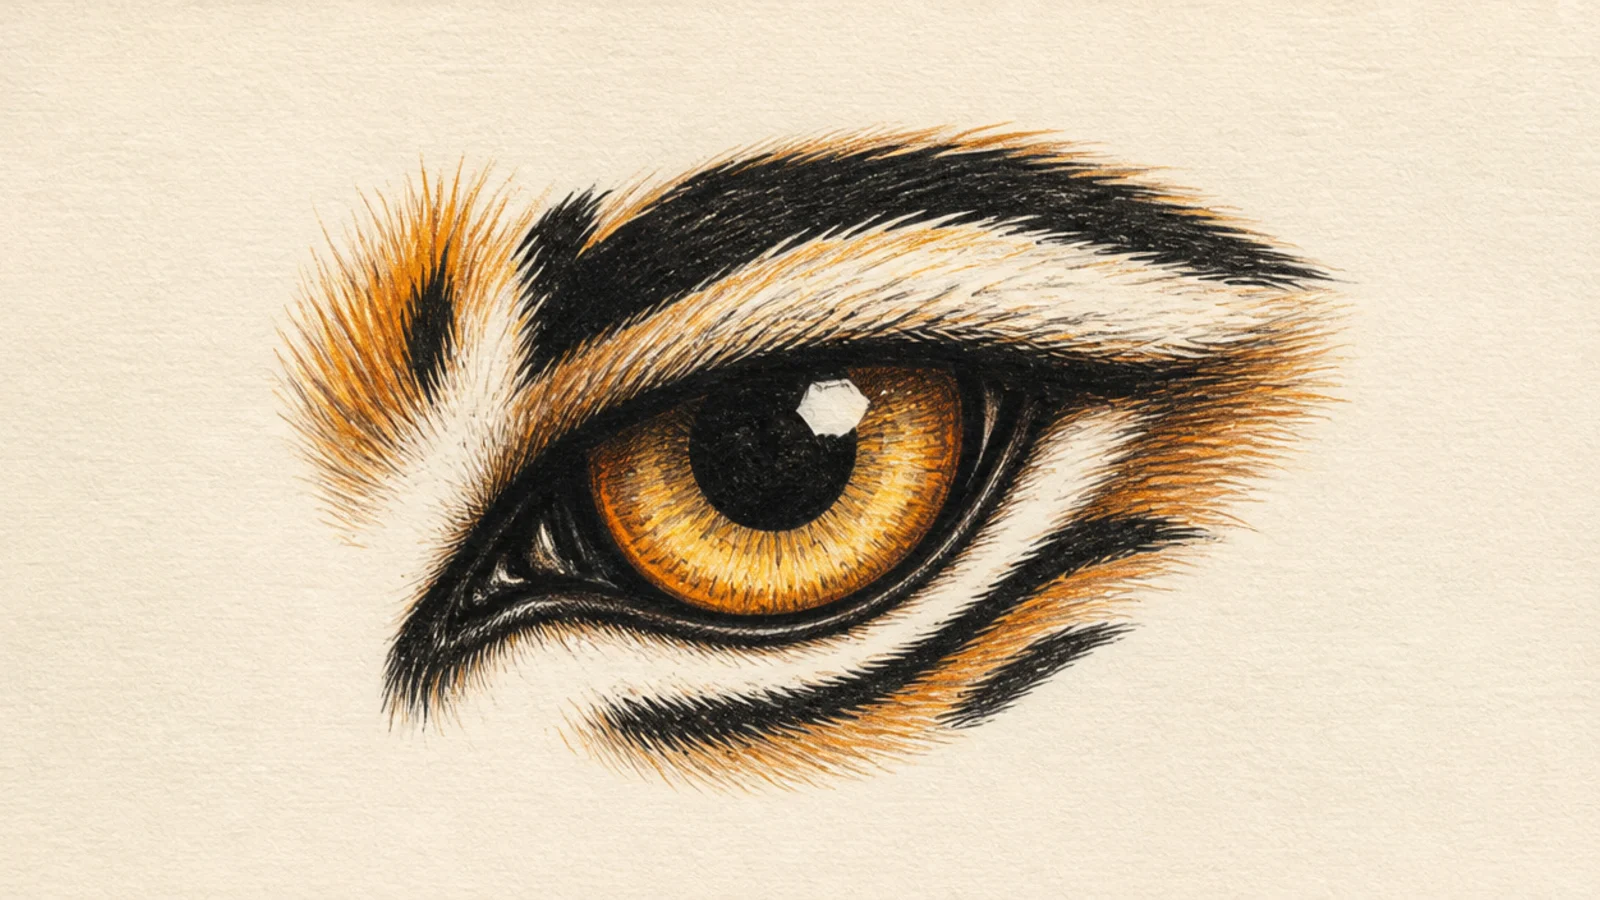
A stylized graphic eye simplifies the gaze into bold flat shapes. It teaches distilling the eye down to its essential design elements.
Step 1 draw the eye as a bold almond outline. Step 2 fill the iris flat with a hard-edged highlight shape. Step 3 add a bold black rim and one or two angular brow stripes.
Use a hard-edged highlight shape instead of a soft gleam for graphic style.
Don’t blend; flat bold shapes define the graphic look.
20 Full Eye-Region Study
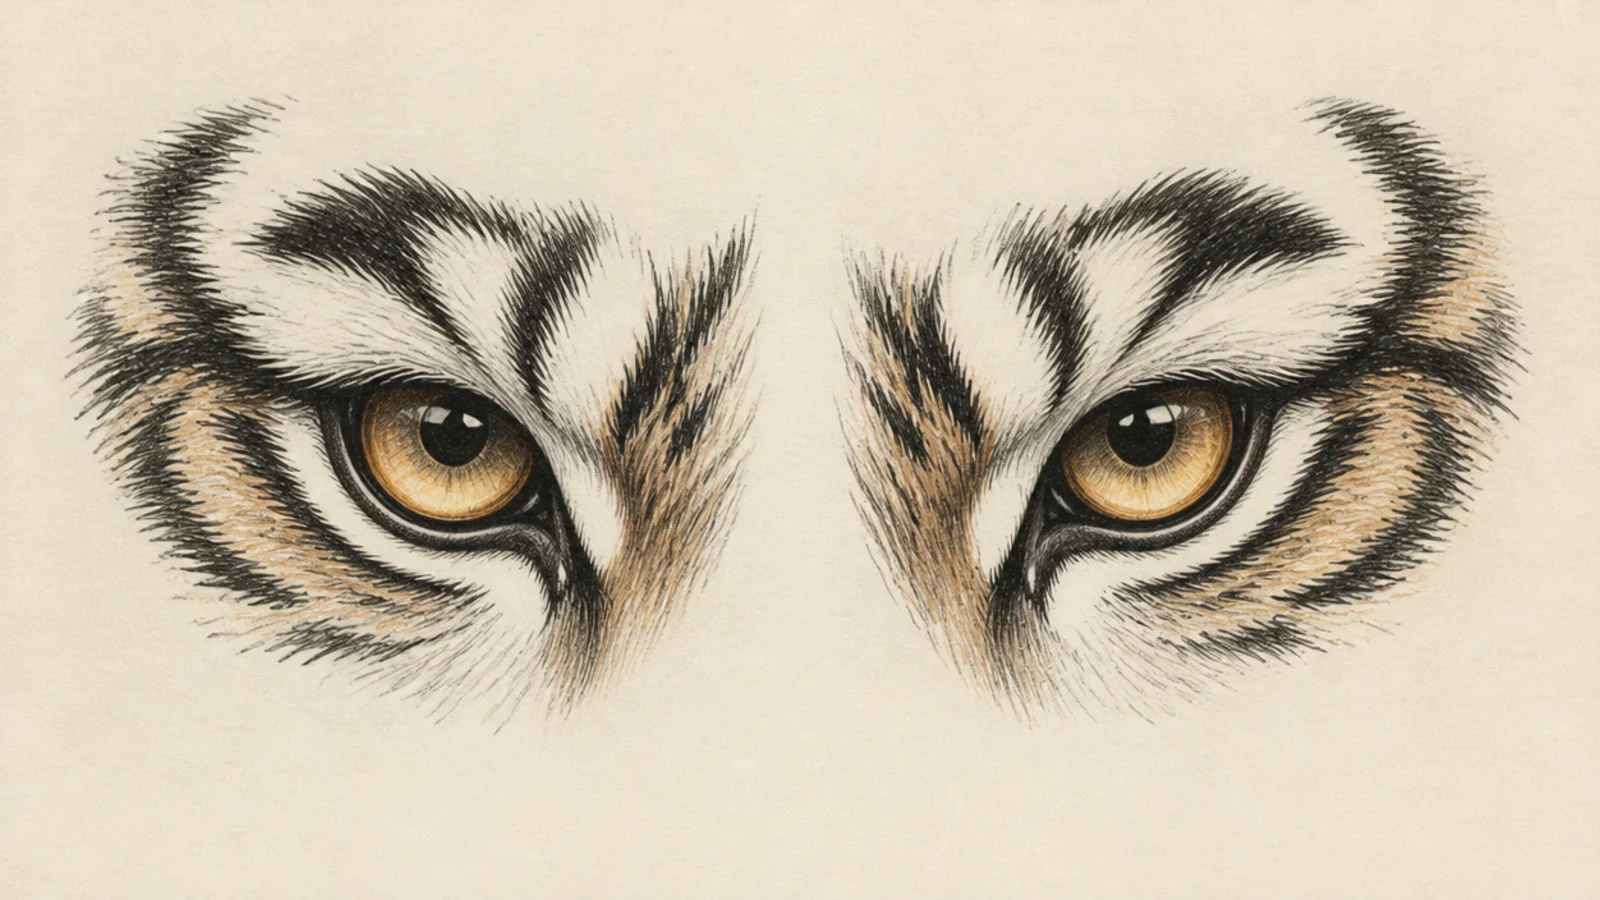
A study of the whole eye region with brow, fur, and stripes ties everything together, the perfect closer. It teaches how the eyes sit within their setting for a complete, intense gaze.
Step 1 draw both eyes with correct structure. Step 2 add the heavy brow, pale markings, and flowing fur around them. Step 3 wrap the brow stripes down toward the nose and match both highlights.
Pro tipFrame the eyes with pale brow markings to lift and focus the gaze.
AvoidDon’t isolate the eyes; the surrounding setting completes the intensity.



