
1 Single-Line Tiger
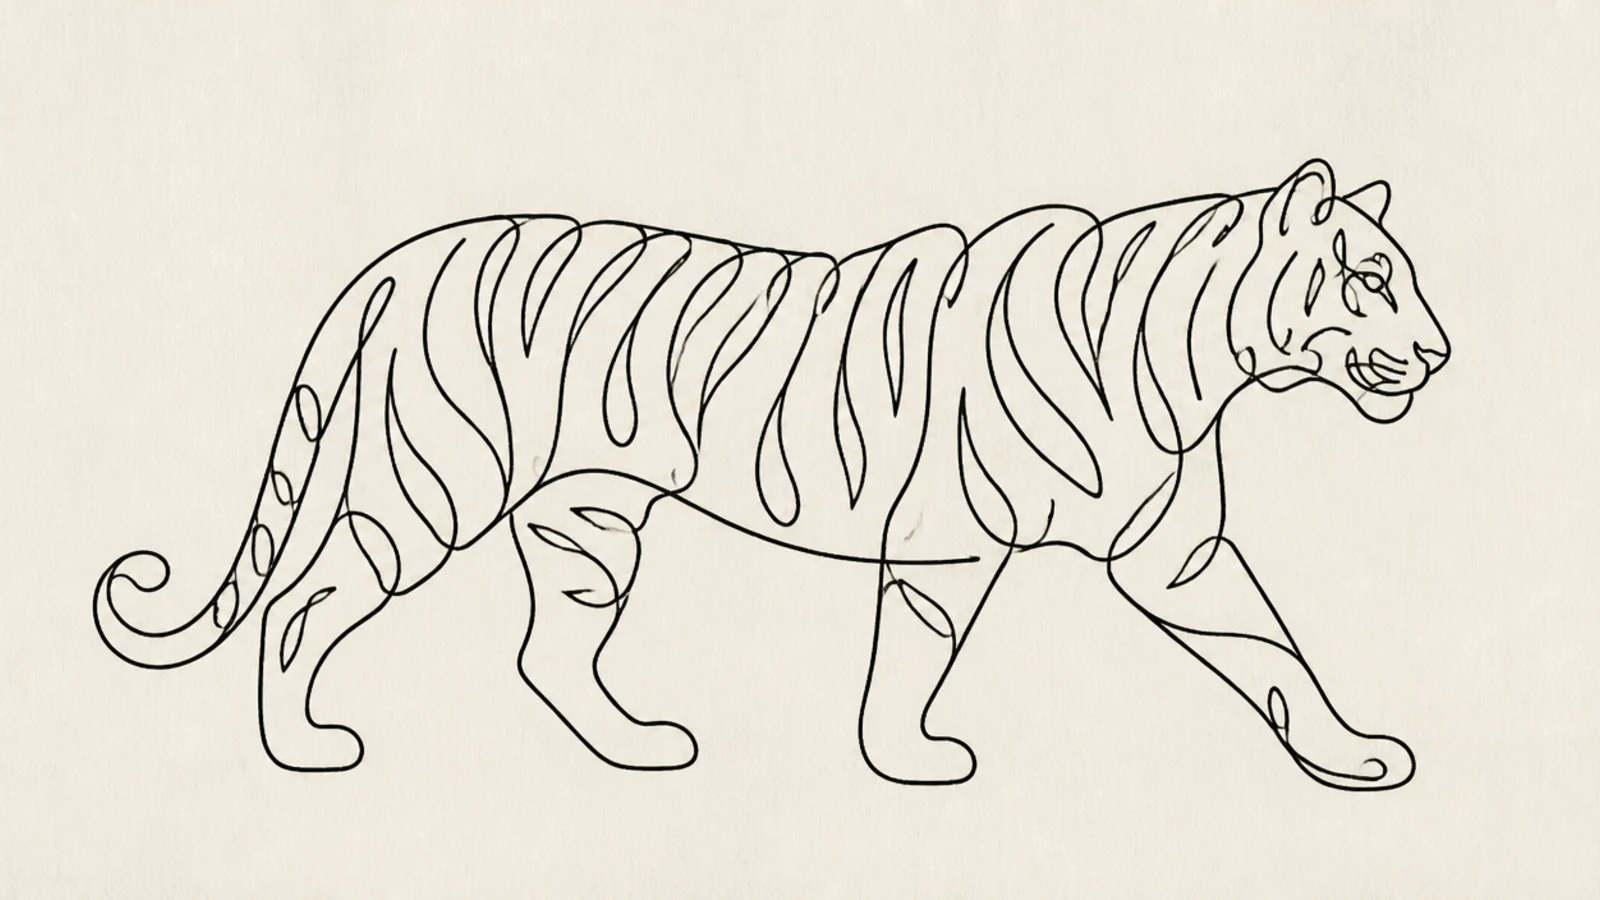
A one-line tiger is elegant, modern, and the perfect first style to try. Drawing the whole animal without lifting the pen makes a clean, artful mark that looks intentional on any page.
Step 1 lightly plan the tiger’s pose. Step 2 start at the nose and travel the whole outline and key stripes in one path. Step 3 close the line and erase any guides.
Move slowly and confidently so the single line stays smooth and sure.
Don’t lift the pen to fix a spot; keep the one line flowing.
2 Two-Color Silhouette
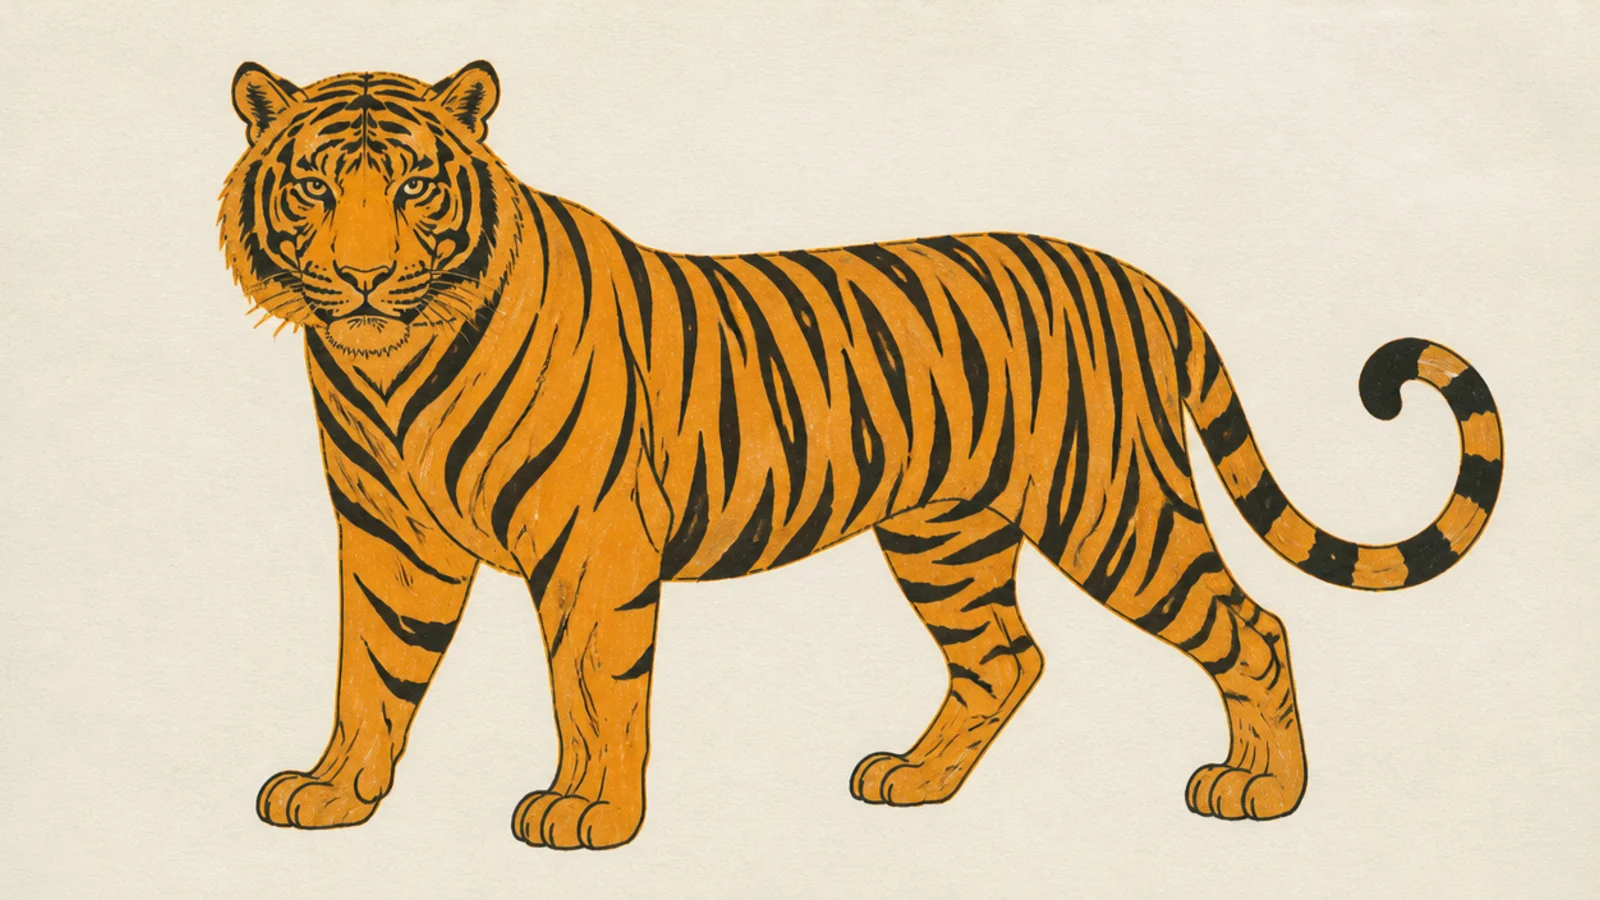
A flat two-color tiger is graphic and striking. Using one color for the body and one for the stripes makes a poster-like page with no shading needed.
Step 1 draw a clean full-body tiger outline. Step 2 fill the body with one flat color. Step 3 add the stripes in a second color as bold shapes.
Pro tipKeep both colors flat and clean for a crisp graphic look.
AvoidDon’t blend or shade; flat color is the whole style.
3 Watercolor Splash Tiger
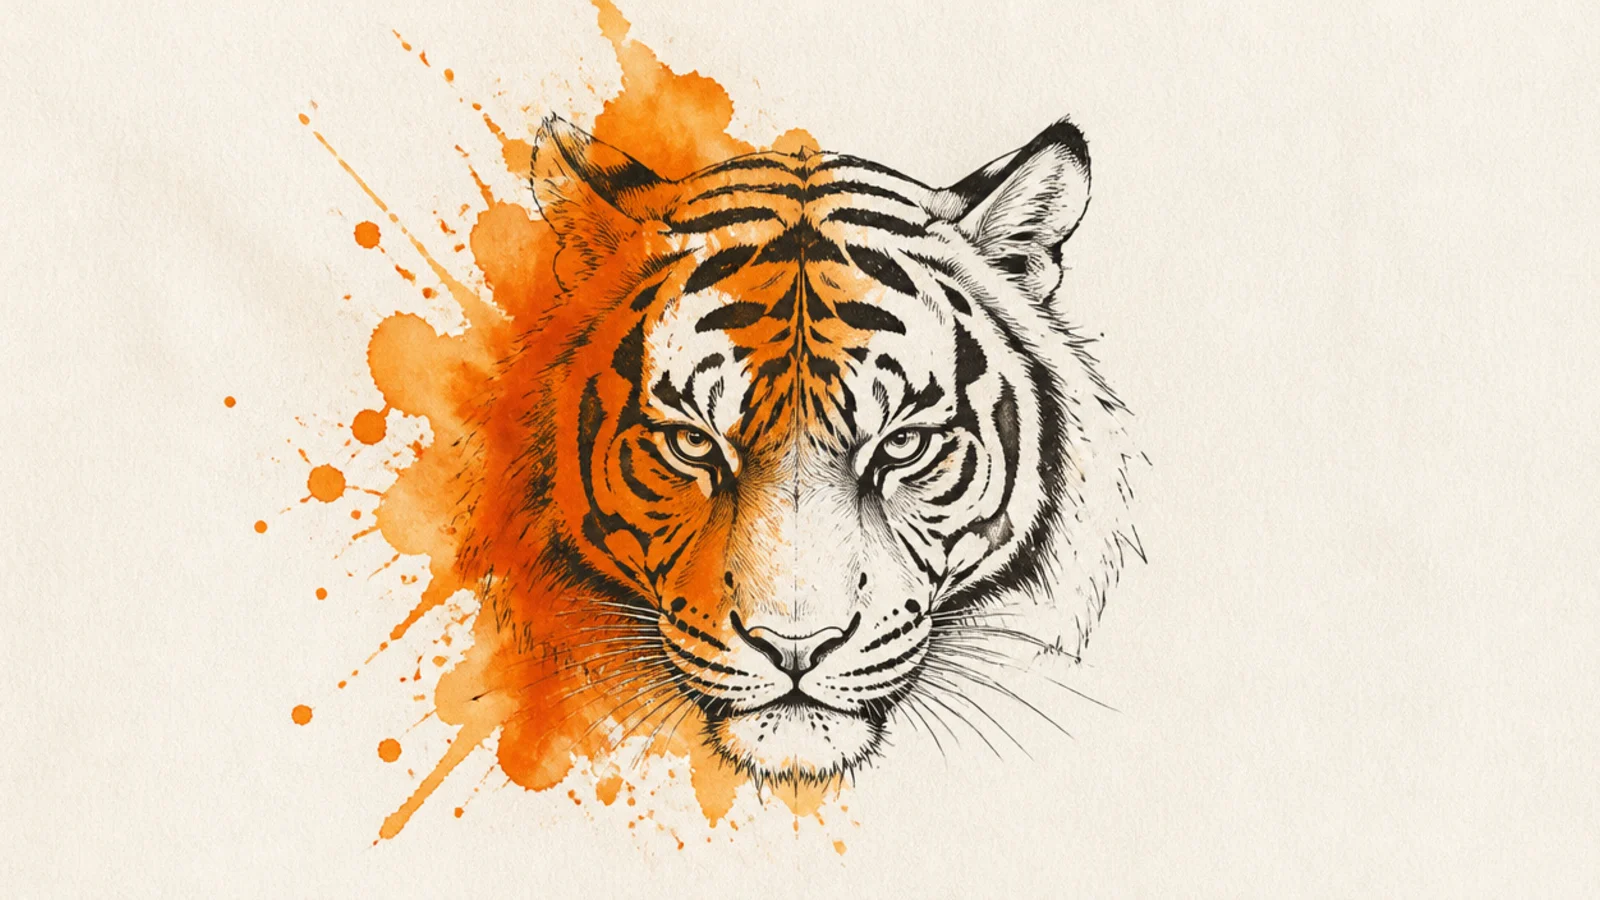
A tiger emerging from a loose watercolor splash is expressive and colorful. The controlled ink head against wild color makes a dramatic, gallery-style page.
Step 1 ink a crisp tiger head. Step 2 wash loose orange and warm splashes bursting out one side. Step 3 flick a few paint droplets and let edges bleed.
Pro tipKeep the head crisp and let only the color side go loose and wild.
AvoidDon’t tidy the splash; the loose bleeds are the appeal.
4 Geometric Low-Poly Tiger
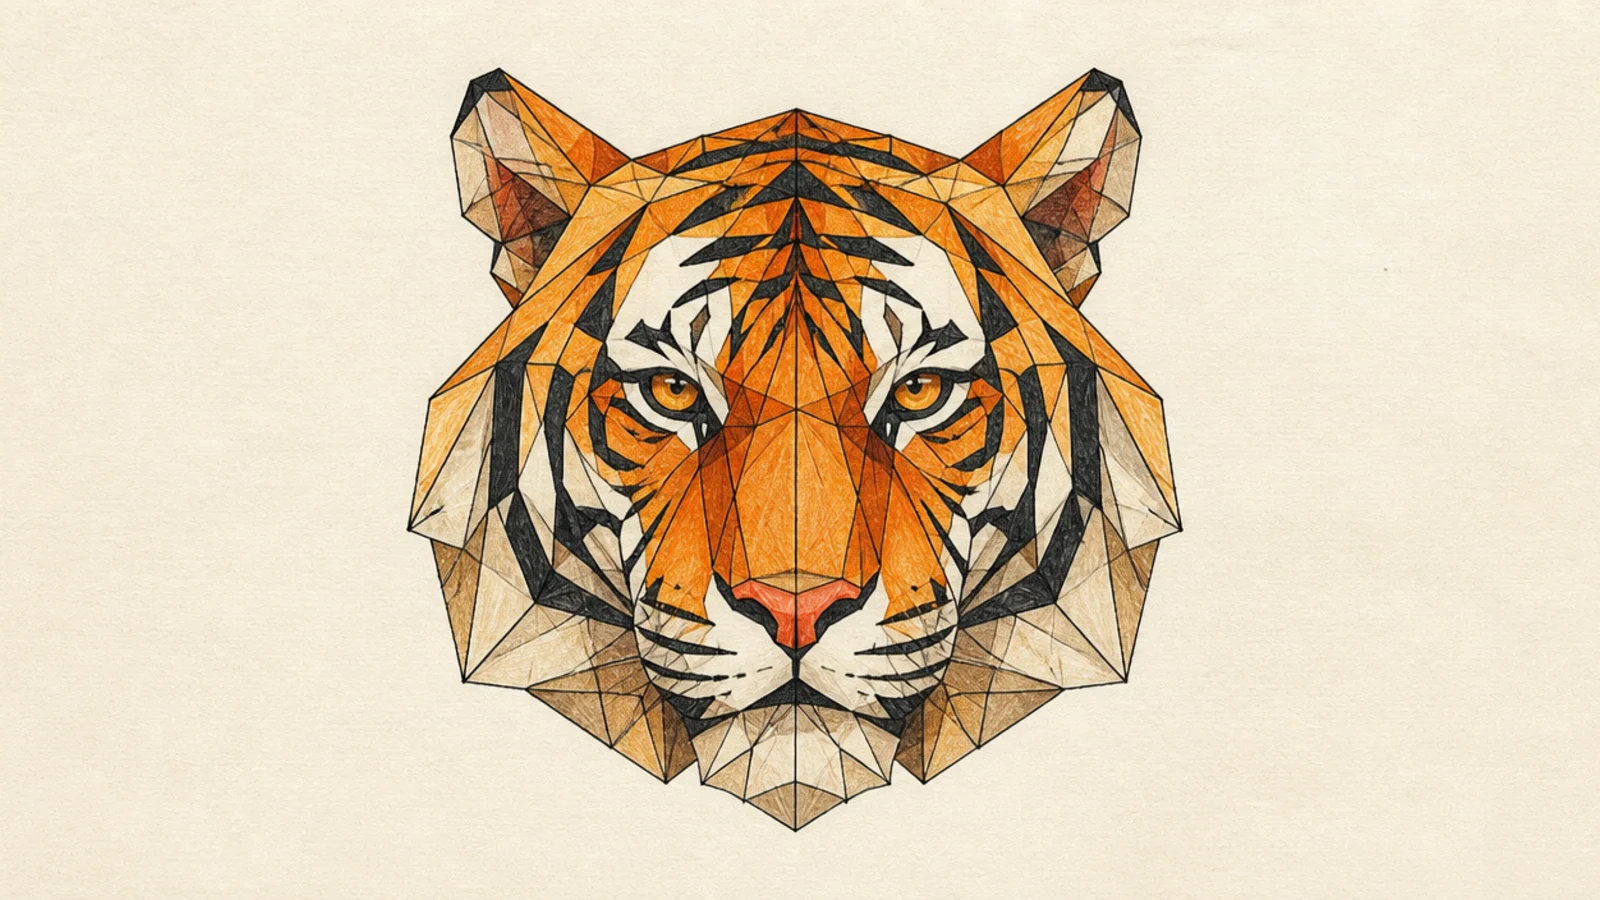
A low-poly tiger built from triangles is modern and crystalline. Breaking the head into flat facets teaches you to see form as planes and looks strikingly digital.
Step 1 draw the tiger head shape. Step 2 divide the surface into connected triangles following the form. Step 3 fill each facet a slightly different tone of orange.
Make facets smaller where the form curves sharply for a faceted look.
Don’t leave gaps between facets; they should tile seamlessly.
5 Mandala Pattern Tiger
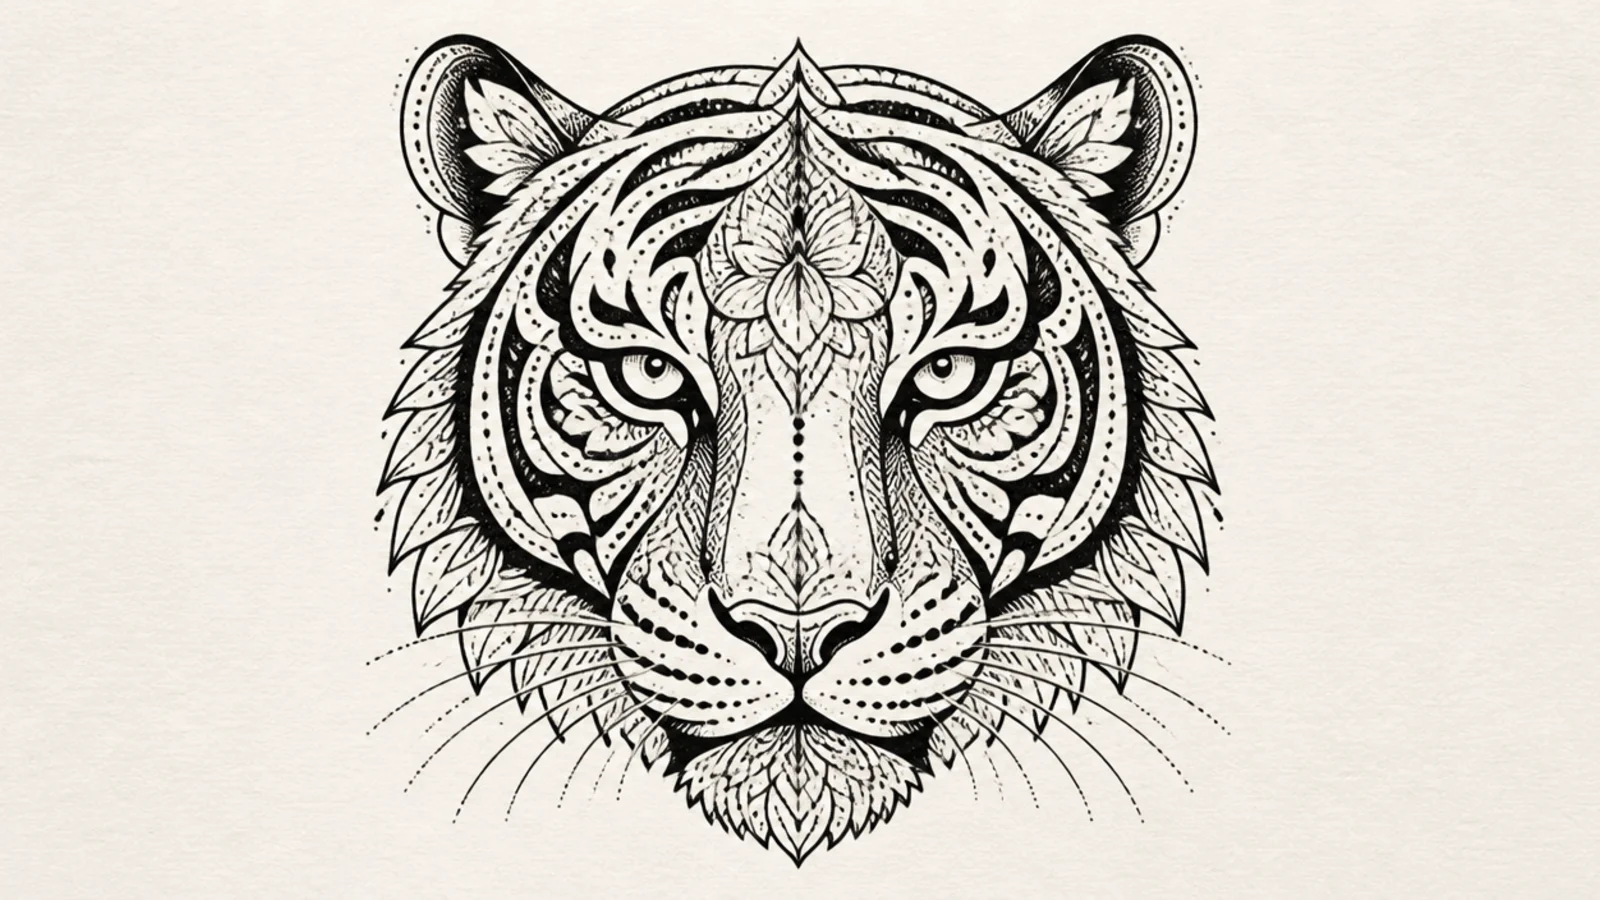
A mandala tiger fills the face with symmetrical patterns for a meditative, decorative page. The mirrored dots and lines turn the stripes into ornament.
Step 1 draw a symmetrical tiger face with a center line. Step 2 fill each region with small repeating patterns — dots, petals, lines. Step 3 mirror every pattern across the center.
Fill one region at a time and mirror it before moving on.
Don’t leave regions empty; even filling makes the mandala rich.
6 Ink Texture Tiger
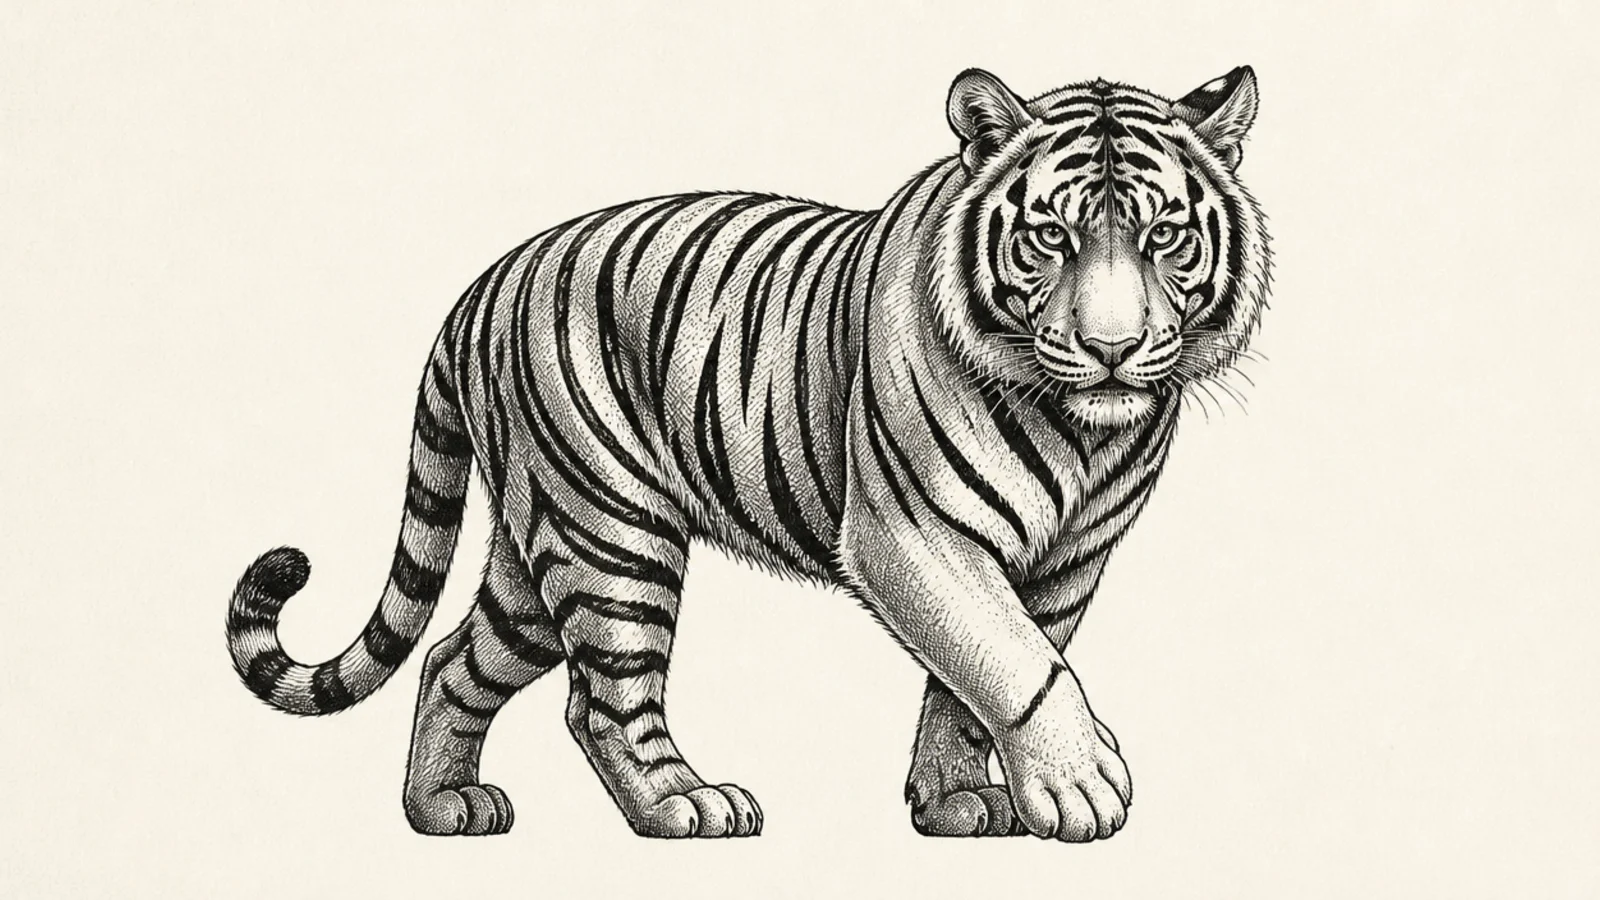
A heavily textured ink tiger built from hatching and stippling is rich and tactile. The dense marks describe fur and value with pure black ink.
Step 1 lightly outline the tiger. Step 2 build value with cross-hatching in the shadows and stippling in mid-tones. Step 3 leave the paper white for highlights and ink the stripes solid.
Pro tipFollow the fur direction with your hatch strokes for texture.
AvoidDon’t shade with flat grey; build every value from ink marks.
7 Negative-Space Tiger
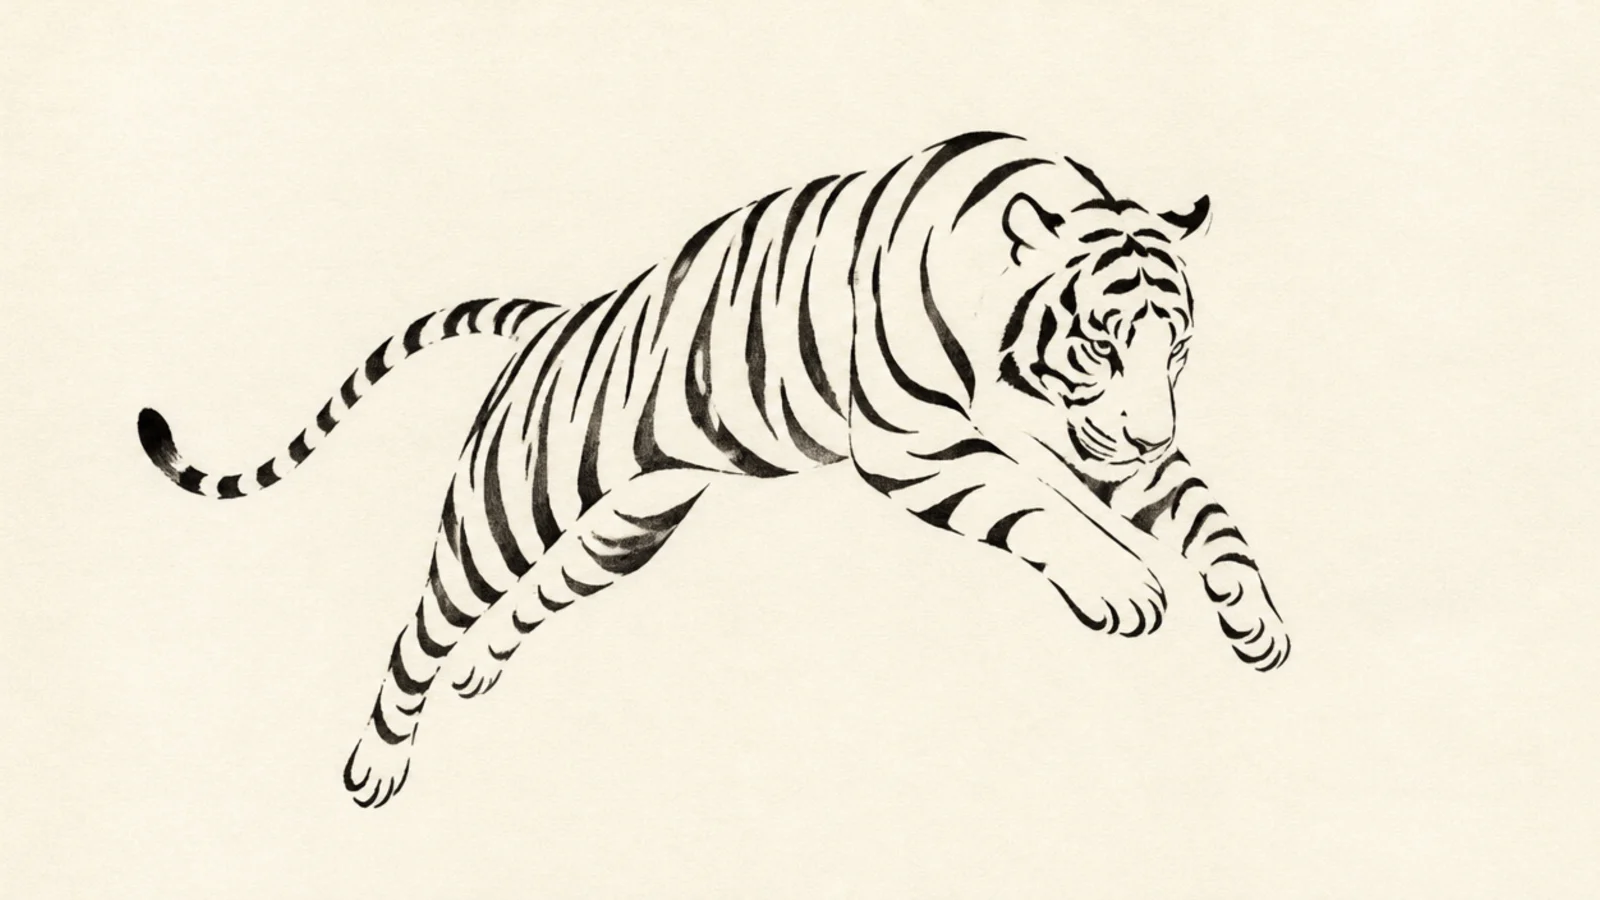
A negative-space tiger uses only the stripes to imply the whole animal, no outline at all. The brain fills in the body between the marks, which is clever and elegant.
Step 1 lightly sketch the tiger form and erase it later. Step 2 ink only the stripes where they would fall on the body. Step 3 remove the guide so just the floating stripes remain.
Pro tipCurve each stripe to follow the hidden body so the shape reads.
AvoidDon’t add an outline; the missing edges are the whole trick.
8 Art Nouveau Tiger
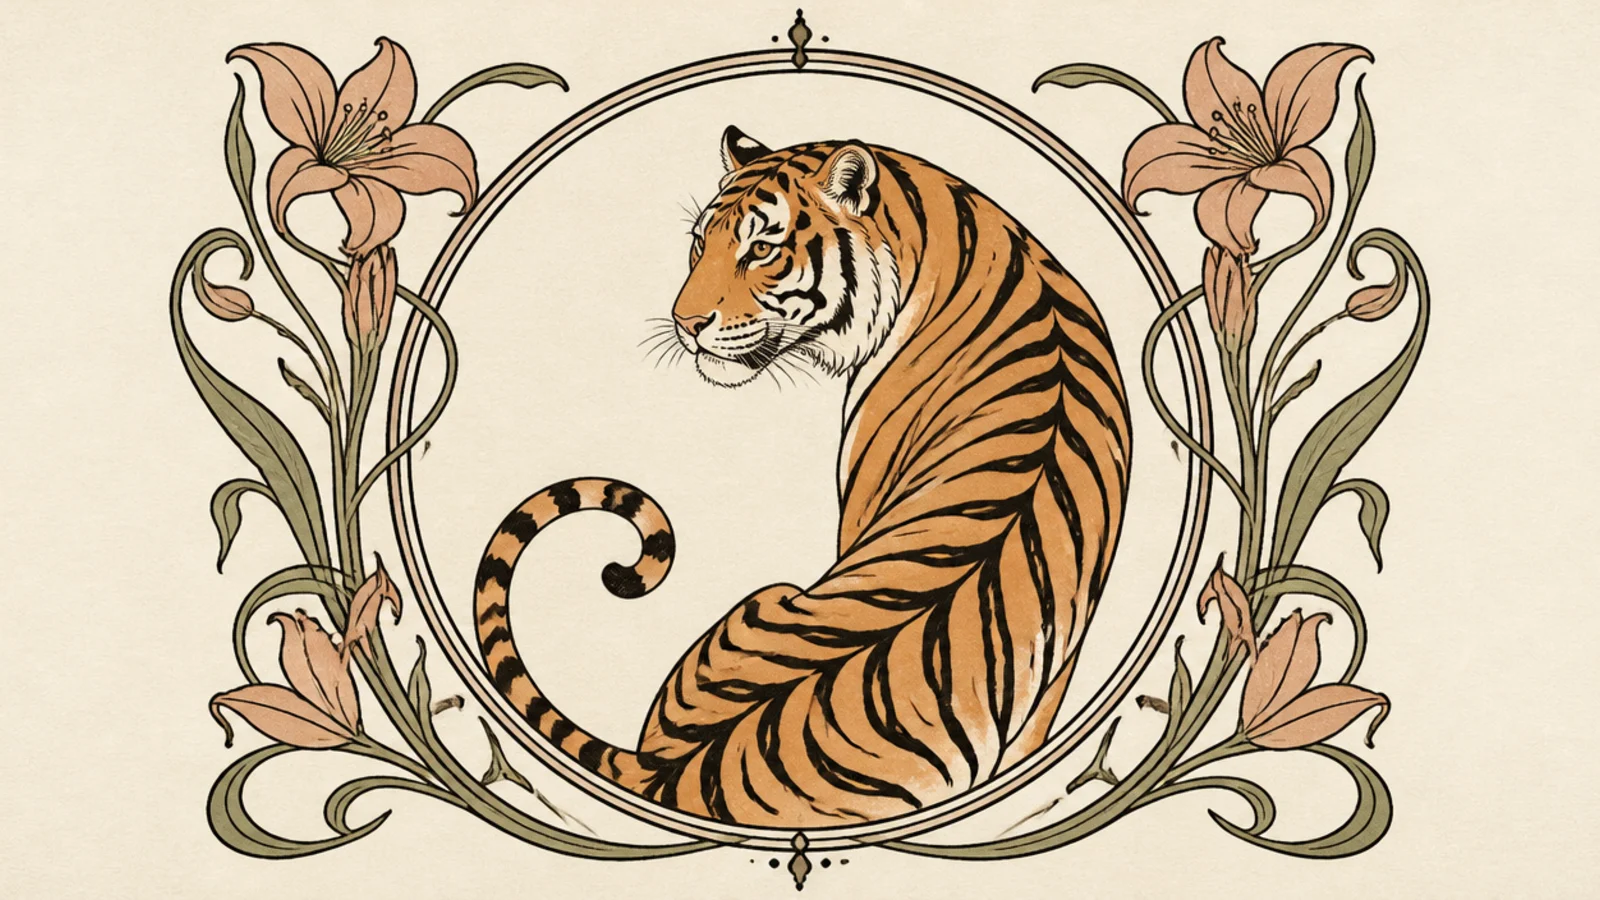
An Art Nouveau tiger sits inside flowing vines and a decorative circle border. The elegant whiplash curves and framing make a sophisticated, vintage-poster page.
Step 1 draw a circle border and a stylized tiger inside. Step 2 wrap flowing vine and flower curves around the frame. Step 3 keep the line elegant and even with a few flat muted colors.
Pro tipUse long, graceful S-curves for the vines to match the style.
AvoidDon’t use stiff straight lines; the flowing curve is the era’s signature.
9 Pop Art Tiger
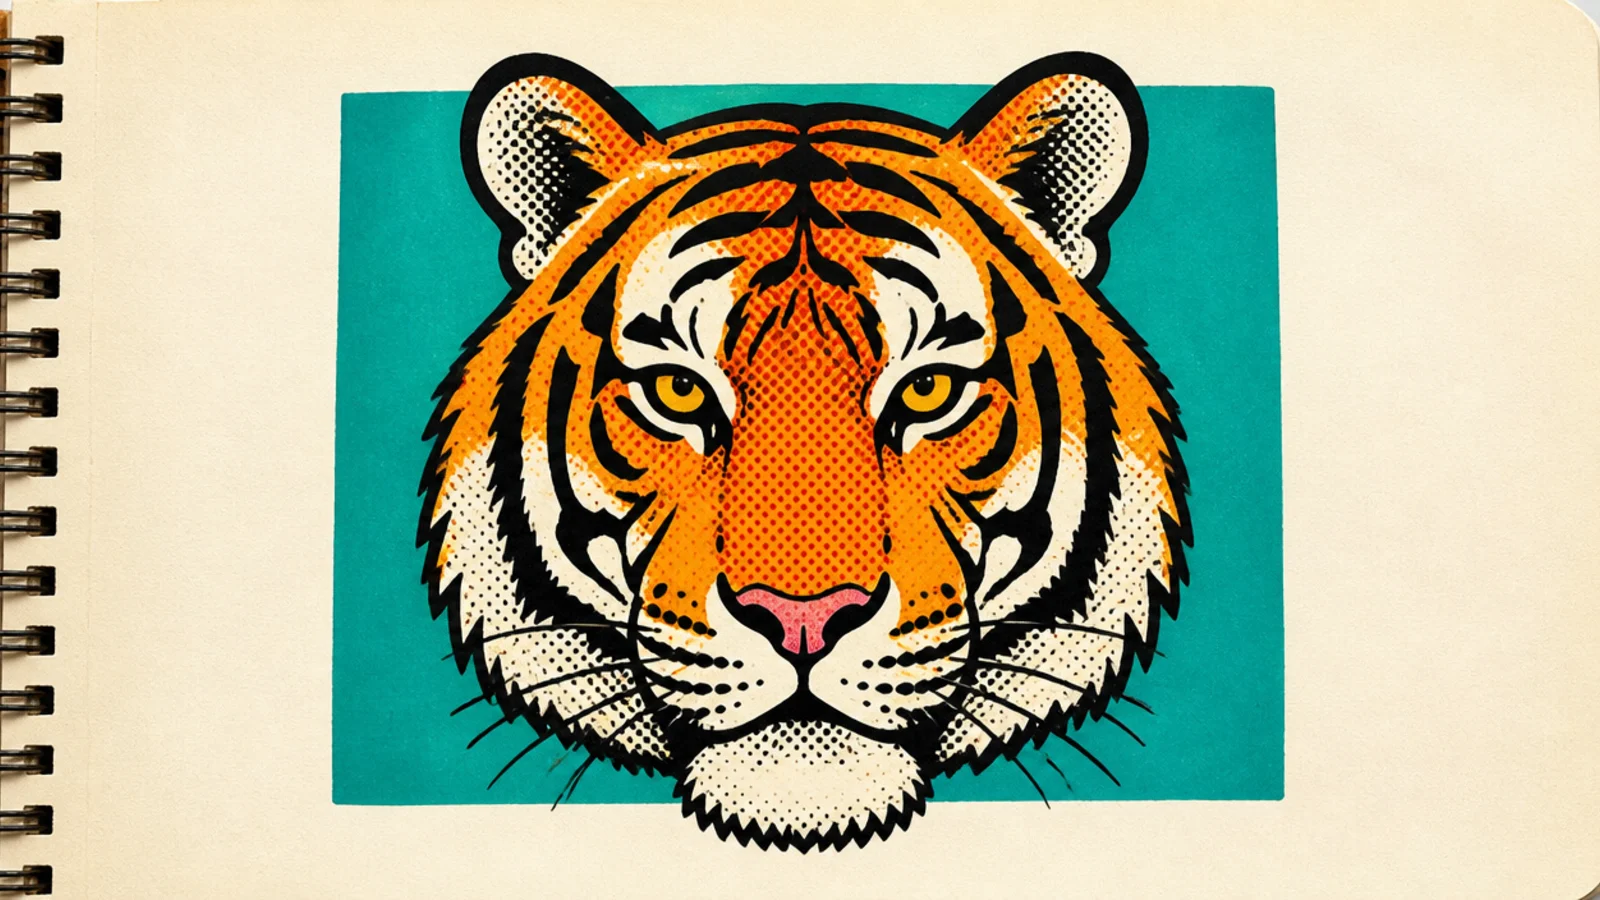
A pop-art tiger uses bold outlines, flat bright color, and halftone dots. The comic-book styling is loud and fun and fills a page with energy.
Step 1 ink a bold thick-outlined tiger face. Step 2 fill it with flat bright colors. Step 3 add halftone dot shading and a punchy background block.
Pro tipKeep the outline thick and the colors flat and saturated.
AvoidDon’t soften the edges; pop art wants hard, bold lines.
10 Bold Brush-Stroke Tiger
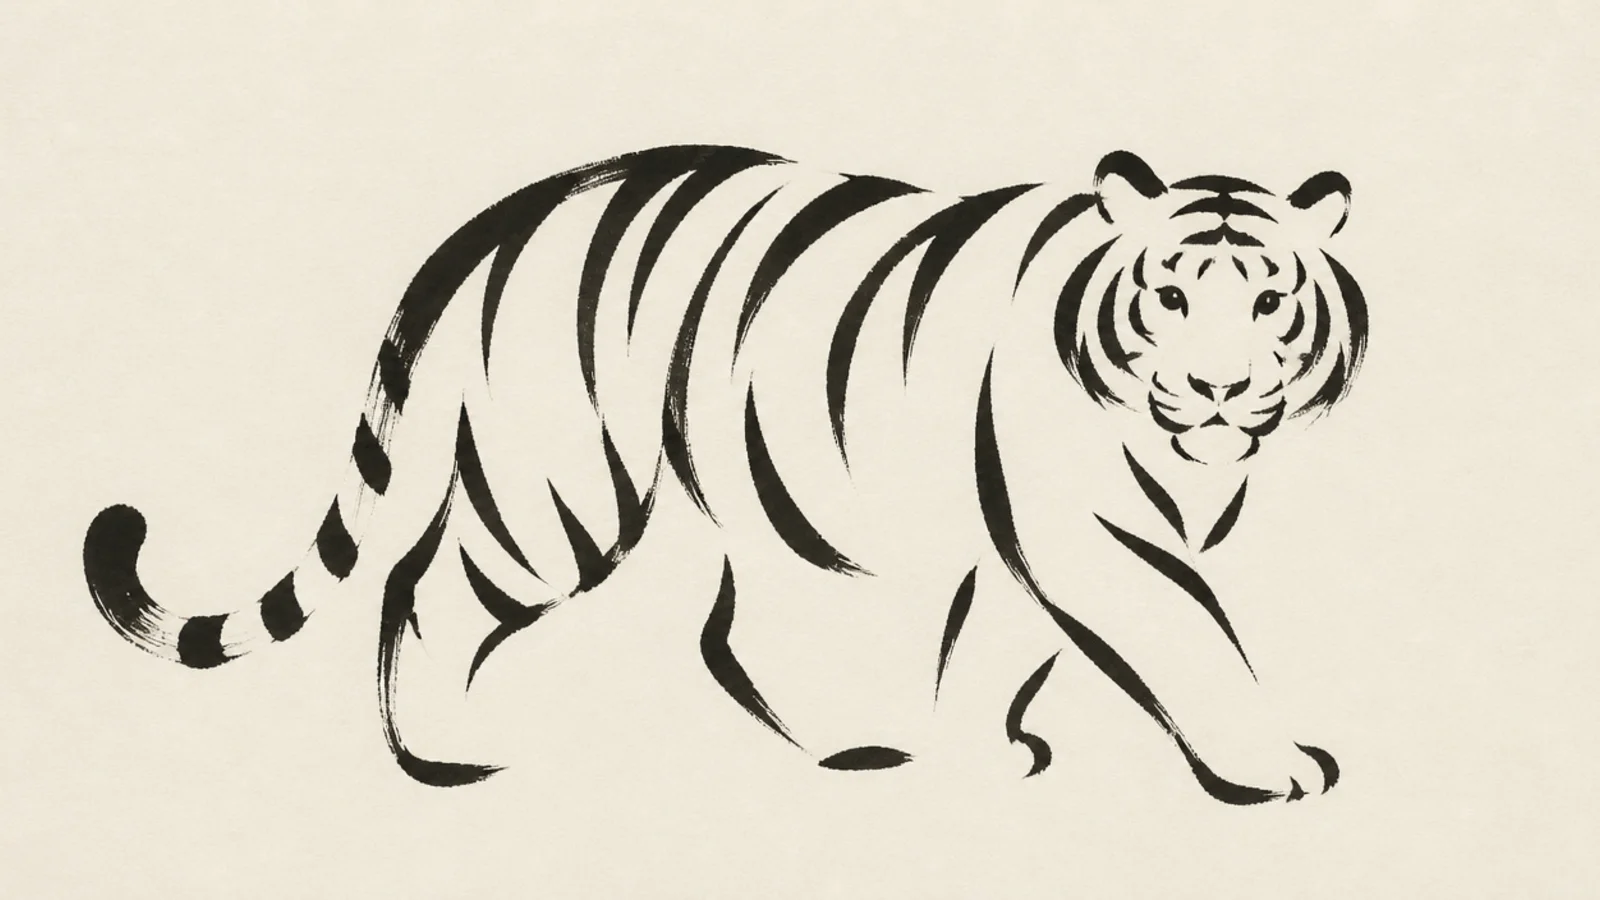
A tiger built from a few bold brush strokes is spontaneous and confident. Each stripe is a single pressure stroke, so the whole animal is fast, loose, and gestural.
Step 1 load a brush with black ink. Step 2 lay the body and head in a few broad strokes. Step 3 add stripes as quick tapering pressure strokes and two eye dots.
Pro tipCommit to each stroke in one confident pass; hesitation shows.
AvoidDon’t rework strokes; the freshness is the whole point.
11 Stained-Glass Tiger
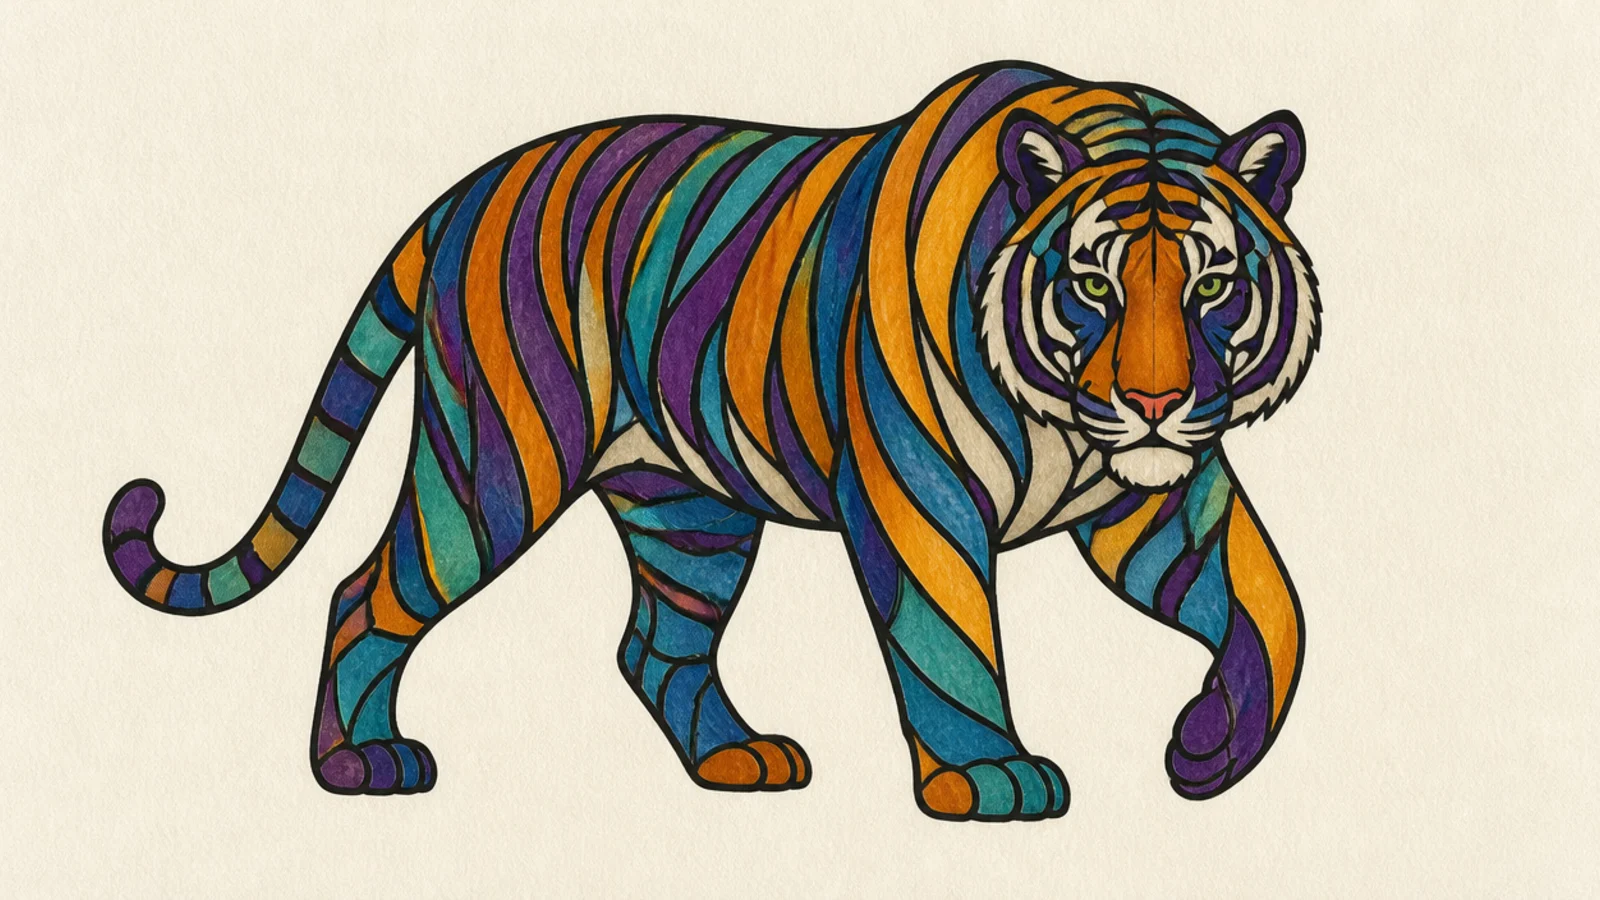
A stained-glass tiger divides the image into colored panels with bold dark leading. The jewel-like segments and heavy outlines make a rich, luminous page.
Step 1 draw the tiger and divide it into clean panel shapes. Step 2 outline every panel with a thick dark line for the leading. Step 3 fill each panel a flat jewel color.
Pro tipMake the leading lines thick and even like real came strips.
AvoidDon’t blend colors within a panel; each stays flat and separate.
12 Dripping Paint Tiger
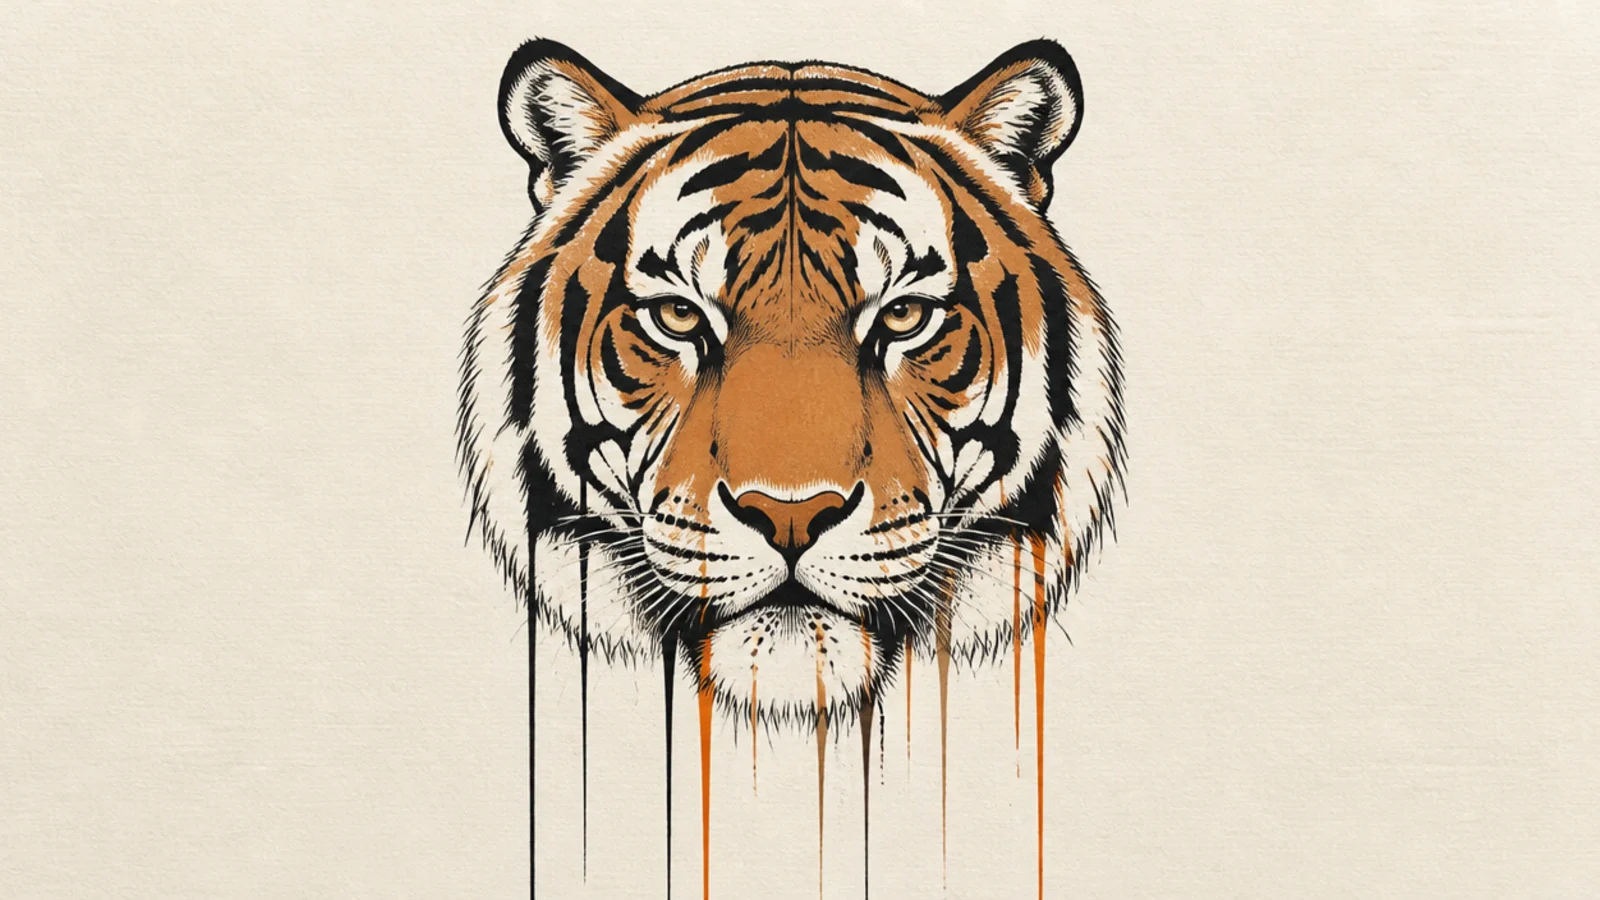
A tiger with paint drips running down the page is edgy and modern. The controlled face against the running color makes a striking street-art feel.
Step 1 render a solid tiger face. Step 2 let a few color drips run straight down from the chin and stripes. Step 3 keep the drips thin and vertical for gravity.
Pro tipRun the drips straight down so they read as wet, falling paint.
AvoidDon’t drip in every direction; gravity pulls drips straight down.
13 Constellation Tiger
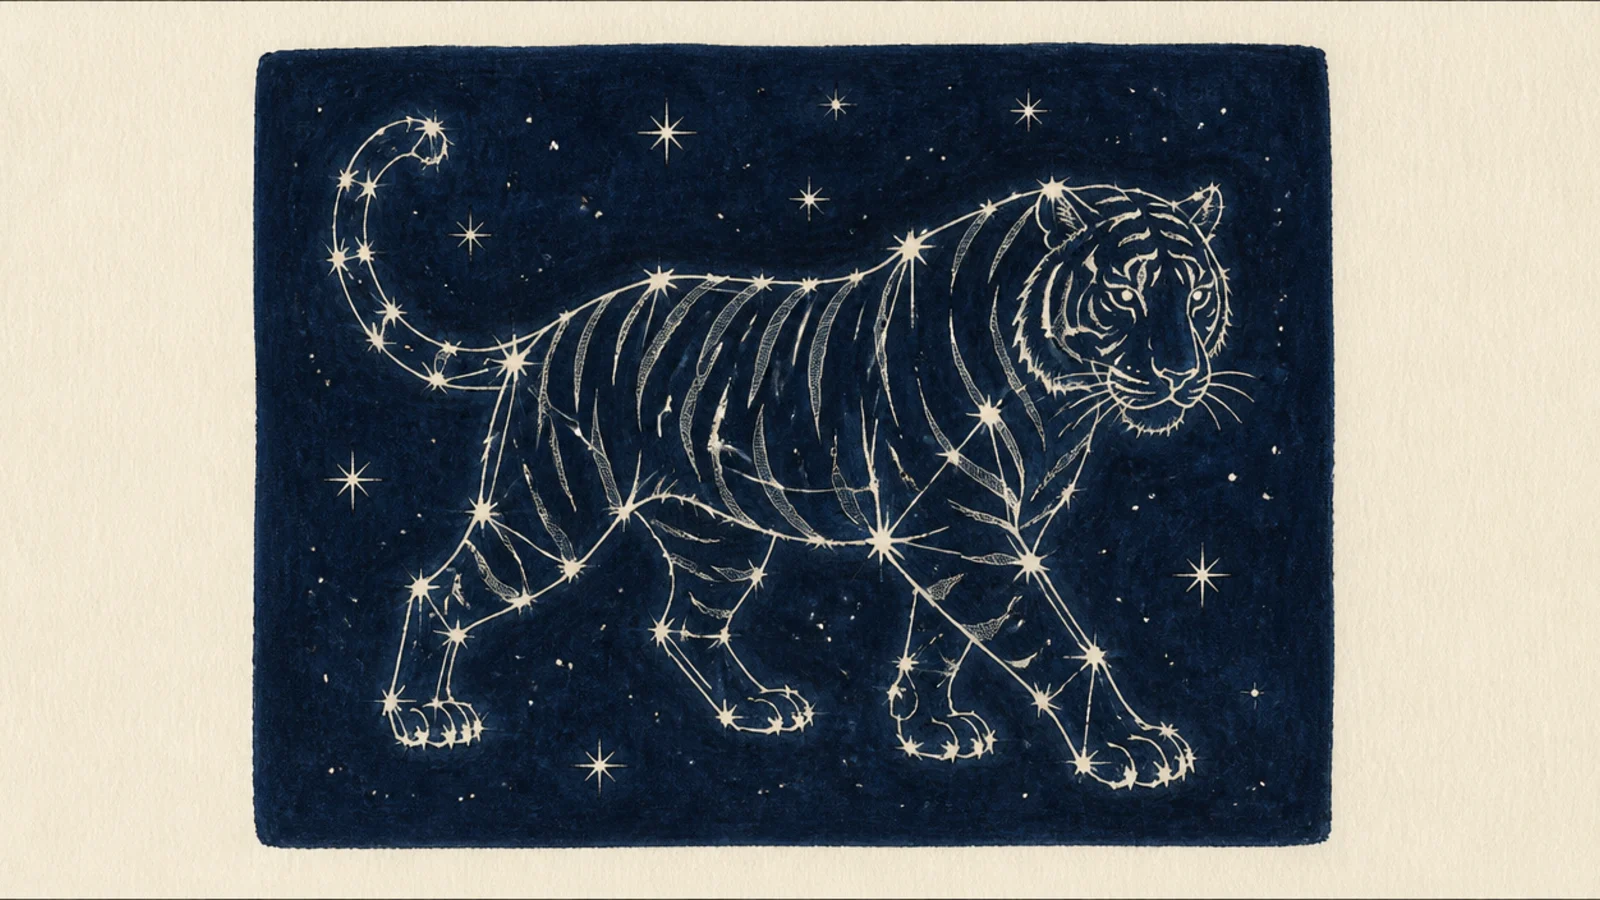
A constellation tiger draws the animal as connected stars on a dark sky. The dotted, celestial styling is dreamy and unique for a journal spread.
Step 1 plot key points of the tiger’s shape as small stars. Step 2 connect them with thin lines like a constellation. Step 3 scatter tiny background stars and a wash of deep blue.
Pro tipPlace brighter stars at the joints and features for structure.
AvoidDon’t draw a full outline; let the connected stars imply the form.
14 Floral Fusion Tiger
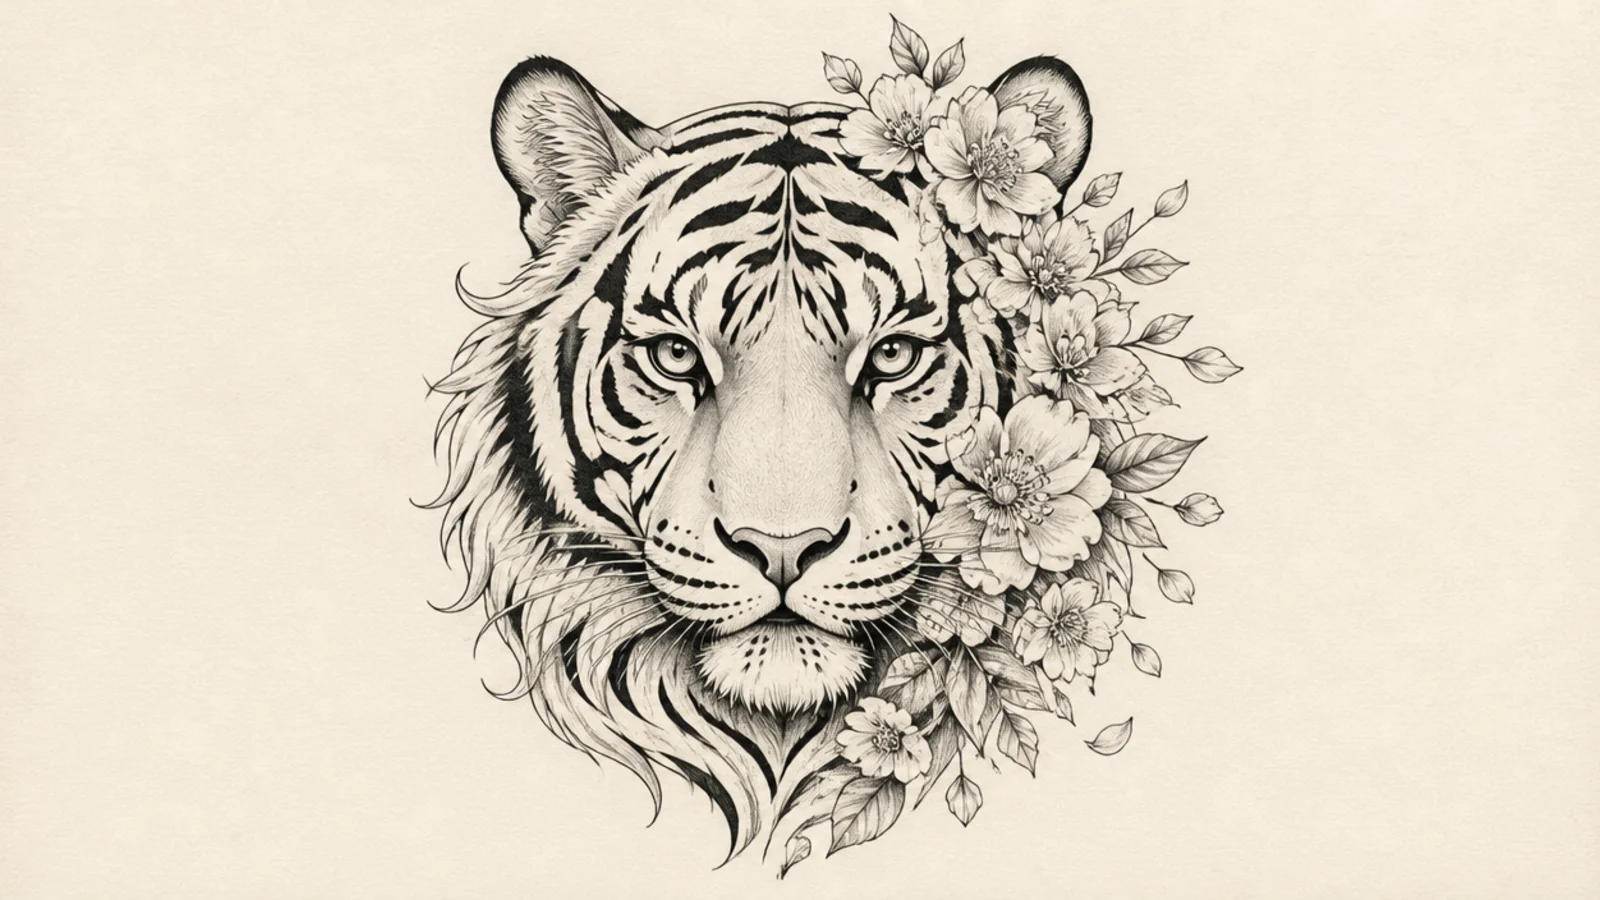
A floral tiger blends the stripes and fur into blooming flowers and leaves. The fusion of animal and botanical is soft, decorative, and very shareable.
Step 1 draw a tiger head. Step 2 grow flowers and leaves out of the stripe areas and mane. Step 3 keep the eyes and nose crisp so the tiger still reads.
Pro tipLet flowers replace stripes gradually so the blend feels natural.
AvoidDon’t bury the face; keep the eyes clear so it stays a tiger.
15 Sunset Silhouette Scene
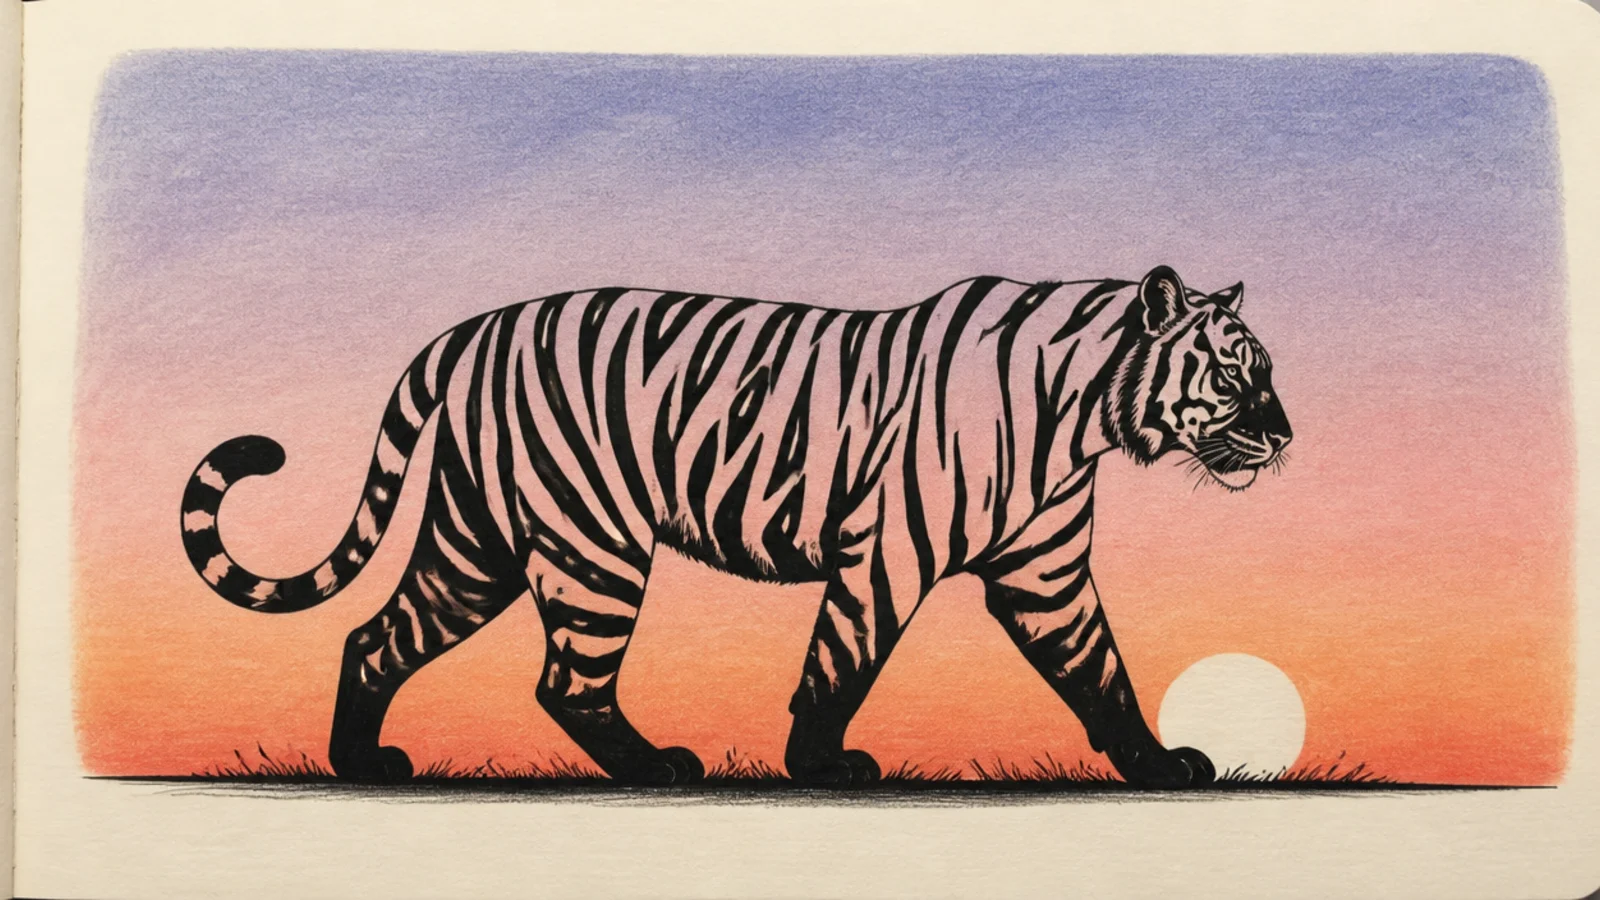
A black tiger silhouette against a sunset gradient is atmospheric and easy. The flat black shape against glowing color makes a calm, cinematic page.
Step 1 wash a warm sunset gradient across the page. Step 2 once dry, paint a flat black tiger silhouette over it. Step 3 add a simple ground line and a low sun.
Pro tipGraduate the sky from warm at the horizon to cool above.
AvoidDon’t add detail inside the silhouette; keep it flat black.
16 Cubist Fractured Tiger
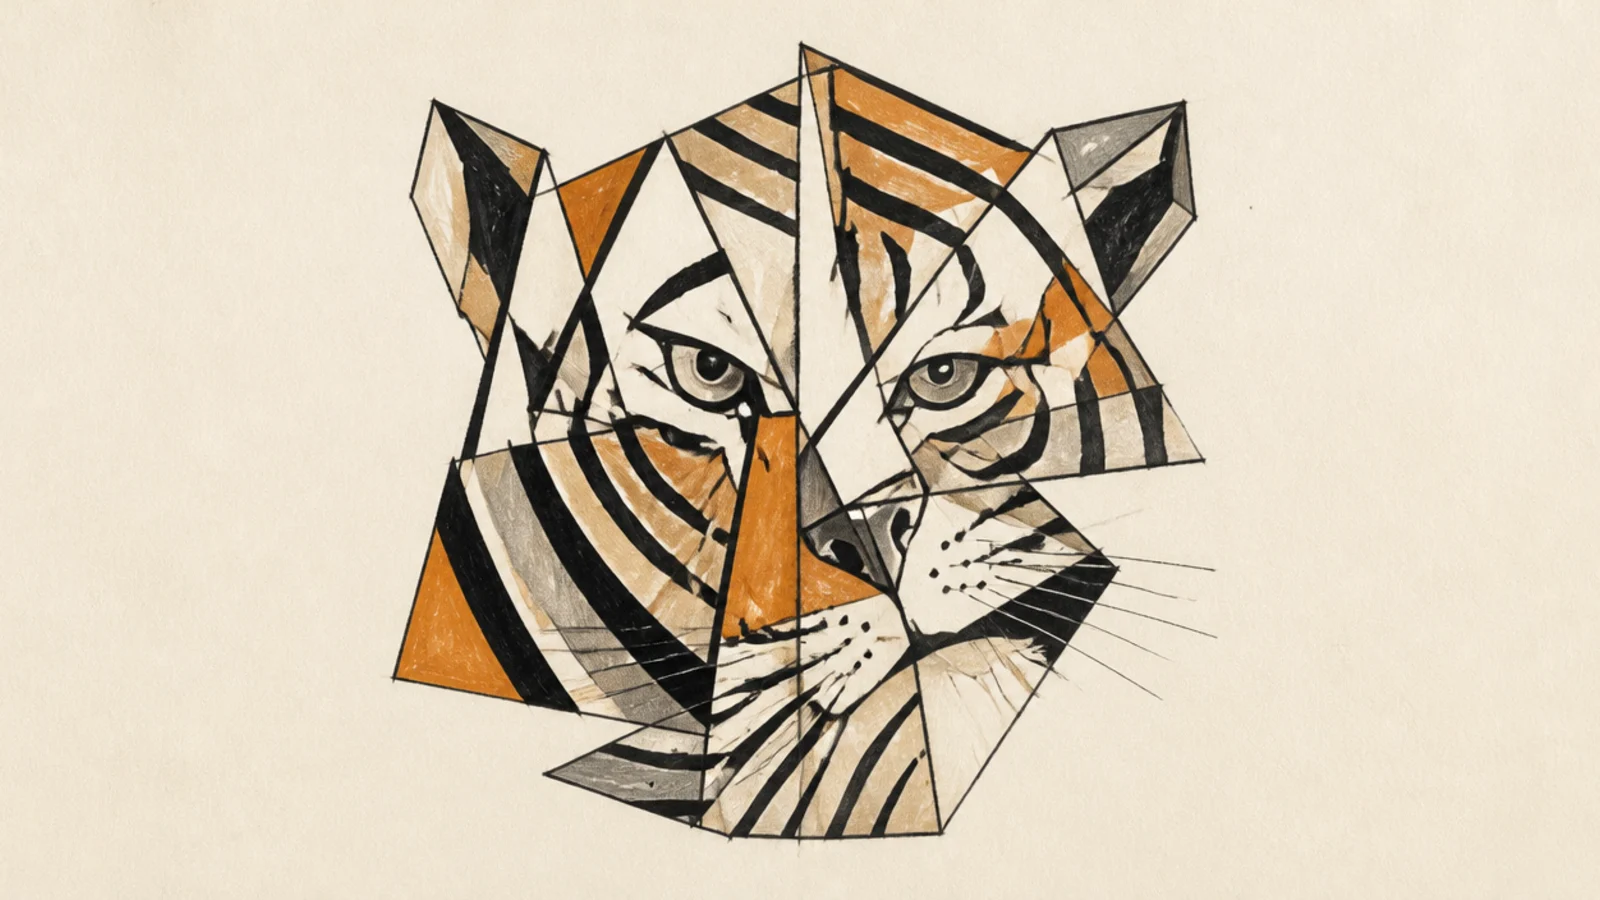
A cubist tiger shatters the face into overlapping planes seen from several angles at once. The fractured styling is bold, abstract, and thought-provoking.
Step 1 draw the tiger face lightly. Step 2 break it into overlapping angular planes, shifting some features. Step 3 fill the planes with varied flat tones.
Pro tipShift one eye or the muzzle to a different plane for the cubist effect.
AvoidDon’t keep it symmetrical; the fractured shift is the style.
17 Zentangle Doodle Tiger
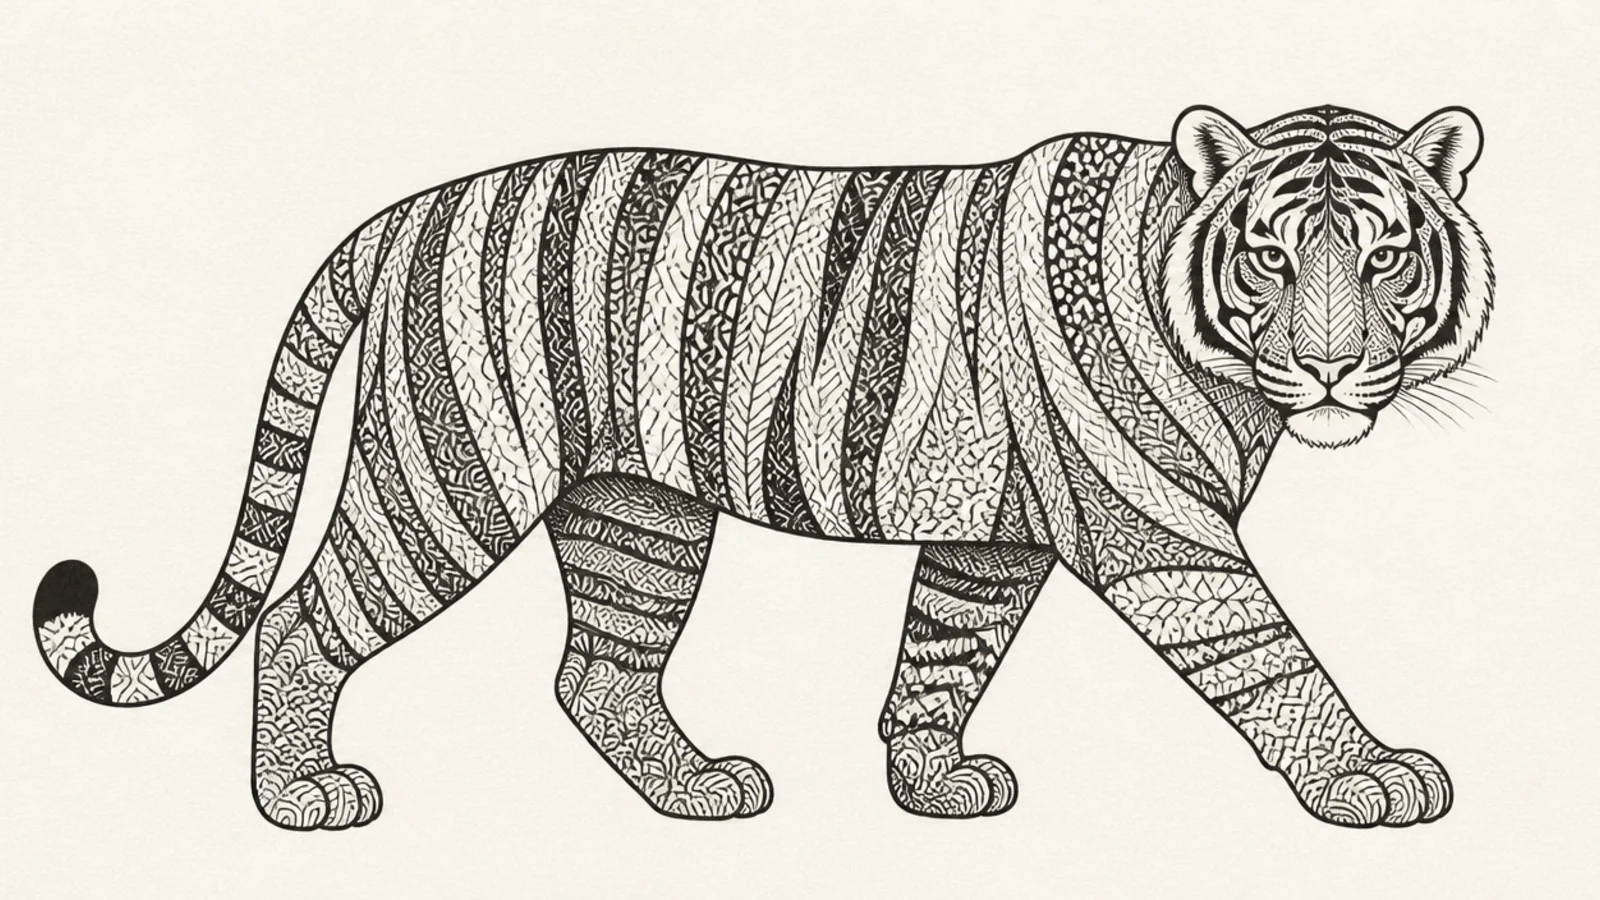
A zentangle tiger fills the whole silhouette with tiny repeating doodle patterns. The meditative filling turns one shape into an intricate, calming page.
Step 1 draw a bold tiger outline. Step 2 divide it into sections with a few lines. Step 3 fill each section with a different repeating doodle pattern.
Pro tipGive each section its own pattern so the fill stays interesting.
AvoidDon’t rush the patterns; slow, even doodling is the point.
18 Neon Gradient Tiger
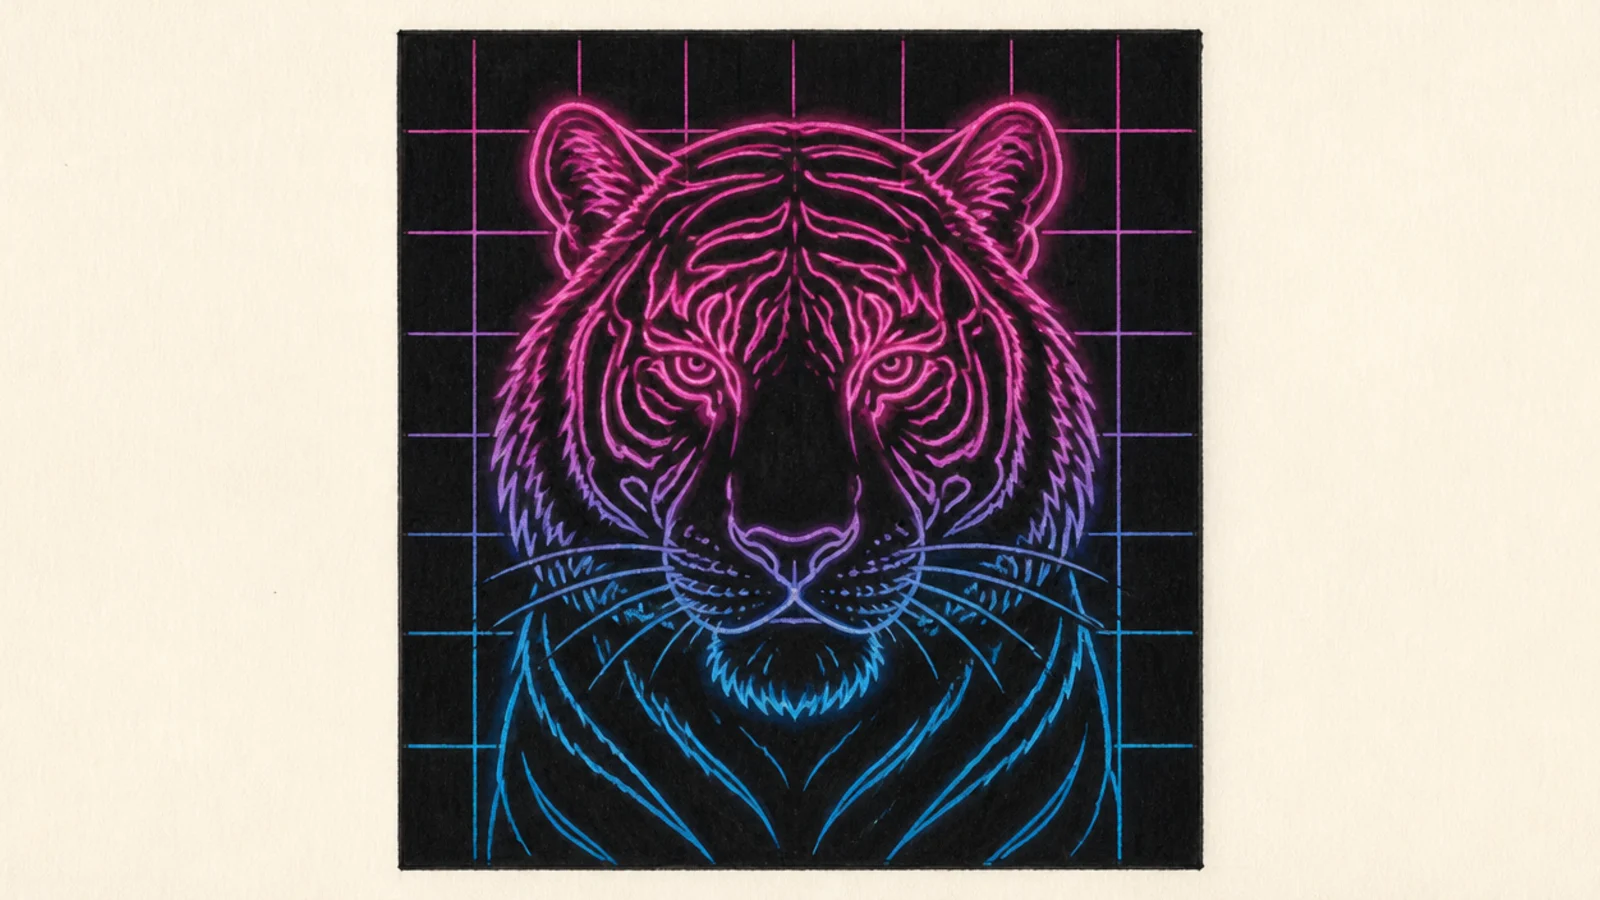
A neon gradient tiger glows in electric colors on a black page. The synthwave styling is bold, retro-futuristic, and pops off a dark spread.
Step 1 draw the tiger on black paper. Step 2 outline it in a pink-to-blue neon gradient. Step 3 add a faint glow around the lines and a neon grid behind.
Pro tipBlend the outline color smoothly from warm to cool for the neon shift.
AvoidDon’t use black lines; the glowing gradient is the whole look.
19 Paper Collage Tiger
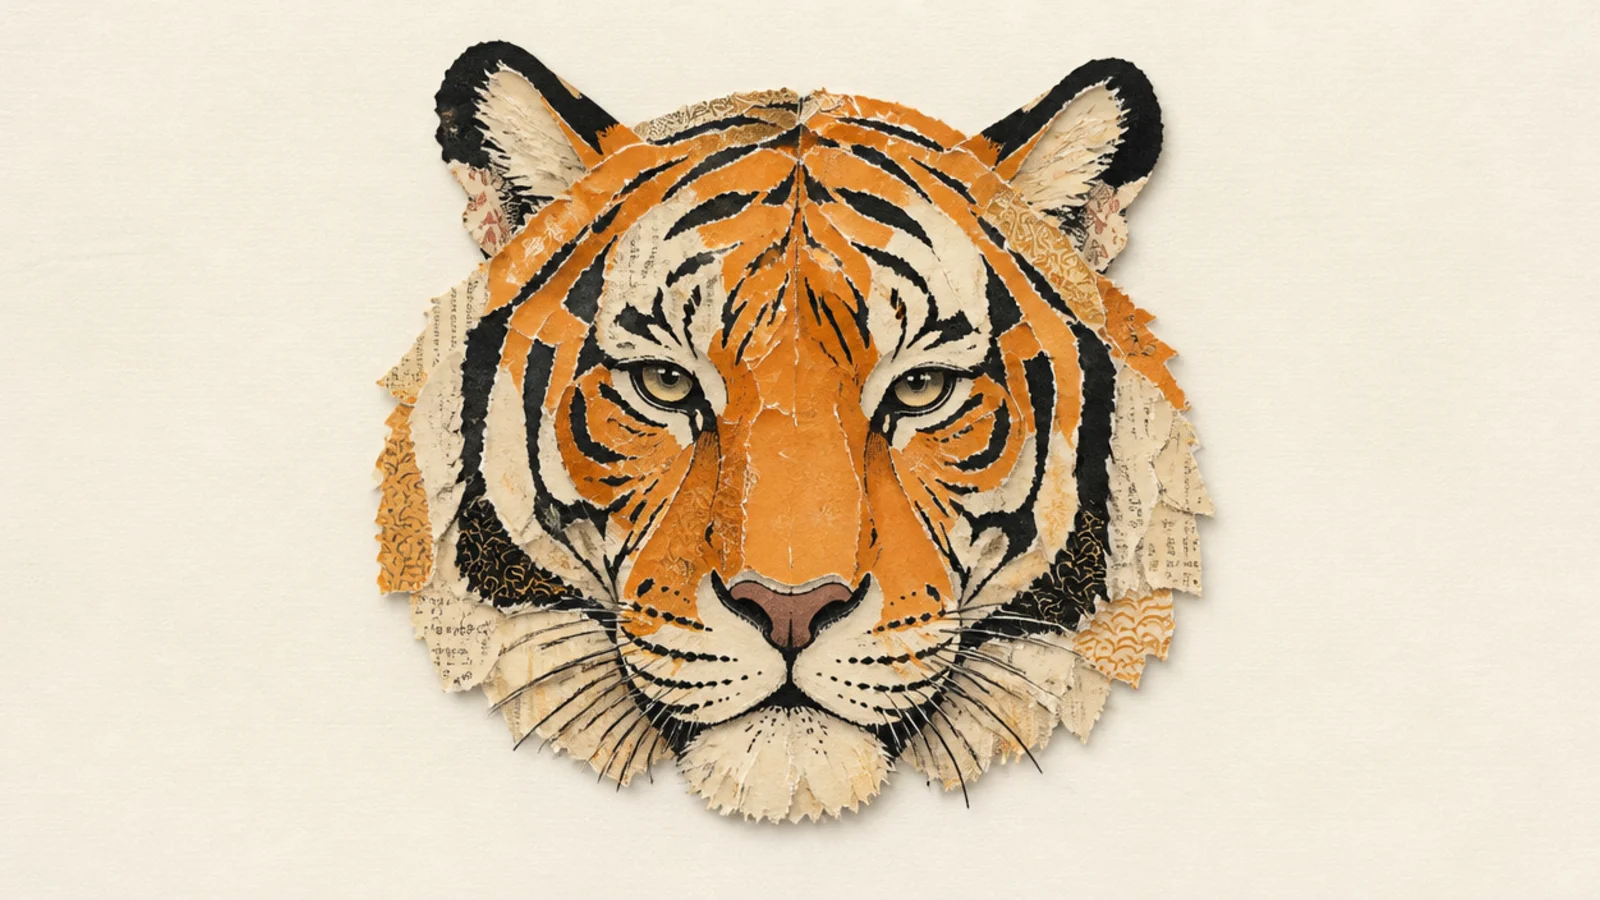
A collage tiger builds the animal from torn patterned paper. The mixed textures and layered scraps make a tactile, playful mixed-media page.
Step 1 tear orange and patterned paper into rough shapes. Step 2 layer them into a tiger head and glue down. Step 3 draw the eyes, nose, and a few stripe accents on top.
Pro tipTear rather than cut the paper for soft, organic collage edges.
AvoidDon’t over-plan; loose torn shapes give collage its charm.
20 Minimal Geometric Face
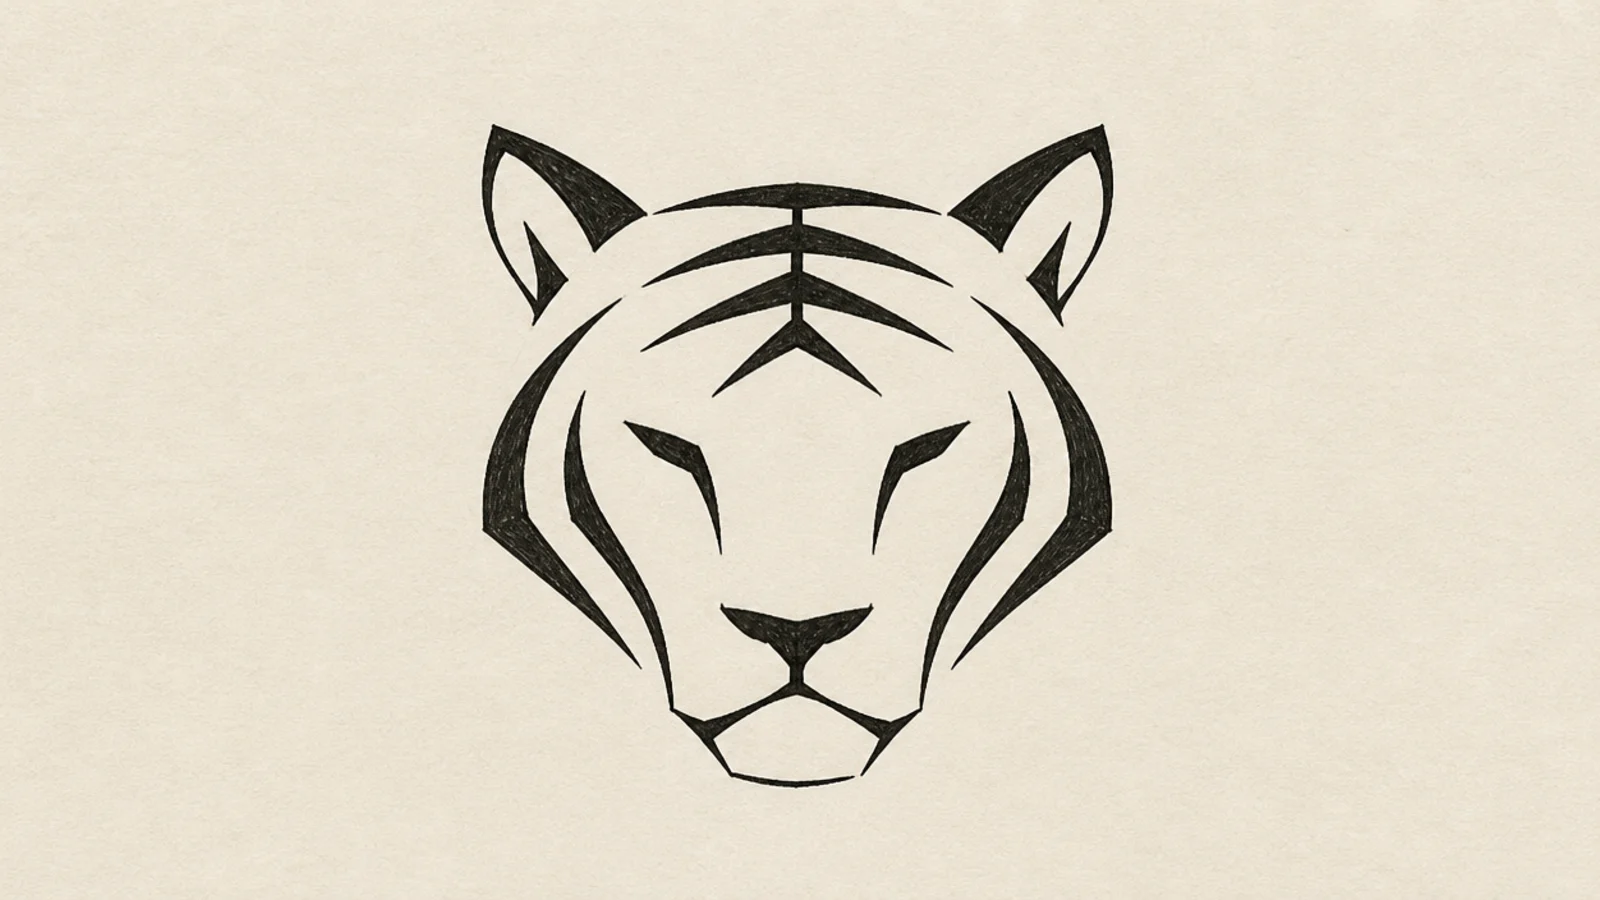
A minimal tiger face reduces the animal to a handful of clean shapes. Stripping it down to the essentials makes a calm, modern logo-like page.
Step 1 draw the head as one simple rounded shape. Step 2 add the eyes, nose, and ears as minimal geometric marks. Step 3 suggest only three or four key stripes.
Pro tipUse the fewest marks that still read clearly as a tiger.
AvoidDon’t add detail; the restraint is what makes it modern.
21 Split Realistic-and-Line Tiger
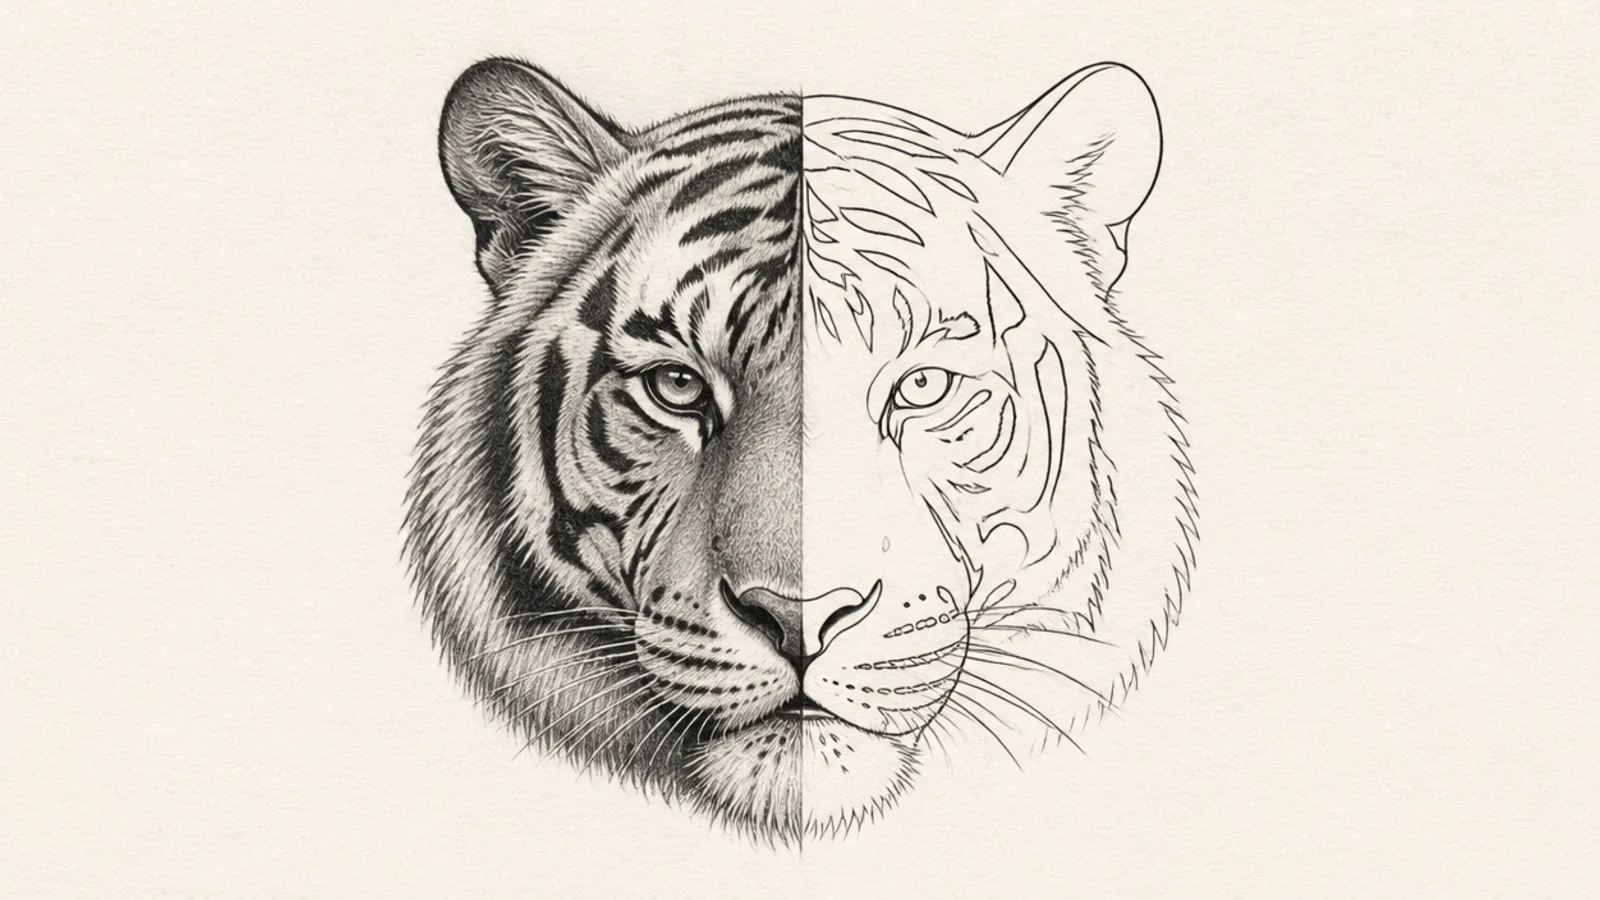
A split tiger renders one half realistically and leaves the other as clean line art. The contrast between finished and outline is a striking conceptual page.
Step 1 draw the full tiger face in light line. Step 2 fully render and shade one half. Step 3 leave the other half as crisp untouched outline.
Split the face right down the center line for a clean divide.
Don’t blend the two halves; the sharp contrast is the concept.
22 Moody Ink-Wash Tiger
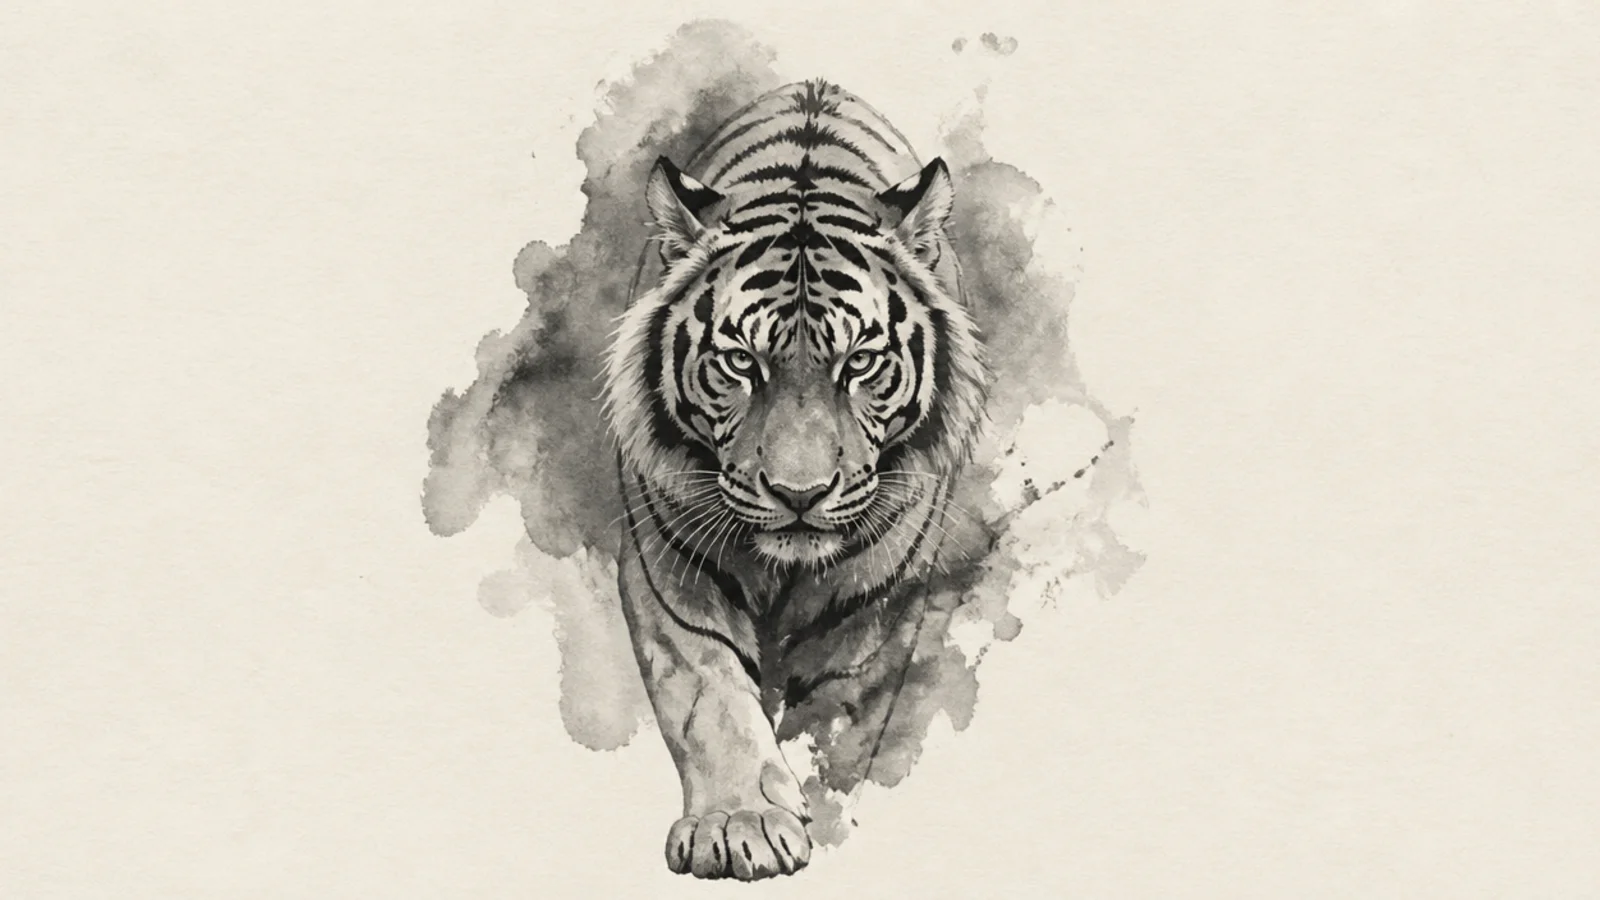
An ink-wash tiger emerges from soft grey washes into shadow. The tonal, atmospheric styling is moody and painterly with just diluted ink.
Step 1 wash light grey ink for the mid-tones. Step 2 layer darker washes for the shadows and let the tiger emerge. Step 3 add a few crisp dark accents on the eyes and stripes.
Pro tipLet some edges dissolve into the wash so the tiger emerges from shadow.
AvoidDon’t outline everything; let soft washes define most edges.
23 Kinetic Motion Tiger
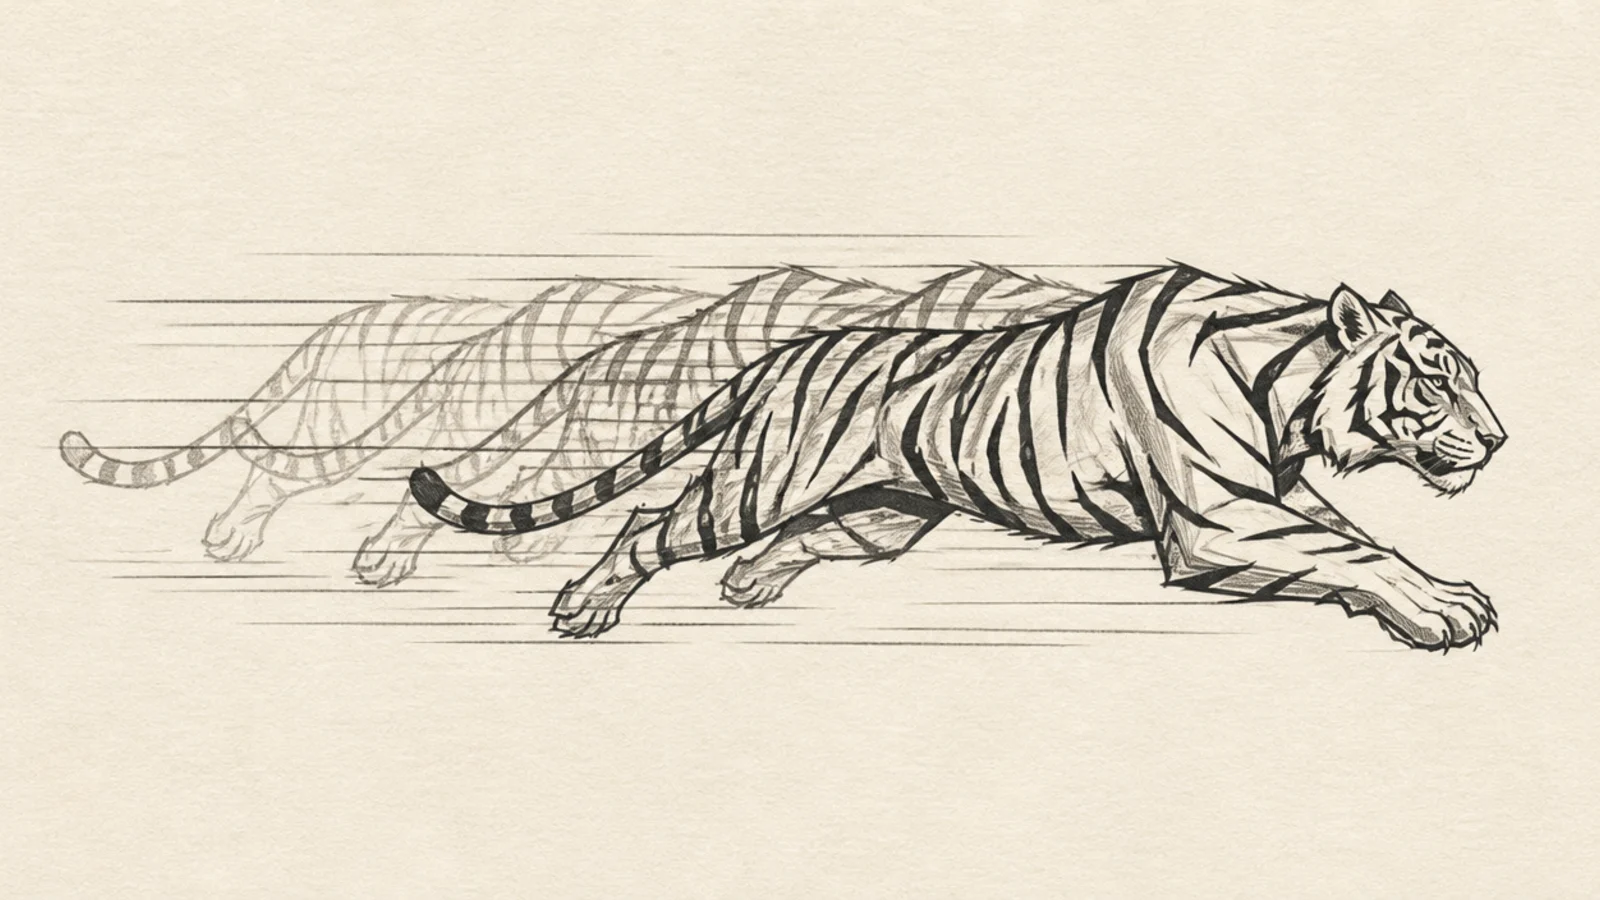
A kinetic tiger repeats a running pose in fading overlapping frames. The layered echoes create a sense of speed and movement across the page.
Step 1 draw a running tiger in a strong pose. Step 2 repeat it a few times offset behind, each fainter. Step 3 add streaking motion lines through the frames.
Pro tipFade each repeated frame lighter so the motion trails backward.
AvoidDon’t draw the echoes equally dark; fading sells the motion.
24 Stripe-Pattern Fill Tiger
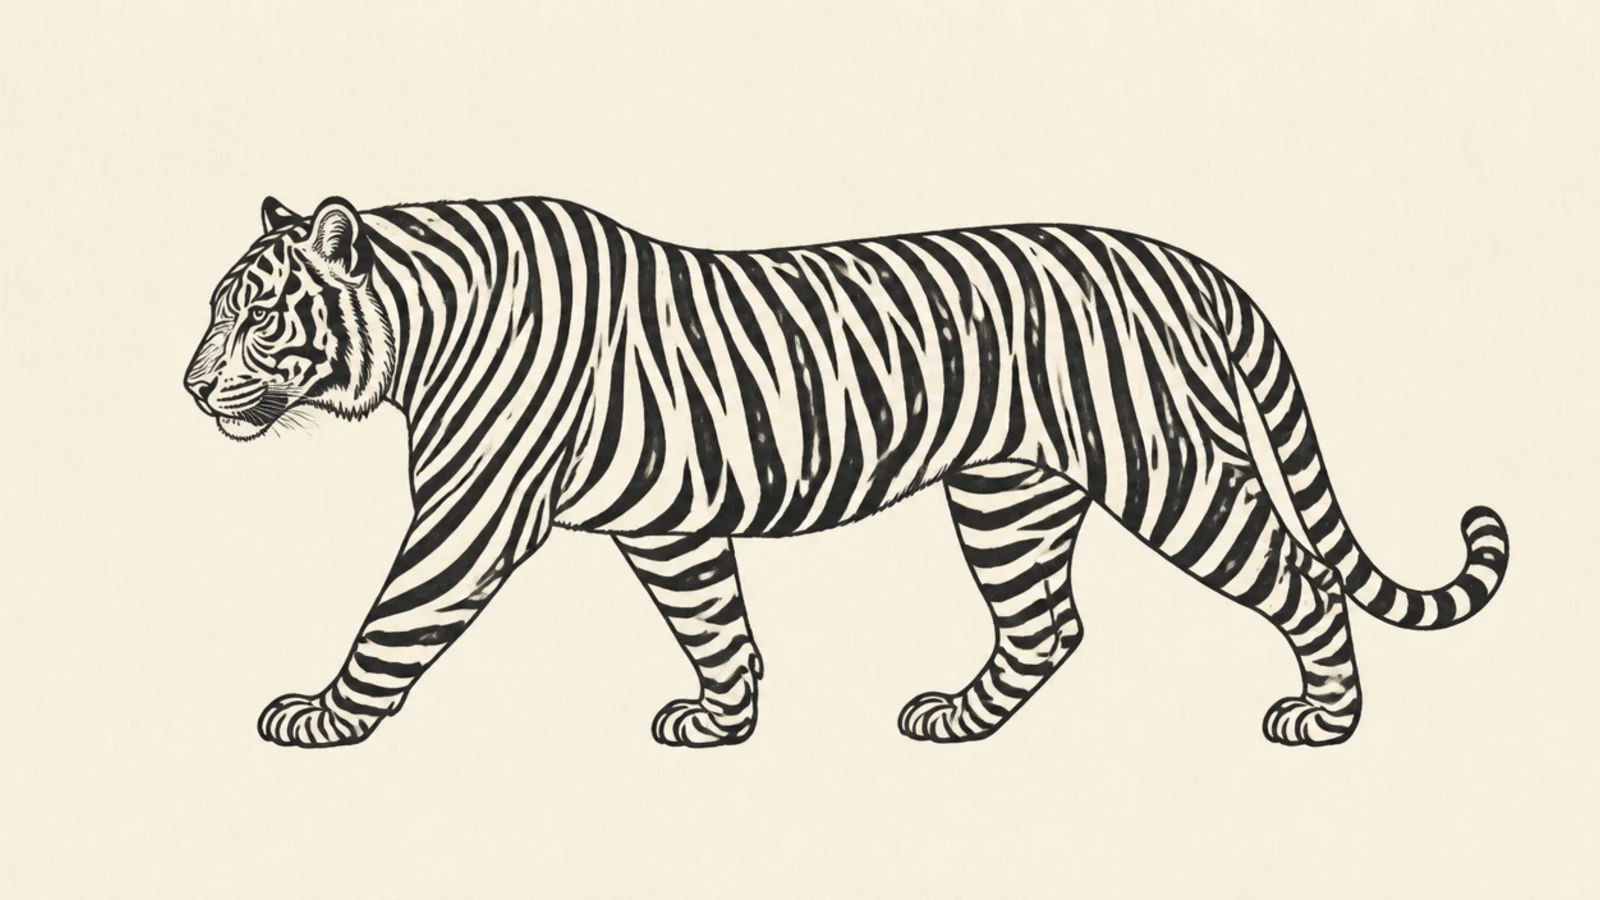
A tiger silhouette filled with its own bold stripe pattern makes a strong graphic statement. Repeating the stripe motif inside the shape is clean and eye-catching.
Step 1 draw a clean tiger silhouette. Step 2 fill it entirely with a bold repeating stripe pattern. Step 3 leave the background plain so the pattern pops.
Pro tipKeep the fill pattern consistent and bold for a strong graphic read.
AvoidDon’t clutter the background; a plain field makes the fill pop.
25 Mixed-Media Journal Page
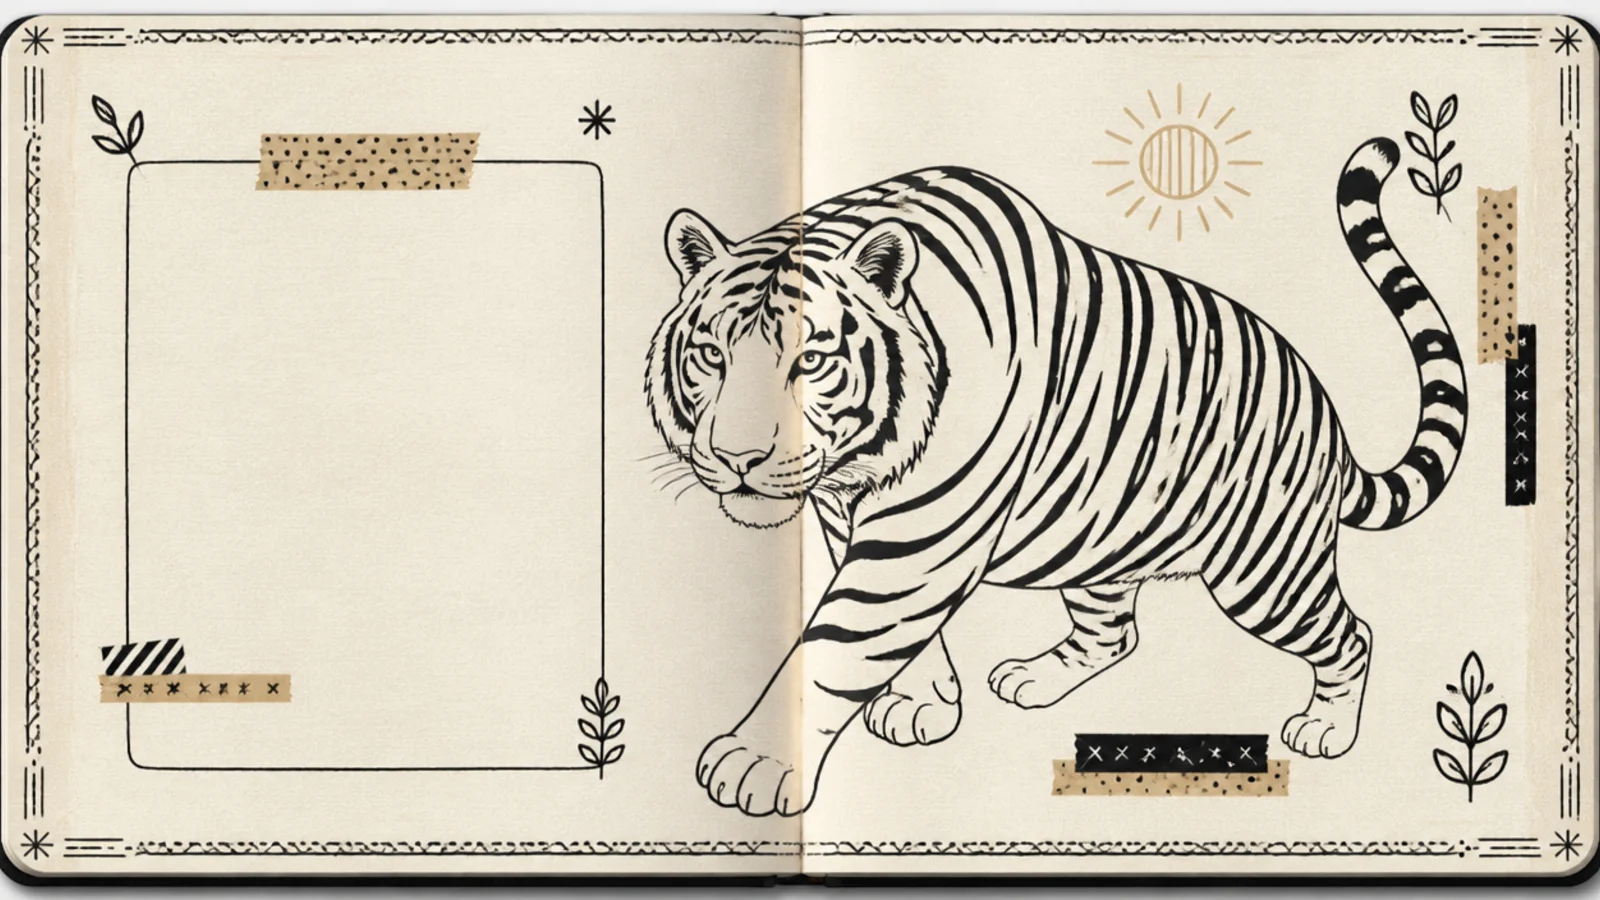
A full journal spread combines a stylized tiger with washi tape, ink, and hand-lettered notes, the perfect closer. It shows how a tiger anchors a whole decorated page.
Step 1 place a bold stylized tiger as the focal point. Step 2 add washi strips, doodles, and a border around it. Step 3 leave a clean area for a few lines of writing.
Keep the tiger dominant and let the extras frame, not crowd, it.
Don’t fill every inch; leave breathing room around the tiger.



