
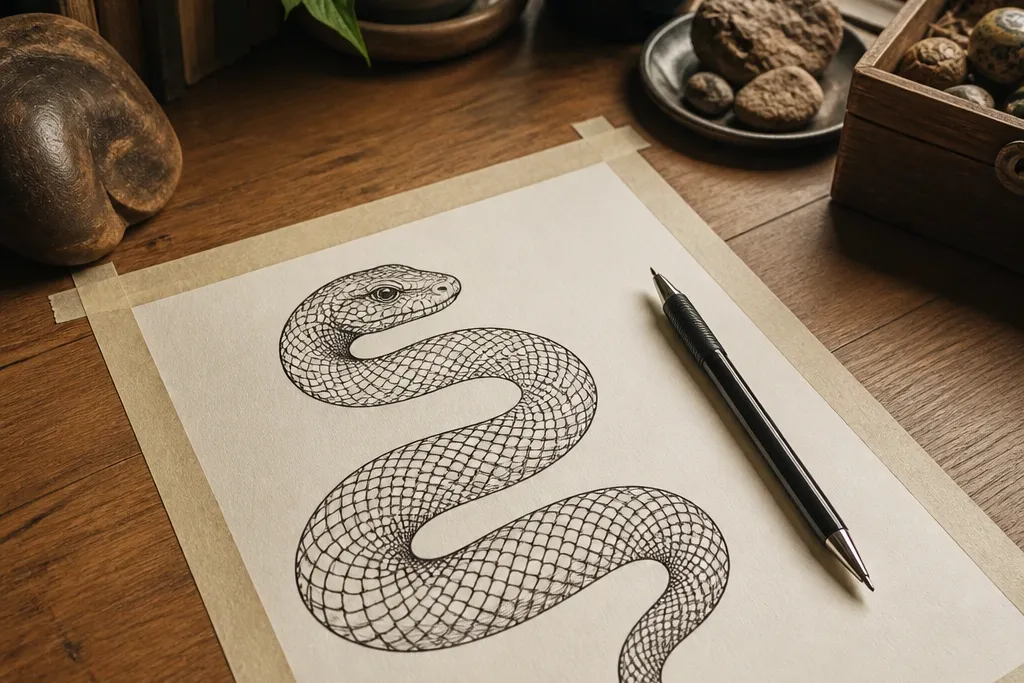

1. S-Curve Stripe Snake with One Accent Color
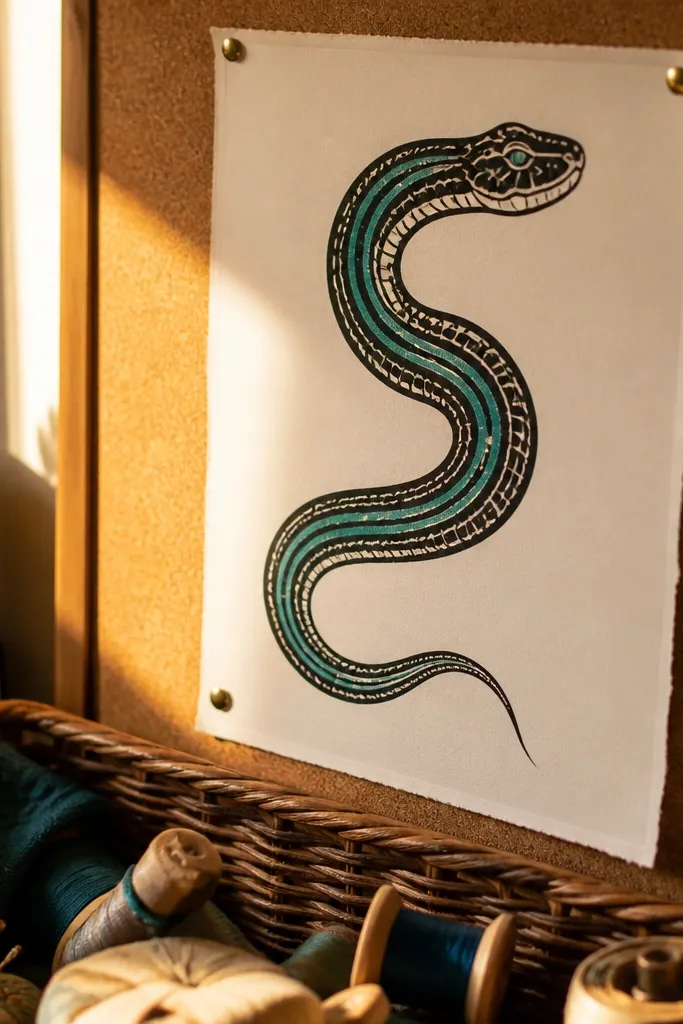
This is the easiest “looks designed” snake drawing because stripes do the texture work for you. You draw one smooth S-curve spine, then repeat stripe bands that follow the curve. The result looks polished even with zero shading because the pattern changes thickness as the snake turns. Use one accent color for the stripes only — like rust red — so the drawing stays high-contrast on white paper. It’s great for small frames, phone wallpaper, and quick sketchbook pages where you still want it to look intentional.
Start by lightly sketching an S-curve spine with a 2B pencil and mark two points for the head and tail. Then ink the outer contour in black, add a simple head shape, and draw 8 to 12 stripe bands that wrap around the body, keeping spacing consistent. Finally, color only one stripe band family with a rust-red gel pen or watercolor pencil, and leave the rest black-and-white for crisp contrast.
Keep stripe widths consistent for the first 3 bands; after that, you can speed up while the spacing stays clean.
Don’t add extra shading — stripes already create the depth.
2. Tight Coil Snake with Teardrop Scale Rings
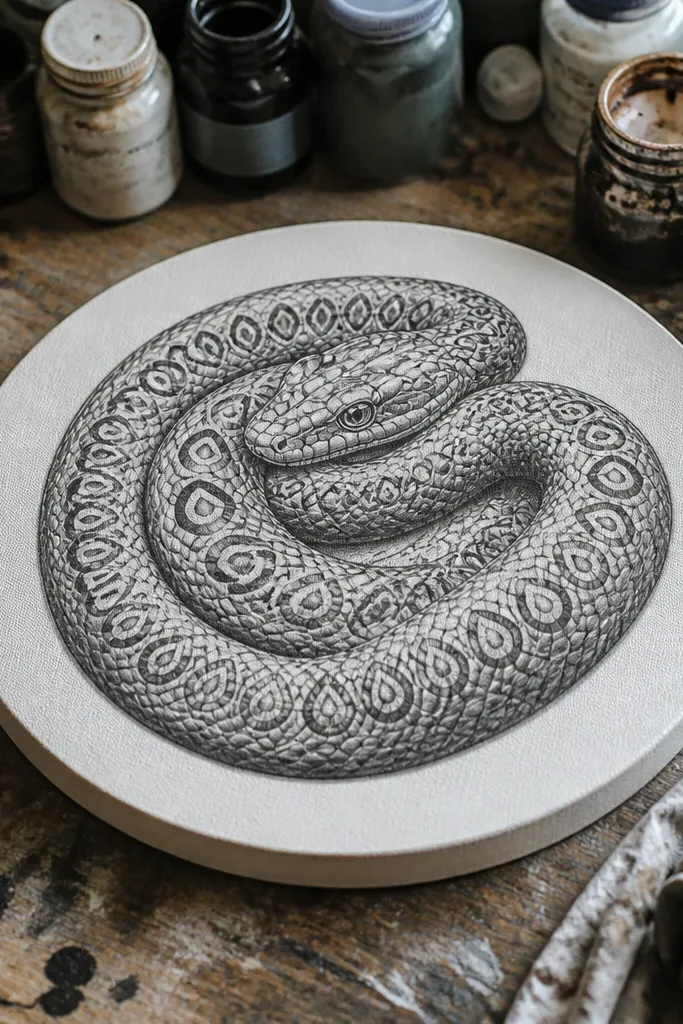
A tight coil reads instantly because your snake is contained in one shape, which makes it feel graphic. Teardrop scales give you texture without drawing hundreds of tiny lines. The trick is to use scale rings that follow the coil — each ring looks like a loop of teardrops. This drawing looks great in monochrome because the ring pattern creates the visual rhythm. It also takes less time than open-body snakes since the head and tail are close together and you’re not tracking a long anatomy path.
Draw a large circle guide, then sketch a smaller inner curve to show the coil depth. Ink the outer contour and head, then add scale rings by drawing teardrops that point toward the center, around the coil. Work from outside to inside so lines don’t get messy; finish by thickening the head outline and adding one small eye highlight with white gel pen if you want a crisp look.
Pro tipUse a ruler for the pencil circle guide so your coil looks symmetrical even if your freehand line wobbles.
AvoidDon’t make the teardrops all the same size — vary them slightly between rings.
3. Side-Profile Snake with One-Layer Scale Blocks
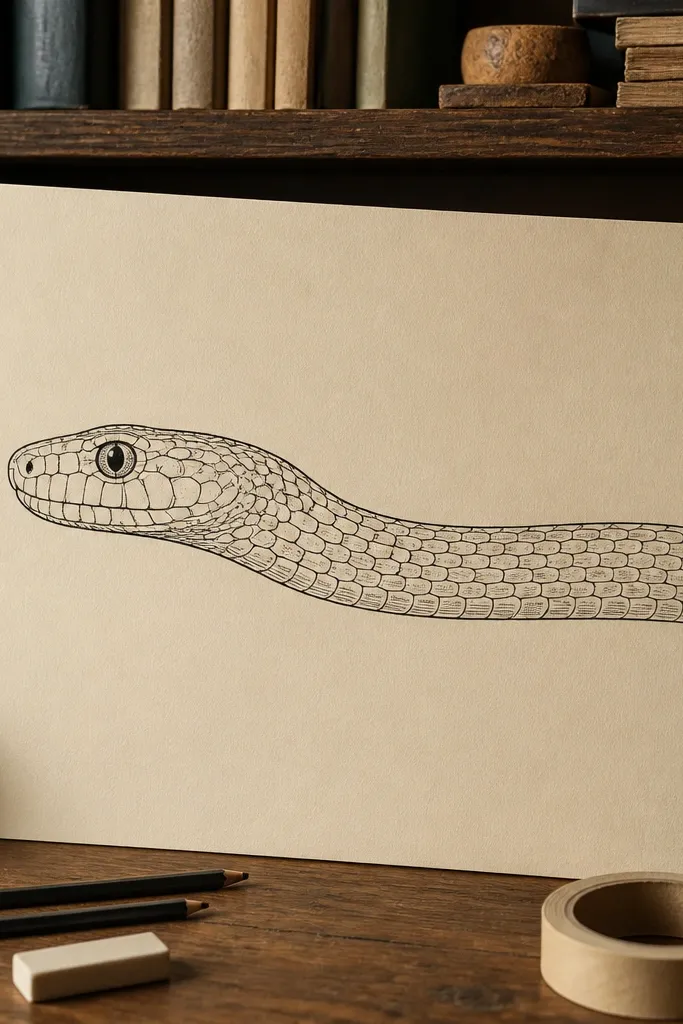
Side-profile snakes look classy and calm, and you can get that look with a single scale system. Blocky rectangles are faster than curved scales because you’re basically drawing tiles. This style also frames well because the snake’s head dominates the left or right third of the page. Keep the body line smooth and the scale blocks consistent in size, and the drawing looks neat even on cheap paper. It’s a good choice if you want low-maintenance art that still feels “designed” instead of doodly.
Lightly sketch the head profile and a single flowing body line, leaving space above for breath and negative space. Ink the outline with a fineliner, then add rectangular scale blocks that sit along the body like overlapping cards. Keep two sizes only: one for mid-body and one slightly smaller near the neck and tail, then add a small forked tongue detail for the finish.
Draw the first 6 scale blocks carefully; after that, copy the same proportions down the body.
Avoid mixing scale shapes (rectangles and curves) in the same drawing.
4. Ink-Only Snake Mandala Spiral
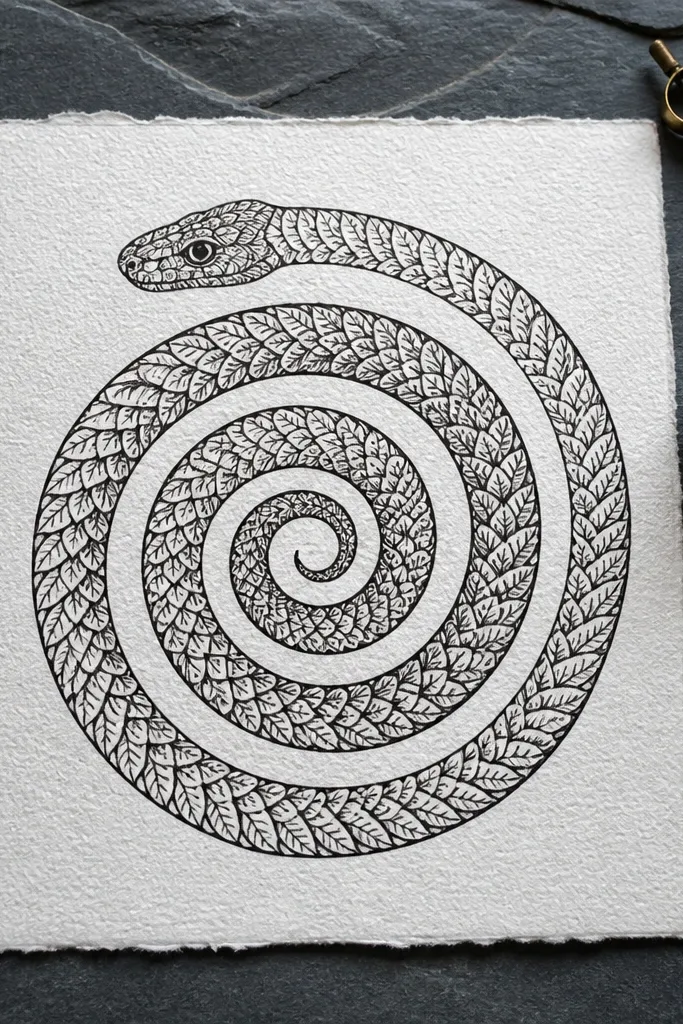
This one is pure ink, so it’s low-maintenance and hard to mess up with color choices. The snake is drawn as a spiral body, then you fill the path with repeating leaf-like marks that act like scales. Because the marks repeat in a controlled way, the drawing looks detailed without being time-consuming. It’s also very photogenic: the spiral pulls the eye inward and the ink density creates depth. If you want a snake drawing that looks like it belongs on a gallery wall, this is the simplest route.
Start with a pencil spiral that ends near the center of your page. Ink the snake spine and outline, then add a second inner contour line to define the body thickness. Fill along the body with repeating leaf marks that alternate left and right; keep them the same height and spacing so the pattern looks intentional.
Pro tipUse a thicker pen (0.8mm) for the outer contour, then switch back to 0.5mm for the leaf marks.
AvoidDon’t shade with gray — the repeating marks do the job.
5. Watercolor Wash Snake with Inked Scales
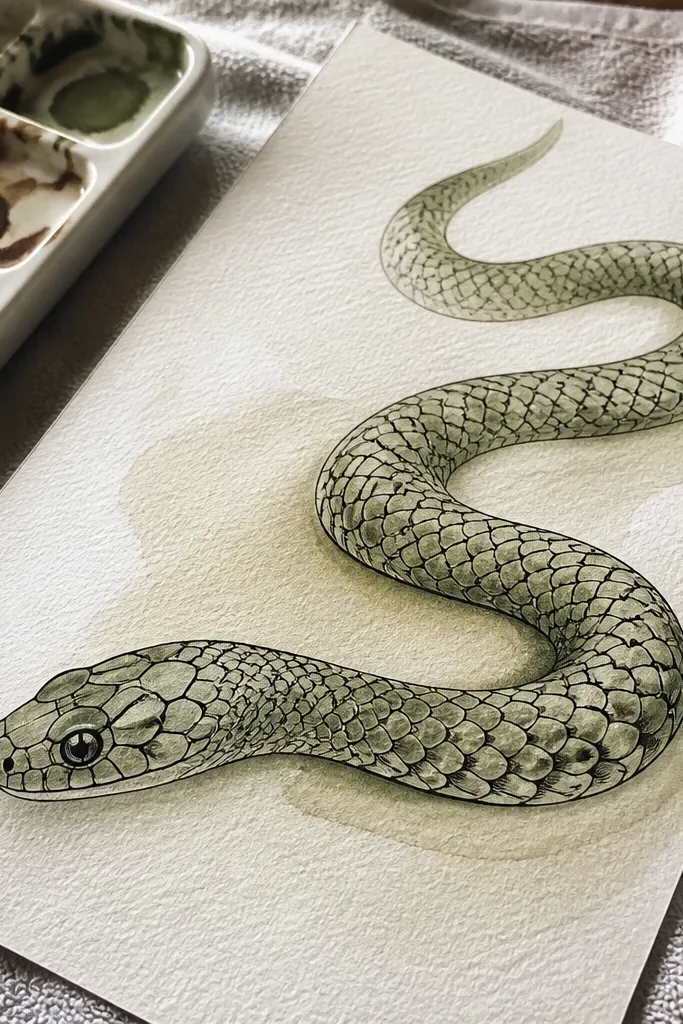
You get the best of both worlds: watercolor softness plus crisp ink texture. The watercolor wash is low-effort because you’re not painting details, just a gradient-like body tone. Then inked scales make it look sharp and realistic enough without tons of blending. This style photographs beautifully because the ink edges create a clean boundary against the wash. It’s a good fit for small prints, card fronts, and sketchbook pages where you want a “finished” look.
Tape your paper edges lightly if you’re using watercolor so it doesn’t buckle. Paint a loose wash following the snake spine, using a single color like olive green with a slightly darker mix at the curve edges. Let it dry fully, then ink the contour and add simplified scale lines only on the top half of the body so you don’t overwork it.
Pro tipUse watercolor pencils if you hate wet paint — you still get that color softness with less mess.
AvoidDon’t ink before the wash dries or your lines will bleed.
6. Minimal Line Snake with One Dot-Scale Row
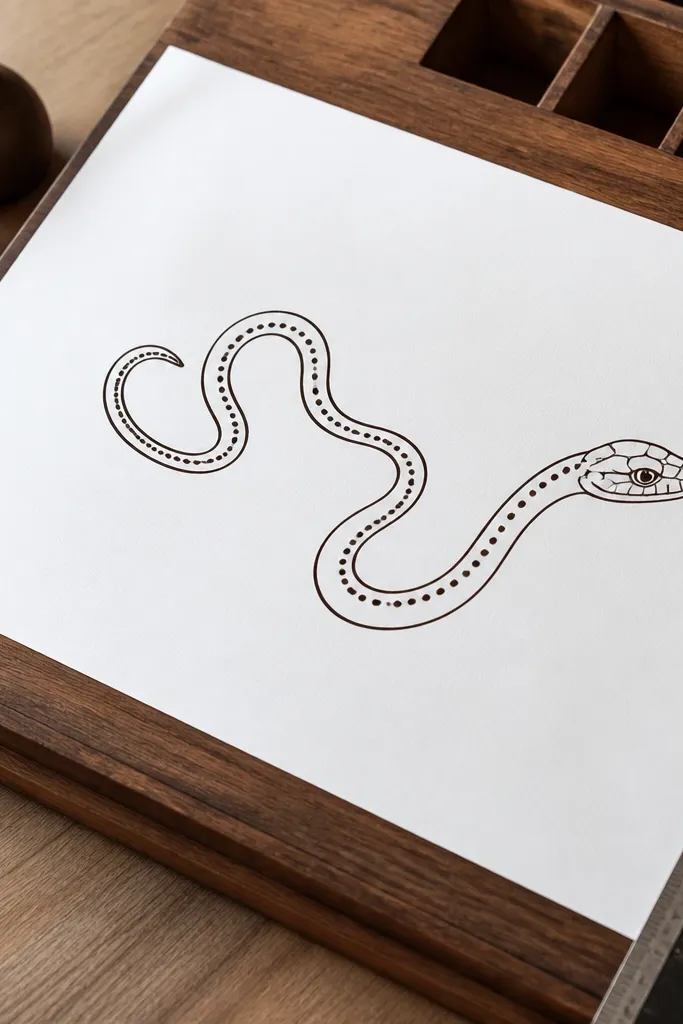
This is for people who get overwhelmed by “texture.” You only add one texture element: a dotted scale row. The snake’s form comes first from clean contour and a clear head shape, then the dots create just enough interest to look intentional. It’s also extremely fast because you’re not drawing individual scales across the whole body. This style looks modern and graphic, especially on off-white paper. If you want low-maintenance snake art drawings that still look like a set, this is one of the best repeatable templates.
Draw the snake spine with one continuous curved line, then add a simple head triangle and jaw line. Ink the outer contour and add a small eye and nostril mark. Finally, place a dotted row along one side of the body at consistent spacing, using a 0.5mm fineliner or a dot pen.
Pro tipKeep dots in a straight rhythm by lightly marking dot positions first with a pencil dot every 6-8mm.
AvoidDon’t add a second texture row — it turns into clutter.
7. Chalkboard-Style Snake on Light Gray Paper
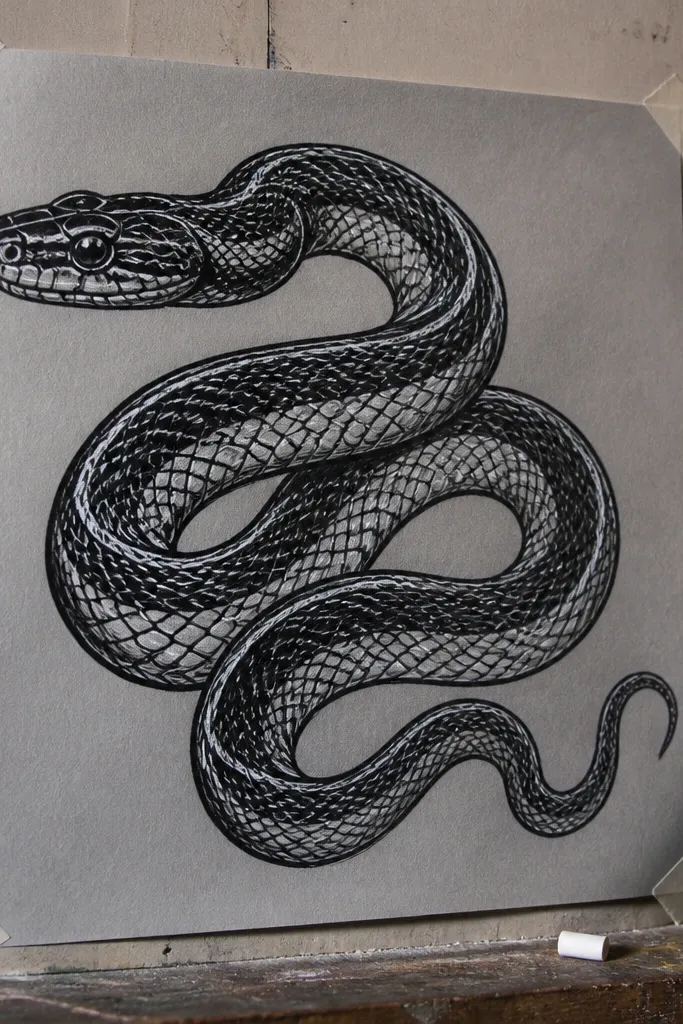
This style looks “finished” because the contrast is doing the heavy lifting. Black linework reads bold on gray paper, then you add thin white highlight lines to mimic chalk sheen. The snake looks dimensional without real shading. It’s low-maintenance because you’re working with just two values: dark and light. This also creates a photo-ready look since the highlights pop even with phone lighting. Perfect for quick gift tags and wall art that doesn’t need color mixing.
Use light gray paper and a thick black marker or fineliner for the contour. Sketch the snake spine first, then ink the outer shape and head, leaving gaps where highlights will go. Add white gel pen lines along the top third of the body, keeping them parallel to the spine. Finish by adding a few short tick marks under the belly contour for extra depth.
Pro tipTest your white gel pen on a scrap first; gray paper can make some pens skip.
AvoidDon’t overdraw highlights — 2-3 clean lines per body section look better than lots of scribbles.
8. Rust-Orange Belly Bands with Black Outline
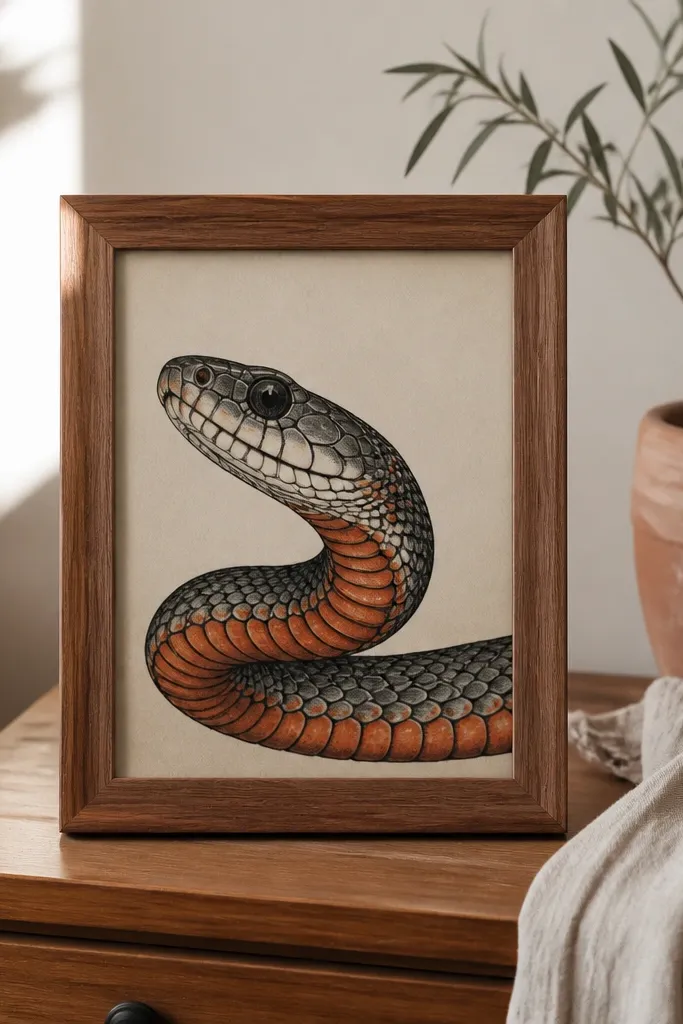
Belly bands give you a strong, readable pattern without needing full-scale realism. The black outline sets the shape, and the rust-orange bands land in the lower half to suggest form. You can keep the head simple and still make it look “alive” by adding one dark line under the jaw. This drawing is visually striking because the warm color contrasts with the black. It’s also a great project if you want color that feels natural and not neon.
Ink the full snake contour in black, using a slightly thicker stroke for the underside. Mark 6 to 9 belly band positions with light pencil, then color those bands rust-orange gel pen or watercolor pencil. Add a tiny highlight on the eye and one shadow line under the jaw in dark brown or black. Keep the upper body mostly uncolored so the bands stay the focus.
Color bands in one direction (left-to-right) so your lines don’t look randomly layered.
Avoid coloring the whole body — the bands disappear.
9. Geometric Snake with Triangle Scale Facets
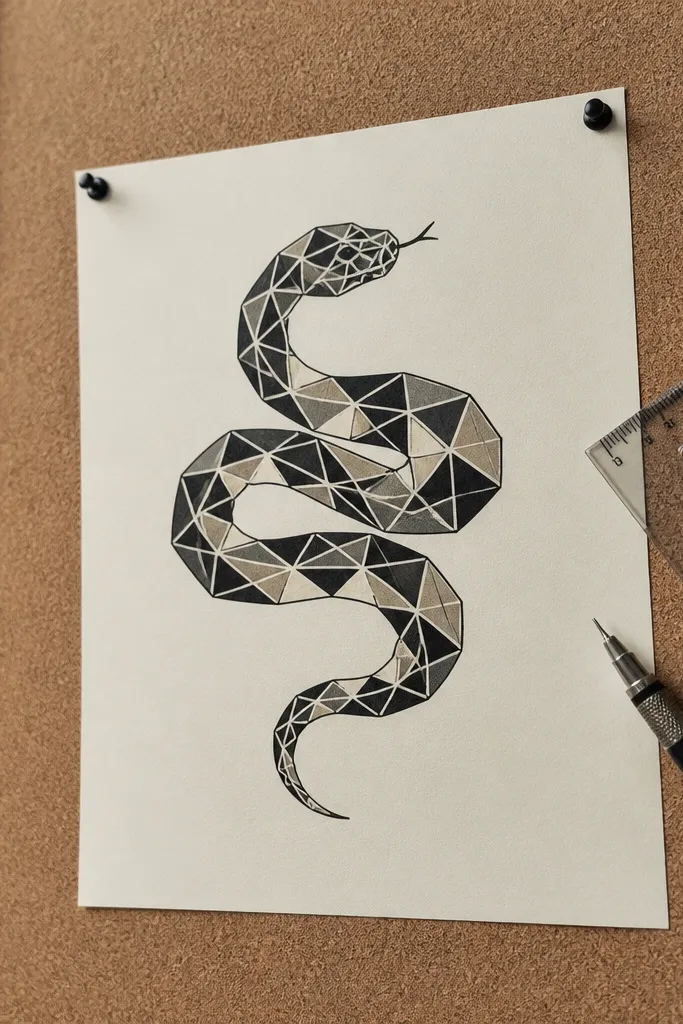
Geometric scales look sharp and modern, and they’re low-maintenance because you’re repeating a single shape. Triangles also help you imply a 3D body twist when the snake bends. You draw the snake outline, then subdivide the top half into triangles that follow the curve. With a limited palette — black plus one muted green — it looks like a design poster instead of a sketch. This is one of the best options if you want photogenic art that still takes under an hour.
Sketch an S-curve spine, then draw an outer contour for the snake body and a simplified head. Divide the top half into triangles using light pencil lines that follow the curve; keep triangles larger near the mid-body and smaller near the head. Ink the triangle boundaries, then color alternating triangles with muted green watercolor pencil. Leave the bottom half mostly black outline for contrast.
Pro tipUse a consistent triangle height like 8-10mm so the pattern stays cohesive.
AvoidDon’t try to make every triangle perfectly equal — slight variation reads more hand-drawn.
10. One-Color Line Snake with Crosshatch Shadows
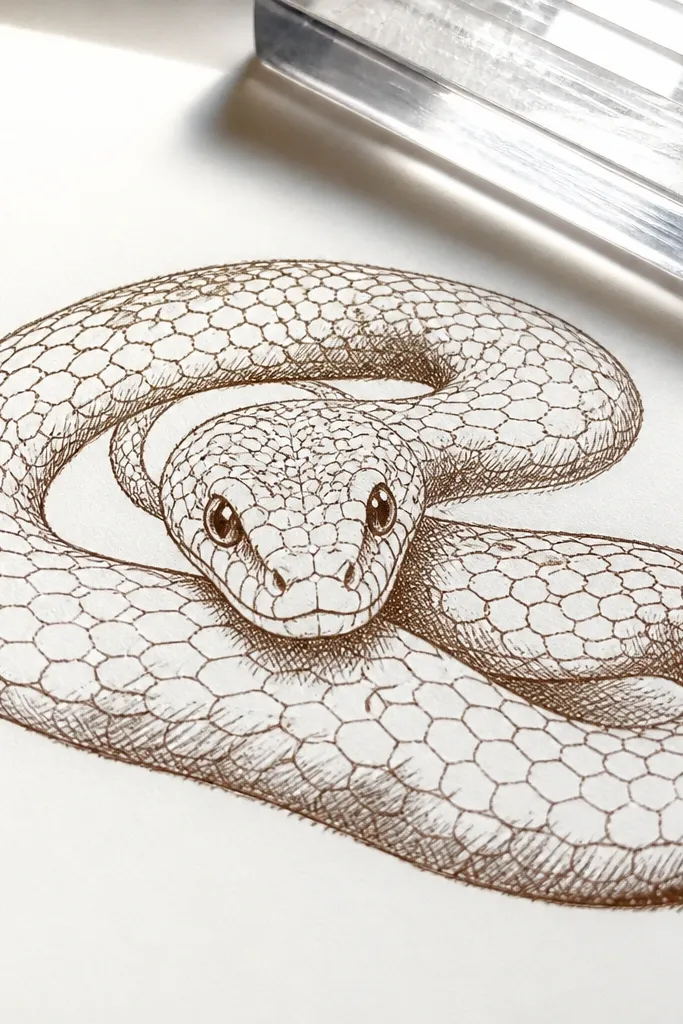
Crosshatching sounds time-consuming, but this version is controlled. You only crosshatch in two zones: under the belly line and inside the curves where the body overlaps itself. That means you’re not shading the whole snake, just creating depth cues. Use one color medium for everything — like dark brown ink — and keep linework clean. It photographs well because the shadow texture gives you a sense of volume even without realism.
Choose one ink color (dark brown or black-brown) and ink the snake contour and head first. Add crosshatch only under the belly contour with short lines that follow the curve; keep hatch spacing consistent. For overlapping sections, add a second hatch patch where one body layer sits on top of another. Finish by thickening the outline slightly on the head and tail to anchor the drawing.
Pro tipCrosshatch at 45 degrees for both zones so the texture looks unified.
AvoidAvoid crosshatching the top half — it flattens the shape.
11. Minimal Head Study Snake with Scale Dots
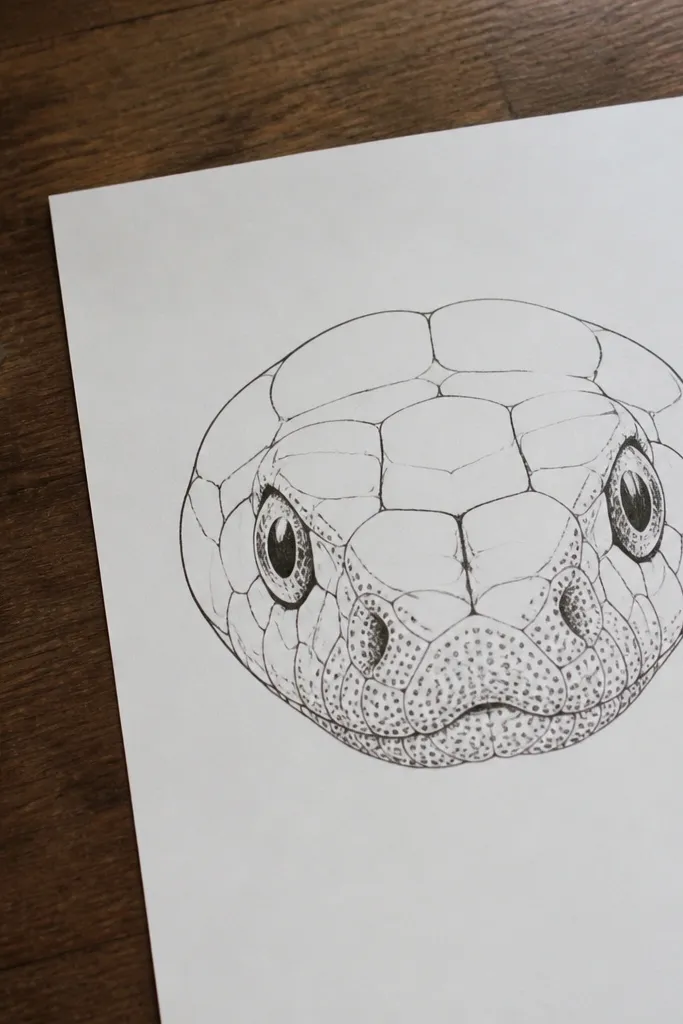
Big head drawings are low-maintenance because you’re focusing detail in a small area. This style uses dot scales around the mouth and chin, plus a clean outline for the rest. It’s visually bold in photos because the head takes up most of the page and reads clearly even from a distance. You can make it feel “premium” by adding one thin highlight line on the eye and a couple of short scale arcs under the jaw. If you want quick art that still looks like a real illustration, this is it.
Draw a large head shape first, with a clear jaw line and a single forked tongue. Ink the outline, then add a dot ring around the lower face and cheeks, placing dots close together near the mouth and spacing them out toward the jaw. Add 5-8 curved scale arcs under the jawline, then leave the neck mostly blank except for a single contour line. Optional: add a light wash of pale green on the head only.
Keep dots denser near the mouth; it makes the face look “textured” without extra work.
Don’t add full-body scales — keep the detail concentrated on the head.
12. Mirror-Image Snake on a Vertical Axis
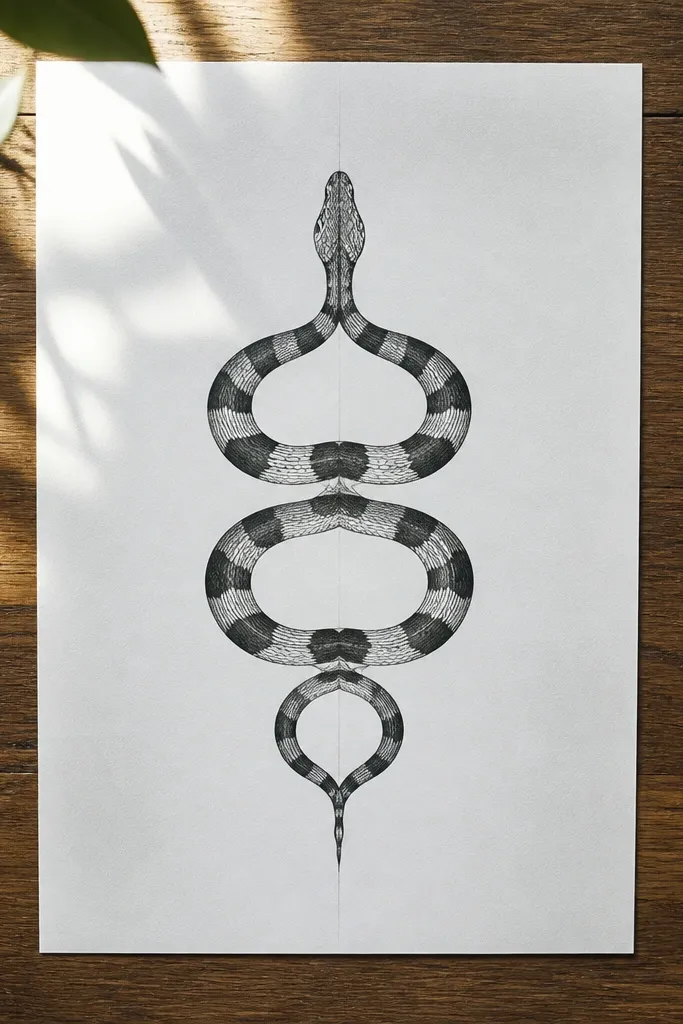
Symmetry makes your drawing look high-effort even when it’s simple. A mirror-image snake with matching stripes gives a clean, editorial look. You draw one side, then copy the pattern to the other side by guiding from the center line. The result is balanced and calm, which makes it perfect for minimalist wall art and planners. It’s also low-maintenance because any mistake is easier to correct: you adjust the whole pattern on one side, then mirror it.
Draw a faint vertical center guideline, then sketch one half of the snake body and head shapes on the left side. Ink the left contour and stripes, then repeat the same stripes on the right by measuring stripe spacing from the center line. Color only two stripe bands in a muted accent like olive or terracotta. Finish by tracing the outer contour a second time lightly to make the silhouette crisp.
If you struggle with mirroring, draw 6 reference points along the body spine and keep stripes locked to those points.
Avoid freehand symmetry with no center guide — it gets wonky fast.
13. Ink + Colored Pencil Scale Chevron Row
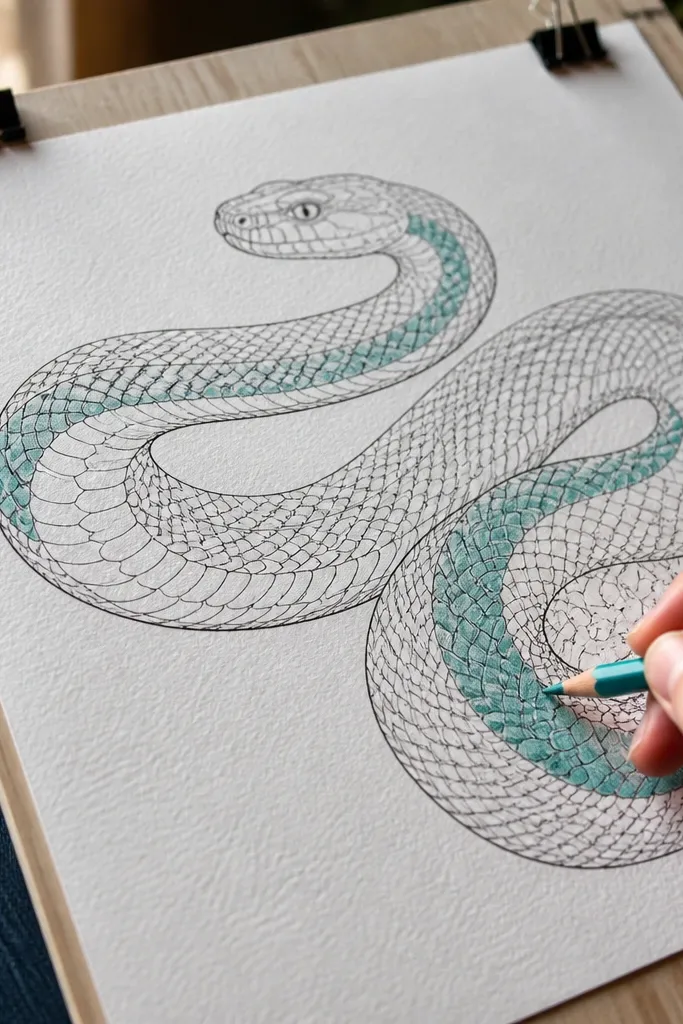
Chevrons are the fastest way to fake scale structure because each chevron reads like a scale edge. This design uses black ink for the outline and colored pencil for a single chevron row that wraps along the body. The look is crisp and photogenic because the chevrons create a repeating zig pattern that catches light. You can keep the rest of the snake minimal, which keeps it low-maintenance. It’s a good project for beginners who want “pattern mastery” without realism.
Ink the snake contour and head in black, then mark a centerline down the body with a light pencil. Draw chevrons on the top half only, with the points meeting at the centerline; keep the chevrons consistent in size. Color the chevrons with a sage green colored pencil, pressing lightly at the center of each chevron and leaving edges darker for definition. Add one small highlight dot on the eye.
Pro tipUse the side of the colored pencil for faster fills; you’re tinting chevrons, not rendering texture everywhere.
AvoidDon’t color the gaps between chevrons or you lose the zig readability.
14. Snake Wrapped Around a Simple Circle Frame
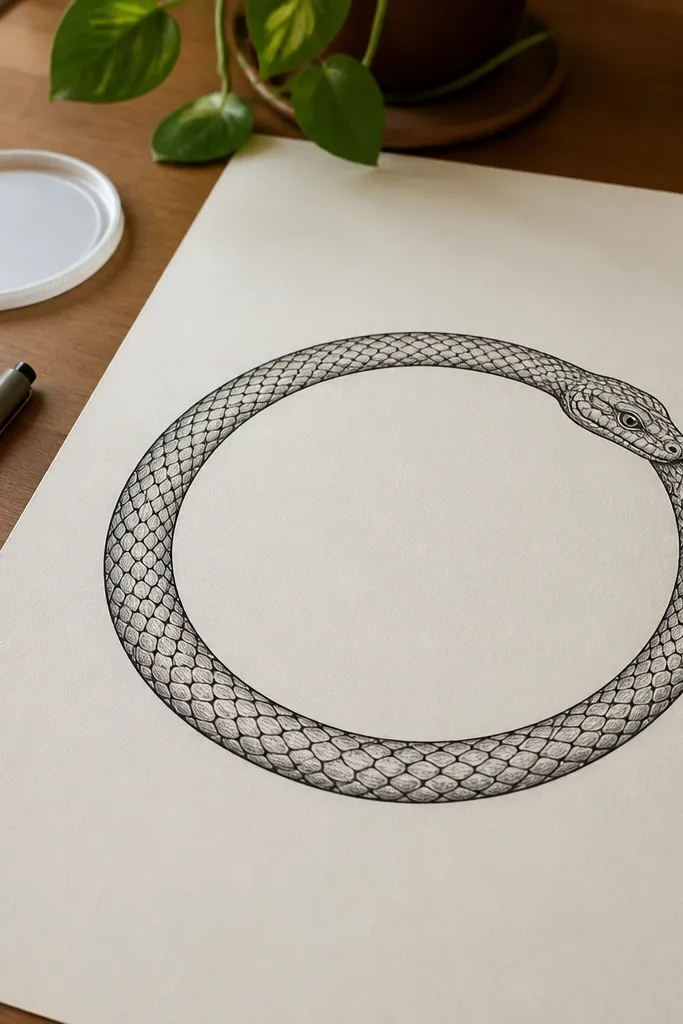
This design is low-maintenance because the circle frame forces a clean composition. The snake wraps around the circle like a badge, and the repeated wrap gives you a consistent scale placement. You only need a few scale marks to make it look real, since the frame already adds structure. The head sits on the outside edge and becomes the focal point. It looks great on prints, stickers, and cards because the circular layout reads instantly.
Draw a thin circle guide, then sketch the snake wrap so the spine follows the circle. Ink the outer contour and head first, then add scale marks as short curved dashes along the body at two heights: one near the top edge of the wrap, one near the bottom. Keep the dash length consistent (about 5-7mm). Optional: color the head with a muted terracotta pencil and leave the rest black-and-white.
Make the circle slightly thicker than the snake outline for a crisp “badge” look.
Don’t over-detail the body inside the frame — the wrap is already patterned.
15. Black-and-White Scale Hatching Bands
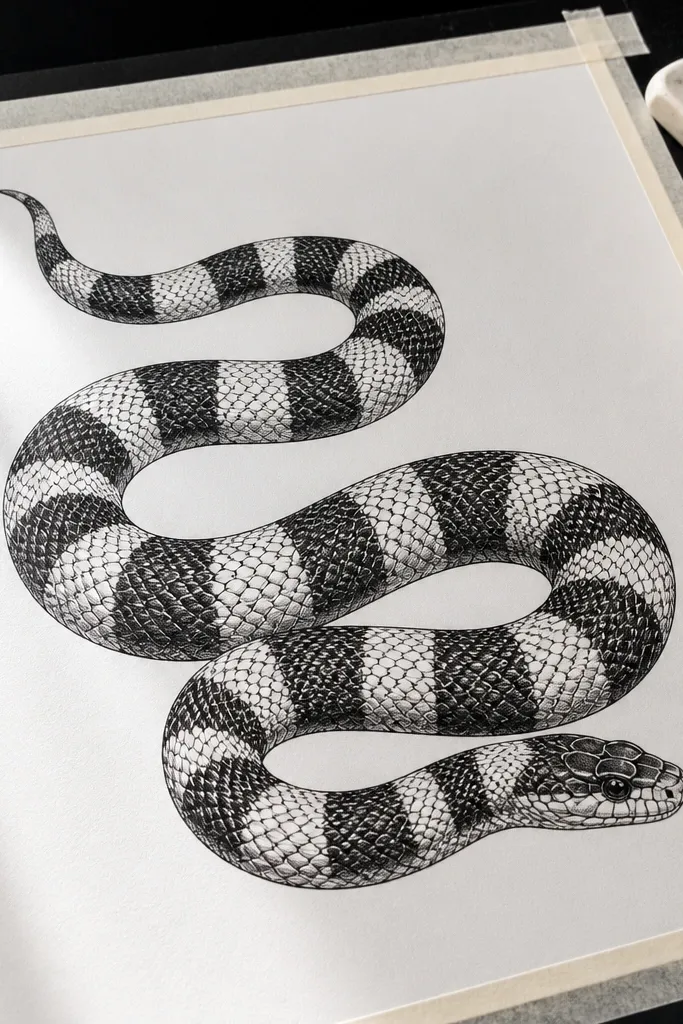
Alternating hatching bands give you a graphic, high-contrast look without full shading. The snake stays readable because you’re controlling value in stripes: black bands, then white breaks, then black again. It’s visually striking in photos because the gaps create bright edges. You’ll spend most of your time in one area — drawing the band pattern once — then repeating it down the body. This is one of the best options when you want low-maintenance snake art drawings that look bold on dark frames too.
Ink the snake contour in black and draw a few long band segments along the body with pencil. Fill each band with tight hatching lines, keeping the lines all the same angle. Leave equal-width white gaps between bands so the pattern stays clean. Add a simple head outline and one darker hatch cluster under the jaw for shape.
Pro tipUse a ruler just for the pencil band guides; ink should stay freehand.
AvoidAvoid uneven gap widths — that’s what makes it look sloppy.
16. Two-Color Night Snake with Star Specks
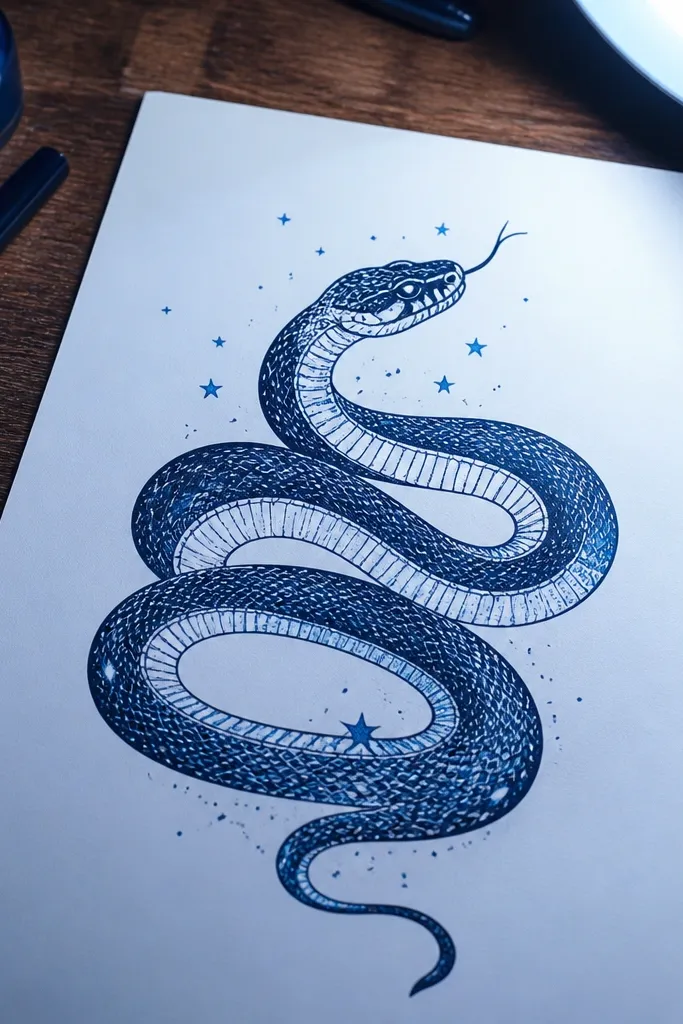
A night-snake palette is low-effort because you’re using just two blues and a texture pattern. Outline the snake in dark blue, then add lighter blue specks on the body to suggest scale shine. A couple of tiny star shapes near the head makes it feel playful without extra drawing complexity. This looks great on white paper because the blues pop, and it photographs better than multi-color snakes because you’re not splitting attention across too many tones. It’s a fun option for people who want snake art that feels a little magical.
Draw the snake spine and outline in dark blue fineliner or marker. Add two or three lighter blue bands or dots to the top half of the body, then sprinkle small star specks (4-point spark shapes) near the head and along one curve. Keep the tail mostly plain so the specks don’t spread thin. Finish by coloring the eye with a tiny lighter blue dot.
Pro tipUse a gel pen for the specks so they look bright and opaque.
AvoidDon’t cover the entire body with specks or it turns into noise.
17. Brown Ink Realism Cheat with Three Scale Types
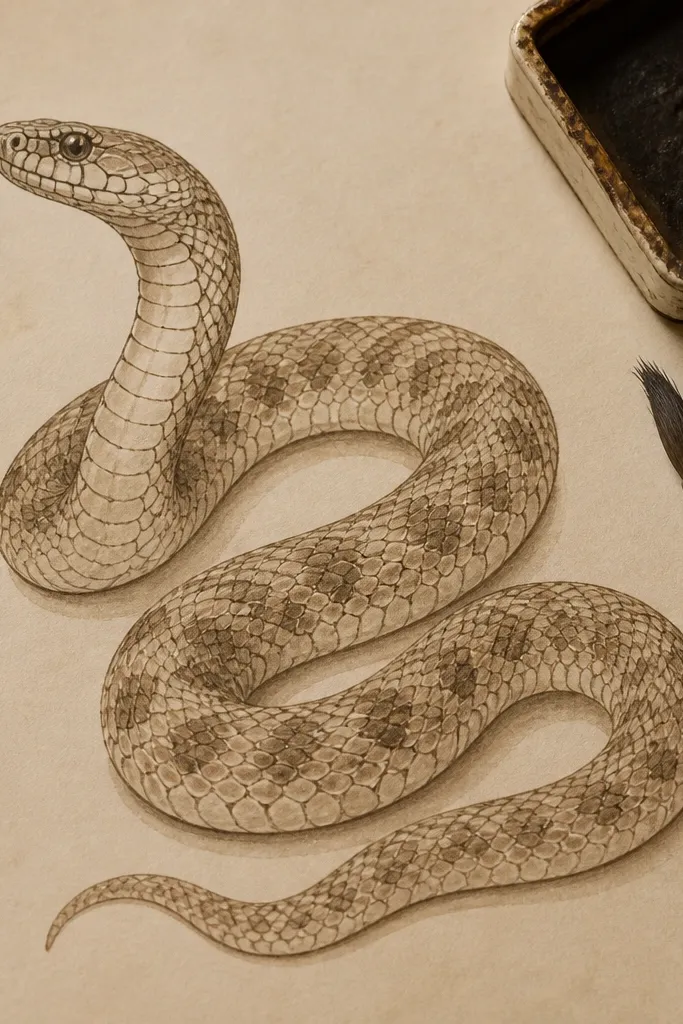
If you want “real snake” vibes without getting stuck drawing tiny details, use only three scale types. You draw the contour, then you place a few larger belly plates, a mid-body pattern, and a head scale cluster. That keeps the drawing believable while staying low-maintenance. Brown ink makes it feel natural and not cartoonish. The look works especially well for diagonal poses because the body plates show movement. It’s a good pick when you want a more realistic aesthetic but still want it done in one sitting.
Sketch the snake in diagonal motion with a pencil spine line and two body thickness points. Ink the contour in brown-black, then add three zones: belly plates as large overlapping ovals, mid-body as repeating curved arcs, and head as a small cluster of angled shapes. Keep the tail simple with only 3-5 scale transitions. Add one shadow line under overlapping sections to sell the depth.
Pro tipName your three scale types in your head before you start drawing; it keeps you from inventing new patterns mid-way.
AvoidAvoid adding a fourth scale type — it makes the drawing inconsistent.
18. Monochrome Snake with Thick Outline and Micro-Scales
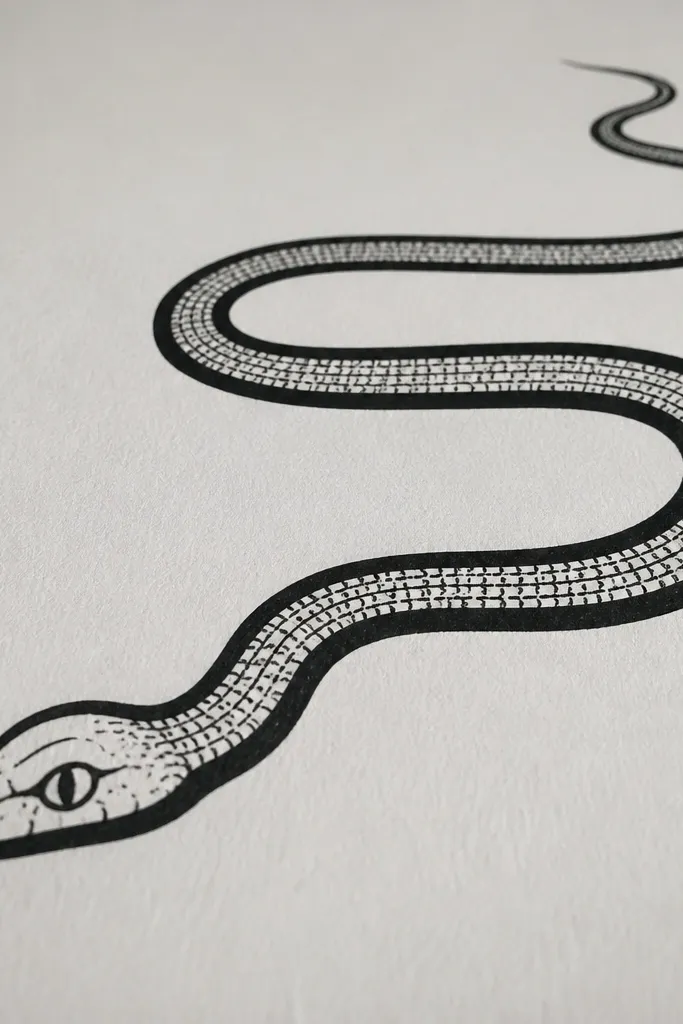
Thick outline plus micro-scales looks striking because it has a strong silhouette and just enough interior detail. The thick contour is the low-maintenance part: it hides small line wobble. The micro-scales are small, repeated ticks that you place in one band across the body — not everywhere. This gives you texture without hours of work. It’s also super photogenic on plain paper since the high contrast reads cleanly. Great for quick wall art and consistent series drawings.
Use a thicker marker (like a 1.0-2.0mm tip) for the outer contour and head. Sketch the spine lightly, then ink the body shape with a bold line, leaving space inside for the scale band. Add micro-scales as tiny repeating ticks along the center-top of the body, keeping them all the same length. Finish by adding a single darker tick cluster at the bend where the snake curves sharply.
Pro tipKeep micro-scales in one straight-ish band; the moment you spread them everywhere, it takes forever.
AvoidDon’t draw micro-scales under the belly — it makes the snake look heavy.
19. Snake Silhouette with Negative-Space Scale Pattern
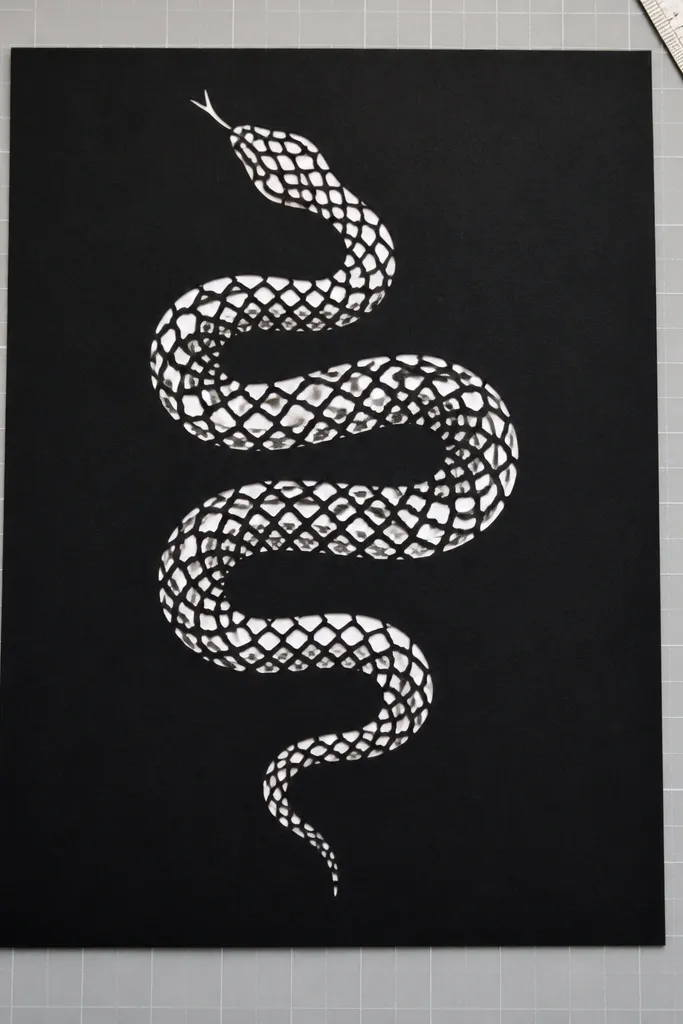
Negative-space scale patterns look really clean because you’re not coloring tiny details — you’re cutting light out of a dark shape. Fill the snake silhouette in solid black, then leave scale shapes blank as white areas. The white scale shapes read as highlights and make the snake feel textured. This is low-maintenance because filling a silhouette is faster than drawing every line. It also photographs beautifully because the contrast is extreme and crisp.
Sketch the snake silhouette shape with a pencil, then ink it and fill it in solid black with a brush pen or marker. Before you fill, plan where the scale highlights will be by lightly marking a few scale rows on the pencil. After the black dries, erase the pencil marks and refine the blank scale shapes by re-adding black around them if needed. Optional: add a thin black border line around the whole artwork for a finished look.
Pro tipUse a brush pen for the fill so you get smooth edges without streaks.
AvoidDon’t try to create dozens of tiny negative shapes — 3-5 scale rows is enough.
20. Snake on Grid Paper with Pixel-Scale Rows
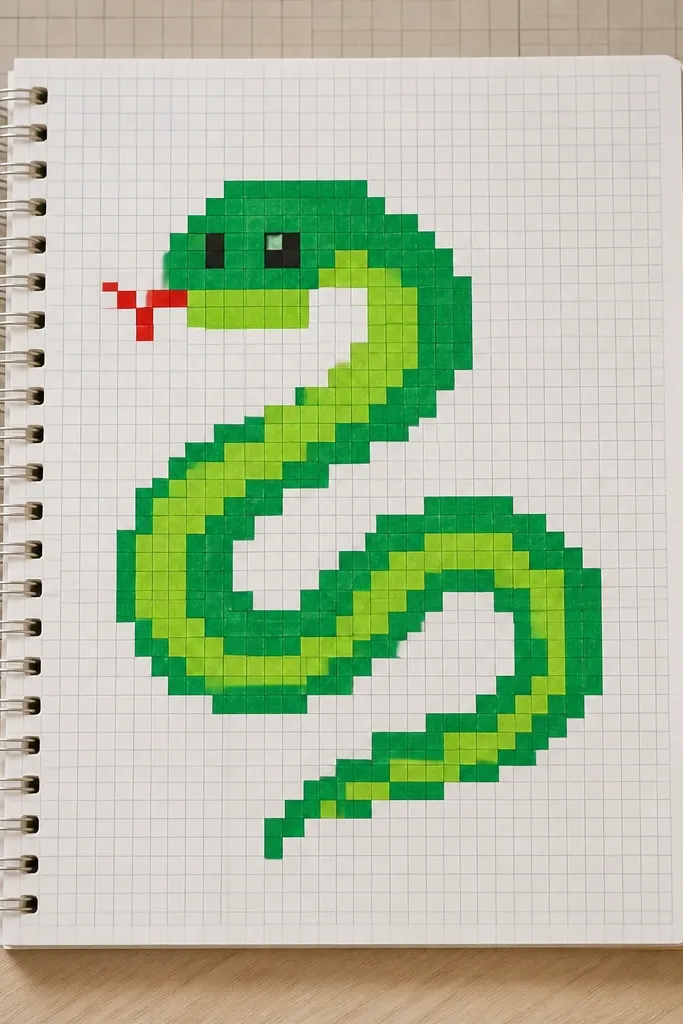
Grid paper makes the drawing feel like pixels, and pixels are low-maintenance by design. You place square scale blocks along a simple curve, and every block lines up, so the snake looks crisp without you needing perfect freehand control. This style is great for making a matching set because the grid turns your snake into a repeatable system. It also looks good when you frame it with a simple mat since the pattern already has structure. If you want “aesthetic” that’s hard to ruin, grid-based drawing is the move.
Place your grid paper and lightly sketch a curve spine across the grid. Count squares to define the snake width, then ink the outer contour by following grid intersections. Fill the body with square scale blocks in rows, leaving a small gap near the belly for a “shine” row. Color the head and one scale row with a single muted tone, then keep the rest black.
Pro tipPick one square size for scales (like 1x1 or 2x2 blocks) and stick to it for the whole drawing.
AvoidAvoid changing scale size halfway through — it breaks the pixel rhythm.



