
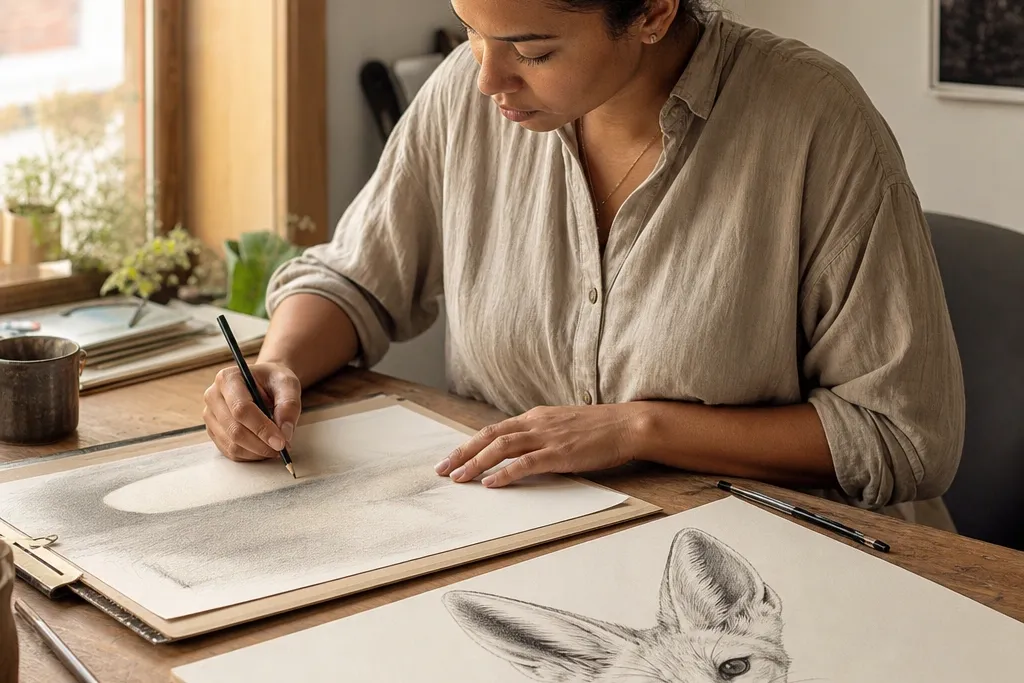
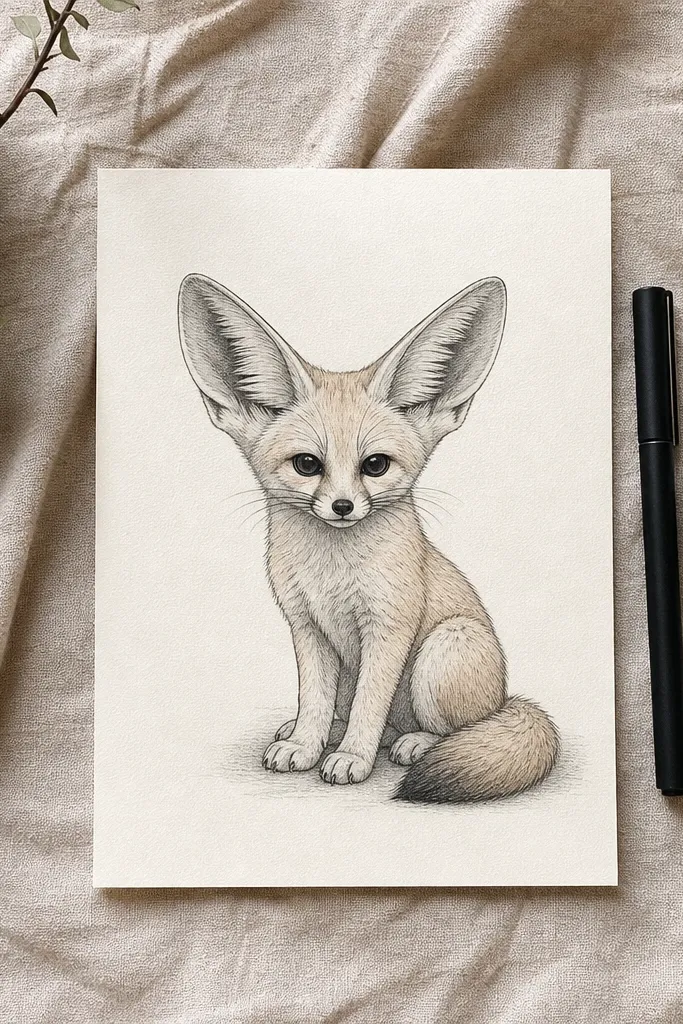
1. Charcoal Ear Silhouette Poster
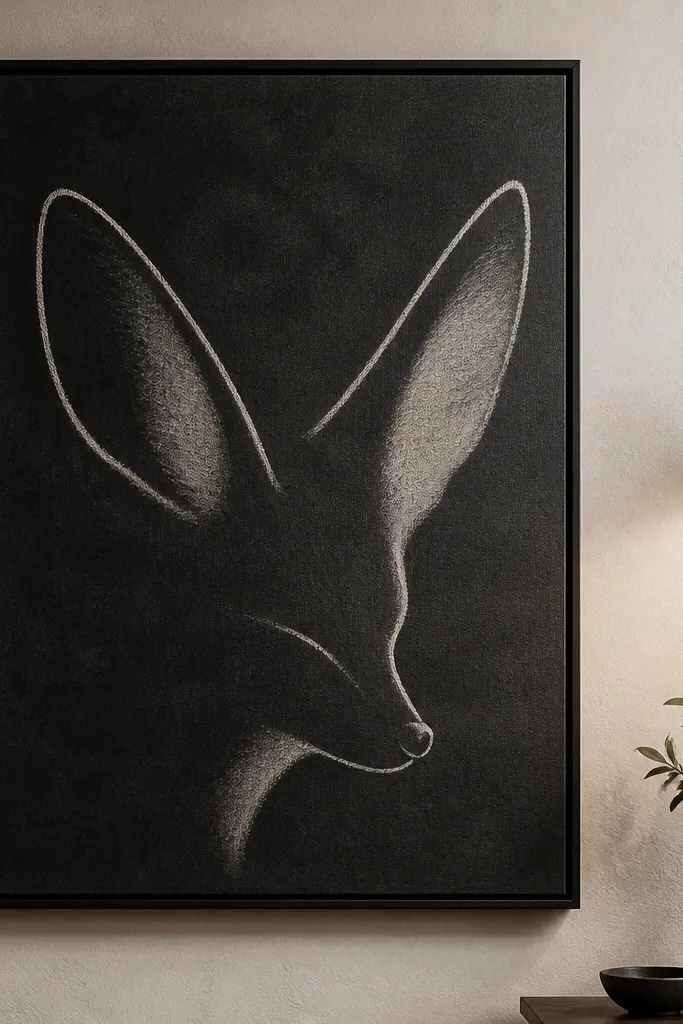
This idea is modern because it treats the fennec like graphic design. Start with a big ear silhouette that fills most of the page, then carve the inner ear shape with a lighter charcoal smudge. Keep the muzzle minimal — just a curved nose bridge line and one chin shadow. It photographs well because there’s high contrast and almost no background clutter, so your finished piece looks crisp as a print or sticker sheet.
Pro tipUse a kneaded eraser to create ear highlights — it looks cleaner than adding white pen over charcoal.
Start by drawing an oval head shape lightly, then block the ears as two tall triangles with rounded tips. Shade only the ears and the side of the face with charcoal, leaving the center muzzle lighter. Use a kneaded eraser to lift two highlights on the outer ear edges and one on the cheek. Finally, add a thin fineliner line for the nose bridge and a small triangle nose so the face reads instantly.
AvoidDon’t add fur lines across the whole face before the silhouette is solid; it kills the poster look.
2. Sand Wash + Ink Ear Edges
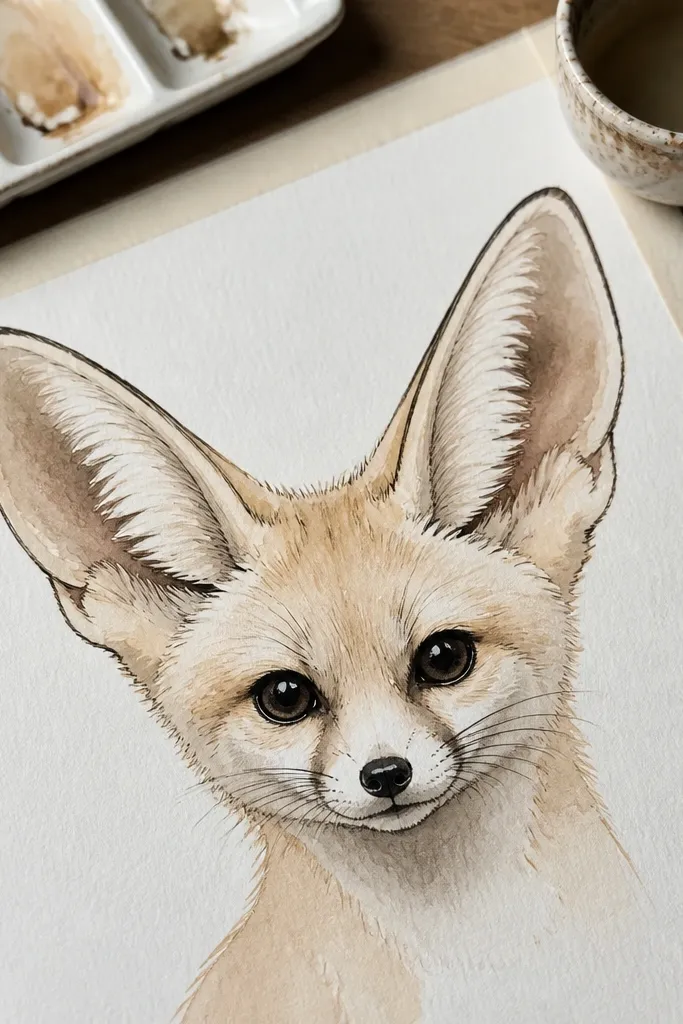
This one looks modern because the watercolor stays loose where it should — the sand — while the line work stays crisp where it matters — the ear edges. The fennec’s ears are the star, so ink the outer ear contour with a steady line and leave the inner ear softly washed. The muzzle gets a light gradient that feels like dry sand, not wet fur. It’s great for beginners who want a polished result without over-drawing texture.
Pro tipLet the watercolor dry fully before inking — you’ll avoid feathered lines that ruin the modern edge.
Wet the page lightly with clean water where the face will sit, then apply a warm sand wash using watered gouache or watercolor (think light ochre). While it’s still damp, drop in slightly darker ochre under the cheek and between the ears. Once dry, trace the outer ear silhouettes with black fineliner and add a few short ink strokes on the muzzle. Finish by using a white gel pen for two tiny highlight dashes on the ear rims.
AvoidDon’t fully outline every fur detail with ink; keep it to ear edges and a couple muzzle lines.
3. Two-Value Line Art with Red Accent
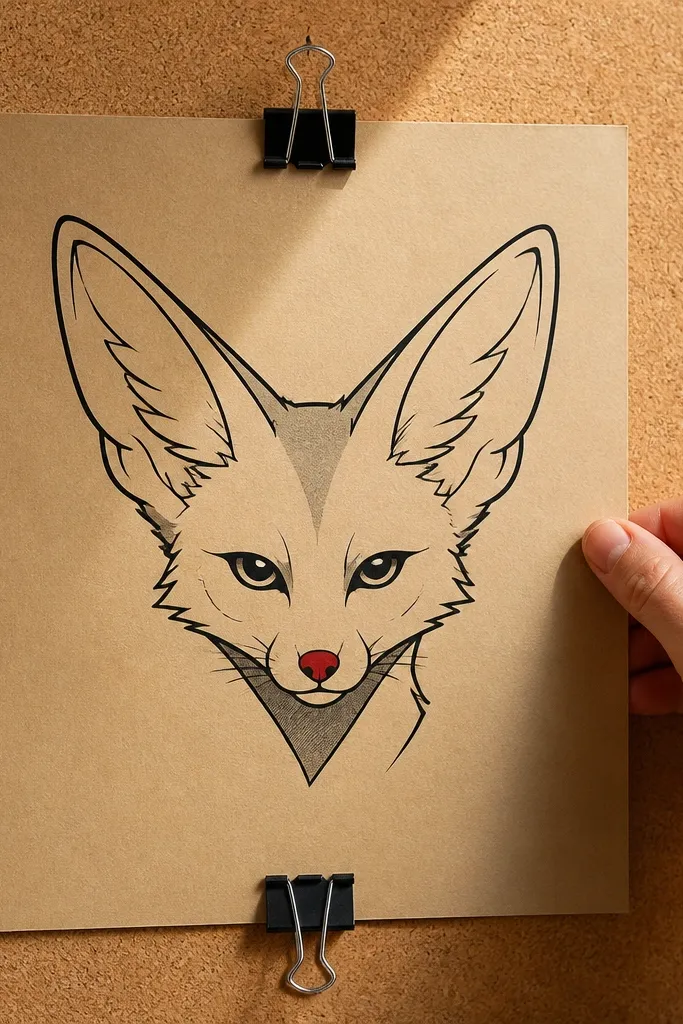
Modern fennec fox drawing often looks best when you remove everything extra. This design uses black line art for structure and only two value areas for depth: a shadow under the chin and a soft patch between the ears. Then add one red accent — the nose or inner ear — so the piece pops without turning busy. It’s a clean, graphic look that works for phone wallpapers and print layouts because the colors stay controlled.
Draw the head and ears with a single consistent fineliner weight, starting with the ear silhouettes first. Shade only two areas: a curved shadow under the chin and a narrow shadow pocket between the ears. Color the nose with a small dot of red marker or colored pencil, keeping it tiny. If you want one more modern detail, add a single red line under the muzzle shadow to separate values.
Pick one red shade and stick to it; changing reds mid-piece makes it look accidental.
Don’t add extra value patches around the cheeks; two shadows are the whole point.
4. Geometric Fennec in Hexagon Frame
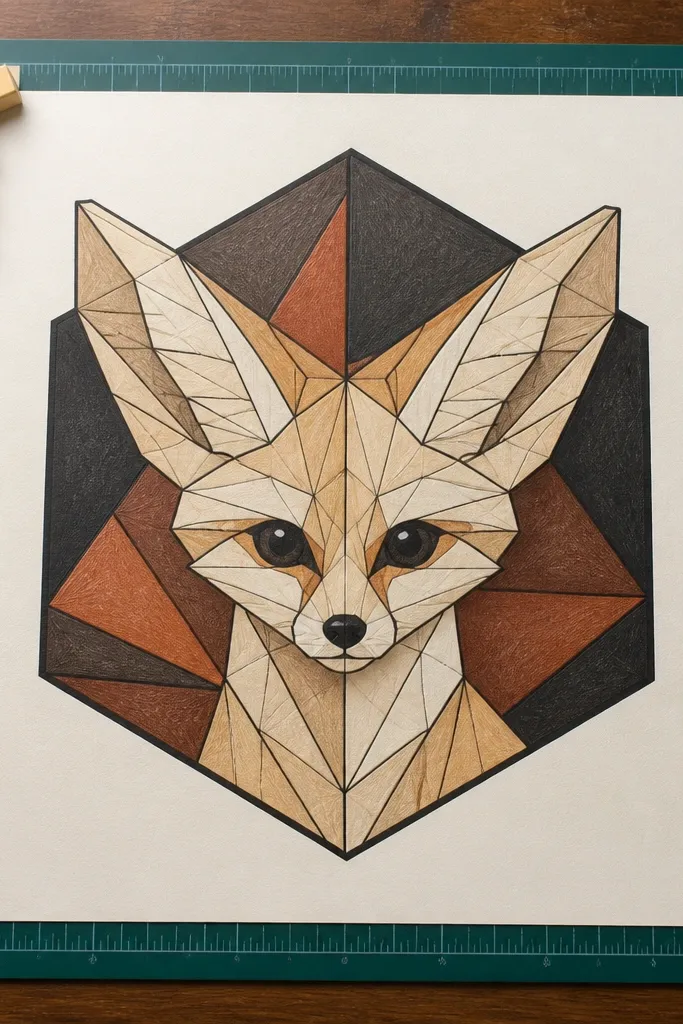
This is modern because it turns the fennec into a geometric logo. You’ll use triangle and trapezoid shapes for the ears and muzzle, then connect them with clean edges. The look is sharp, poster-ready, and easy to photograph because the frame gives it structure. It also teaches a real drawing skill: simplifying curves into angled planes while keeping the ear silhouette readable.
Lightly draw a hexagon frame, then place the fennec head center. Build the ears from two tall triangle shapes and add inner ear triangles that don’t touch the outer border. Connect the ear bases to a simple muzzle trapezoid, then shade one side with colored pencil (or marker) as a single value. Finish by adding thin white gel pen separators between shaded planes.
Use a ruler only for the frame; freehand the planes so the piece still feels hand-drawn.
Don’t over-round the geometric planes; rounded geometry stops reading as “modern.”
5. Monochrome Ink Hatching Fur Map
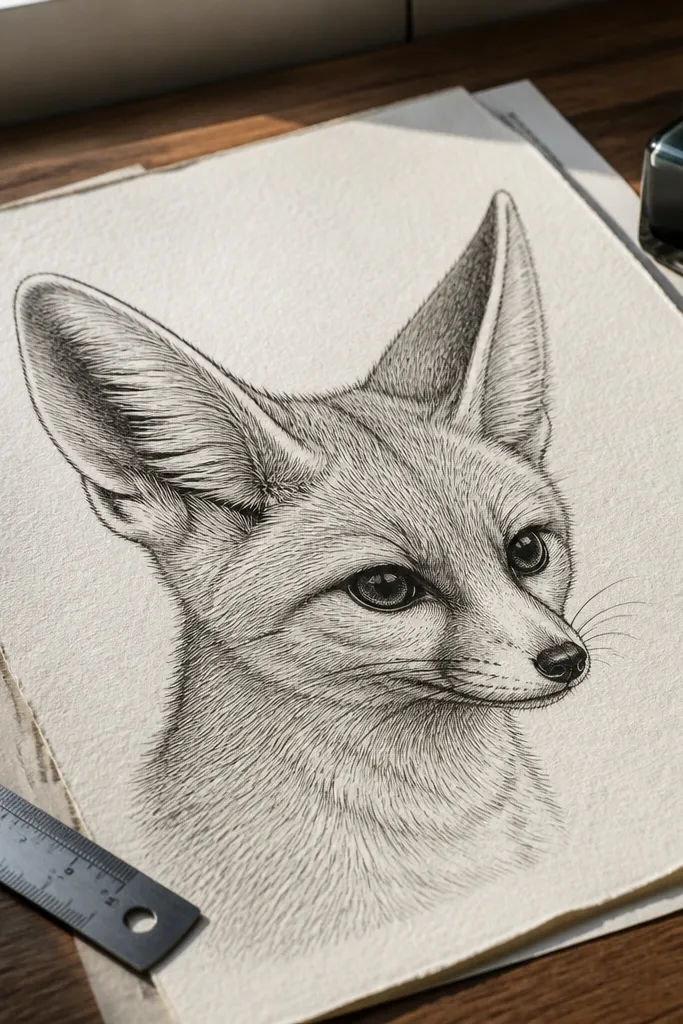
If you want modern texture without the “sketchy mess” look, this fur map approach works. Instead of drawing individual hairs, you draw directional hatching that follows the face planes. The ears get denser hatch lines near the inner edge, and the muzzle stays lighter with wider hatch spacing. This makes the fennec look stylized and clean while still showing fur movement.
Sketch the fennec face lightly, then mark three zones: ear outer fur, inner ear, and muzzle. Ink the ear outer fur with tight, angled hatch lines that all lean the same direction. Switch to wider-spaced hatch lines on the muzzle and add a darker hatch cluster under the chin. Use a kneaded eraser to lift pencil lines after the ink dries so the final piece stays sharp.
Keep hatch direction consistent within each zone; changing angles mid-zone looks messy.
Don’t crosshatch the whole face; it turns modern into scratchy.
6. Minimal Profile with Floating Sand Dots
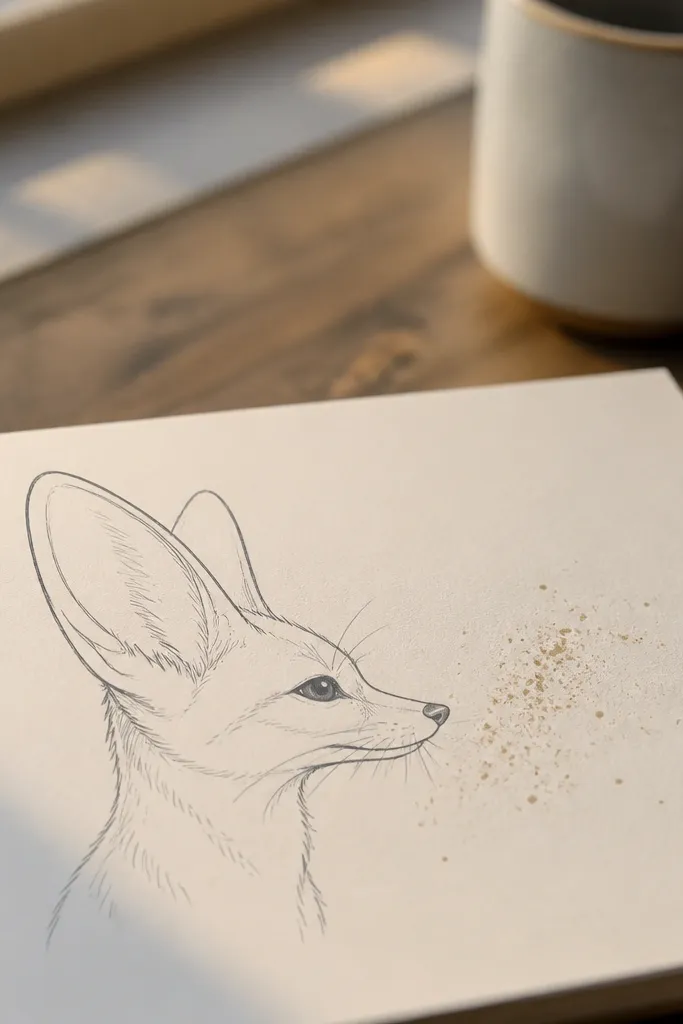
A profile view looks modern because it’s readable even with less detail. This design uses a clean side outline, then adds dot clusters like dry sand behind the muzzle. The ears are still the focus, but you don’t need to draw the entire front face, which keeps the piece airy. It’s especially good for sketchbook pages because the negative space looks intentional.
Pro tipMake the dot clusters bigger near the muzzle and smaller as they fade — depth comes from size change.
Draw a side profile curve for the head and muzzle, then set the ear as a tall arching shape behind it. Add a small inner ear line to define the ear opening. Leave most of the page blank, then use a fineliner to place dot clusters under the muzzle and toward one corner. Shade the under-cheek with a single soft line and stop there so the dots do the texturing.
AvoidDon’t fill the whole background with dots; keep the blank space for the modern look.
7. Pastel Gouache Fade on Ears
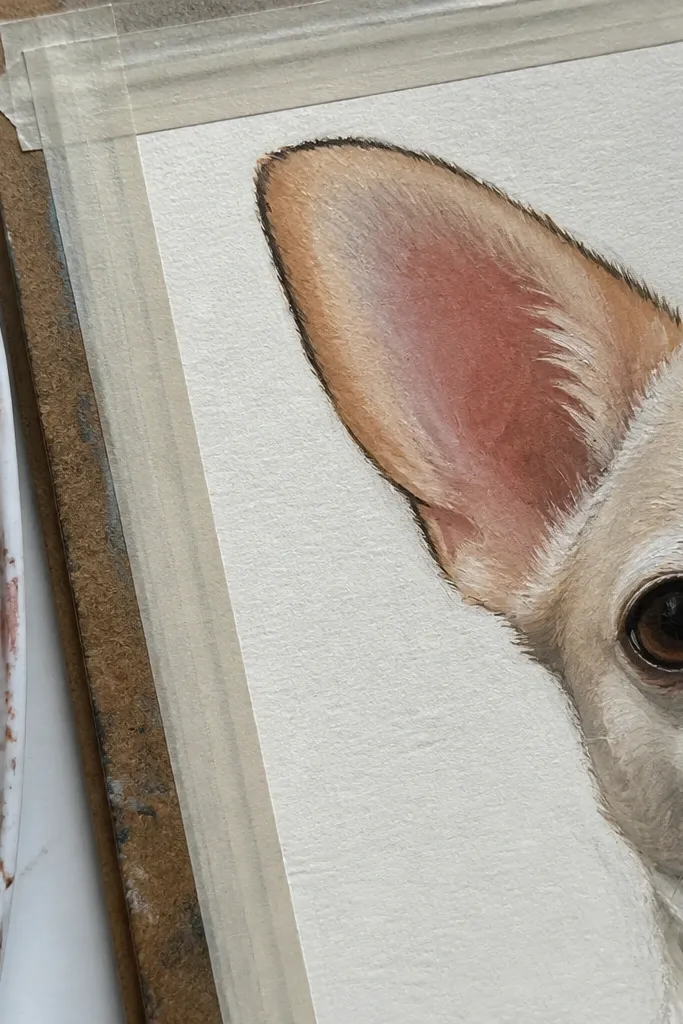
This is modern because the ears carry the color story. Use pastel gouache to create a smooth fade from warm beige at the outer rim to pink-ochre inside, with a crisp dark outline only along the ear outer edge. The muzzle stays mostly light, with a gentle shadow under the chin so the face doesn’t turn flat. It’s photogenic because pastel gradients catch light and look clean on paper.
Pro tipUse thin paint layers for the fade; thick gouache creates grain that ruins the gradient.
Sketch the face and ears with a light pencil, then paint the outer ear outline with a thin dark line using a small round brush. Load the outer ear area with a light beige wash, then blend a slightly pink-ochre shade into the inner ear. Add the chin shadow with a watered brown wash, keeping it narrow. Once dry, use a white gel pen to add two ear rim highlights and one tiny highlight on the nose.
AvoidDon’t outline the entire face in dark paint; keep the outline mostly on the ears.
8. Cut-Paper Collage Fennec with Ink Lines
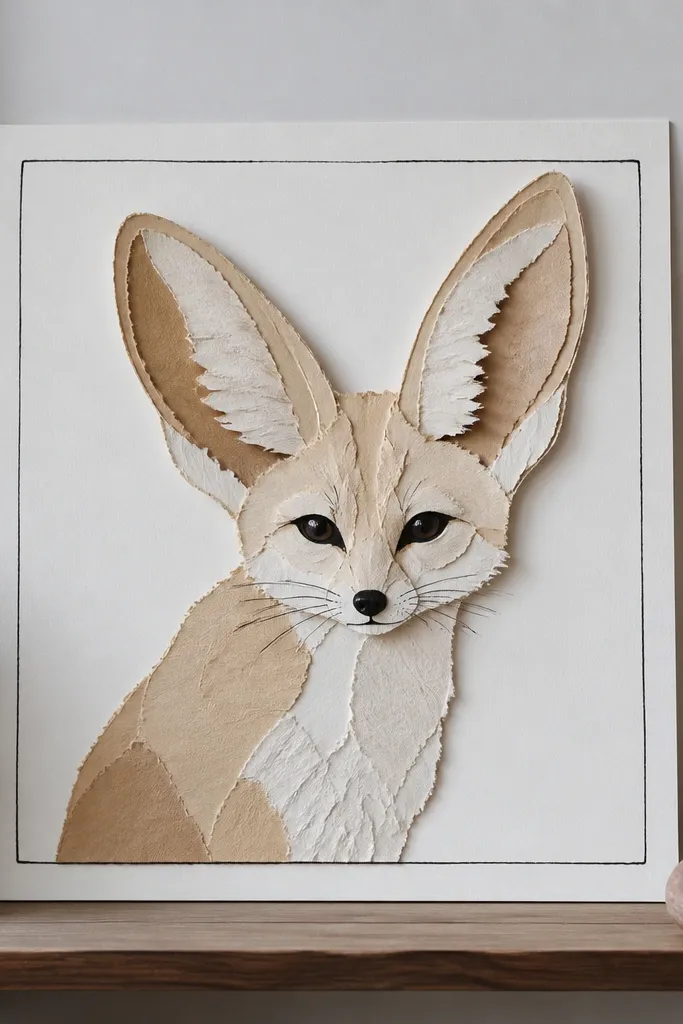
Collage reads modern fast because the edges are graphic and the materials show. You’ll cut layered ear shapes from tan, cream, and slightly darker paper, then draw only a few ink lines for the muzzle and eyes. The layered ears look dimensional without needing realistic fur. This is a great option if you want a finished piece that looks like a shop print and not a sketch.
Pro tipPress paper layers under a book for 30 minutes so edges don’t lift and catch glare in photos.
Choose three paper tones: cream, sand tan, and warm brown. Cut the face as one cream shape, then cut two ear layers in sand tan and warm brown for depth. Glue the layers onto a heavier background sheet, smoothing edges with a bone folder. Add ink lines for the nose bridge and a tiny eye shape, then use a white gel pen to highlight the ear rims.
AvoidDon’t cut tiny fur slivers; big shapes create the clean modern look.
9. Color Block Fennec with Limited Palette
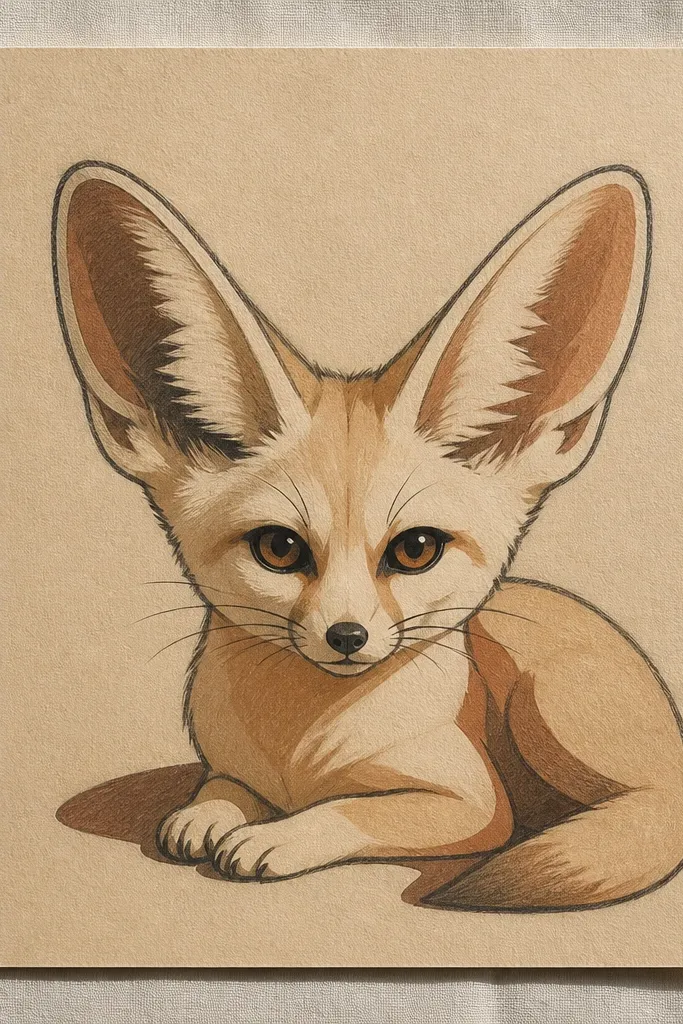
This idea is modern because it treats the fennec like a color poster. You’ll use solid blocks for the ears, muzzle, and shadows, with only a few edges softened by pencil blending. The palette stays tight: beige for the base, rust-brown for shadows, and charcoal for line definition. It’s striking in photos because there’s no fine texture to blur.
Sketch the fennec head and ears with charcoal pencil, keeping edges bold. Fill the base fur area with beige colored pencil or marker, then add rust-brown blocks for the shadow under the chin and the inner ear. Use charcoal or dark marker for a clean outline around the ear outer edge only. Finally, sharpen one highlight using a white pencil along the ear rim and muzzle top.
Use painter’s tape to mask one color block at a time if you want super clean edges.
Don’t blend every block together; the blocky separation is the whole modern effect.
10. Fennec with Sunburst Background Rays
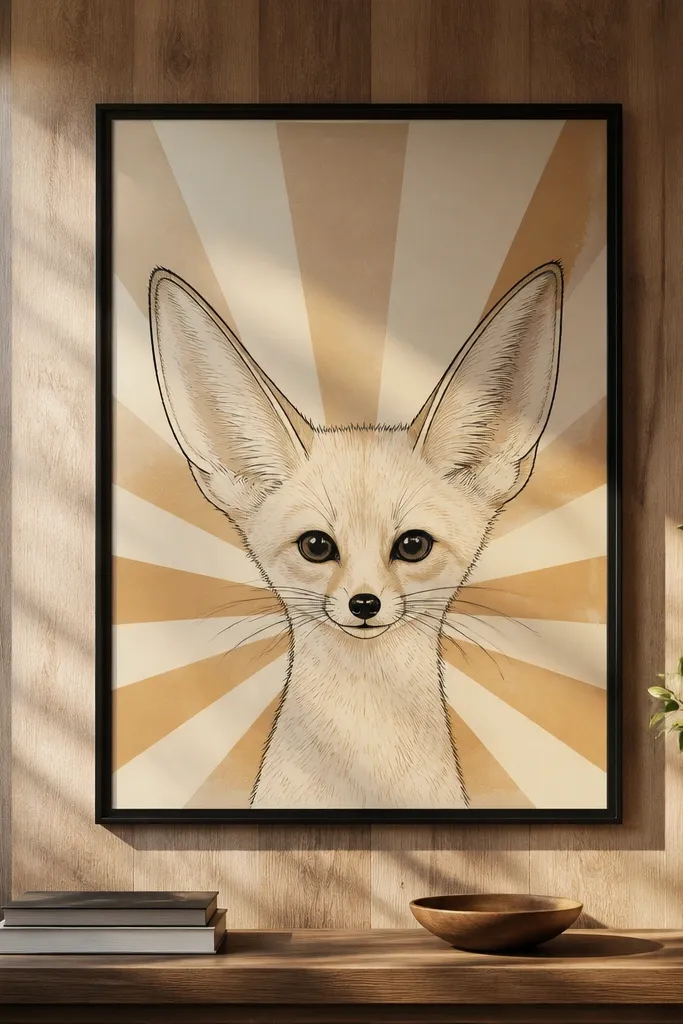
A sunburst background makes any fennec drawing feel designed, not just drawn. Keep the fennec face minimal and crisp, then let the rays carry the energy. The rays also create a natural sense of light direction — perfect for modern value planning. This works great for greeting cards, prints, and sticker labels because the background gives instant composition.
Pro tipMake the rays thicker near the center and thinner outward; it looks more intentional on camera.
Draw the fennec face centered, using only three values: light fur, chin shadow, and inner ear shade. Then create a sunburst behind it with straight rays radiating from a point just above the head. Use warm markers (light ochre, tan, and a slightly darker brown) for rays, keeping line spacing consistent. Add a darker outline around the ears so the face separates from the rays.
AvoidDon’t add fur texture while the rays are busy; keep the face clean so the whole piece reads.
11. Monoline Fennec with Transparent Overlay Look
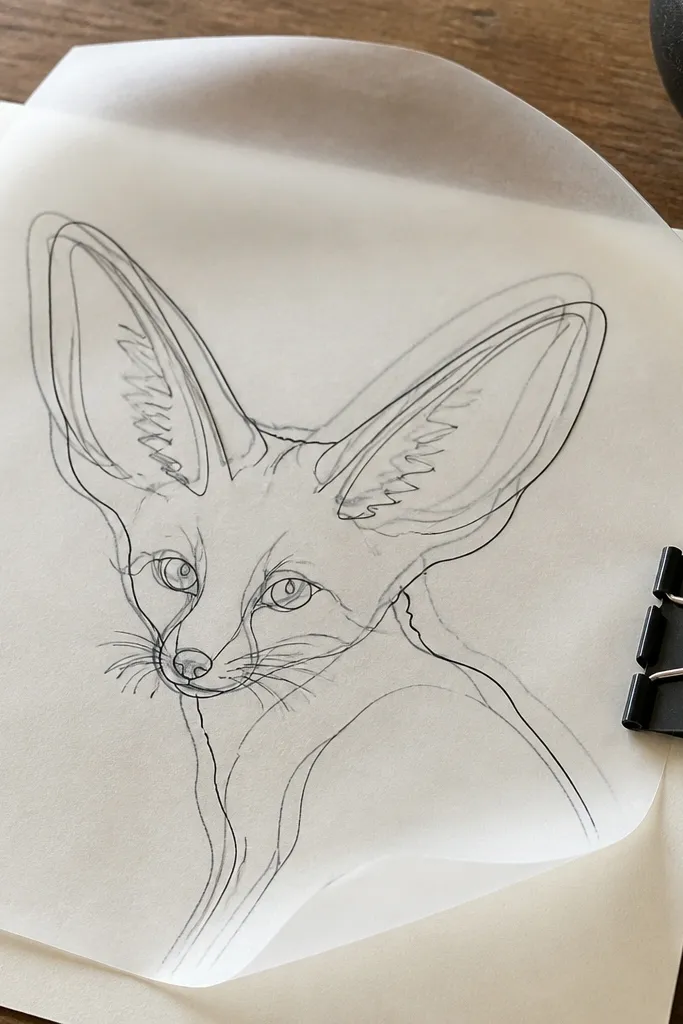
This one is modern because it uses line clarity and repetition without heavy shading. You draw the same ear and muzzle line twice with different spacing, creating a layered look like transparent paper. The result is crisp and airy, with texture implied through overlap rather than fur hairs. It’s ideal if you like clean aesthetics and want a drawing that stays readable at small sizes.
Pro tipUse a ruler to keep the offset consistent on the ears; it makes the overlay effect look deliberate.
Start with a single fineliner outline of the fennec head and ears. Then redraw the ear inner edge with a lighter color (gray or muted brown) offset by a few millimeters. Repeat once more on the muzzle curve so it looks like layered transparency. Add only one shadow line under the chin in dark gray and stop there.
AvoidDon’t add shading blocks; the layered line effect is the style.
12. Ink + White Gel Fur Highlights Only
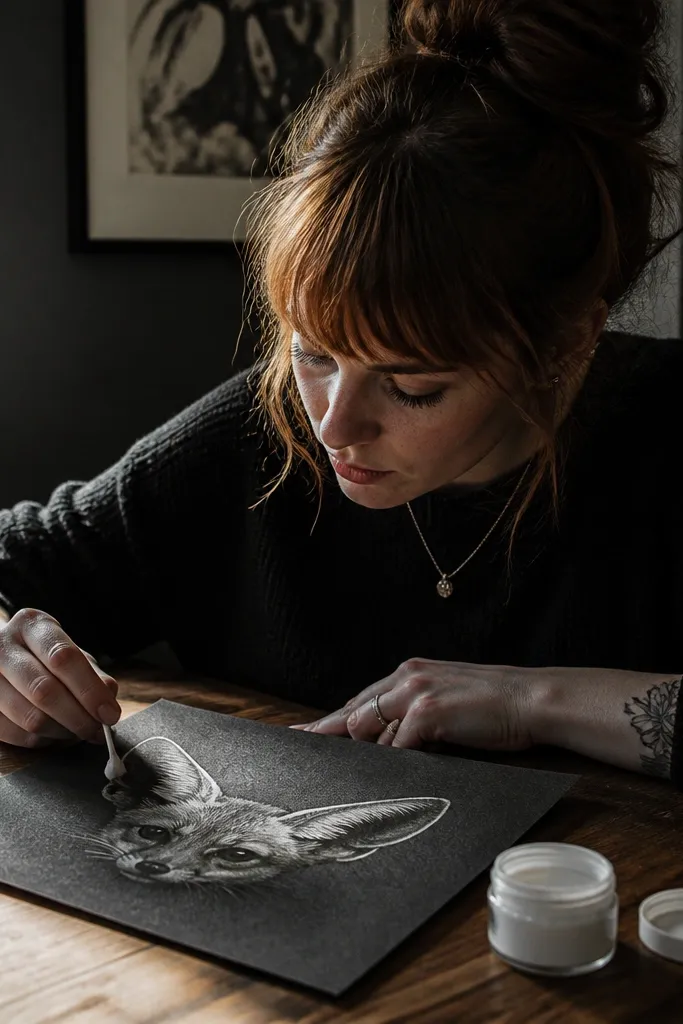
This is a high-contrast modern look that feels graphic and clean. You draw the face with dark ink shapes first, then “carve” the fur by adding white gel highlights in the exact places light hits. The ears get the most highlights because fennec fur catches light along the rim. It looks premium on dark paper too, and it’s surprisingly easy once you commit to highlight placement.
Pro tipTest your gel pen on scrap first; some paper makes it skip and you’ll get uneven highlights.
Use dark paper or a gray sheet if you have it, and sketch the face lightly in pencil. Ink the main fur shapes with black or deep brown ink, leaving some areas uninked for highlights. Let the ink dry, then add white gel pen dashes along the outer ear rim, inner ear edge, and a few muzzle highlights. Finish with one thin line for the nose bridge and a tiny eye dot.
AvoidDon’t add lots of white all over; highlight placement is what keeps it modern.
13. Watercolor Splatter Texture Border
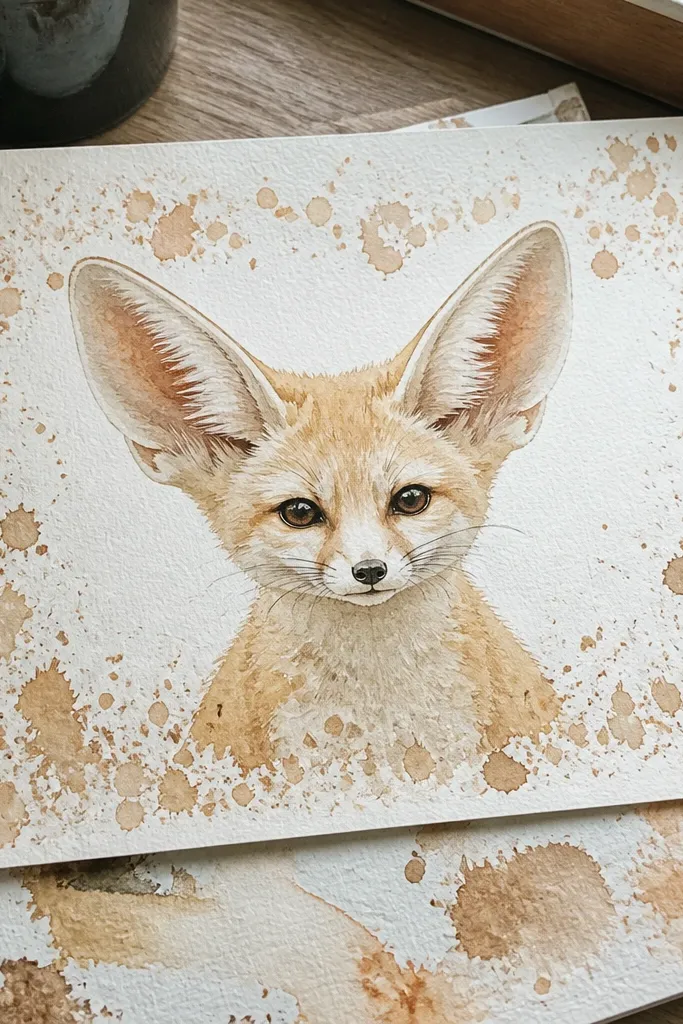
Splatter borders make a drawing feel current without turning the face messy. You keep the fennec itself controlled with light washes and clean outlines, then add splatter only around the edges like a frame. The contrast between calm face and playful border is what makes it photogenic. It works for posters because the border gives you a strong “finished” look even if the drawing area is small.
Paint the fennec face with a light wash base (beige and a touch of warm brown for shadows). Outline the outer ear edges with a fine brush and dark ink or watered paint. Mask the face area with paper and tape, then flick watercolor splatter around the border using a toothbrush. Remove masking once dry and add two ear highlights with white gel pen.
Use thicker paper (200gsm) so splatter doesn’t bleed through or feather the outlines.
Don’t splatter over the ears; it makes the silhouette muddy and loses the modern readability.
14. Graphite on Toned Paper with Sharp Highlights
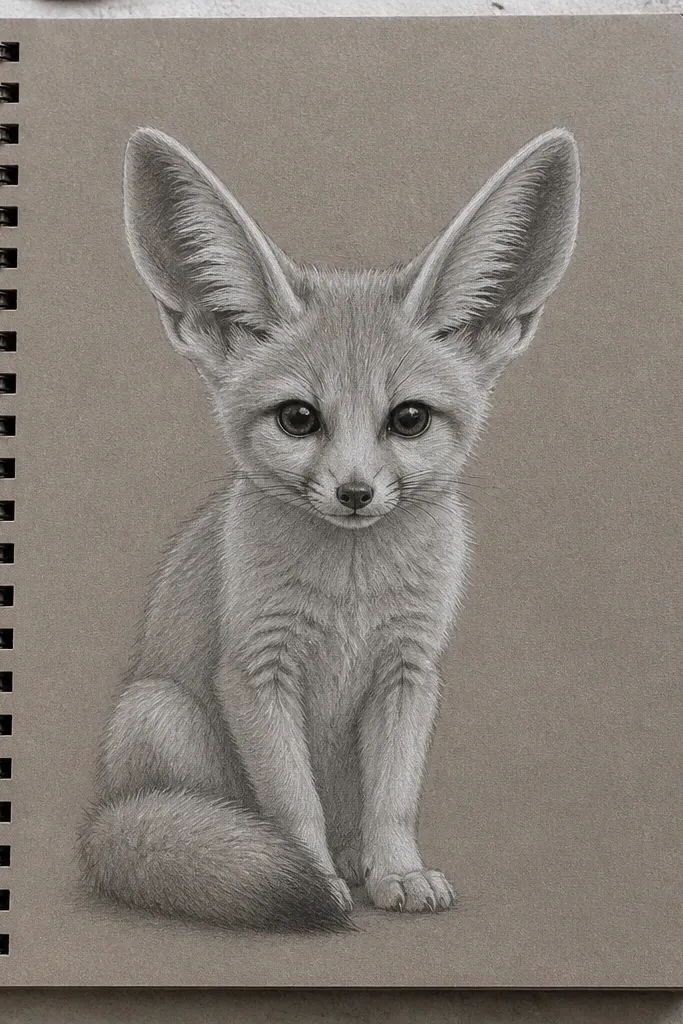
This style looks modern because toned paper gives instant depth and makes highlights matter. You shade with graphite for smooth mid-tones, then add crisp white highlights where the ears and muzzle catch light. The result feels clean and gallery-like without needing color. It’s also a great way to practice value control because you can see your mistakes immediately on gray paper.
Pro tipBlend with a paper stump lightly; heavy blending makes the face look gray and flat.
Use gray toned paper and sketch the fennec head and ears in light graphite. Build mid-tones by blending graphite on the cheek and outer ear, leaving the inner ear slightly lighter. Add the chin shadow with a darker graphite patch and blend its edges softly. Finally, use a white pencil to draw thin ear rim highlights and a small highlight on the nose bridge.
AvoidDon’t press hard early; you can’t lift graphite as cleanly as pencil later.
15. Modern Fennec in a Negative-Space Window
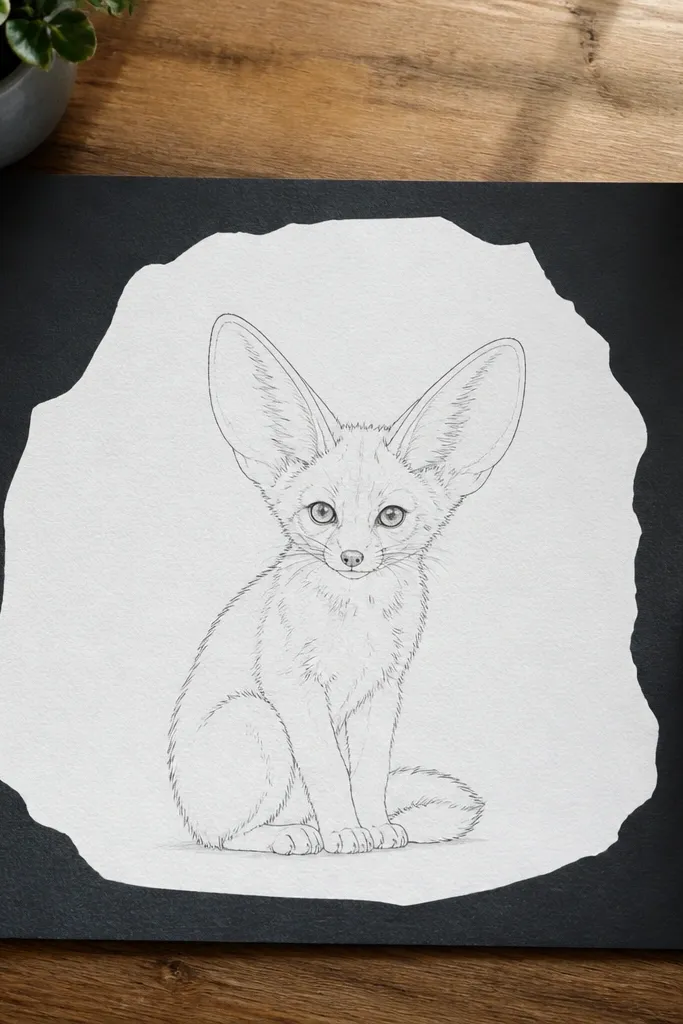
Negative space windows look modern because they frame the subject and keep the composition tidy. You draw the fennec with light line work, then create a “window” area by leaving the background unpainted or by masking it. The fennec reads instantly because the empty space around it gives contrast. This is perfect for sketchbooks and for print designs where you want the drawing to feel intentional and design-minded.
Pro tipUse painter’s tape with burnishing along the edge so you get a crisp border line in photos.
Draw a rectangular or rounded window shape on your page and decide where the fennec sits inside it. Mask the window area with tape if you’re painting or coloring the outer area; keep the fennec zone clean. Inside the window, draw the ears and muzzle with a thin fineliner, then add only two value areas: chin shadow and inner ear pocket. Color or paint outside the window in a single flat tone, then remove masking after it dries.
AvoidDon’t add heavy texture outside the window; the border should be clean.



