
1. Single-line cruising shark
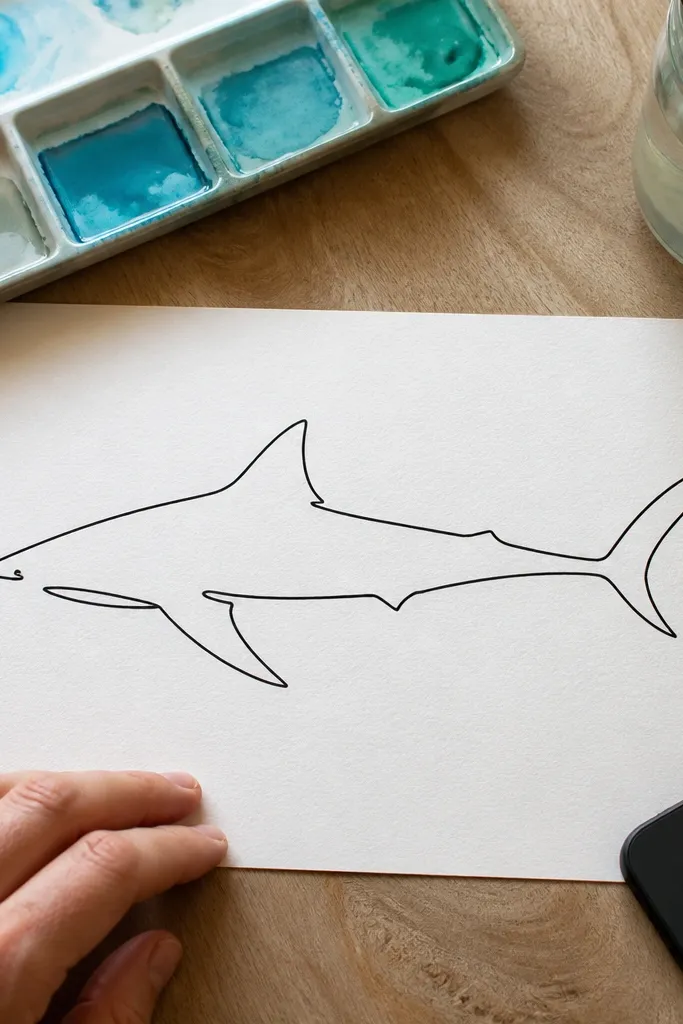
This one is built for speed. You’re not trying to render scales or realism; you’re creating a silhouette that reads instantly. Start at the snout, sweep along the back, form the dorsal fin with one smooth peak, then finish with a tail that flicks back. The single-line approach forces clean proportions because you can’t hide mistakes under extra detail. It works great for notebooks, phone cases, and quick doodle pages when you only have a few minutes.
Start by drawing the snout wedge and a long back curve in one line. Then rise into the dorsal fin, dip into the belly curve, and end with a tail that has a strong point and a shallow notch. Finally, add a tiny eye dot and two short gill slits with your fineliner, then leave the rest as line-only.
Pro tipIf your line breaks, restart once instead of scribbling over — clean lines look intentional.
AvoidDon’t add teeth or gill detail before the body outline looks right.
2. Bubble-teeth cartoon shark
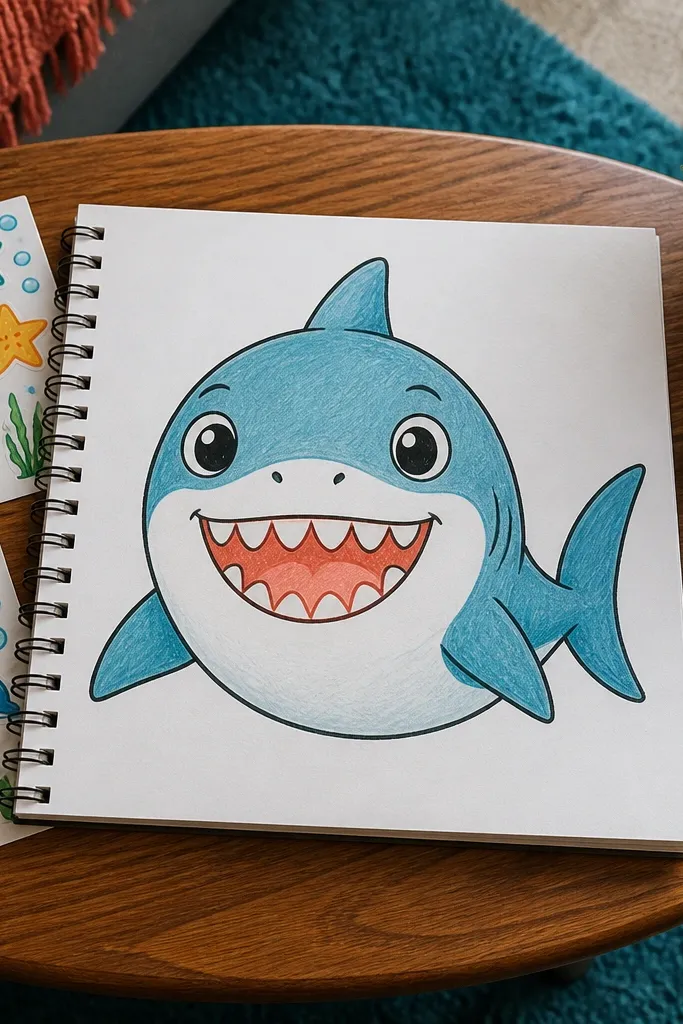
This is the fastest way to make a shark look cute without losing the shark shape. The trick is to keep the mouth small and the teeth simple. Draw the head as a wedge, then a short curve for the mouth line. Inside, add rounded triangle teeth like bubble tips — spaced evenly, not crowded. It’s fun for kids' pages, sticker-style drawings, and quick greeting cards when you want personality more than realism. Time-wise, it lands in the 8 to 12 minute range.
Draw the head and dorsal fin first, then outline the body as a smooth curve that narrows toward the tail. Add the eye above the mouth line, then sketch a small mouth curve. Finally, draw 6 to 10 rounded teeth shapes along the mouth, and ink over with a fineliner so the teeth read clearly.
Pro tipKeep the teeth sizes consistent by using a light pencil guide for the top tooth row.
AvoidDon’t make the mouth too wide — it turns into a generic monster face.
3. Clockwise fin shadow shark
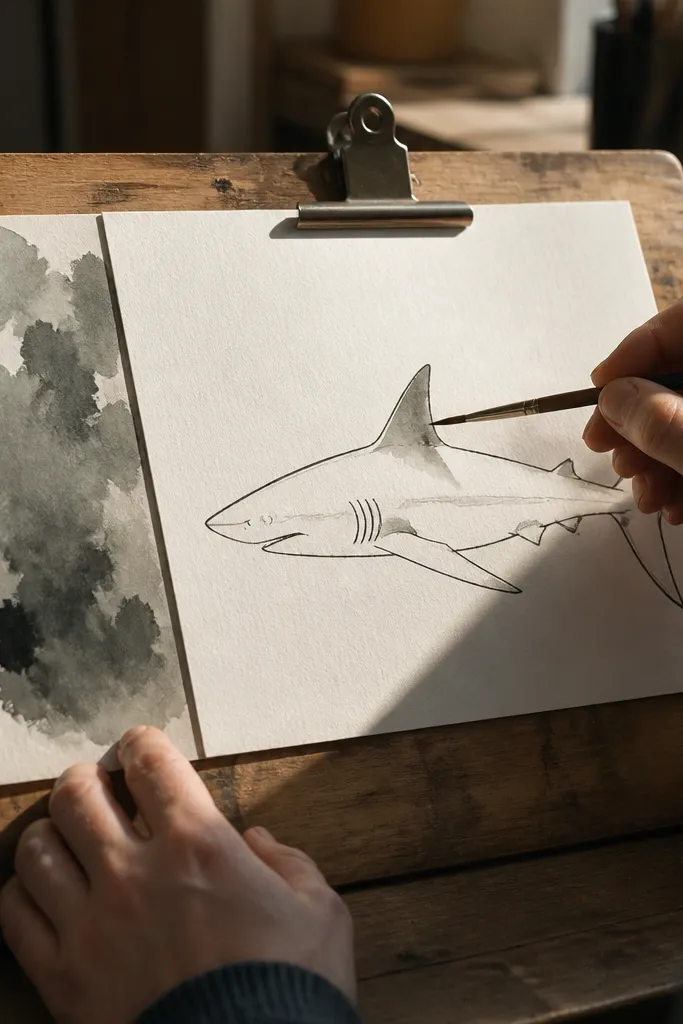
If your drawings look flat, this fixes it with almost no extra work. One clean shadow under the dorsal fin gives depth and makes the shark feel like it has form. You’re still doing a simple outline drawing, but you’re adding one value shape that tells the eye where the light is coming from. It takes about 10 to 15 minutes, and it looks good in pencil-only or with a gray colored pencil. This is the best pick for busy days when you want it to look “finished” fast.
Start with a standard shark silhouette: wedge snout, arched back, dorsal fin, then tail. Add the eye and two gill slits in pencil. Then choose a light direction and shade one triangular area under the dorsal fin using a soft side of a gray pencil or fineliner hatch. Finish by inking the outline and leaving the belly area unshaded.
Pick one shadow shape and commit — don’t invent multiple shadow patches.
Don’t shade the entire body; one shadow is enough.
4. Stripe-and-belly shark stencil
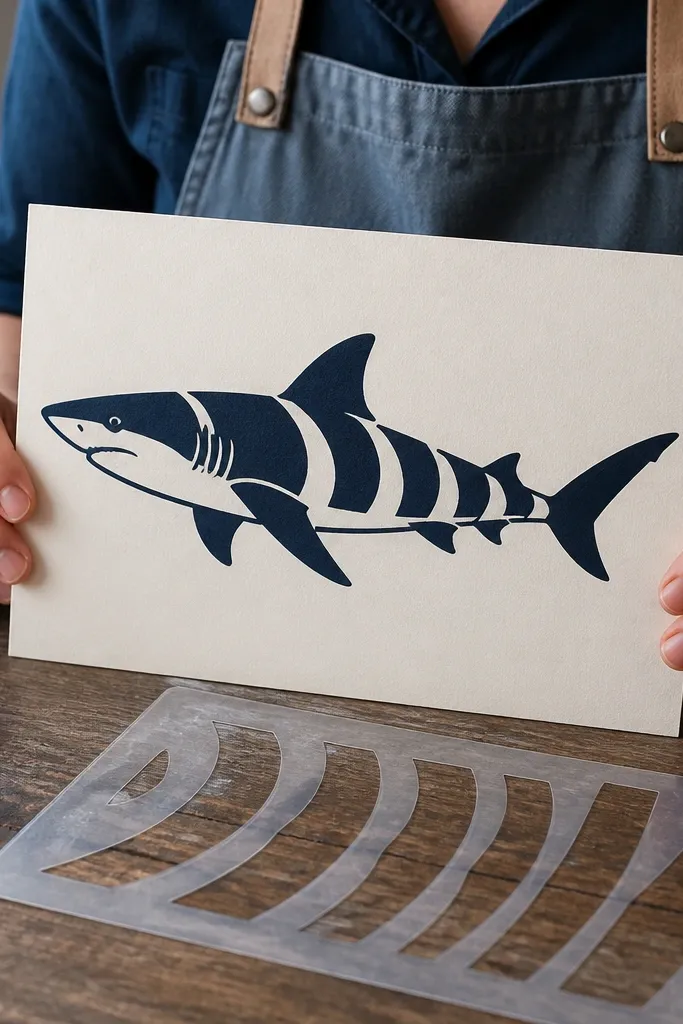
This idea gives you a strong graphic look without detailed rendering. Bold stripes and a lighter belly read like a design, not a half-drawn animal. You’ll draw the outline, then add 3 to 5 stripe bands that follow the body curve. The lighter belly can be left as paper white or colored with a very light gray. It’s great for posters, bookmarks, and fast practice because it’s forgiving: even if proportions are slightly off, stripes still make it read as a shark.
Sketch the shark silhouette in pencil, placing the dorsal fin about one-third of the way from the snout. Add three to five stripes that angle slightly backward, keeping them wide near the back and narrower toward the belly. Leave the belly area blank or lightly color it. Ink the outline, then use fineliner to darken the stripe edges so they pop.
Use the fineliner to define stripe boundaries, not to fill every stripe — outlines are faster.
Don’t stripe across the snout — keep patterns on the body.
5. Shark profile with dorsal notch
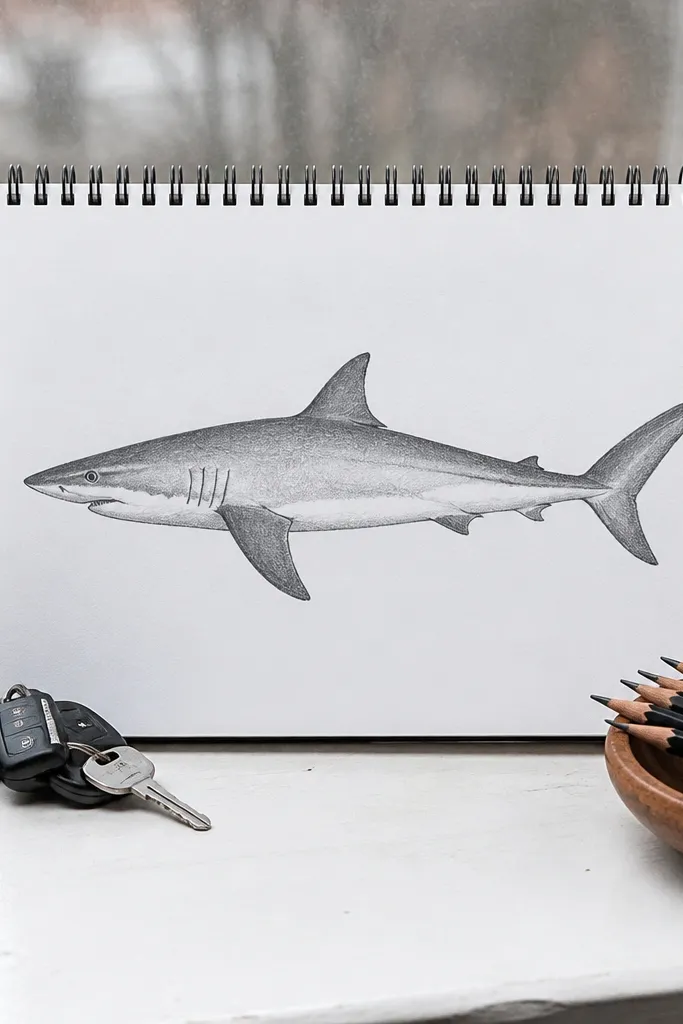
This one is for when you want accuracy but still want it quick. A side profile reads instantly as “shark” when you nail the dorsal fin shape and the tail fork. The notch — a small inward curve on the fin edge — adds a realistic cue without needing lots of texture. It takes about 12 to 18 minutes, and it’s perfect for practicing proportion because you’re drawing one clean angle. It also looks great in black-and-white.
Draw a side profile wedge snout, then a long back curve that slopes gently to the dorsal fin. Make the dorsal fin with a small notch on its leading edge, then draw the belly curve to meet the tail base. Finally, draw the tail as a fork with one side slightly longer, then add an eye and a couple of gill slits.
Pro tipLightly sketch the dorsal fin placement first using the distance from snout to eye as your guide.
AvoidDon’t make the dorsal fin too far back — it breaks the shark silhouette.
6. Top-down shark fin map
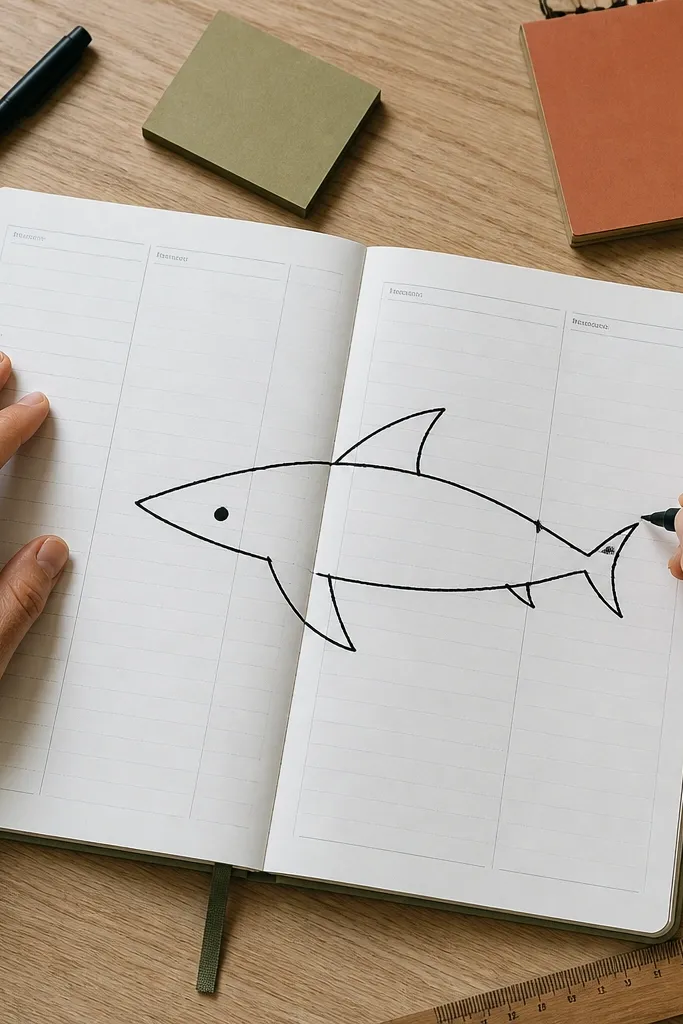
Top-down drawings feel clever, and they’re fast because you simplify everything. You’re basically designing a shark shape from above: head wedge, body oval, and fins as bold cutouts. Add a small tail flick and one eye dot to lock the identity. This style is great for quick art prompts, planner doodles, and kids because it’s clear even with minimal lines. Expect 6 to 10 minutes.
Sketch an oval body and attach a wedge snout at one end. Place the dorsal fin as a triangle cutout on the top edge of the oval, then add the pectoral fin smaller near the front underside. Finish with a tail flick and one eye dot. Ink over the main outline, then add two tiny gill lines near the snout.
Keep fins thick and simple — thin fins look messy at small sizes.
Don’t add full side detail in this view; keep it top-down.
7. Shark egg drawing with embryo lines
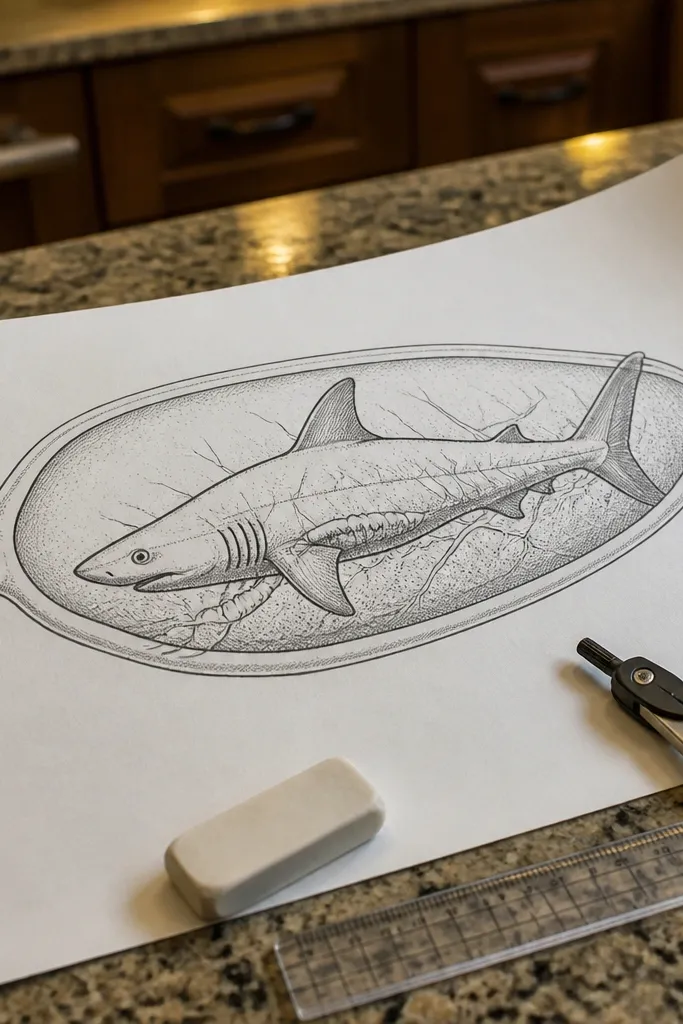
This is a weird little idea that still reads as shark and finishes fast. You draw an egg shape, then carve in the outline of the fin and tail like a blueprint. It’s a fun way to practice shark anatomy without drawing the entire animal in detail. The result looks like a playful diagram and works well for learning pages or science-themed doodles. It takes about 10 to 14 minutes.
Draw a clean egg shape in pencil, then lightly mark the centerline. Add the head wedge on the smaller end and sketch the dorsal fin outline on the top half. Draw the tail as a curved fork near the wide end, then add 2 to 3 short internal lines to suggest where the body bends. Ink the outer silhouette and keep internal lines lighter.
Use a centerline — it makes the fins and tail placement look intentional.
Don’t make the egg too round; leave a clear head wedge.
8. Wave-riding shark silhouette
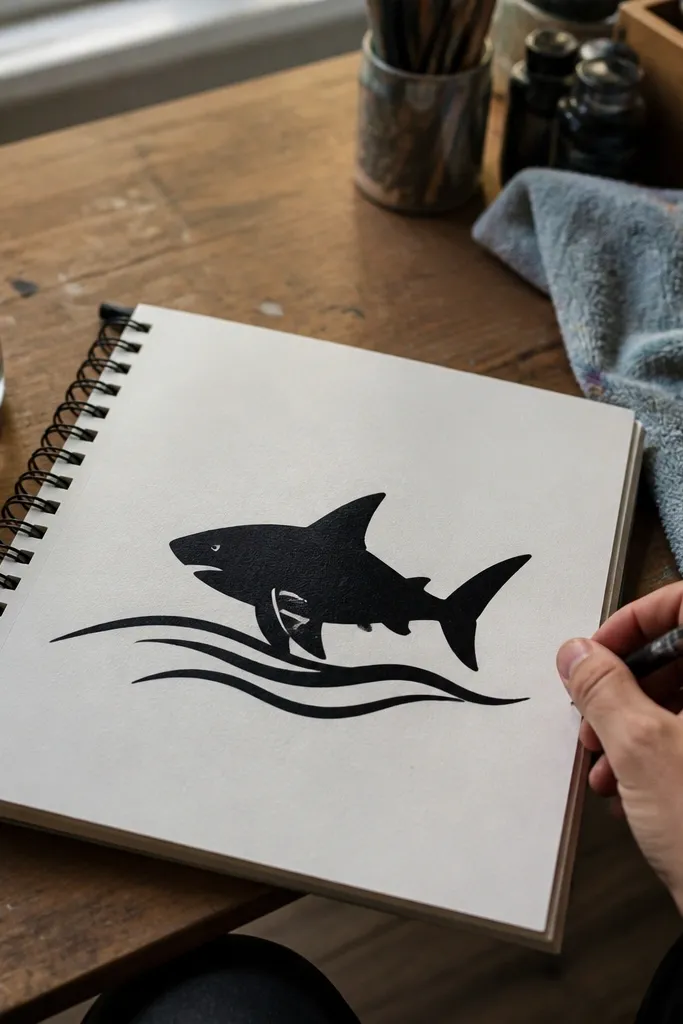
This is the best “I need it to look done” drawing when you’re short on time. The shark silhouette gives you identity, and the waves give you context. You don’t need background shading, just 3 wave lines that curve under the belly. It reads as motion immediately and looks great in ink. Time is about 10 to 16 minutes, depending on how clean you want the waves.
Draw the shark silhouette first: snout wedge, dorsal fin peak, and a tail fork. Place it above where your waves will be. Then draw three wave lines under the shark, each with a thicker crest and thinner trough. Ink everything, then optionally add one small water-splash bump near the tail.
Pro tipMake the middle wave bigger — it creates depth fast.
AvoidDon’t outline the waves like a cartoon explosion; keep them smooth and minimal.
9. Gray wash shark with one highlight
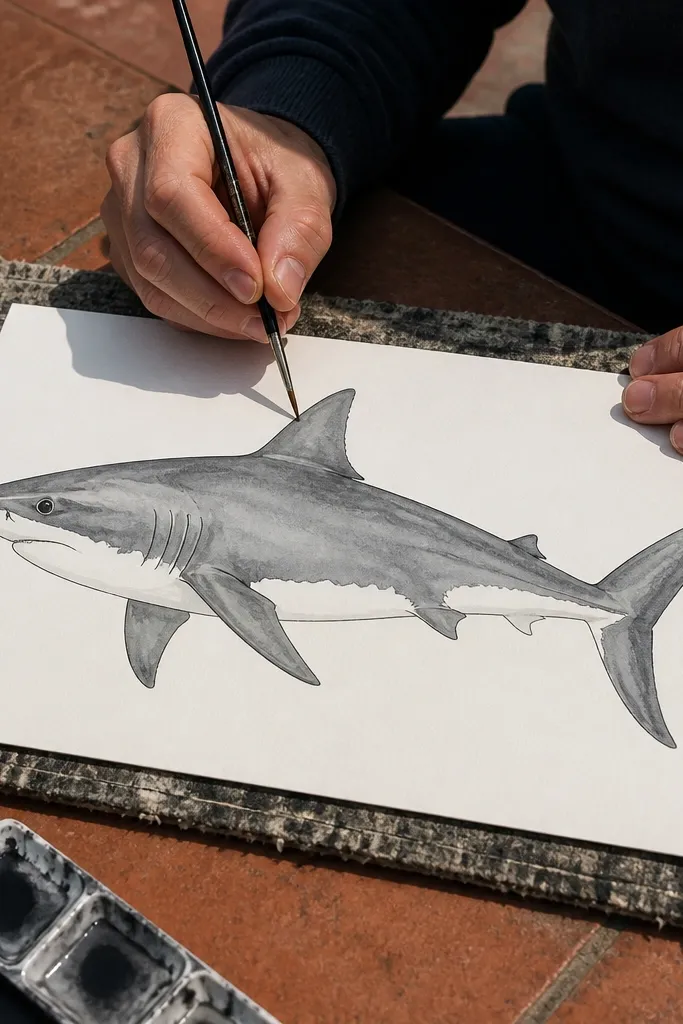
This is a quick way to get a “painted” look without painting the whole page. You use a light gray wash for the body and leave one highlight area on the belly untouched. The shark still stays readable because the silhouette and fin edges are inked. It takes 15 to 20 minutes, mostly because you wait for the wash to dry, but the drawing itself is simple. This one is perfect for paper that can handle a little moisture.
Ink a clean shark silhouette with fineliner, then add the eye and gill slits. Mix a very light gray wash using diluted gray pencil smudge or watered-down gray paint (keep it thin). Brush the wash over the body except the belly highlight area, then let it dry. Finish by adding a slightly darker wash under the dorsal fin edge.
Test your wash on scrap paper; you want pale gray, not muddy dark.
Don’t flood the page — heavy wash makes fin lines bleed.
10. Chibi shark with tiny fins
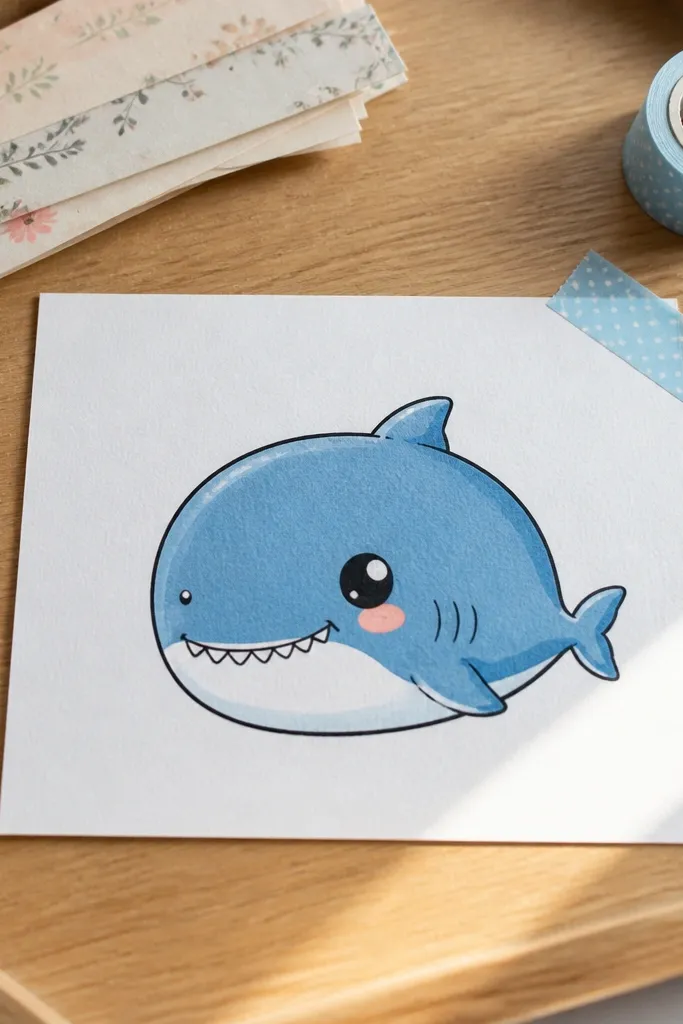
Chibi proportions make sharks look adorable and forgiving. Big head, small body, tiny dorsal fin. That means you can get a good result even if you’re drawing from memory. Use a simple mouth curve and a single tooth row or a couple of tooth bumps. It’s a 6 to 12 minute drawing that’s great for scrap paper, bookmarks, and quick gifts. The style keeps your lines minimal but still clearly shark.
Draw a large rounded wedge head and keep the body as a short oval. Place a small dorsal fin near the back of the head, then draw a small tail flick. Add one eye dot and a tiny mouth curve. Ink the outline, then add 4 to 6 simple tooth bumps along the mouth line.
Pro tipKeep the eye slightly above center — it gives that chibi expression fast.
AvoidDon’t shrink the head too much — the chibi look depends on the head size.
11. Shark anatomy practice: fin angles and gill slits
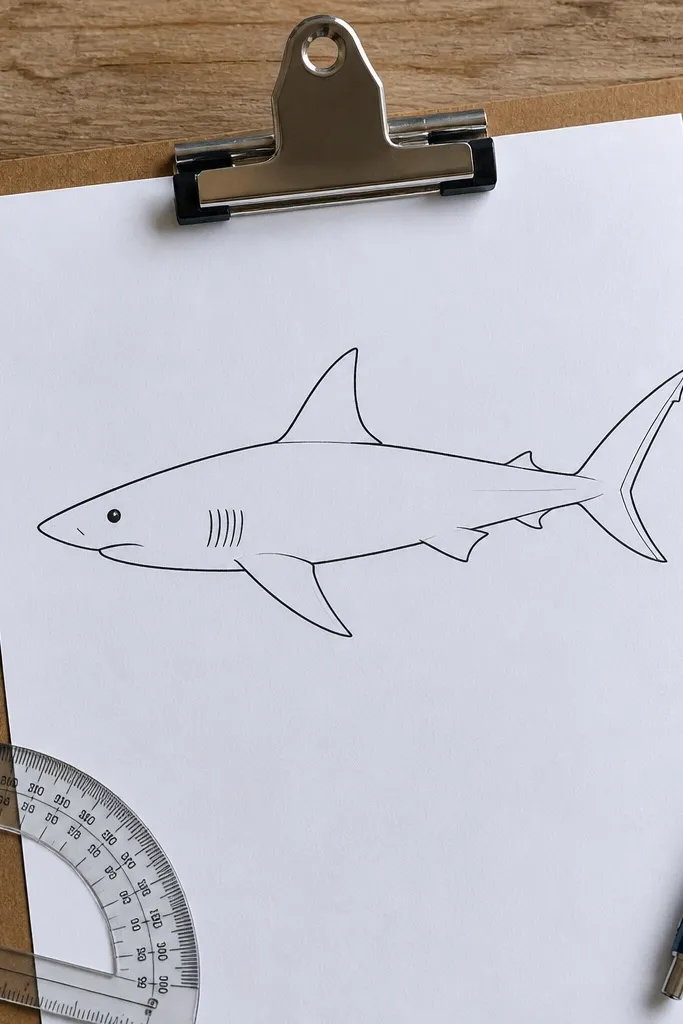
This idea is for when you want to improve, not just doodle. You focus on two shark identifiers: fin angle and gill slit placement. The body outline stays simple, but you draw the gill slits as a neat fan behind the eye and you place the dorsal fin with a clear angle. It takes 15 to 20 minutes and gives you a drawing that looks like a study sheet without being boring. It’s ideal for reviewing proportions before a bigger project.
Sketch a side profile shark in pencil with straight guide lines for the back and belly. Add the dorsal fin as a triangle with a clear angle line showing where it tilts. Then draw 3 to 5 gill slits behind the eye and keep them evenly spaced. Ink the outline and fin edges, then lightly erase the guide lines.
Pro tipUse a ruler for the back and belly guides; it makes the gill area line up cleaner.
AvoidDon’t add texture scales — this is about structure, not surface.
12. Mandala-ish shark silhouette border
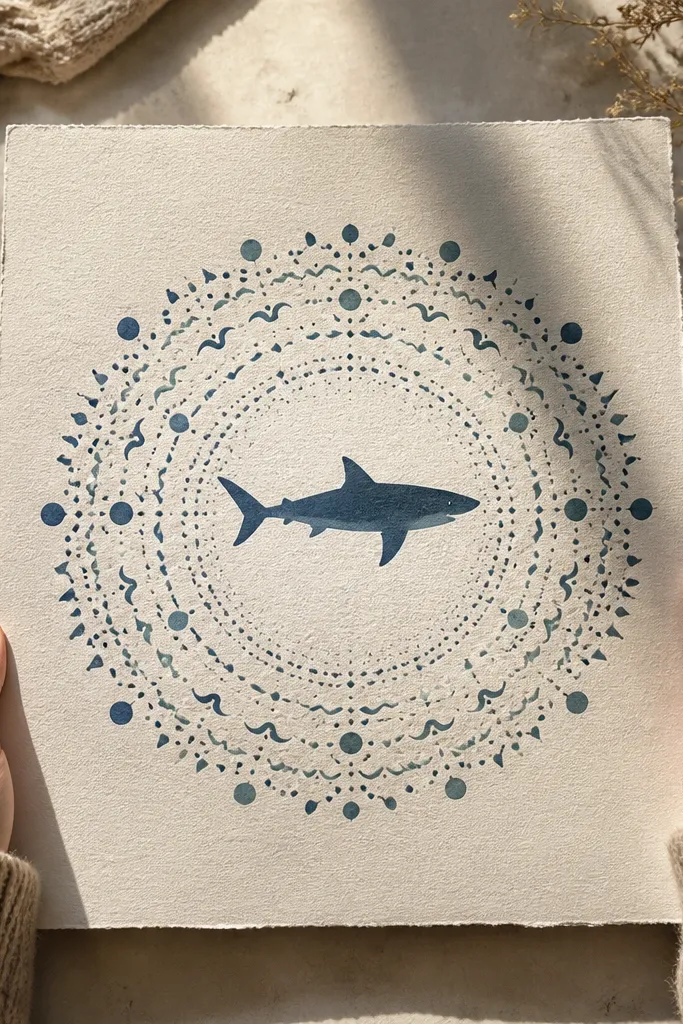
This is a fast decorative frame that makes a simple shark drawing feel special. The central shark stays minimal, while the border does the work with repeating dots or tiny wavelets. It’s great for filling a blank page and making your shark drawing look like a finished poster even if you only spent 15 minutes. Keep the border small so it doesn’t steal time from the shark shape. This style lands around 15 to 20 minutes.
Draw a centered shark silhouette with a strong dorsal fin and tail. Then add a border using repeating shapes: small dots or short wave arcs around the perimeter. Keep the border spacing consistent so it looks deliberate. Ink the shark first, then ink the border last, and erase pencil guides carefully.
Pro tipUse fewer border elements than you think — 3 to 4 repeating patterns is plenty.
AvoidDon’t let the border overlap the shark outline; keep a clean gap.



