
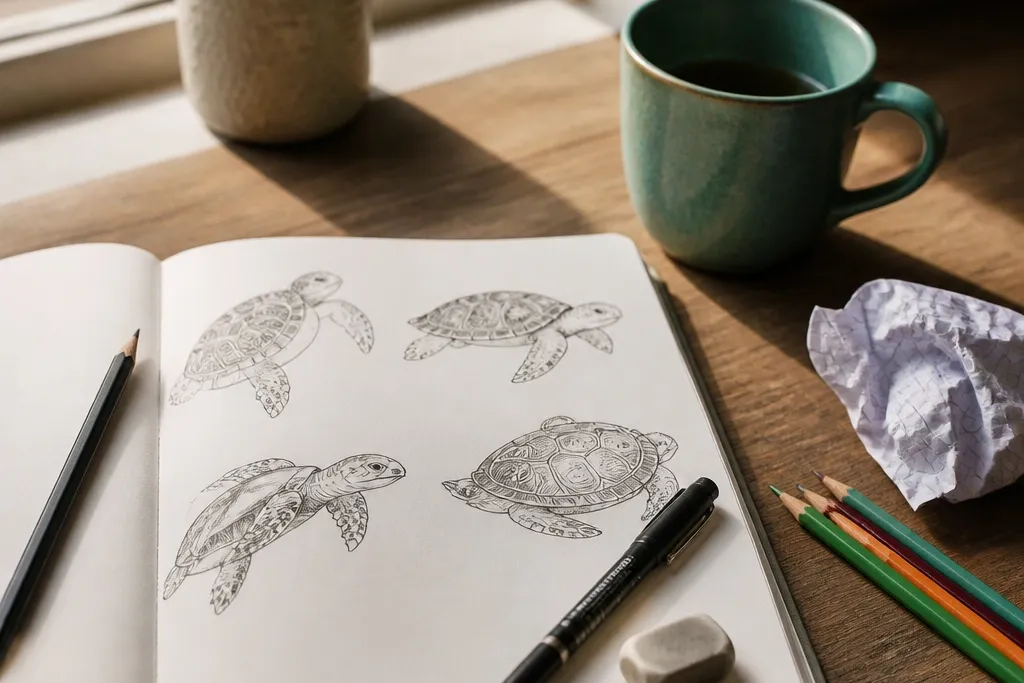

1. Top-View Shell with Simple Scutes
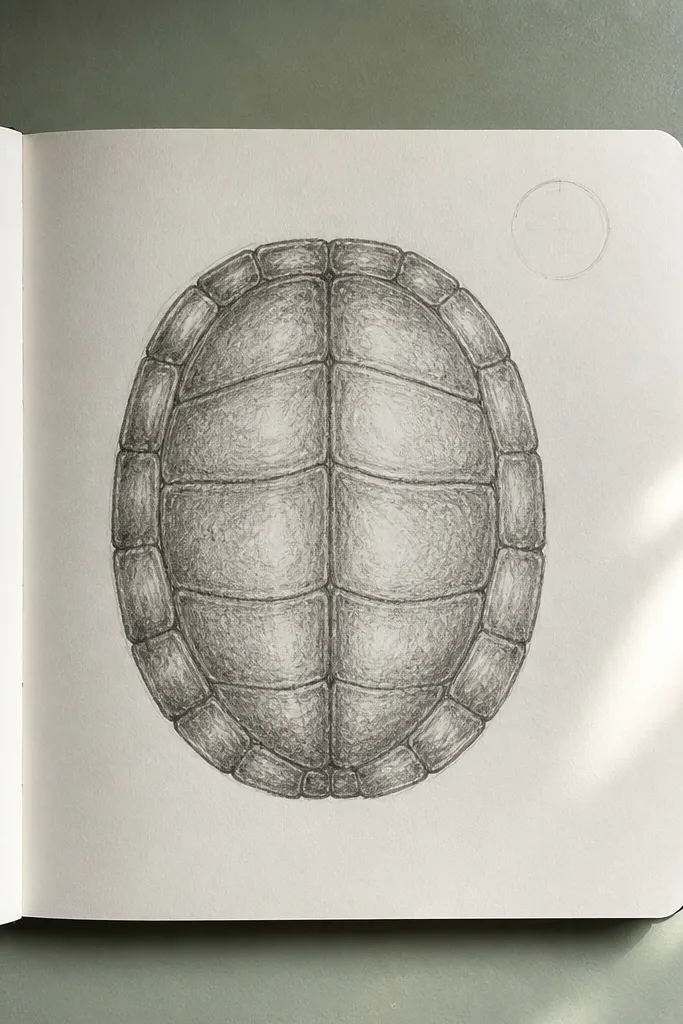
This prompt is the quickest way to get a turtle that instantly looks like a turtle. You’re not fighting perspective because the shell is the whole star of the drawing. Start with a flattened oval, then add a center line and 6-8 curved scute bands that wrap the shell. Finish by adding tiny legs tucked under the shell edge and a small head bump at the front. This one is great for a 10-12 minute session because you can stop after clean linework and light coloring.
Pro tipMake your scute lines slightly thicker at the shell edge so the shell pops even with no heavy shading.
Start by drawing a flattened oval on the page and a straight guideline down the middle. Then add 6-8 curved shell segment lines that stay evenly spaced and follow the oval’s bend. Finally, draw four small legs as short rounded shapes under the shell edge, and add a tiny head and a dot eye. Ink the outer shell and scute lines, then erase pencil guidelines once the ink is dry.
AvoidDon’t draw too many scute segments; 6-8 reads as “turtle shell” fast.
2. Side-Profile Turtle Peek
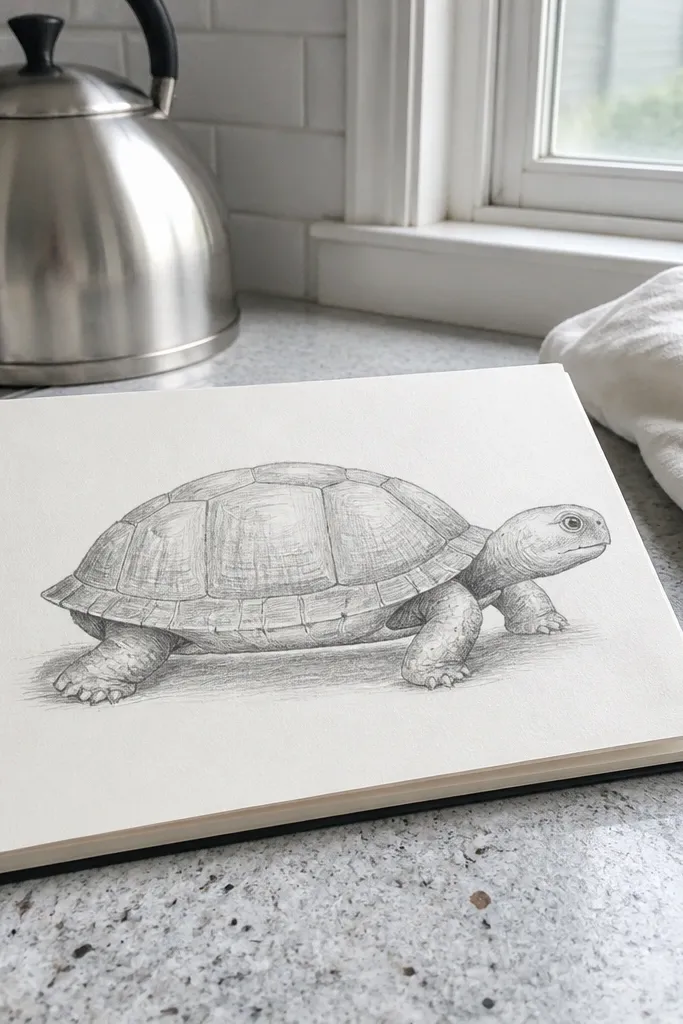
Side profile is the sweet spot for a quick and easy Turtle Drawing because it teaches you silhouette first. The turtle looks alive even with minimal detail since the head and legs create the motion. Use a big oval for the shell, then make a smooth curve for the neck and a rounded face. For the legs, draw two near the front and two behind, slightly tucked to match the shell curve. This prompt takes about 12-15 minutes and works well when you want something more expressive than a top view.
Sketch the shell as a tall oval, slightly tilted. Add a short curve at the front for the head and neck, then draw one eye dot and a tiny smile line. Next add front legs as two rounded tubes and back legs as smaller tubes tucked behind. Ink the outline, then add 5-7 curved scute lines on the shell and a few claws at each foot.
Keep the legs the same thickness across the drawing; it makes the turtle look intentional.
Don’t put the eye too far forward — it makes the head look detached.
3. Cartoon Turtle with Big Eye
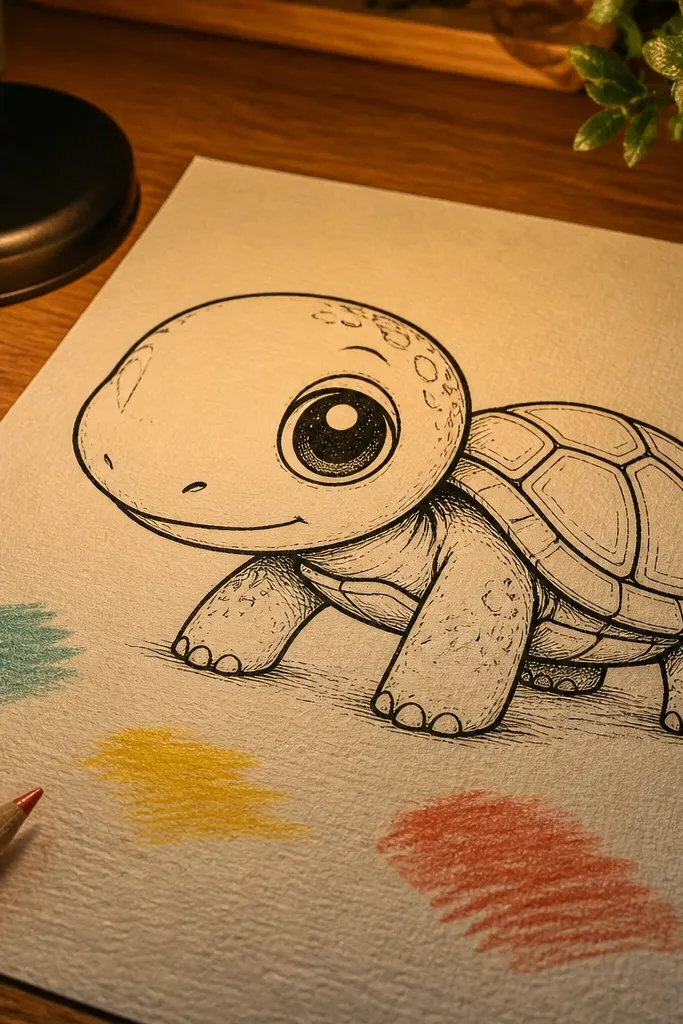
If your goal is “cute fast,” this prompt wins. A single big eye gives the turtle personality, even when the shell details are simple. Draw the shell as a rounded blob-oval with 4-6 scute lines, then make the head a smooth rounded shape that fits the shell front. Add a glossy highlight dot inside the eye for instant charm. This is a 10-14 minute drawing because it relies on bold shapes, not tight rendering.
Pro tipUse one smooth line for the shell edge without sketchy stops — it reads cleaner in cartoon style.
Start with a rounded oval shell and a front curve where the head will attach. Draw the head as a circle-ish shape with a curved mouth line. Then add two front legs as short arcs and two back legs as smaller arcs tucked near the shell edge. Ink the whole silhouette, add 4-6 scute lines, and finish with a large eye and one small highlight dot.
AvoidSkip tiny shell texture; too much detail fights the cute simplicity.
4. Turtle Peeking from a Log
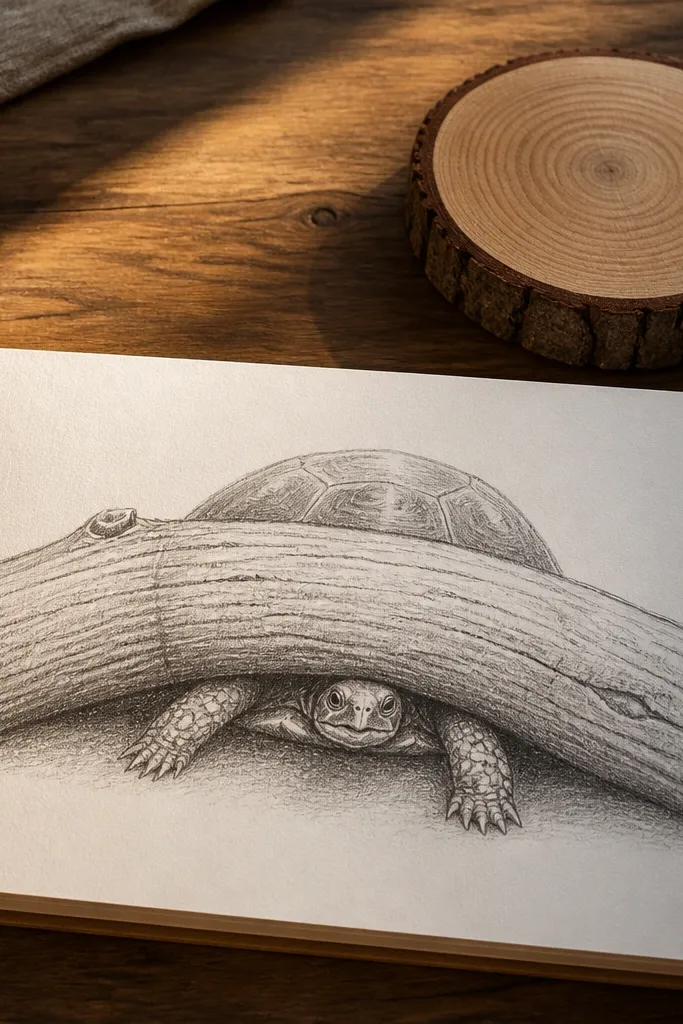
This prompt solves the common quick-drawing problem: “I don’t know what to put around the turtle.” A log gives you an easy frame, and the turtle only needs partial body. Draw the log first as a thick curved cylinder, then place the shell behind it so only the top shell and head/legs show. Add simple bark texture lines on the log, not on the turtle. This takes about 15 minutes and looks complete even with minimal coloring.
Draw a thick log shape using two parallel curves and rounded ends. Add a turtle shell behind it, with only the top half visible above the log edge. Next draw the head peeking out and two front legs reaching over the log. Ink the log texture lines, then add 5-7 scute lines on the visible shell and color the log brown with light tan highlights.
Make the log darker than the turtle so the scene reads instantly.
Don’t draw the turtle legs too long — they should look like they’re resting on the log.
5. Shell Pattern: Dots and Stripes Combo
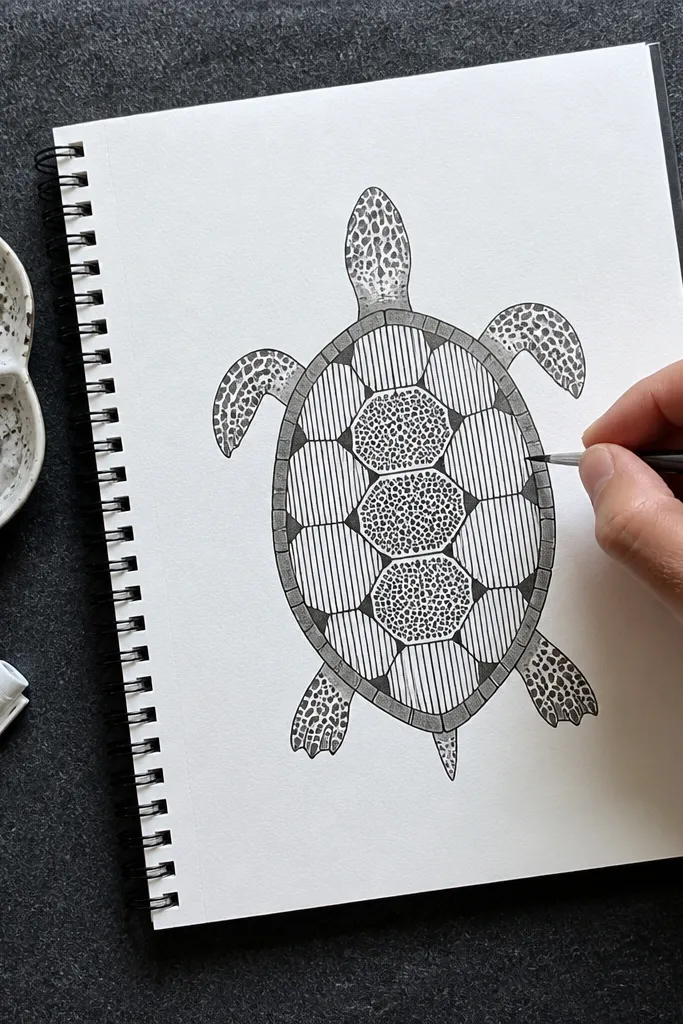
Pattern is the fastest way to make a turtle drawing look finished without shading. This prompt gives you a clear rule: alternate dot scutes and stripe scutes. You’ll draw fewer scute segments, then fill each segment with one pattern type. It looks graphic and clean, which is exactly what you want for quick and easy Turtle Drawing. Plan on 12-16 minutes, especially if you color lightly with markers.
Pro tipKeep stripes short and curved. Straight stripes across a curved shell look off fast.
Start with a flattened oval shell and draw 8-10 scute segment lines. Then divide the segments into alternating groups: one group gets dots, the next gets short stripes that follow the shell curve. Add a simple head and three-toe legs as rounded shapes under the shell edge. Ink everything, then color the shell base green and leave dots/stripe lines uncolored or lightly tinted.
AvoidDon’t add dots in every segment; alternating patterns is the point.
6. Turtle in a Circle Frame
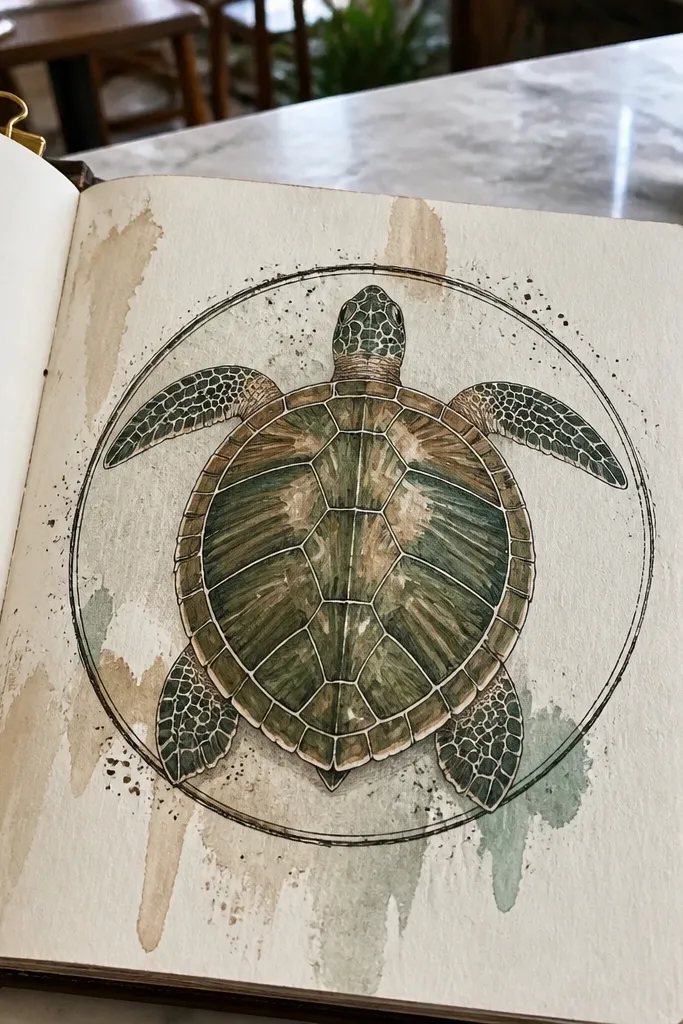
A circle frame makes the drawing feel like a complete “prompt response” even if it’s simple. The turtle sits in the center, and the shell segments can line up with the circle edge for instant structure. This also helps you keep the turtle proportions consistent because you have a boundary. Use minimal details: shell outline, 6-8 scutes, head, and four legs. This takes about 10-13 minutes and works great for small sketchbook pages.
Draw a light circle on the page, then sketch the shell as a slightly larger flattened oval centered inside it. Add a center line and 6-8 curved scute lines that stop before the shell edge. Next draw the head and legs so they stay inside the circle border. Ink the turtle silhouette and scutes, then optionally add a thin shadow under the shell with one darker pencil pass.
Leave 1-2 cm of space between shell edge and circle border so the turtle doesn’t feel cramped.
Don’t let the legs cross the circle edge — it breaks the framing logic.
7. Baby Turtle with Tiny Shell
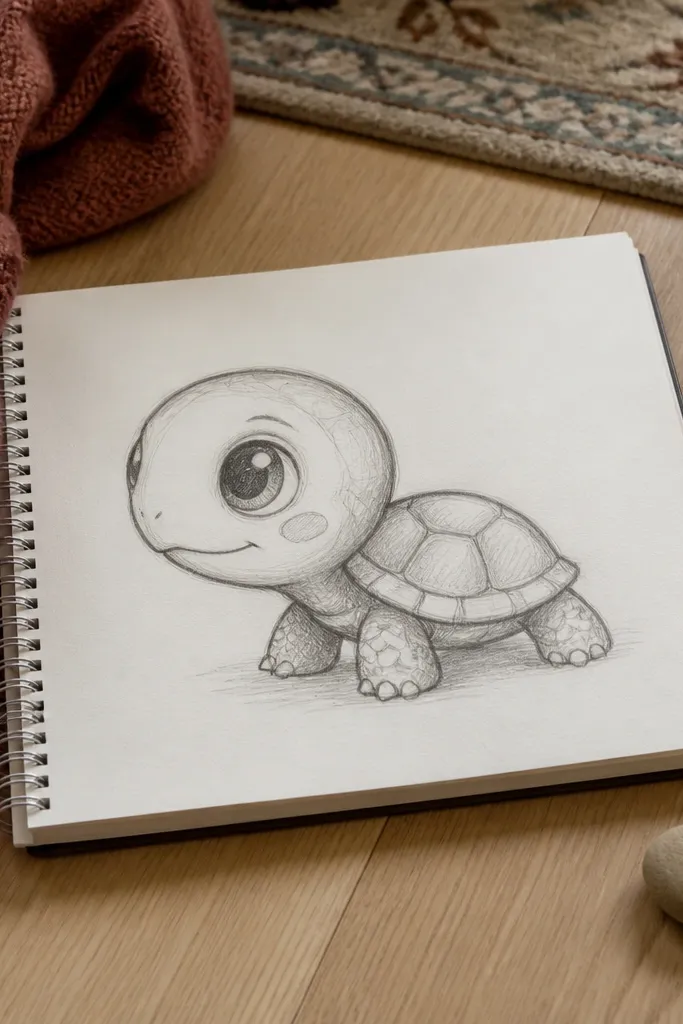
A baby turtle is naturally quicker because the proportions are simplified: big head, smaller shell, stubby legs. You don’t need complex scute coverage; 4-6 scute lines are enough. The goal is a cute, compact silhouette that reads from far away. Add one cheek line or a small mouth curve for expression. This is a 10-14 minute drawing and a great choice when you want something that looks “finished” fast without heavy detail.
Pro tipPut the legs slightly under the shell edge so the baby turtle looks supported.
Draw a small flattened oval for the shell. Make the head a larger circle attached to the front of the shell and add a single eye dot. Then draw four stubby legs as short rounded shapes with tiny claw bumps. Ink the outline and scute lines, then color the shell slightly darker than the head for quick contrast.
AvoidAvoid long legs; baby proportions break the cute look instantly.
8. Turtle Walking with One Leg Forward
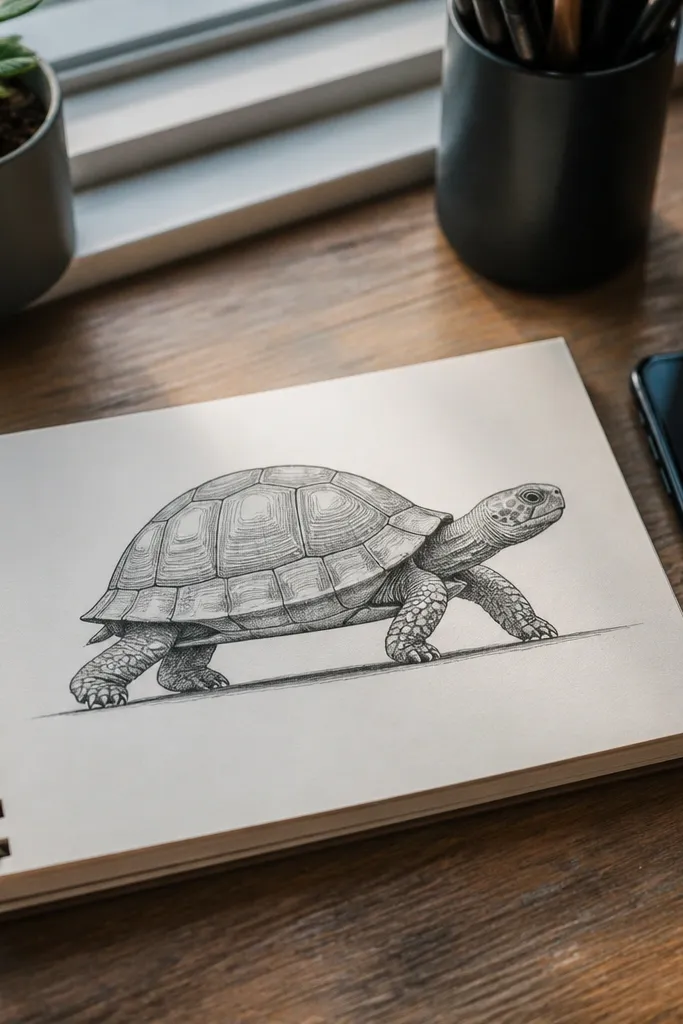
This prompt adds motion without extra work. You only change one leg position, so the turtle looks like it’s walking while you keep the drawing simple. Keep the shell and head the same, then draw the front leg forward as a slightly longer curve and tuck the back legs a bit. Add a small ground line so the step feels grounded. Plan 13-16 minutes; the motion comes from one controlled change.
Pro tipMake the forward foot slightly flatter against the ground line.
Start with a side-profile shell oval and attach a simple head. Place the near front leg as a rounded tube that extends forward, and draw the other three legs tucked and shorter. Add 5-7 scute lines and one claw bump on each foot. Finally, draw a short ground line under the forward foot and ink the silhouette and scutes.
AvoidDon’t move all four legs; the drawing gets messy and loses the quick win.
9. Minimal Turtle with One-Color Ink Only
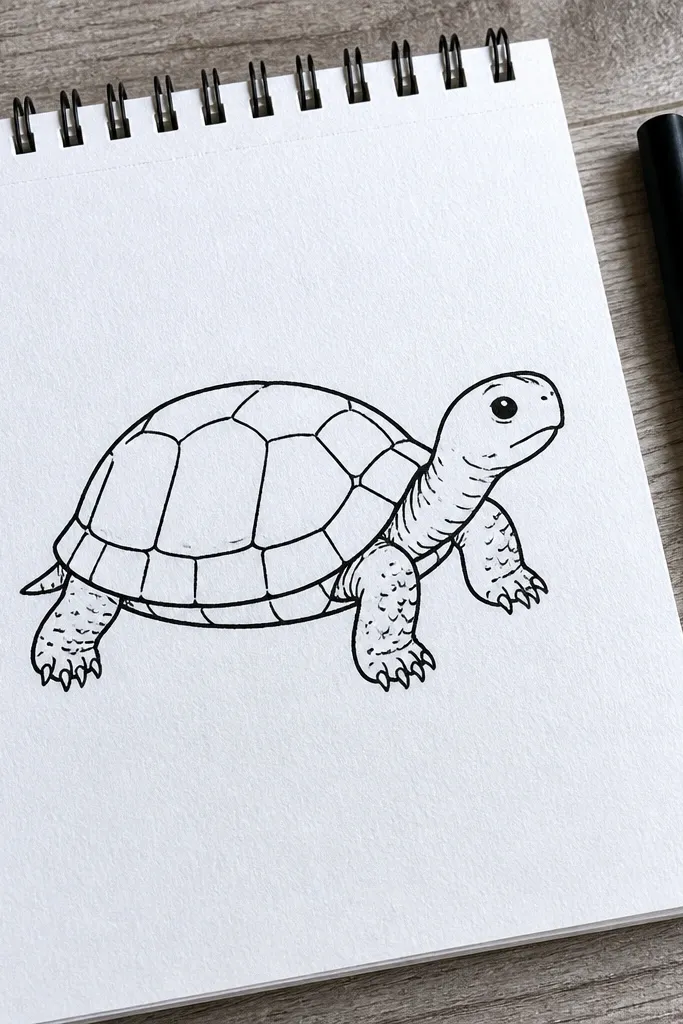
One-color ink is a speed hack. It removes the decision-making of coloring and keeps your attention on line quality and shape. This prompt uses bold outline, 5-6 scute lines, and a simple eye. You can draw it on any paper and it still looks graphic. It’s a great choice if you want a quick and easy Turtle Drawing that looks good even without shading. Time it at 8-12 minutes.
Sketch the shell as a clean oval, then add a center line and 5-6 curved scute lines. Draw the head and legs with a single continuous curve style, then add one eye dot. Ink the outside outline first, then ink the scute lines. Erase pencil lines after the ink settles, then darken the underside of the shell with a couple short hatch lines.
Use thicker ink on the outer contour and thinner ink for scute lines so it reads instantly.
Don’t add lots of texture marks — keep it to scutes and a couple hatches.
10. Turtle Face Close-Up with Shell Border
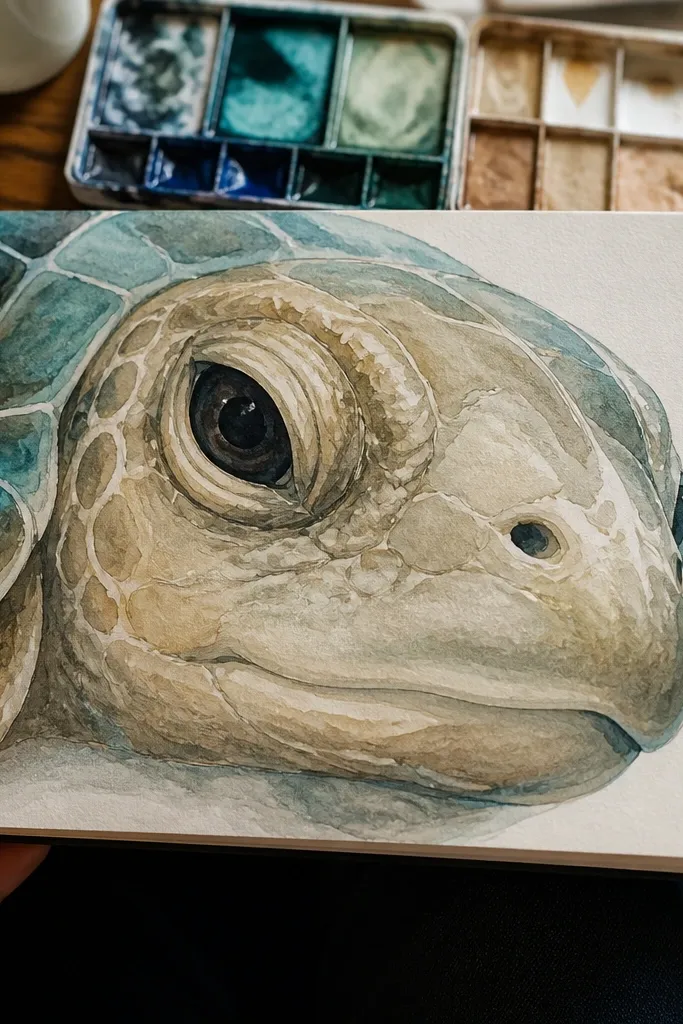
This prompt is for when you want a fast win without drawing the full turtle body. You focus on the face and just enough shell edge to frame it. The eye, nostril dot, and mouth curve do most of the work. Add a few scute lines at the edge only. It takes about 8-12 minutes and works well for mini pages or quick practice rounds.
Draw a partial shell arc behind where the face will sit. Add the head shape as a rounded triangle-ish curve sticking out, then place the eye dot and a tiny nostril dot. Add a small mouth curve and one cheek line if you want expression. Then ink the face and shell edge and add 3-4 scute lines along the shell border.
Keep the eye slightly above the center of the face for a friendly expression.
Don’t try to render full legs here — the point is a face-first sketch.
11. Turtle Shell in a Grid for Easy Symmetry
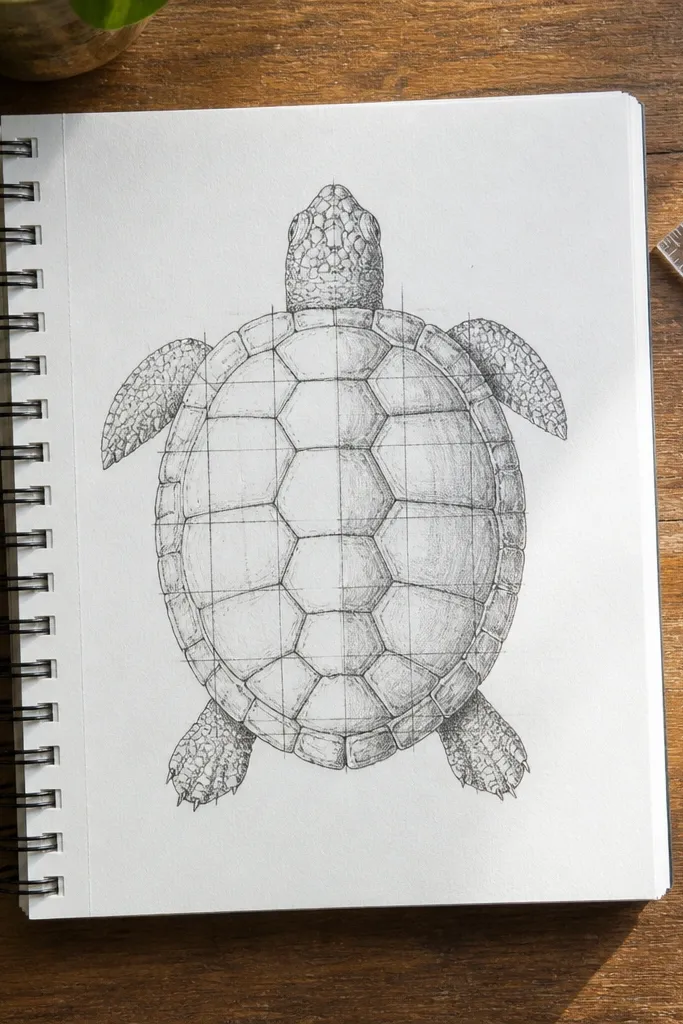
Grid guides make symmetry painless, which is a big deal for quick and easy Turtle Drawing. You use the grid only for the shell, then freehand the head and legs. This prompt is ideal when your scute lines always end up uneven. You get a turtle that looks balanced even if you’re rushing. It takes about 12-18 minutes because the guide setup is quick, but you do one extra step.
Pro tipUse a light pencil grid and erase right after inking so the guide lines don’t muddy the final look.
Lightly draw a square or rectangle grid on your page with 2-3 vertical and 2-3 horizontal lines. Sketch the shell as a flattened oval inside the grid so the center line matches the grid center. Then draw scute segments using the grid lines as “spacing references.” Finally, add head and legs with freehand curves, ink the turtle, and erase the grid after.
AvoidDon’t ink the grid lines; only the turtle silhouette and scutes should be dark.
12. Turtle with Simple Water Ripple Background
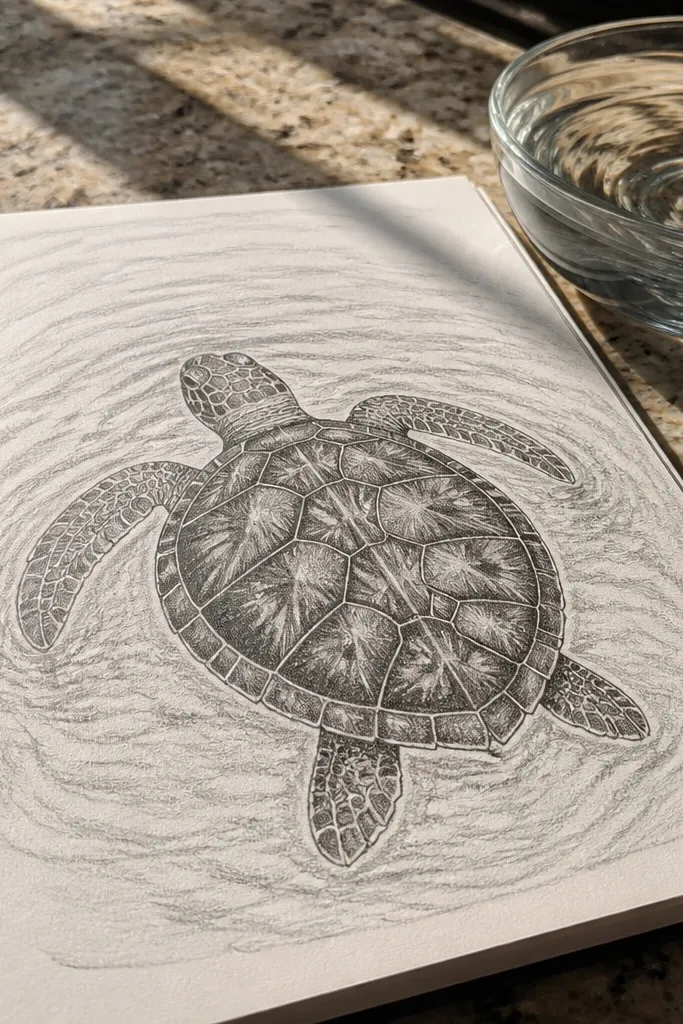
A ripple background makes the turtle feel like a scene, not just a character, and it’s still fast. You draw the turtle normally, then add a few curved ripple lines behind it. The ripples give you an easy texture to fill without shading the turtle heavily. This is a solid choice for a 12-16 minute drawing because the background is repetitive and forgiving. Keep the turtle details simple and let the ripples do the visual interest.
Draw the side-profile shell and head first, with 5-7 scute lines. Add two legs tucked and one foot slightly forward. Then draw 6-10 ripple curves behind the turtle, all with the same spacing and thickness. Ink the turtle silhouette and scutes, then ink the ripples and erase pencil lines. Color the water with a light blue or leave it blank if you want a clean ink look.
Make the ripple lines wider near the turtle and tighter farther away for instant depth without shading.
Don’t overcrowd ripples; 6-10 lines is enough to read as water.



