
1. Egg-head fox face with dot eyes
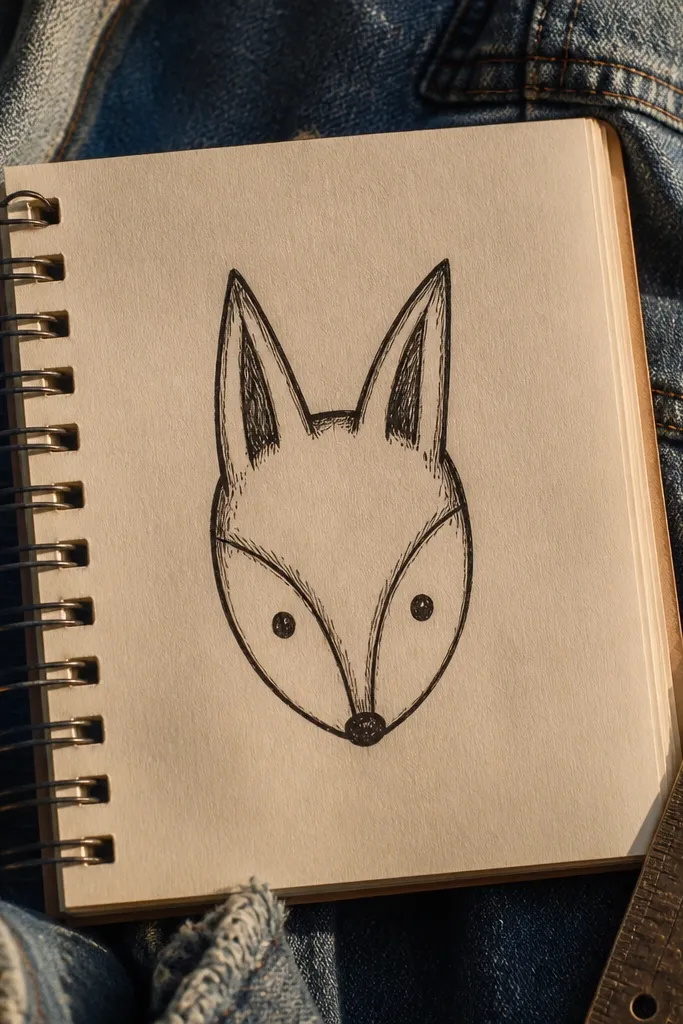
This is the quickest way to get a fox that reads instantly because it strips everything down to silhouette and the face spot. Start with an egg shape for the head, then place ears high and narrow so the fox silhouette pops. Dot eyes and a tiny nose make the expression clear without drawing fur. It’s beginner-friendly and finishes in about 5 minutes, which is exactly what you want for quick fox drawing practice. Use this when your lines feel shaky — you’re training placement, not detail.
Start by sketching a light egg shape for the head. Add two ear triangles on top, then draw a vertical guide line through the center and two tiny eye dots sitting on that line. Finally, add a small nose mark and a short mouth curve, then ink the head outline and ears with a fineliner.
Keep the eyes the same size and distance from the nose — that single symmetry check makes it look like a fox, not a random animal.
Don’t shade the cheeks or add fur texture before the eyes and nose are locked.
2. Side-profile fox head in one sweep
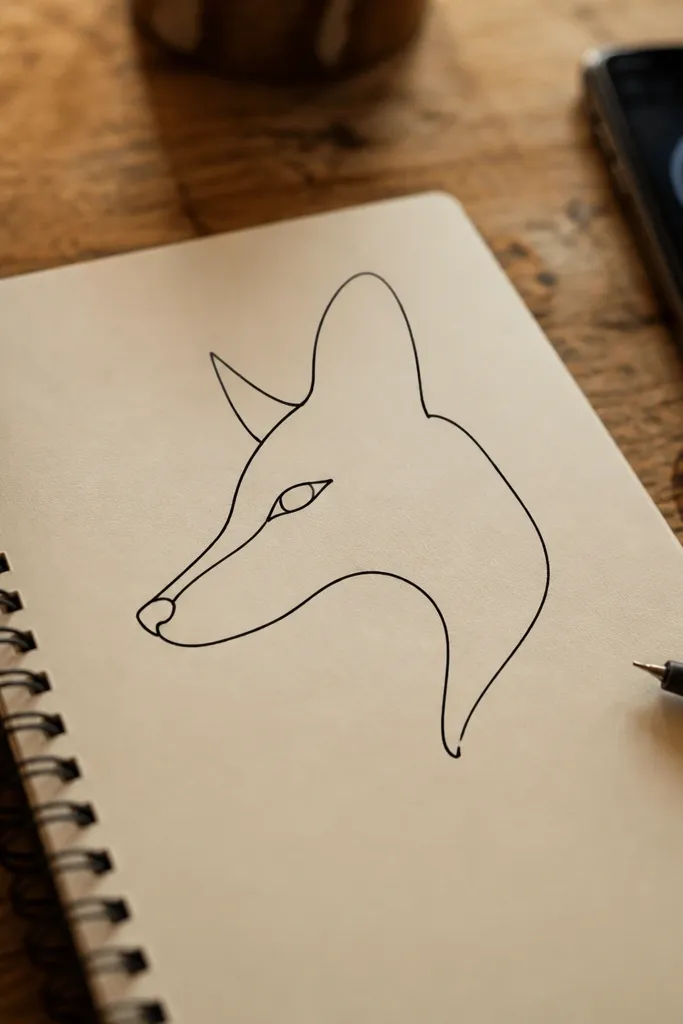
Draw a light guideline for the face angle, then sketch the head as a rounded shape that tapers into a muzzle. Place the ear as a pointed triangle behind the head line, and add one almond-shaped eye on the guideline. Finish by inking the outer contour and nose, then add one short cheek line to suggest fur direction.
Side profile is fast because you only draw one eye, one nose, and one ear. The trick is to simplify the muzzle into a single tapered shape rather than sketching a mouth and whisker area in full. You’ll end up with a clean fox head silhouette that looks intentional even with minimal lines. This prompt is about 5 minutes and is great for practicing line confidence — commit to one outer contour line, then add facial cues. It’s also helpful if you struggle with front-facing symmetry.
AvoidDon’t add both eyes in side profile. One eye only — keep it clean.
Pro tipUse a slightly curved line for the muzzle, not a straight triangle — the curve sells the animal fast.
3. Triangle ears, circle head, tiny muzzle
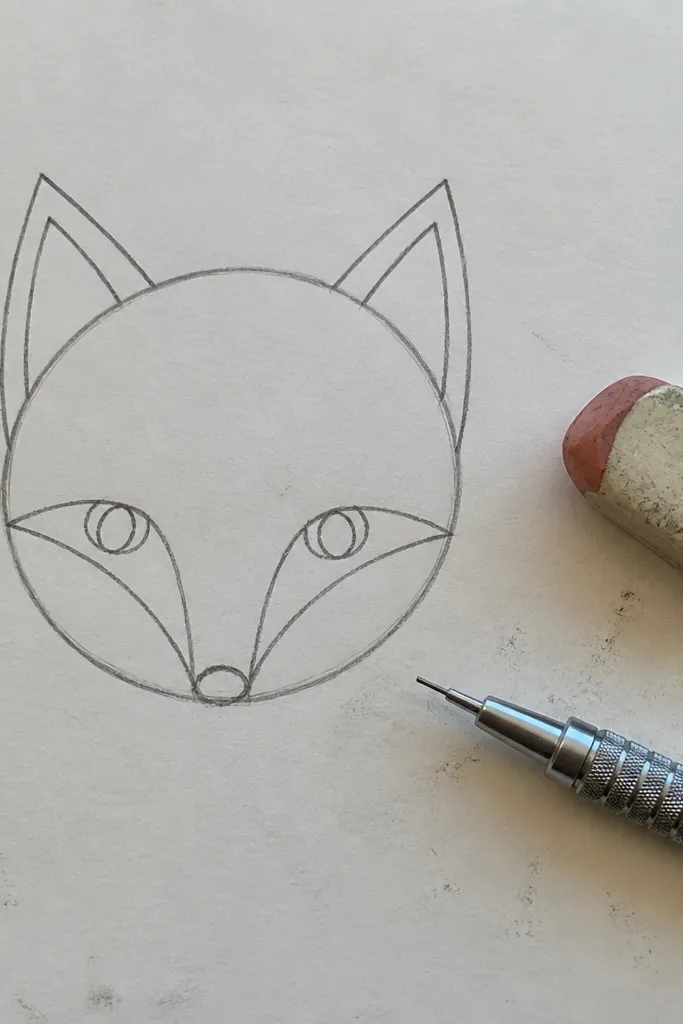
This one is about structure. When your ears are crisp triangles and your head is a simple circle, the fox identity shows up even if you do almost no fur. The tiny muzzle keeps it from looking like a generic canine head. It takes about 5 minutes and is perfect as a warm-up because you can repeat it quickly and see improvements in ear angles and muzzle taper. Use it when you want your fox drawings to look consistent across a whole practice page.
Start with a circle for the head and lightly mark a center line. Draw two triangle ears with slightly forward slant, then place the muzzle as a small tapered shape below center. Add the nose and mouth with two short marks, ink the outer silhouette, and leave the inside mostly blank.
Make the ear tips point slightly inward toward the center line for a fox-like look.
Avoid making the muzzle too long — long muzzles eat time and often ruin the proportions.
4. Fox face with one forehead stripe
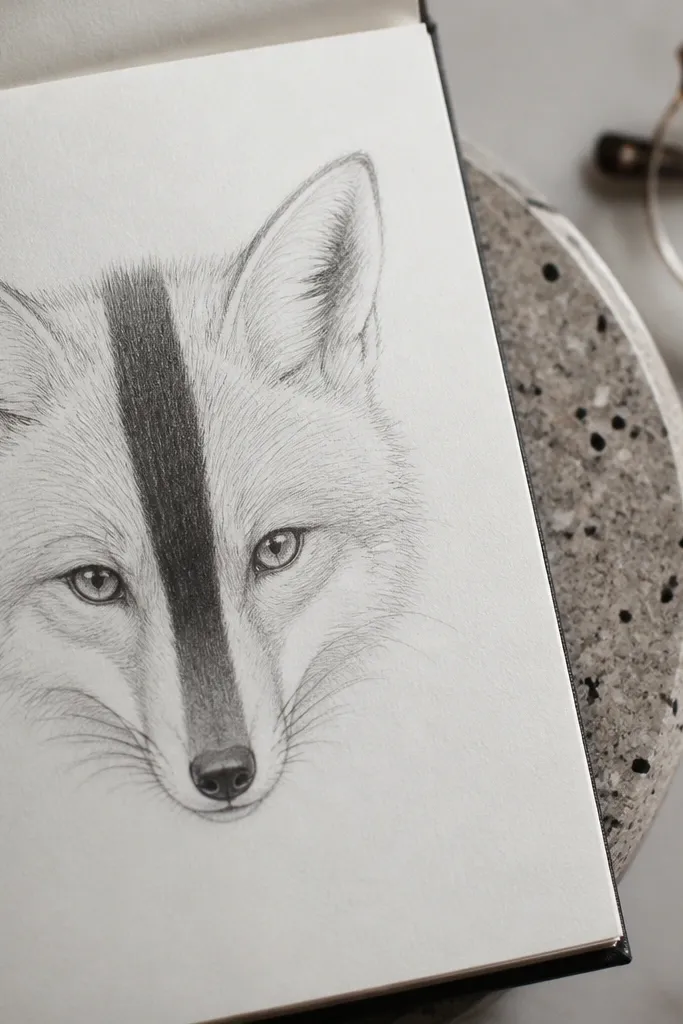
Sketch the egg-head or circle-head shape lightly and place eyes and nose. Add one curved forehead stripe that arcs from between the ears down toward the eye area. Ink the stripe and facial outlines, then add a small cheek curve and stop.
A single forehead stripe gives you instant character. You’re basically drawing the “pattern cue” without filling in fur everywhere, which keeps the drawing fast. The stripe also guides the viewer’s eye toward the eyes, so even a minimal face looks focused. This prompt is around 5 minutes and works well with fineliner because the stripe needs a confident line. It’s a good choice when your fox faces look flat.
AvoidDon’t add a full pattern map. One stripe is enough for quick fox drawing.
Pro tipKeep the stripe one width only. If you vary thickness randomly, it starts looking like a doodle instead of fur pattern.
5. Sitting fox with two-block body
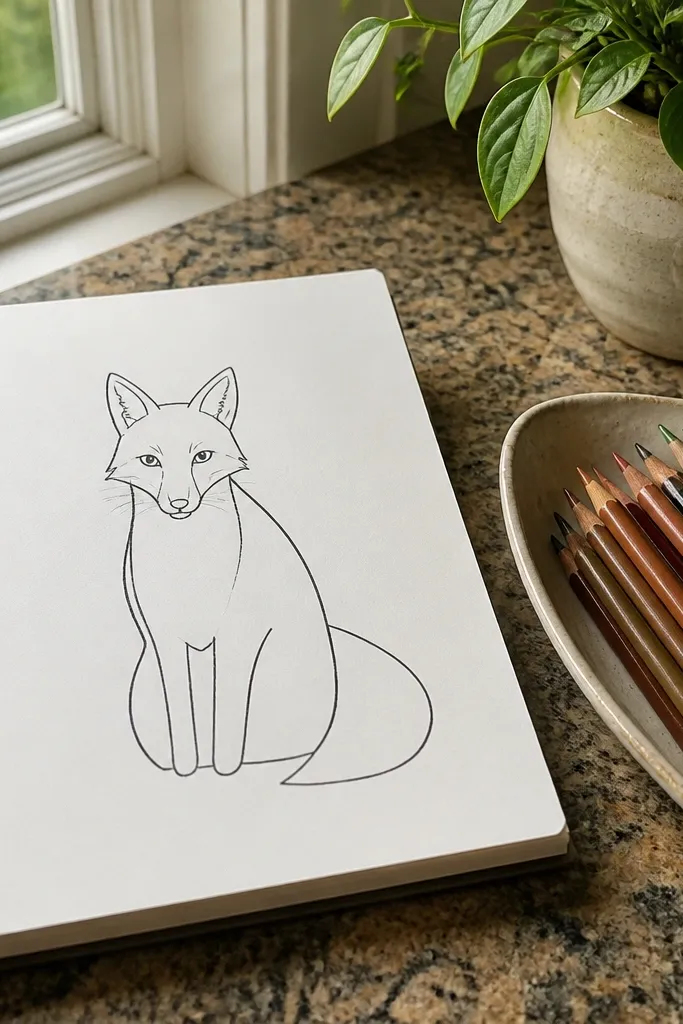
This prompt adds body without slowing you down. You draw the head, then block the body as one rounded form with two simple legs — no paws detail needed. The fox identity comes from ear placement, cheek shape, and tail curve if you include it. It takes about 5 minutes and helps when your faces look good but your foxes “float” because the body never gets anchored. It’s also a great way to practice proportions quickly.
Start with the head construction, then draw a big rounded body block beneath it. Add two simple leg lines that meet the body like short sticks, and place a tail curve behind the body with one smooth arc. Ink the silhouette and add one short fur stroke on the chest and muzzle.
Make the body block slightly wider than you think. Foxes read better when the torso is compact.
Don’t draw claws or detailed paws in a 5-minute prompt.
6. Fox head tilted with asymmetry guide
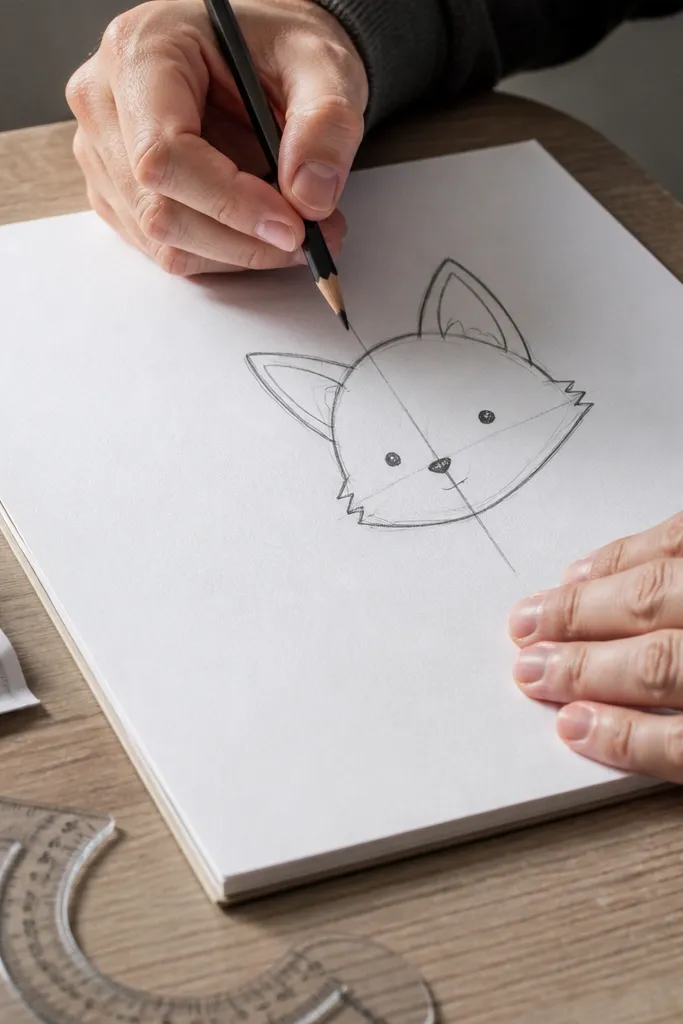
Sketch a head oval and draw a slanted guideline through the center. Place one eye slightly closer to the guideline’s lower end to match the tilt, then place the nose under the center of the oval. Add ears with the same tilt direction, ink the outlines, and add a short mouth curve.
Tilted heads look lively, but symmetry errors can wreck the face fast. This prompt solves that by giving you an angled guide line, so eyes and nose placement stay consistent even when the head rotates. It’s about 5 minutes and is perfect when you want your practice drawings to look more expressive without adding complexity. Use it to train proportional placement under rotation, which is where most “quick” attempts fail.
AvoidDon’t freehand the nose location. Put it on the tilted center logic.
Pro tipAngle the ears and eye line together. If only the head tilts, it looks off even when the face looks okay.
7. Fox face with whisker dots only
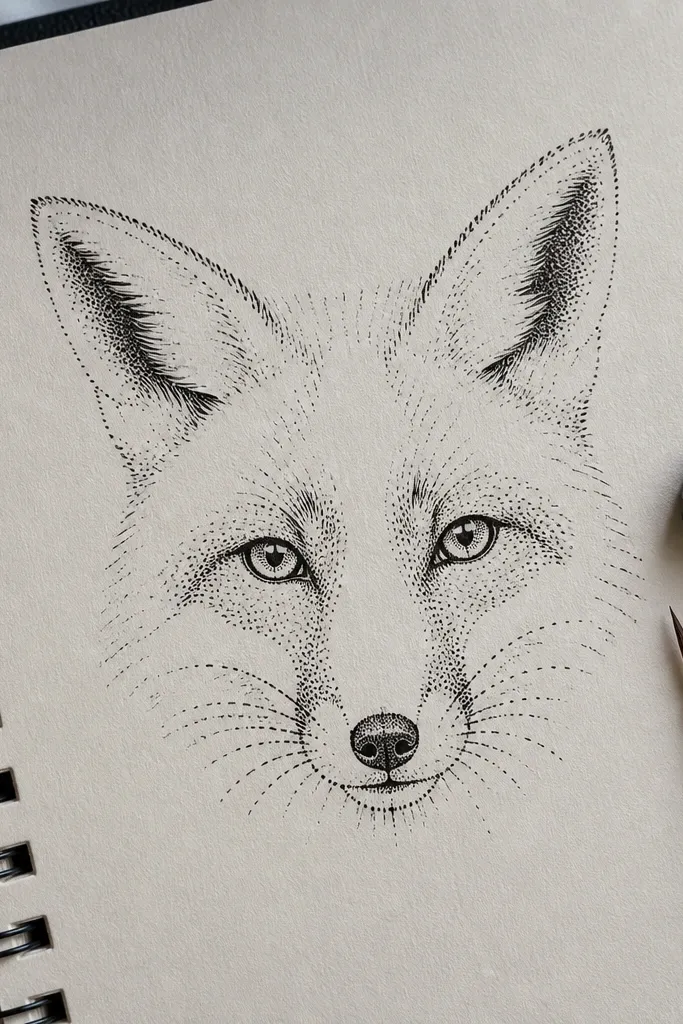
Draw a simple fox face construction with eyes and nose first. Add three whisker dot marks on each side of the muzzle area, then ink the eye line and muzzle outline. Finish by erasing construction lines that show through ink and stop.
Whiskers can turn a 5-minute drawing into a 25-minute mess. This version uses whisker dots instead of long whisker lines, giving you the same cue with almost no time. Your fox will look more complete because the muzzle area gets a clear “frame.” It takes about 4-5 minutes and is great for practicing how little detail you need to sell the species. Use it when your fox faces look too bare.
AvoidDon’t draw full whisker lines — dots are the speed strategy here.
Pro tipKeep whisker dots in a gentle arc. Straight rows look like a technical diagram.
8. Fox in a circle frame (logo-style)
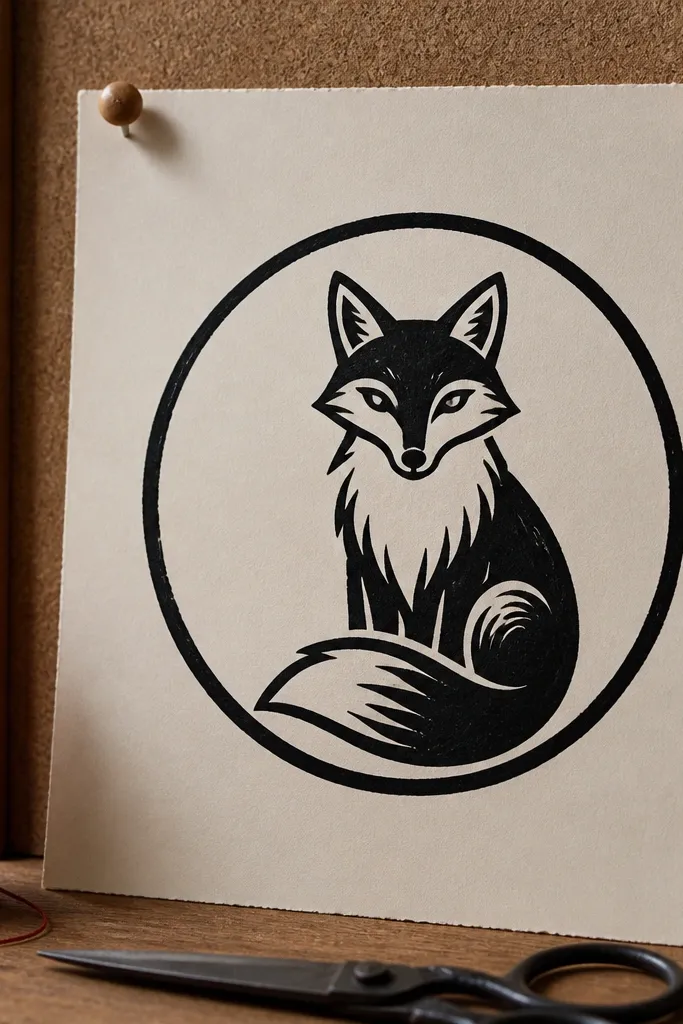
Draw a light circle for the frame, then sketch the fox head centered inside it. Place ears so they touch or nearly touch the circle boundary. Ink the head outline and ears, add eyes and nose, then add one or two short fur strokes on the cheeks.
Framing forces you to simplify. When the fox has to fit inside a circle, you stop adding random details and start drawing the essential silhouette. This is a quick fox drawing prompt that produces a finished-looking result even with minimal linework. It takes about 5 minutes and is perfect for practicing consistent head proportions. It also works well if you plan to make a small practice set you can scan or post.
AvoidDon’t overcrowd the cheeks with fur marks. Two strokes is enough inside a frame.
Pro tipUse the circle edge as a measuring tool for ear height. If the ears fall short, the fox reads as a generic dog.
9. Fox face made of 5 lines
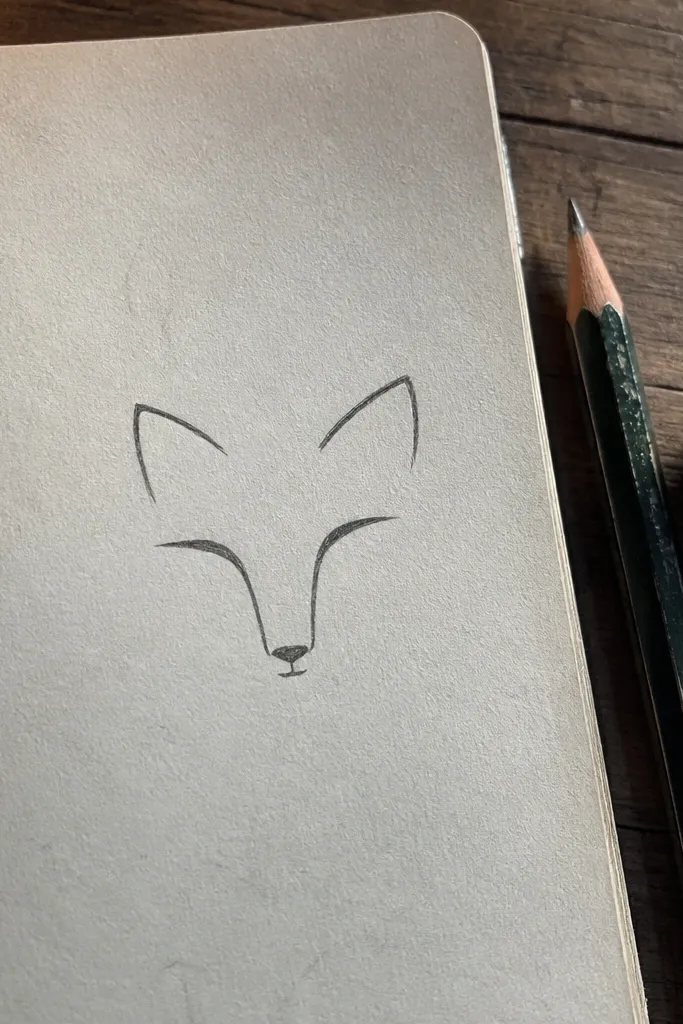
This prompt is a speed test. It trains you to place the minimum lines that create a fox silhouette — ear tips, eye line, muzzle taper, and a tiny mouth. You’ll feel how recognition works when you remove everything else. It takes about 5 minutes and is great on days when you keep over-detailing. This is also a strong warm-up before you try a more textured drawing.
Decide your five lines before you draw: outer head contour, ear outline, eye almond, muzzle taper, and mouth curve. Lightly sketch the placement first, then ink each of the five lines with one confident stroke. Add a small nose dot if your muzzle line doesn’t include it.
If you mess up one line, redraw it immediately. Don’t keep adding to the bad placement.
Don’t add a second mouth line to fix it. Redraw the mouth line instead.
10. Fox head with shaded under-eye triangle
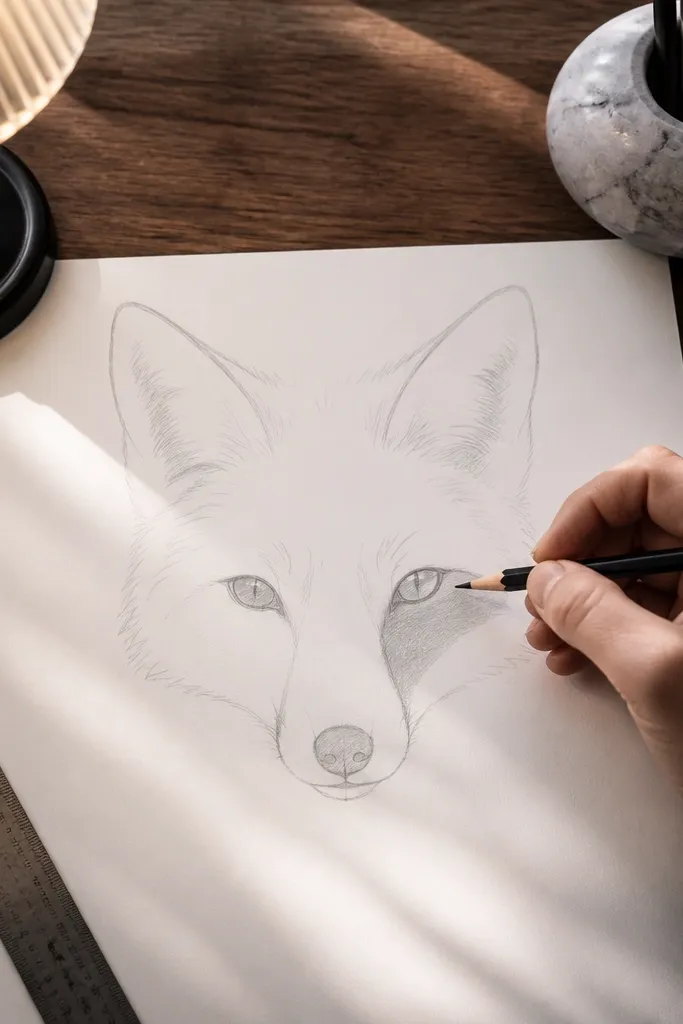
Sketch your fox face with construction lines, then ink the eyes, nose, and outer head. Use a soft pencil to shade a small triangle under the eye, keeping edges tight. Blend only the triangle edges with a tissue or stump, then erase any construction lines that show through.
A tiny shaded triangle under the eye makes the face look more dimensional without blending for ages. You’re using one controlled value area to add depth, not doing full fur shading. This prompt takes about 5 minutes with pencil 2B, and it’s a great way to improve “readability” in quick drawings. It suits practice pages where you want a mix of line-only and light shading. Keep the shading small so it doesn’t smear.
AvoidAvoid smearing the whole muzzle. The under-eye triangle is the only value area you need.
Pro tipShade with short strokes toward the cheek, then stop. Stop early, because you can always darken later.
11. Fox profile with curled tail hook
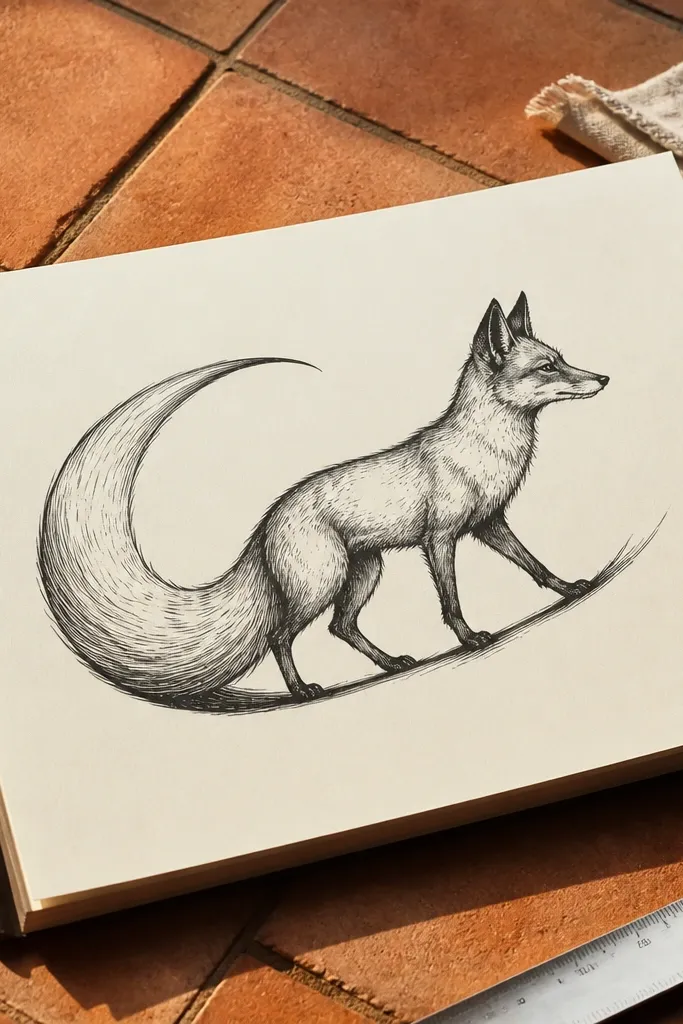
This one uses a single tail hook to anchor the body in a profile drawing. The head is side profile, but the tail curve gives you movement and makes the fox feel complete even with minimal legs. It takes about 5 minutes and is perfect for practicing gesture — the kind of line that makes quick drawings look alive. Use it when your side profiles look like floating heads.
Sketch the side-profile head first, then add a simple body line trailing back. Draw one curled tail hook as a smooth C-shape behind the body. Ink the outer contour and add the ear outline, then place the eye and nose.
Make the tail curl slightly thicker than the body line. That thickness contrast makes the shape read instantly.
Don’t draw detailed legs. Two short lines are enough for the 5-minute version.
12. Fox head with three fur strokes on cheeks
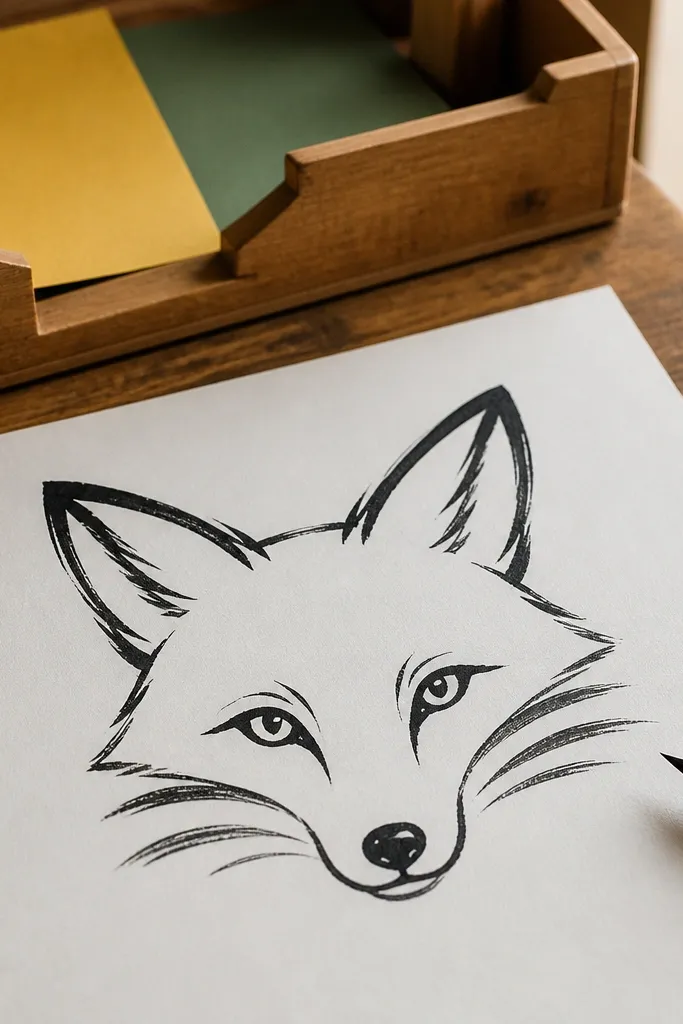
Start with a simple front-facing fox head construction, then ink eyes, nose, and outer head. Add three short curved fur strokes on each cheek area, all pointing slightly toward the muzzle. Erase construction lines and darken the eye line if needed for contrast.
This is the fur-texture shortcut. You’re not drawing fur — you’re drawing fur cues with a tiny set of strokes that imply direction and softness. Three strokes on each cheek is enough to make the muzzle area look furry without turning the page gray. It takes about 5 minutes and is a good choice when your fox faces look too flat after clean inking. The strokes also help you practice consistent line direction, which matters a lot for animal drawings.
AvoidAvoid random scribbles around the mouth. If you can’t explain the direction, it’s too much.
Pro tipKeep all fur strokes the same length. Variation feels natural in real fur, but consistency makes quick drawings look intentional.
13. Fox face with ear notch detail
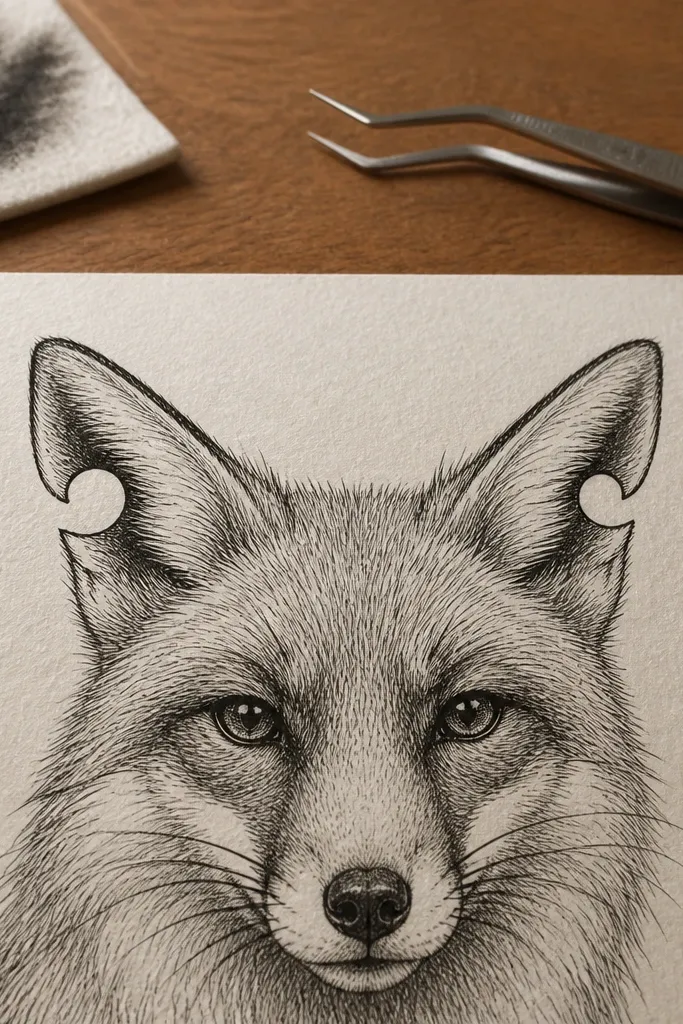
Draw a head oval and place two pointed ears. Lightly add a small inner curve inside each ear, leaving a gap for the notch pocket. Ink the outer ear edges and inner notch curves, then add eyes, nose, and a short mouth line.
That small ear notch makes the fox look like a fox instead of a generic animal head. It’s a fast detail because it’s only one curve inside each ear, and it sharpens the ear shape. This prompt takes about 5 minutes with fineliner and is great when you want your drawings to look “finished” without adding fur. It also trains you to look at animal anatomy as simple shapes — ear outer edge, inner pocket, and tip angle.
AvoidDon’t add extra lines inside the ears. One notch curve is the speed win.
Pro tipMake the notch curve smaller than you think. Big notches look cartoonish fast.
14. Fox face with muzzle curve and chin shadow
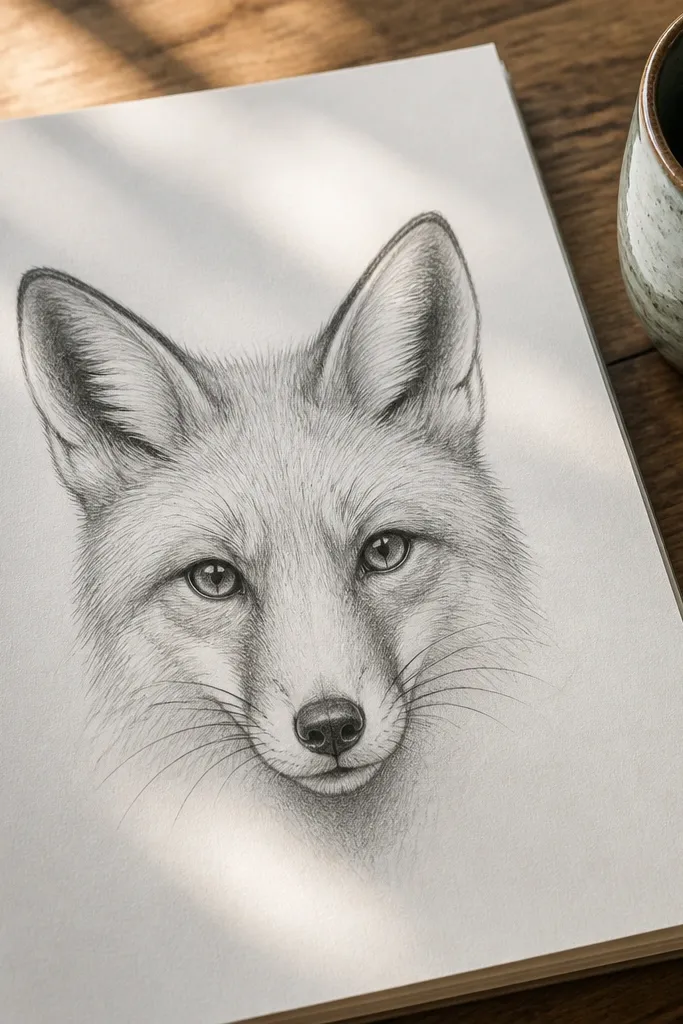
A muzzle curve plus a tiny chin shadow fixes the “mask face” problem where the head looks flat. You’re adding one shape that suggests the chin volume and one curve that frames the nose and mouth. This prompt takes about 5 minutes and looks great with pencil 2B, because you can keep the shading tight and controlled. Use it when your quick line drawings look like stickers instead of forms.
Sketch the head and place eyes and nose. Draw the muzzle as a single tapered curve that wraps down to the chin point, then add a small shaded wedge under the chin. Ink the eye and nose outlines, then erase construction lines and keep the shading only under the chin.
Use the edge of your eraser to carve a clean highlight in the chin shadow if it smudges.
Avoid shading under both eyes or cheeks. Keep the value area small and centered.



