
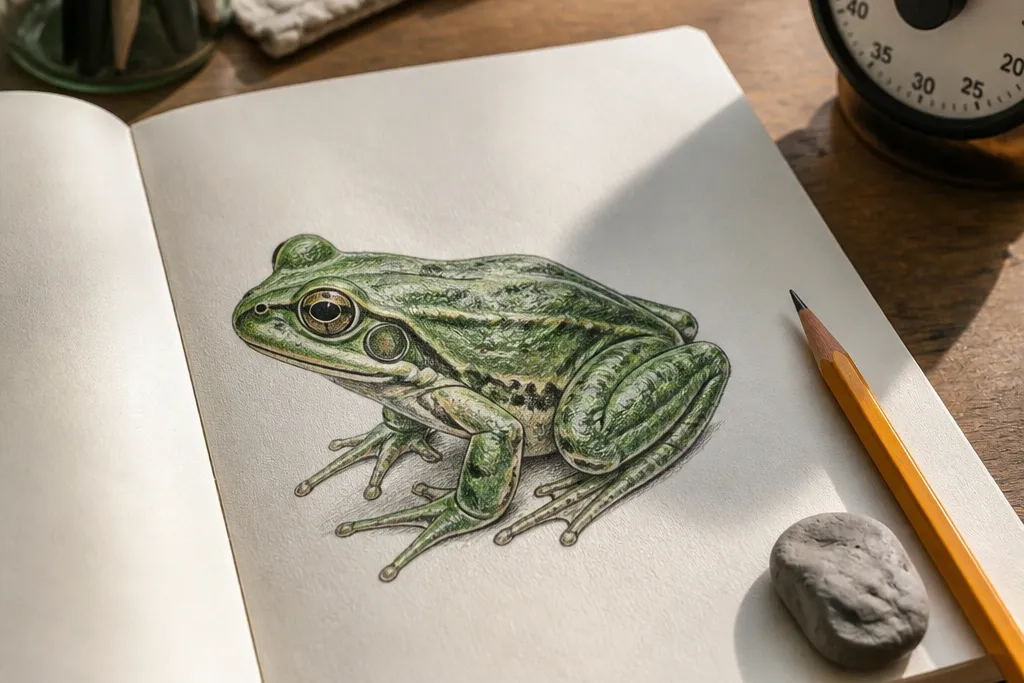

1. Sitting Garden Frog with Spot Belly
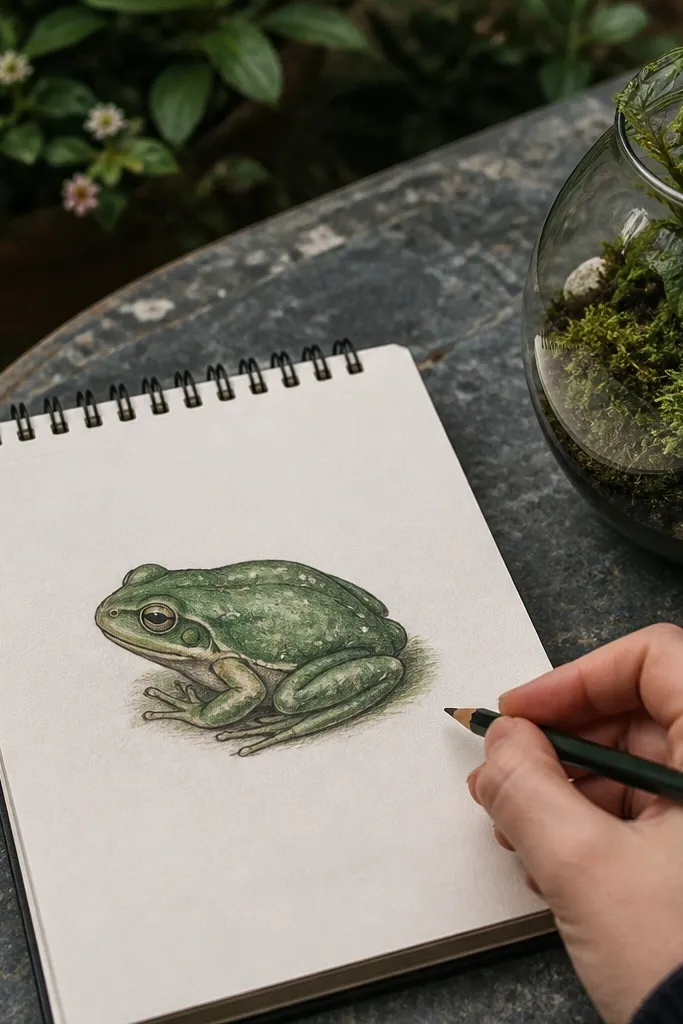
This one fixes the “my frog looks like a blob” problem by giving you a clear silhouette: a sitting oval body with bent legs tucked underneath. You keep detail minimal — eyes, a belly line, and a handful of spots — so it still reads as a frog at 5 minutes. Use green for the body and a cream belly, then add 8-12 tiny spots to sell the skin texture. The result looks cute enough for a page border, and it’s fast because you aren’t drawing separate muscles or complex backgrounds.
Start by drawing a big oval for the body and a smaller head bump attached on the top-left. Add two circles for eyes and a short mouth curve. Draw legs as two arcs tucked under the body, then end each foot with 3 toe bumps. Color the whole body one flat green, then color the belly cream/yellow and add 8-12 spots with a darker green or brown. Finish with a darker shadow under the eyes and where the legs meet the body.
Place the belly line before you spot the frog — it keeps spots from drifting into the wrong area.
Don’t add texture everywhere; keep spots to the belly and a few on the sides.
2. Leaping Frog with One Big Toe Splash
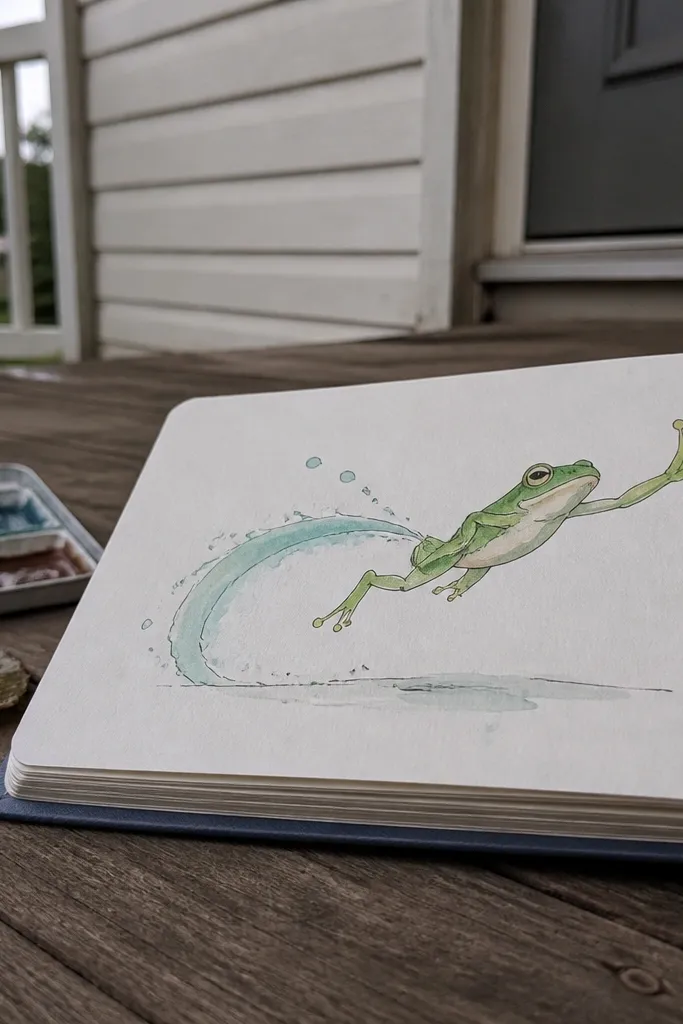
A leaping frog is the fastest way to make a frog feel alive because the pose creates motion even with minimal lines. You only need one extended foot and one tucked foot to sell the leap. This idea is great when you want a dynamic drawing for a bookmark or card front. Color stays simple: green body, lighter belly, and a darker green shadow under the stretched leg.
Draw an arched body line like a shallow C shape, then block the body as an oval along that curve. Add the head bump near the left end and place eyes facing forward. Draw one back leg as a bent tube under the body and one front leg as a long tube reaching forward. Add toes on the front foot as 4 rounded bumps, then draw a tiny curve under the foot to suggest a landing splash. Color the body green, belly light, and add a dark crease under the leg bend.
Make the front foot longer than you think — it’s the quickest way to read “leap.”
Don’t draw both feet equally detailed; one leg should be the hero.
3. Frog Face Sticker Style (No Body)
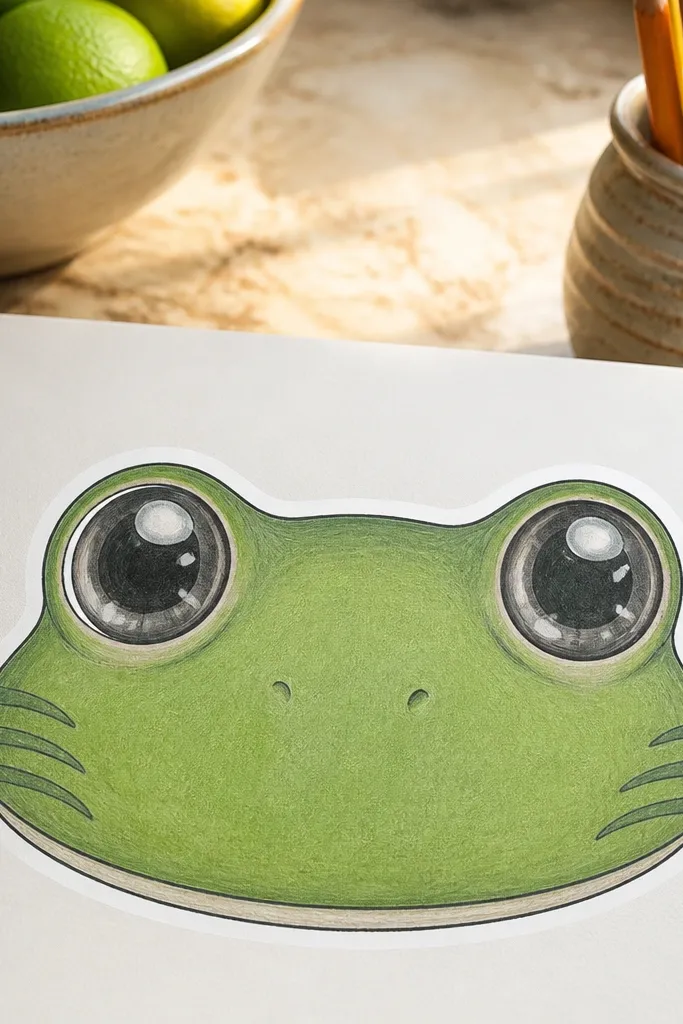
When time is tight, drawing only the face is the cheat code. This version uses big eyes and a rounded head so the frog identity is obvious instantly. It’s perfect for kids, doodle pages, or turning into stickers later. You can add a tiny hint of skin texture with just 3-4 curved lines around the cheeks. It looks polished because the eyes are clean and centered.
Pro tipKeep eye circles the same size — one off-size eye reads wrong fast.
Draw a rounded head shape like a circle with a slightly squashed bottom. Add two large eyes as circles with thick rims. Put small pupils centered or slightly toward the nose for a friendly look. Add a simple mouth curve and a tiny nostril dot on each side. Color the eyes with a lighter green/gray highlight if you’re using pencil or leave them mostly white for marker. Add 3-4 short curved lines on the cheeks with a darker green.
AvoidDon’t add a full belly or limbs; face-only keeps it under 5 minutes.
4. Top-Down Pond Frog with Webbed Feet
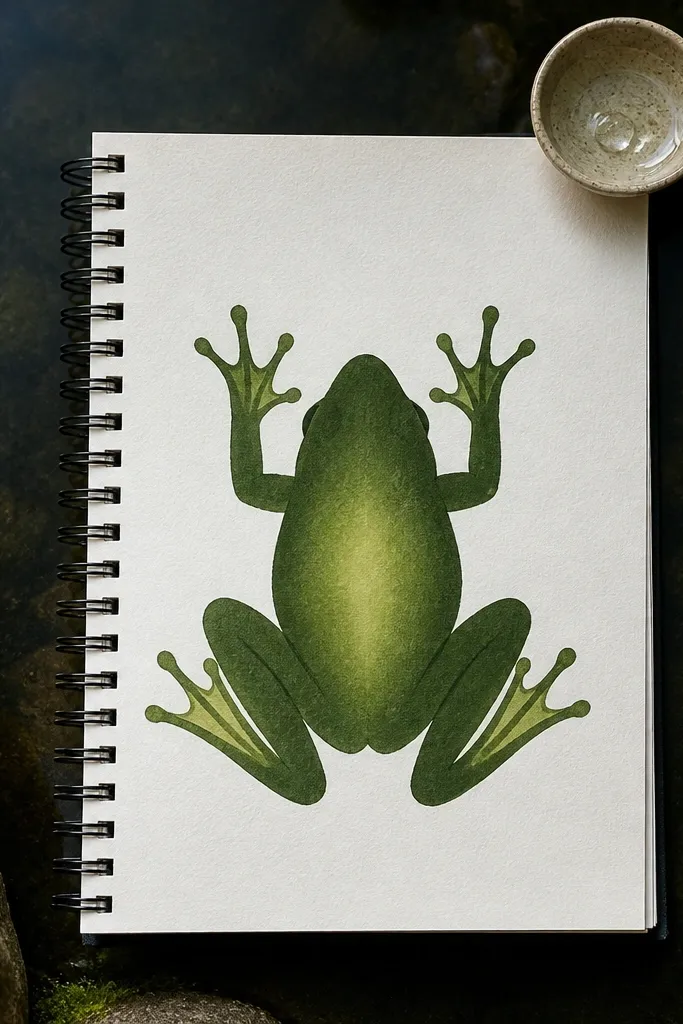
Top-down frogs are surprisingly easy because you’re drawing shapes, not anatomy. The webbed feet give you a clear frog cue without needing detailed legs. This is a great idea for learning texture fast: draw toe webs as curved lines between toes, then stop. Color it with a lighter belly patch and a darker green edge to make the frog pop against white paper. It looks like a pond stamp even without a pond background.
Pro tipLet the feet overlap the body oval a little. That overlap makes the drawing read as “top-down” instantly.
Draw a large oval for the body and a smaller head oval slightly overlapping it. Place eyes as two circles near the top of the head. For feet, draw two rounded triangles on the bottom sides of the body, then split each into 4 toe bumps. Connect the toes with 2-3 curved web lines. Color the belly patch light cream/yellow and shade the body edges with darker green.
AvoidDon’t over-draw web lines; 2-3 per foot is enough.
5. Profile Frog with Long Tongue Line
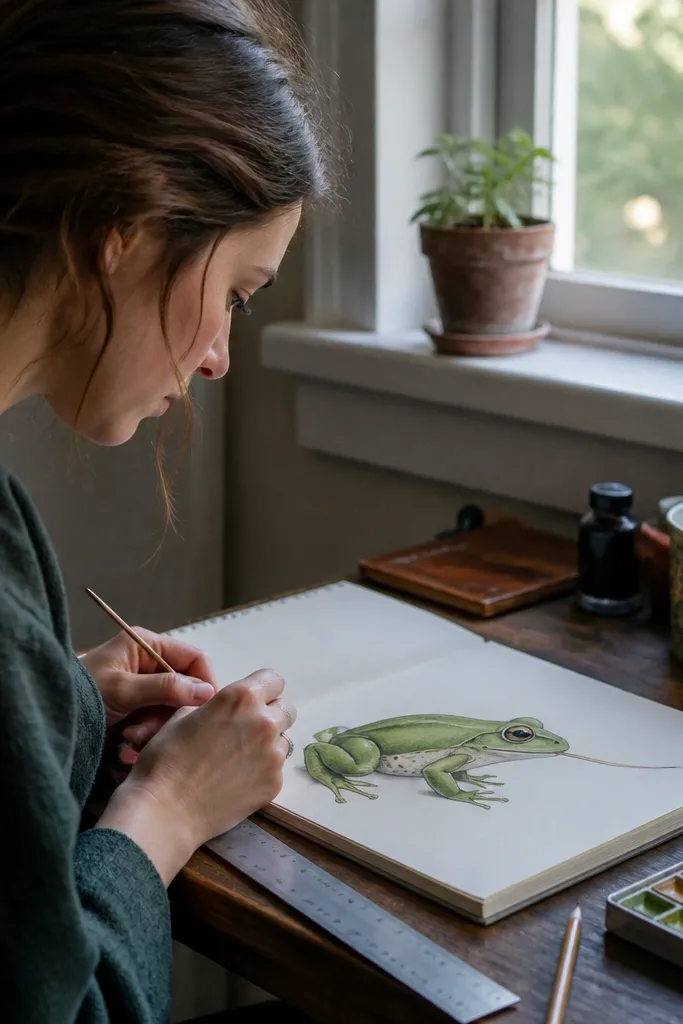
A side-profile frog is fast because you only draw one eye and one leg set clearly. The long tongue line adds personality without extra work — it’s one simple curve. This idea is great for quick character doodles and for practicing how the head connects to the body. Color stays minimal: one green tone, a lighter belly, and a darker jaw crease. The profile reads well even with loose legs.
Pro tipKeep the tongue line thin and smooth — wobbly tongues are what make quick drawings look messy.
Draw a head shape first as a circle/oval facing right, then attach a bigger body oval behind it. Add one eye circle on the top side of the head and a small pupil. Draw the mouth as a short curve, then add a long thin tongue line that curves slightly downward. Sketch legs as two simple bent lines under the body, ending with 3 toe bumps. Color the body green, belly light, and add a dark line under the jaw to separate head from body.
AvoidDon’t place the eye too far forward. Keep it near the middle of the head oval.
6. Frog with Shell-like Belly Patch
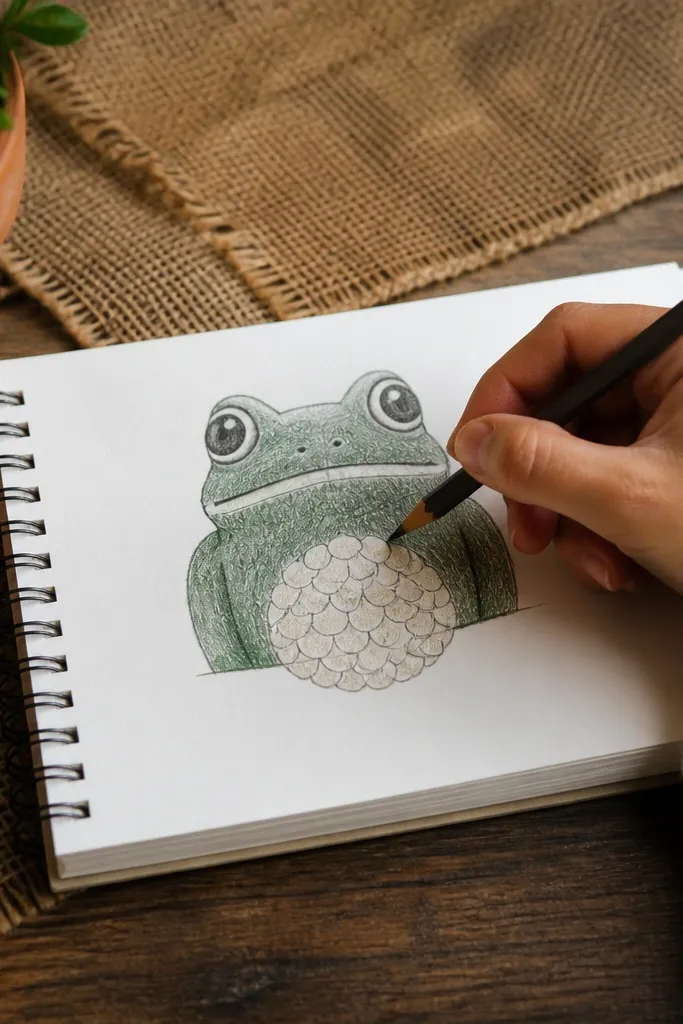
This one looks more detailed without taking longer because the belly patch gives you a clear design element. You draw a scalloped or shell-like belly shape and keep everything else simple. It’s a good pick if you want something that looks “designed” instead of random doodle. The color contrast between green body and cream belly does most of the work. Add a few shadow lines at leg creases and you’re done.
Pro tipMake the belly patch slightly bigger than you think. Small patches can vanish once you color fast.
Draw a body oval and a head bump on top. Add two eyes and a short mouth curve. Sketch legs as two bent tubes tucked under the body. For the belly, draw a scalloped patch — like 6-8 small curves — centered on the underside. Color the body green, belly patch cream/yellow, then add darker green along the belly edge for a clean separation. Finish with 5-8 tiny spot dots on the back if you want.
AvoidDon’t add spots on top of the belly patch. It muddies the design fast.
7. Toad-Style Frog with Warty Dots
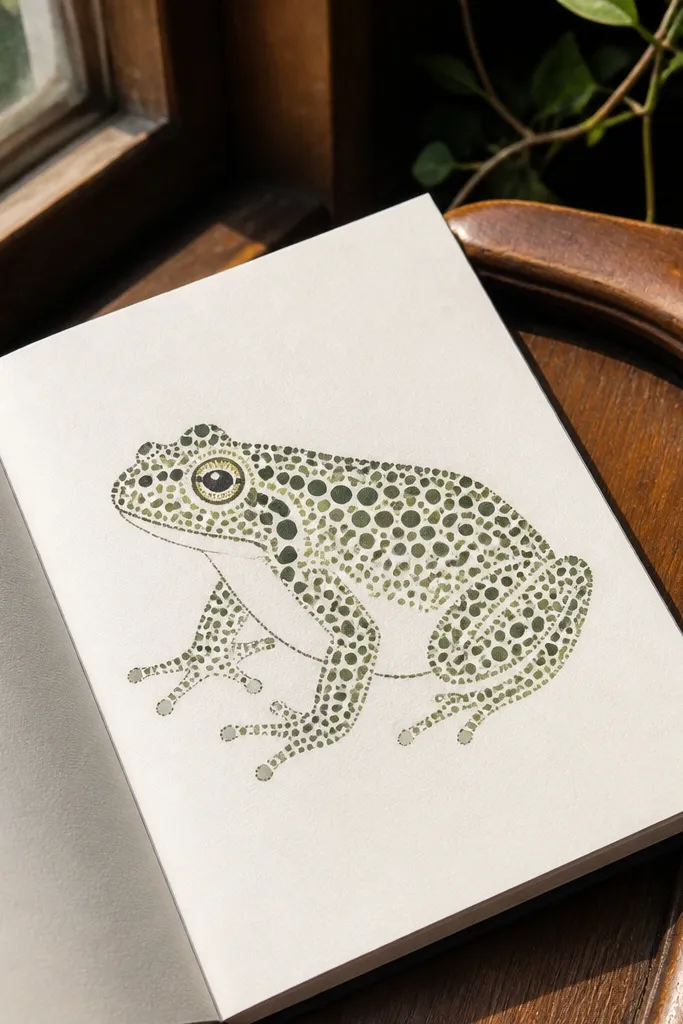
Warty-dot frogs let you use texture instead of anatomy. You still keep the same fast structure, but you swap spots for dots of different sizes. This makes the frog feel more “toad-like” and older-school cute. It’s ideal when you want a drawing that looks finished even if the lines are simple. Color is straightforward: green base, darker green dots, and a cream belly patch.
Pro tipVary dot size by using lighter pressure for small dots and a darker press for a few bigger ones.
Start with a larger head oval and a slightly smaller body oval so the proportions look toad-ish. Add two eyes, then draw simple legs as two short arcs with 3 toe bumps each. Color the body base green. With a darker green or brown pencil/marker, dot the back with 20-30 dots of mixed sizes, leaving the belly mostly clean. Add a few dot clusters near the leg bends and shade under the eyes.
AvoidDon’t dot the entire belly. Keep the belly cleaner for contrast.
8. Frog Reading a Leaf Book (Tiny Prop)
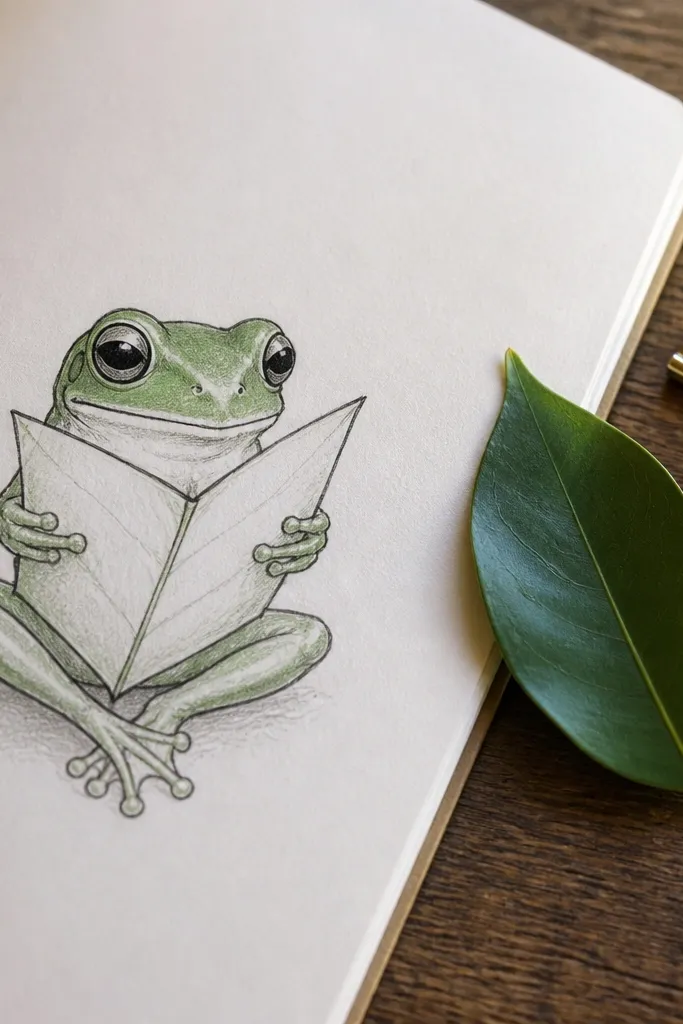
This idea works because it adds a story prop with almost no extra drawing. A single leaf shape held in front gives you a clear scene, so your brain reads “frog character” instantly. You still do the frog basics: eyes, body oval, bent legs. The leaf is a simple outline with one central vein line. It’s perfect for quick doodle journaling and for making a page feel like a character sheet.
Pro tipKeep the leaf smaller than the body oval. If it’s too big, it takes over the drawing.
Draw a sitting frog body oval with a head bump and two big eyes facing forward. Add two bent legs tucked under. Draw a leaf shape in front of the frog as a wide almond with a point at the top, then add one center vein line. Add two small arm lines reaching toward the leaf edges. Color the frog green and the leaf a yellow-green, then darken the frog’s under-eye shadow and leg creases.
AvoidDon’t draw separate fingers. Use two short arm ends that touch the leaf edge.
9. Frog in a Bubble Frame
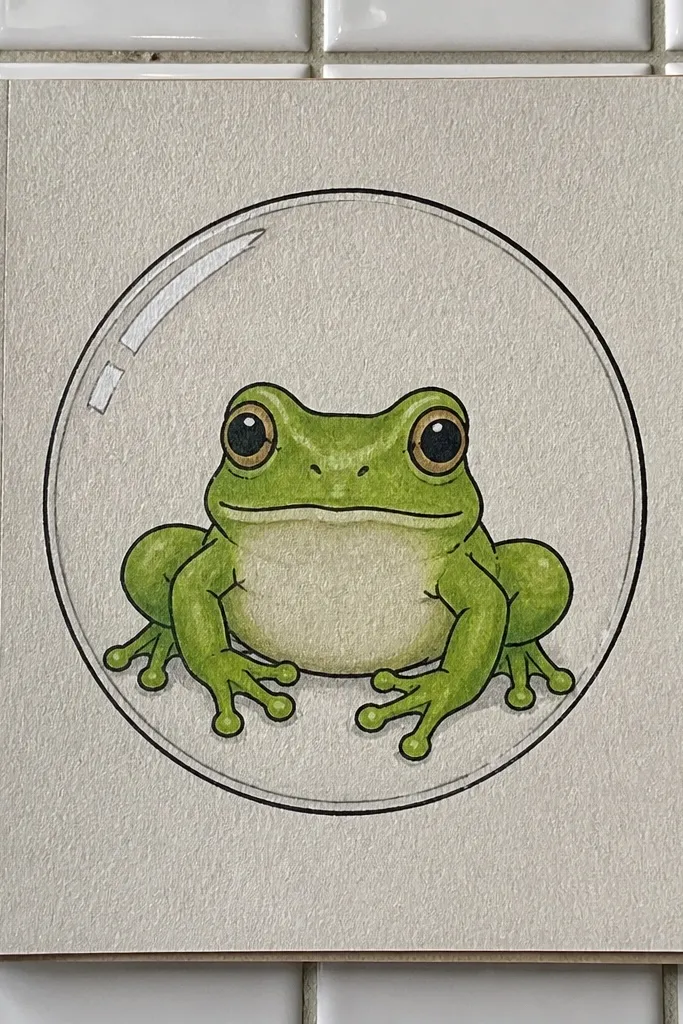
A bubble frame makes any quick drawing look intentional because it adds structure around your frog. You’re still drawing a simple frog, but the frame hides uneven edges and makes it look like a sticker. This is a great choice for practicing clean outlines under time pressure. Use one circle frame line and one inner highlight line so it looks glossy without blending. Finish with bright eyes and a small mouth curve.
Draw a bubble circle (a circle with a slightly irregular, puffy edge) around where your frog will go. Inside, draw a simple frog face: rounded head and two big eyes. Add a small mouth curve and a tiny belly curve. Color the frog green and add a light belly patch. Add one white highlight line on the bubble frame using a gel pen or leaving it uncolored if you’re using marker.
If your bubble circle wobbles, outline it twice with the fineliner. It looks like a design choice.
Don’t add background elements besides the bubble frame. Keep it clean and fast.
10. Frog with Bow Tie (Simple Costume)
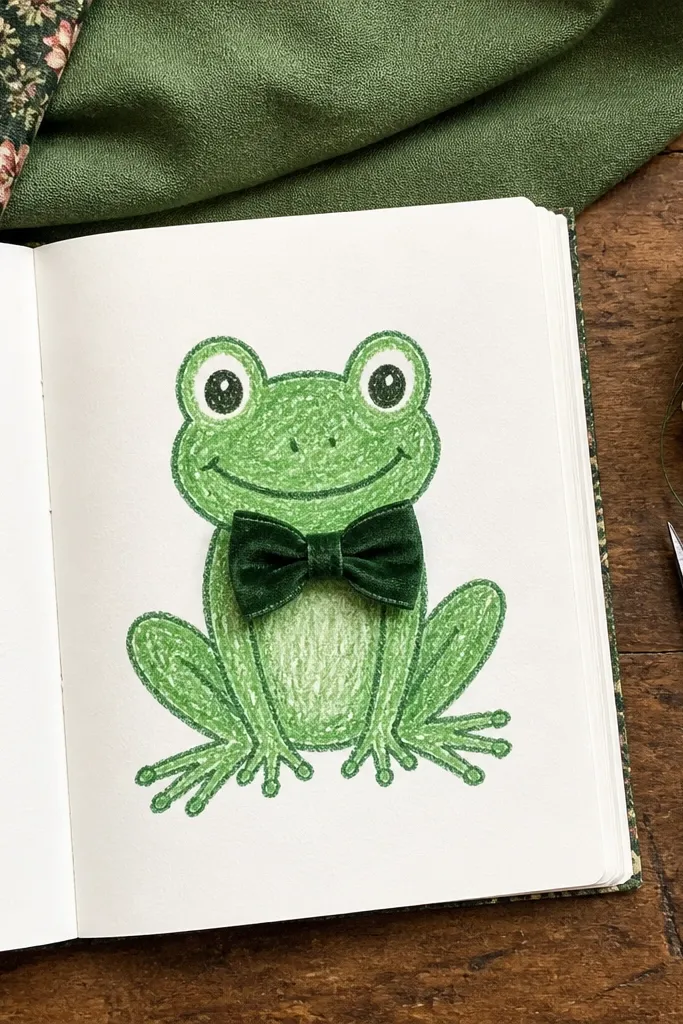
Costume details are the easiest way to make a quick frog feel “finished.” A bow tie is small, symmetrical, and draws fast. The frog stays basic: oval body, two eyes, bent legs. The bow tie sits at the chin area and gives you a focal point even if the rest is loose. Color with one flat green and one darker green for the bow tie outline or fill.
Draw a sitting frog body oval with a head bump and two eyes. Add a short mouth curve and a single chin line. Sketch two small arms on the sides and legs tucked underneath. Draw a bow tie as two loops with a small center knot under the chin. Color the frog green, belly cream/yellow, and outline the bow tie with dark brown or black. Add a dark crease shadow where the bow tie meets the chin.
Make the bow tie center knot slightly lower than center. It reads more natural immediately.
Don’t use a complicated pattern on the bow tie. One color or a single dot pattern is enough.
11. Frog Footprint Doodle (Legs as Prints)
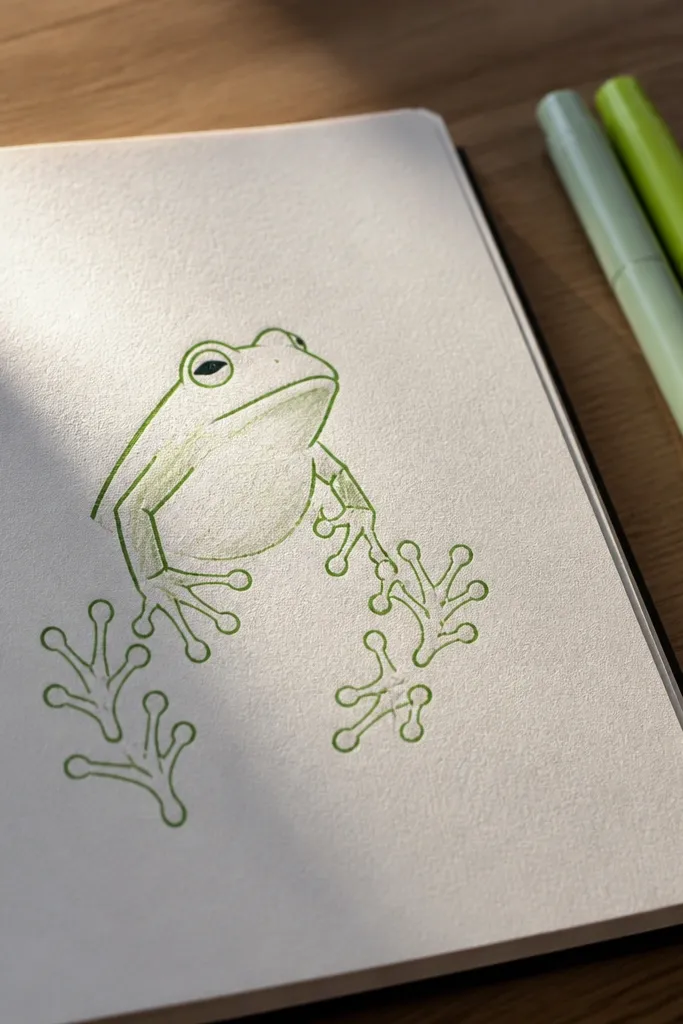
This is a clever way to draw frog legs without drawing full legs. You use footprint shapes — webbed toe bumps — to suggest where the frog is. It looks playful and graphic, and it’s fast because the “toe” shapes repeat. Great for decorating the corners of a sketchbook page. Color stays minimal: green outline for prints and a small green body with eyes.
Draw a small oval head with two eyes and a simple mouth curve. Add a tiny body oval behind the head. For the footprints, draw two rounded foot shapes on the paper as if the frog is stepping forward. Each footprint should have 4 toe bumps with curved web lines between them. Outline the prints with dark green and lightly fill with a lighter green. Add one thin leg line connecting the body to the prints.
Keep footprints the same size. Consistency makes the doodle look designed, not rushed.
Don’t draw full legs plus footprints. Pick one leg approach.
12. Frog with Gradient Belly Using Pencil Pressure
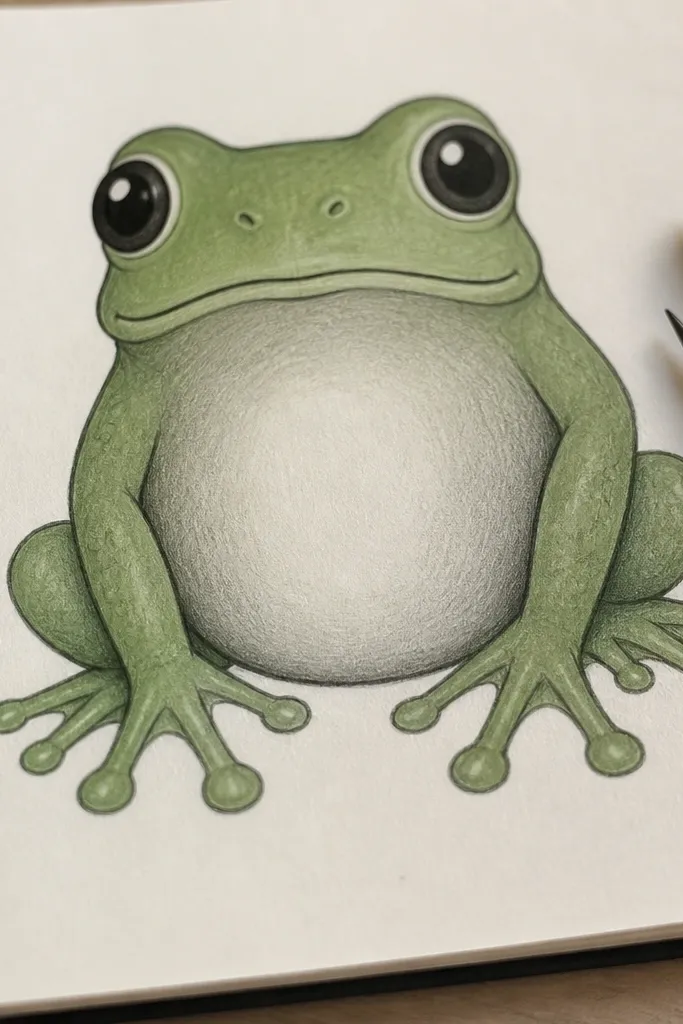
If you want your quick frog to look smoother without extra coloring time, use pencil pressure for a gradient belly. It’s one of the fastest ways to add depth because you’re not blending with a tool for long. The body can stay mostly flat green, then you fade the belly from darker at the edges to lighter at the center. This makes the frog look round and friendly. You still finish under 5 minutes because the shading area is small.
Pro tipUse the side of your pencil for the belly fade, not the tip. It spreads pigment faster.
Sketch the frog as a standard oval body with head bump and two eyes. Color the body one flat green with light pressure. For the belly, start with a slightly darker green along the belly edge, then press lighter toward the belly center. Use 5-7 short strokes following the belly curve so the fade looks intentional. Darken the under-eye shadow and the leg crease for contrast.
AvoidDon’t try to blend the entire frog. Keep the gradient only on the belly.



