
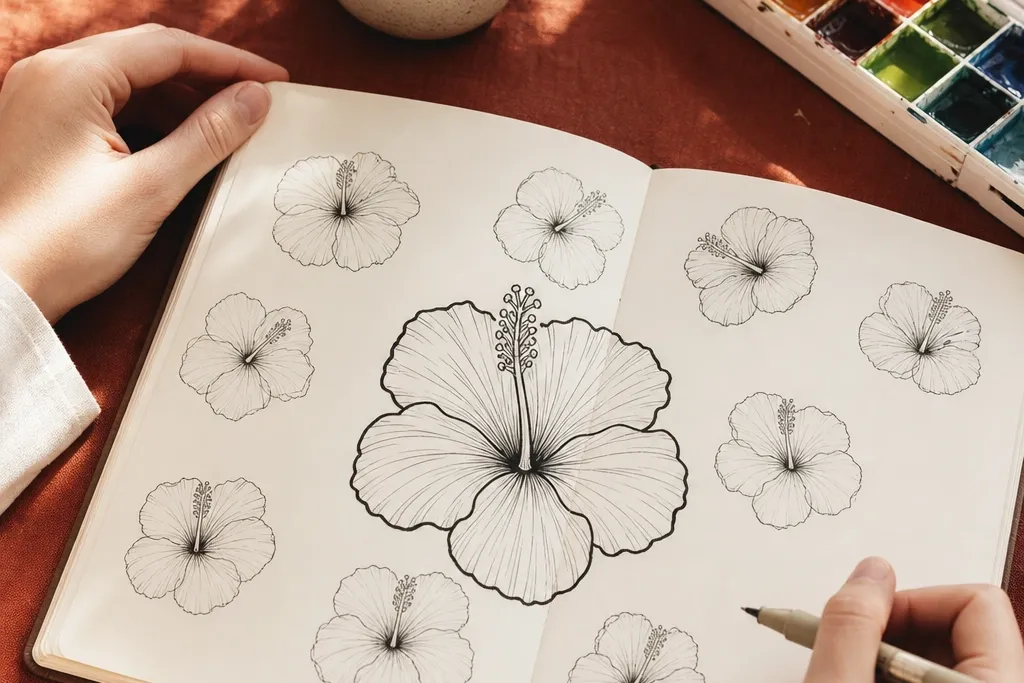
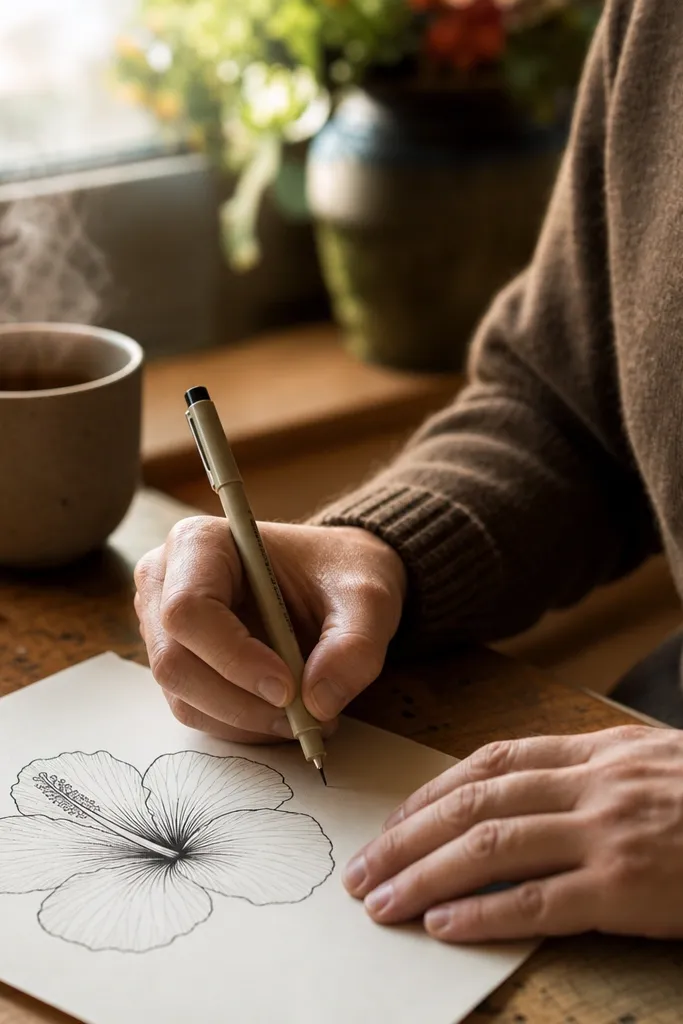
1. 6-Petal Guide Hibiscus (outline first)
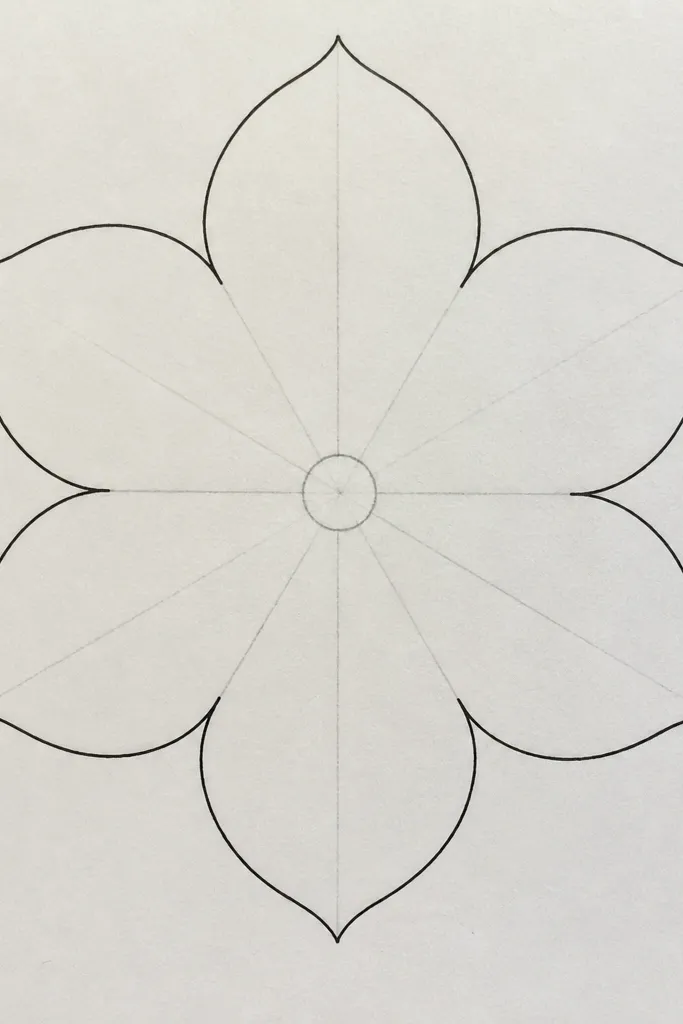
This idea is for when you keep running out of time because your petals don’t match. You start with a tiny center circle and 6 evenly spaced petal arcs, so the flower shape is already “correct” before you add details. Then you ink only the outer petal edges with a single pen thickness, which keeps the drawing crisp. The center is added last with a simple stamen fan and one seed pod oval, so it still reads as hibiscus even with no shading. It takes about 10-20 minutes and works great for sketchbook practice or quick printable art.
Pro tipUse light pencil for the arcs, then commit to ink only after the petal spacing looks even.
Start by drawing a 2 cm circle for the center, then add 6 petal arcs like a clock — each arc should overlap slightly at the base. Next, draw one curved fold line inside each petal from base to tip. Finally, ink the outer edges, then add the center fan with 5-7 thin lines and a small oval beneath.
AvoidDon’t add stamen texture before the petals are placed — it makes you rush and the flower goes lopsided.
2. Marker Color-Block Hibiscus (fast pop)
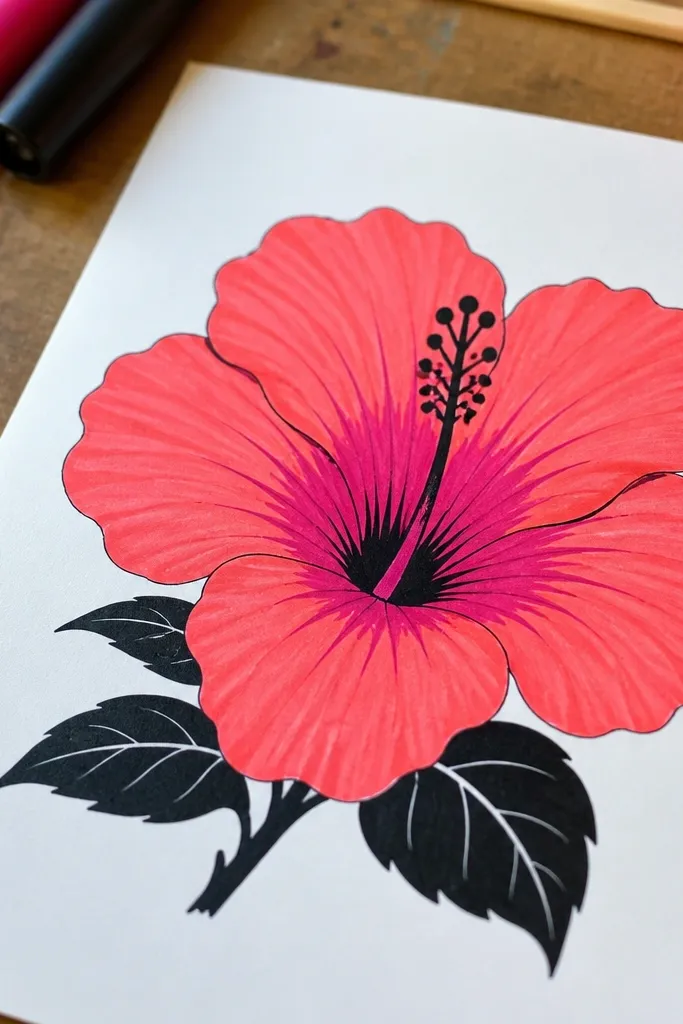
If you want it to look finished fast, color-blocking is the cheat. You draw the hibiscus outline in pen, then fill each petal with one flat marker color and a darker base near the throat. That darker base is the only “shading” you need, and it makes the flower look dimensional. Keep the center details in black so the stamen reads clearly against the color. This takes about 15-25 minutes and looks great on plain white paper or a small card.
Pro tipLet the marker dry 60-90 seconds before you add black center lines to avoid bleeding.
First, sketch the hibiscus outline with pencil, then ink outer petals and overlap lines. Next, color each petal in one pass with a bright color, then add a darker band at the inner base using a second marker shade. Finally, outline the stamen and seed pod with a black gel pen so the center doesn’t blur.
AvoidDon’t blend the whole petal — the edges should stay clean for that crisp look.
3. One-Line Continuous Hibiscus (no lifting)
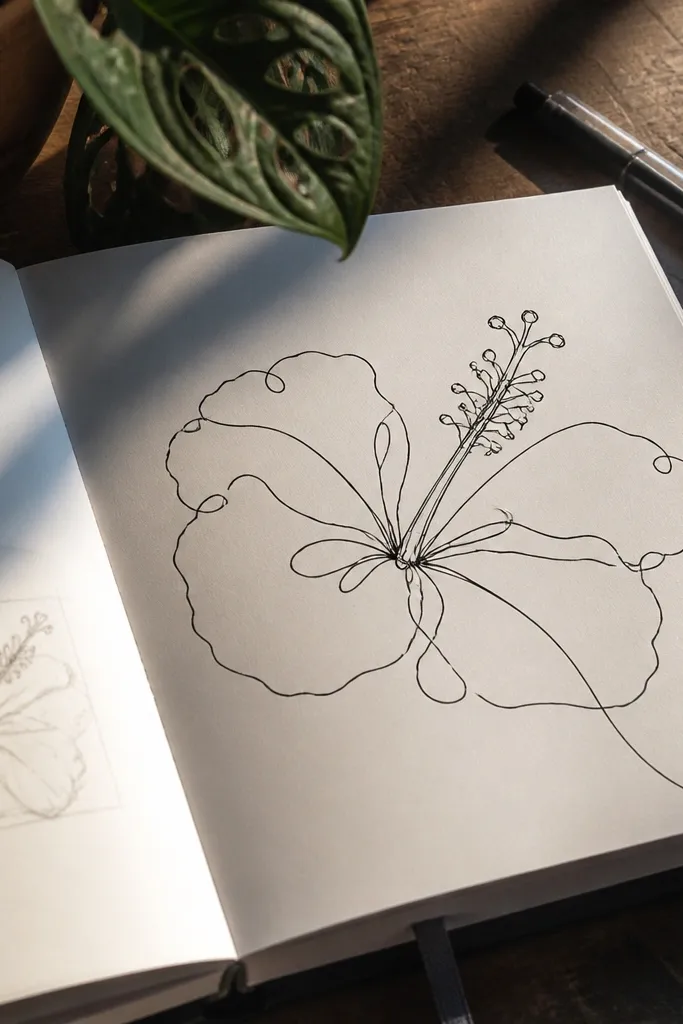
This is a speed exercise that also makes your drawings look more confident. You draw the petals and center as a single continuous line, so there’s no time to fuss. The trick is to plan the path: start at the petal tip, loop down around one petal, cross through the overlap area, then swing back to the center. You end with the stamen fan as small upward strokes. It takes about 5-10 minutes and is perfect when you need something done quickly for a page layout.
Start with a pencil circle for the center, then pick a starting point at a petal tip. Trace around the outer petals in one go, keeping overlaps as slight crossings rather than separate shapes. Finish by pulling the line into the stamen fan with 5 quick upward flicks and a small oval shape at the base of the fan.
Use a 0.5 liner for this so the line stays readable even with overlaps.
Don’t erase mid-drawing — commit to the line and fix only with a second pass after.
4. Hibiscus Side View (3/4 angle)
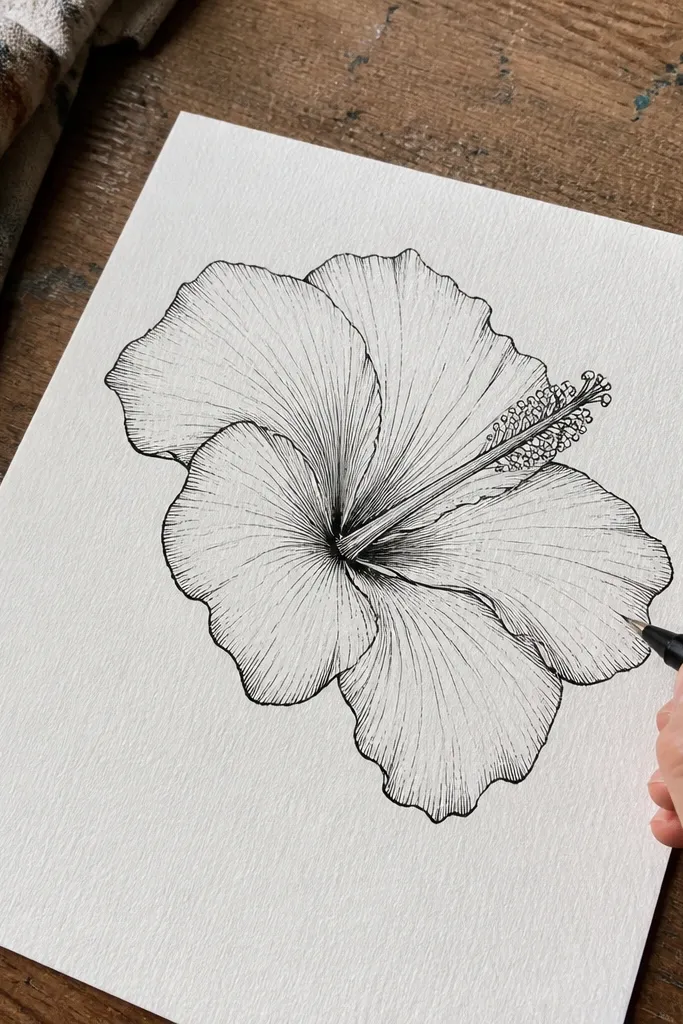
Drawing hibiscus from the side is faster because fewer petals are visible. You’re still getting that hibiscus look, but you’re not wrestling with a full symmetrical front view. The petals overlap more, and the center sits slightly offset, which makes it read as a real flower turning in space. Keep the outer edge bold and simplify the inner petals to 2-3 shapes. This takes about 12-18 minutes and works well if you want variety beyond a front-facing flower.
Pro tipIf your side view looks flat, thicken the petal fold lines with a second gentle stroke.
Sketch a small center circle, then draw only 3 main petals around it, leaving one side mostly hidden. Add one overlap edge where the front petal sits over the back petal. Ink the visible outer edges, then add the stamen fan with shorter lines so it matches the side angle.
AvoidDon’t draw all 6 petals in side view — it defeats the speed advantage.
5. Rough-to-Clean Hibiscus (two-pass ink)
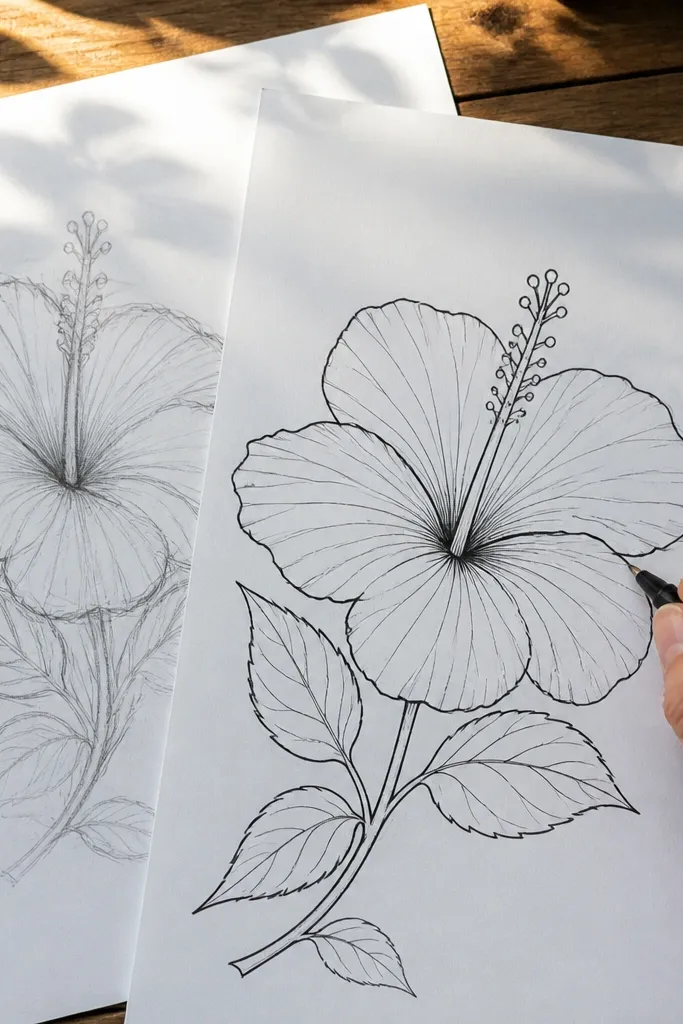
This is the fastest way to get clean results when your first sketch always looks messy. You do a quick rough pencil hibiscus in 3-5 minutes, then you redraw the same flower with better spacing on top (still in pencil), and finally you ink. The speed comes from the fact you’re not trying to “save” the messy lines, you’re rebuilding them quickly. The center gets the last-minute attention so it looks intentional. Total time is about 20-30 minutes, but the drawing quality jumps a lot.
First, do a 3-5 minute rough hibiscus with simple petal arcs and a center circle. Next, redraw a cleaner version in pencil using the rough as a guide, then ink only the clean lines with a fine liner. Finish with a black gel pen for the stamen and seed pod, and erase the pencil once ink is set.
Use a kneaded eraser lightly so you don’t tear paper when you erase the rough pass.
Don’t ink the rough pass — it locks in bad spacing.
6. Hibiscus Bloom with 5-Minute Center Detail
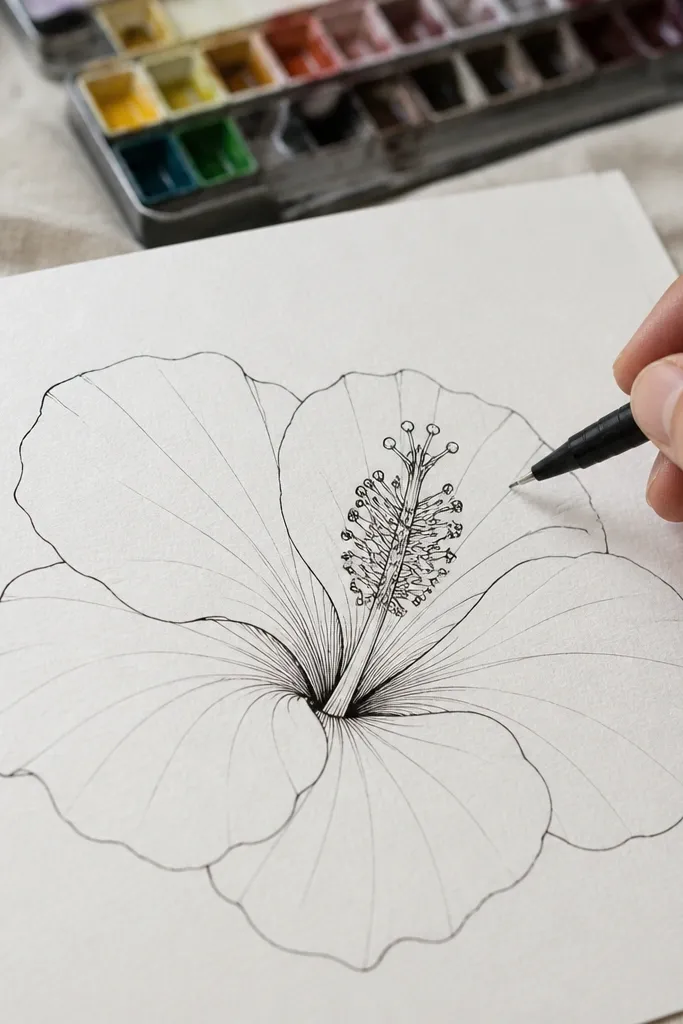
This idea fixes the problem where your petals look okay but the center looks empty. You draw quick petals and overlaps in pen, then spend a focused 5 minutes on the center: stamen lines, tiny anther tips, and the seed pod oval. That center work makes the whole drawing feel complete. Keep the petals simple and let the center carry the attention. It takes about 10-15 minutes and is great for doodles that still need to look “real.”
Draw and ink the outer petals with a fine liner, keeping overlap edges minimal. Then set a timer for 5 minutes: draw 6-8 stamen lines that fan upward, add tiny anther bumps at the top, and darken the seed pod oval with a small shadow under it. Finally, add 2-3 short center lines inside the throat of the flower.
Use gel pen for anther tips so they look like small beads, not just lines.
Don’t over-detail the petals — the center time is what makes it read as hibiscus.
7. Hibiscus in a Raindrop Frame (instant composition)
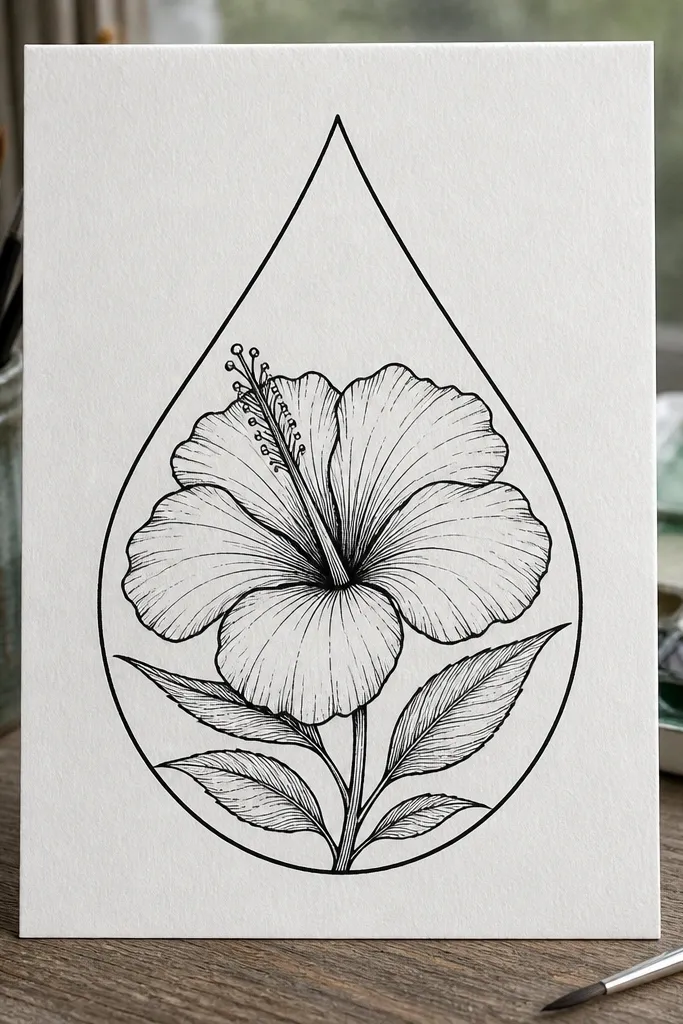
Composition makes a quick drawing look planned. A raindrop frame gives you a natural boundary and forces the flower to stay centered, so you don’t waste time deciding where everything goes. Draw the hibiscus slightly smaller than the frame, then let the petals nearly touch the border without crossing it. This works especially well for greeting cards, stickers, or a page of small drawings you want to look cohesive. Plan on about 15-20 minutes.
First, draw a tall raindrop shape as a light guide, then place your hibiscus center in the middle of the raindrop. Next, sketch 5-6 petal arcs so the tips nearly reach the frame edges. Finally, ink the hibiscus and lightly ink the raindrop border, then add one thin shadow line inside the frame for depth.
Keep the raindrop border lighter than the hibiscus outline so the flower stays the focus.
Don’t make the border thick — it competes with the flower.
8. Hibiscus with Patterned Petal Throat (no blending)
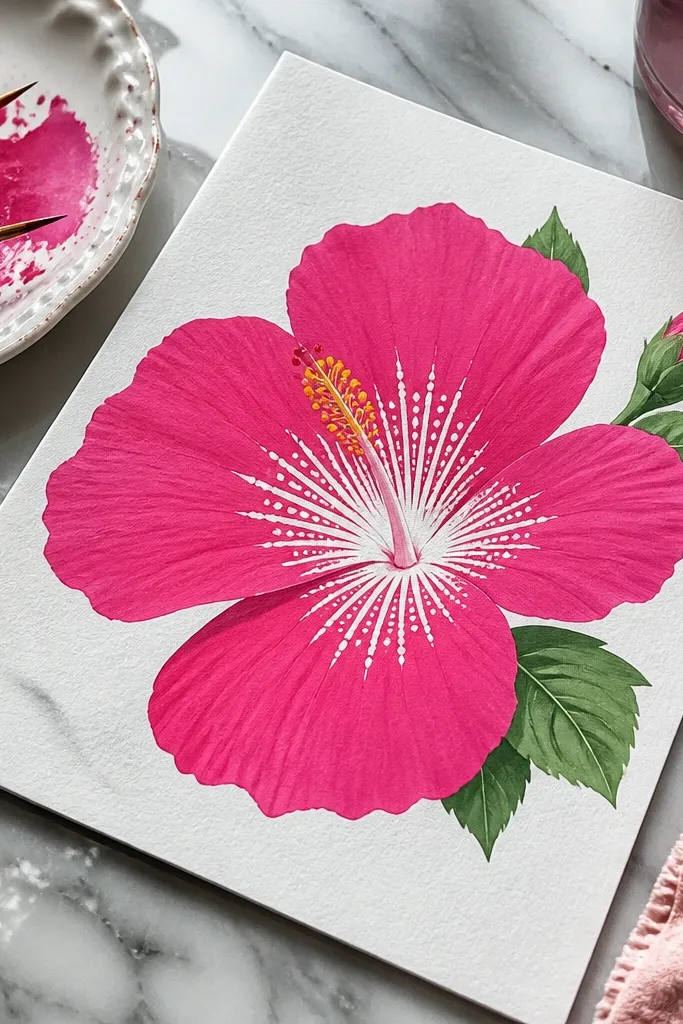
If you hate shading, this is the clean alternative. Hibiscus petals usually have a darker throat area with lines or spots that guide the eye to the center. You can recreate that look with crisp patterned marks: short stripes, tiny dots, or a few V-shaped lines. The petals stay one color, and the throat pattern does the “detail job.” This takes about 12-20 minutes and gives you a finished look even with limited supplies.
Pro tipUse a sharp colored pencil tip for throat stripes so the pattern stays crisp.
Ink the hibiscus outline first, then color each petal one solid shade with colored pencil or marker. Next, leave the throat area slightly darker by layering a deeper color just near the base, then add 6-10 short throat stripes that point toward the stamen. Finish by drawing the stamen fan and darkening the seed pod base.
AvoidDon’t smear the throat pattern — keep it as lines you can count.
9. Hibiscus Bud + Bloom Pair (fast set)
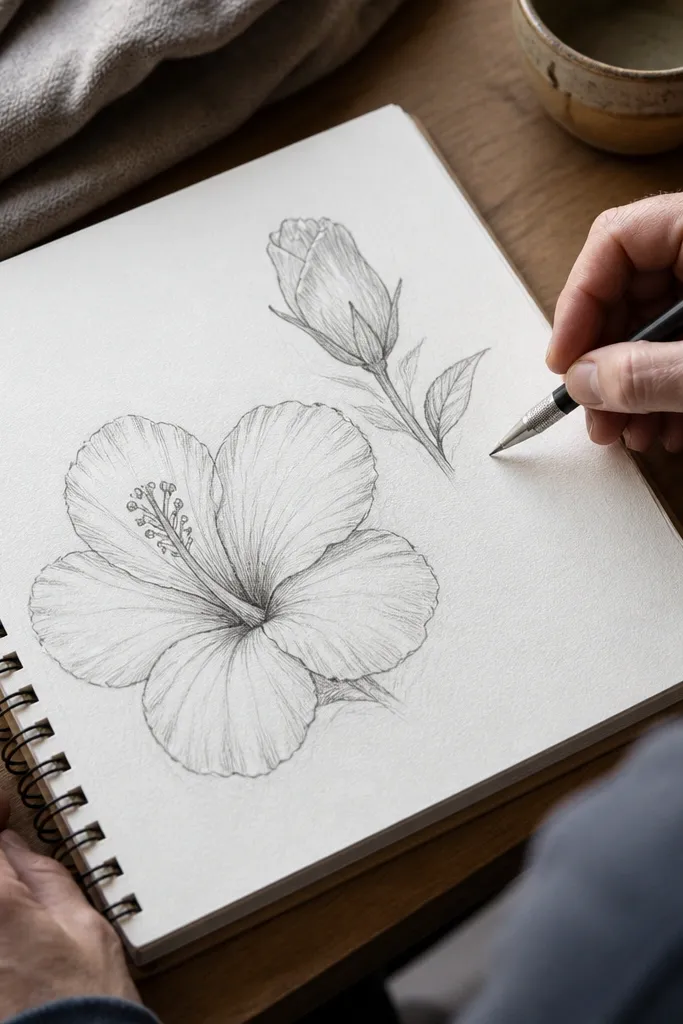
Pairs look better than singles, and this one builds interest without extra complexity. You draw one open hibiscus and one smaller bud, using the same petal shapes but scaled down. The bud gives you a natural way to practice petal folds and overlap without needing a full center on the tiny one. Keep the bud center simplified to a small oval. This takes about 20-25 minutes and works well for a page layout or a small poster.
Pro tipUse a ruler to mark where the bud sits so it doesn’t steal space from the main bloom.
Start with the open bloom: draw the center circle and 5-6 petal arcs, then ink the outer edges. Next, draw the bud on the side as a smaller teardrop with 3-4 folded petal tips, then add one overlap line. Finally, ink the stamen on the bloom only, and color both with the same palette for unity.
AvoidDon’t add full stamen detail to the bud — it slows you down and makes the pair muddy.
10. Hibiscus Practice Tile Sheet (4 mini blooms)
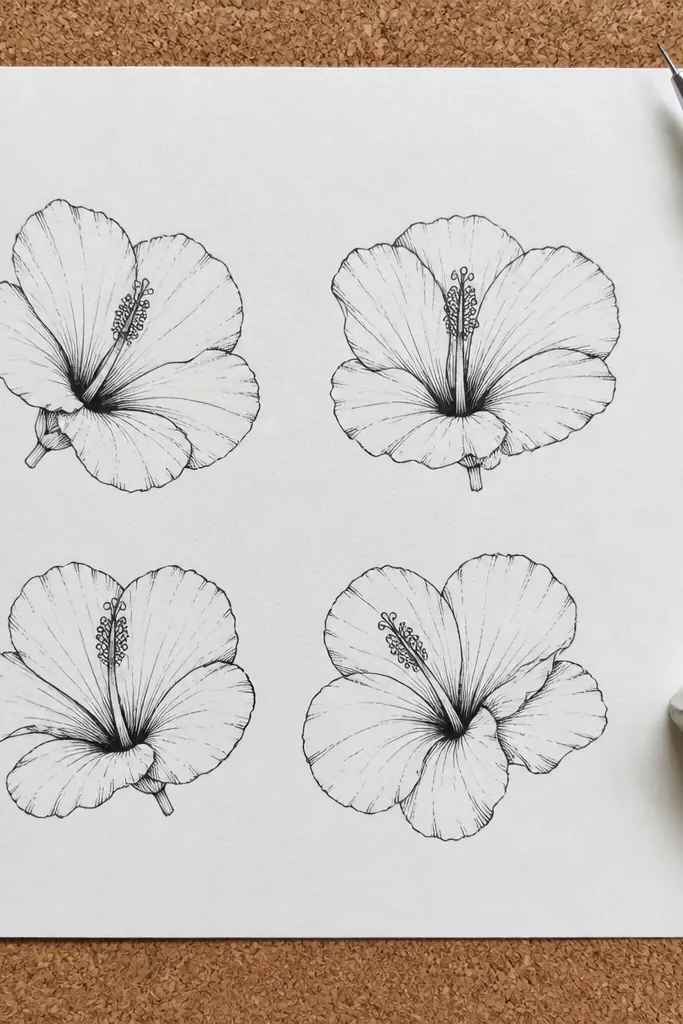
This idea is for when you want output fast, not perfection. You make a grid of four mini blooms, each one slightly different in petal curl or overlap, so you get variety without starting from scratch each time. The mini size forces quick decisions and keeps the drawing from dragging. Use the same steps but reduce the center detail to 4-6 stamen lines. It takes about 25-35 minutes total, but you end with four usable drawings.
Draw a 2x2 grid on the page, leaving a small margin around each tile. For each tile, sketch a tiny center circle and 5-6 petal arcs, then ink only the outer petals and the center. Add a simple throat pattern to just two of the tiles so you don’t overwork all four.
If you’re running out of time, skip throat patterns and just darken the seed pod base.
Don’t make one tile “perfect” while the rest suffer — keep the same level of effort across all four.
11. Hibiscus Flower Mandala Starter (petals as rays)
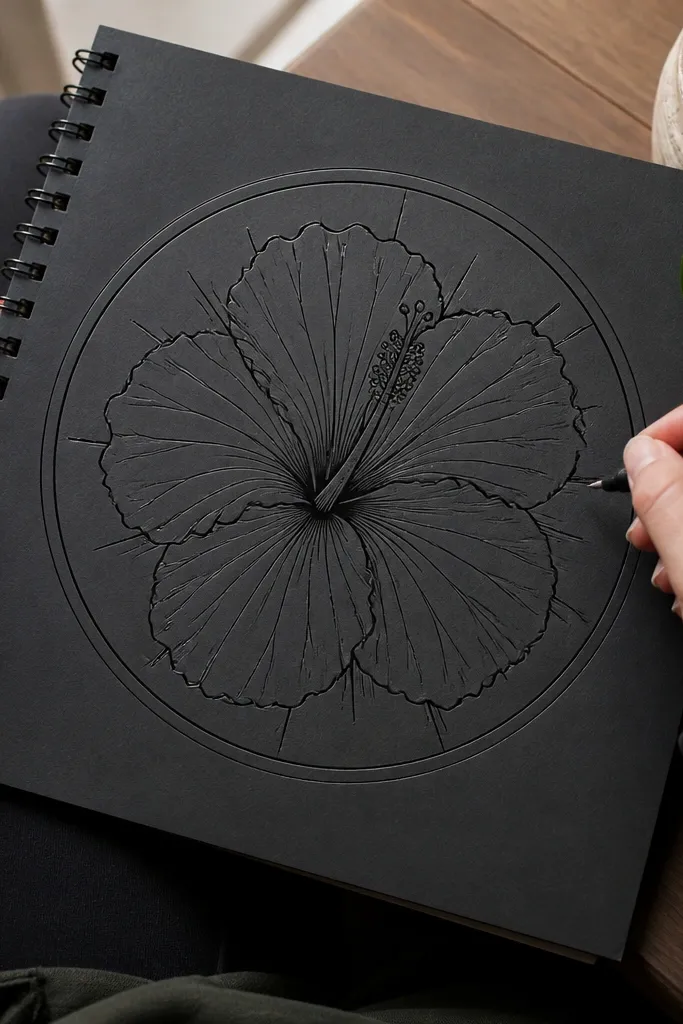
This is how you turn a hibiscus into something decorative without spending hours on background patterns. You draw the hibiscus as the main bloom, then add two thin rings around it and short ray marks between petals. The rings and rays make the flower look intentional and “finished” even if you keep everything line-based. It’s a great way to practice line weight control: thick outer edges, thin inner rings. Total time is about 15-22 minutes and it works well on paper you plan to frame or gift.
Draw the hibiscus outline first and ink it with a fine liner. Next, add two circular rings around the bloom — one close to the petal tips and one a bit farther out. Finally, add 6-10 short ray lines that start at the outer ring and stop at the petal tips, then darken the center stamen fan.
Keep ray lines short and evenly spaced so they look like a plan, not random doodles.
Don’t add too many rays — it turns into noise and hides the hibiscus shape.



