
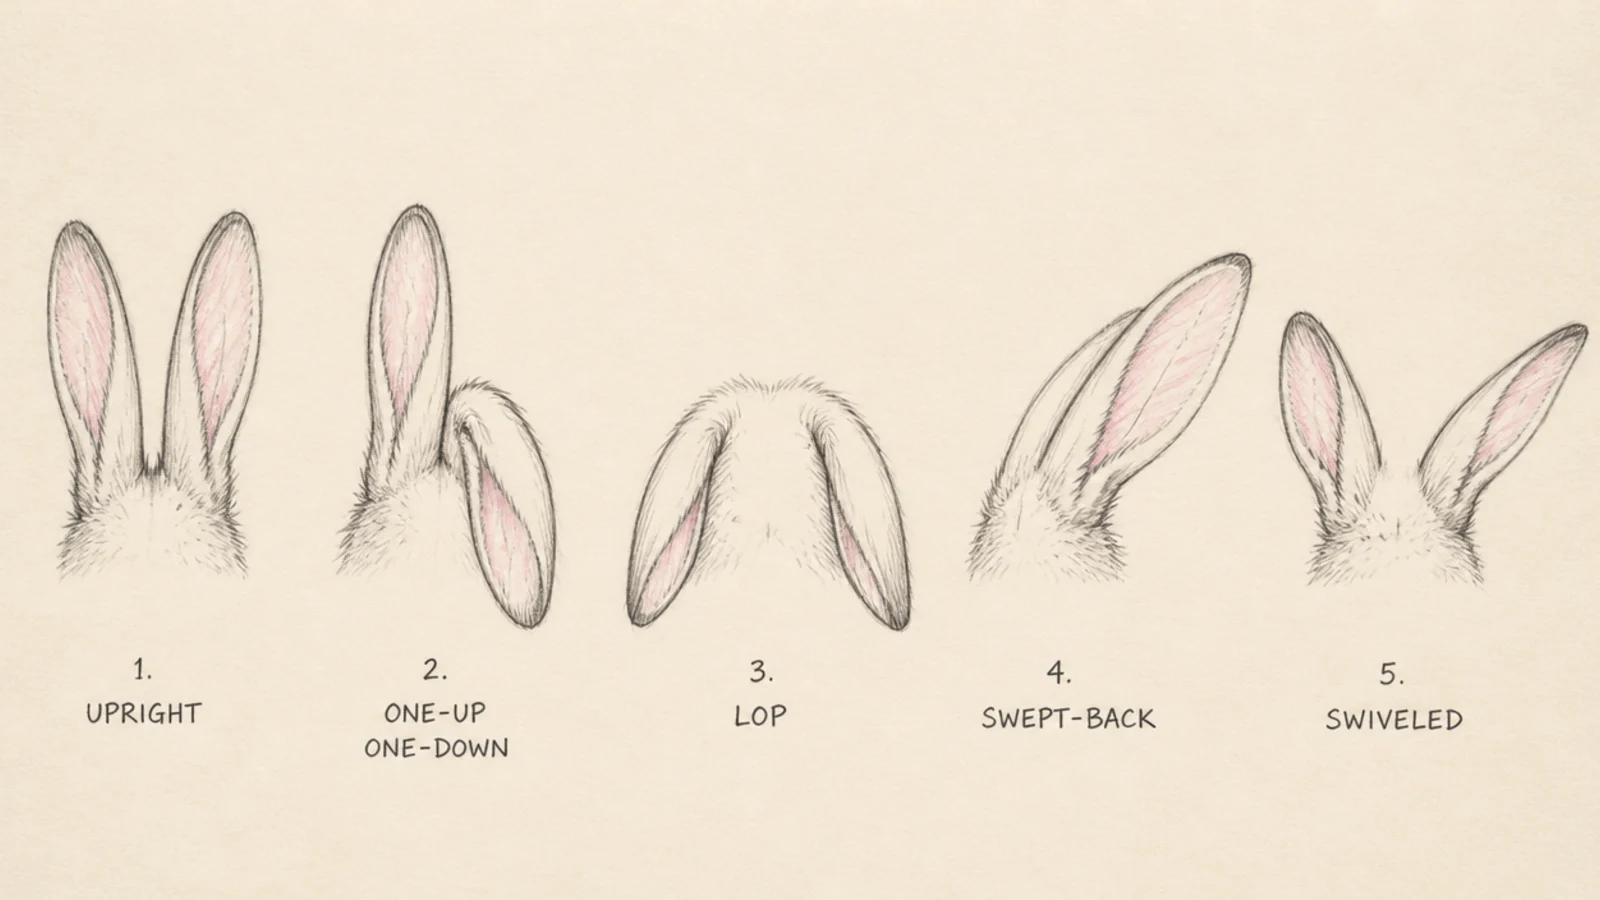
1 Basic Upright Ears
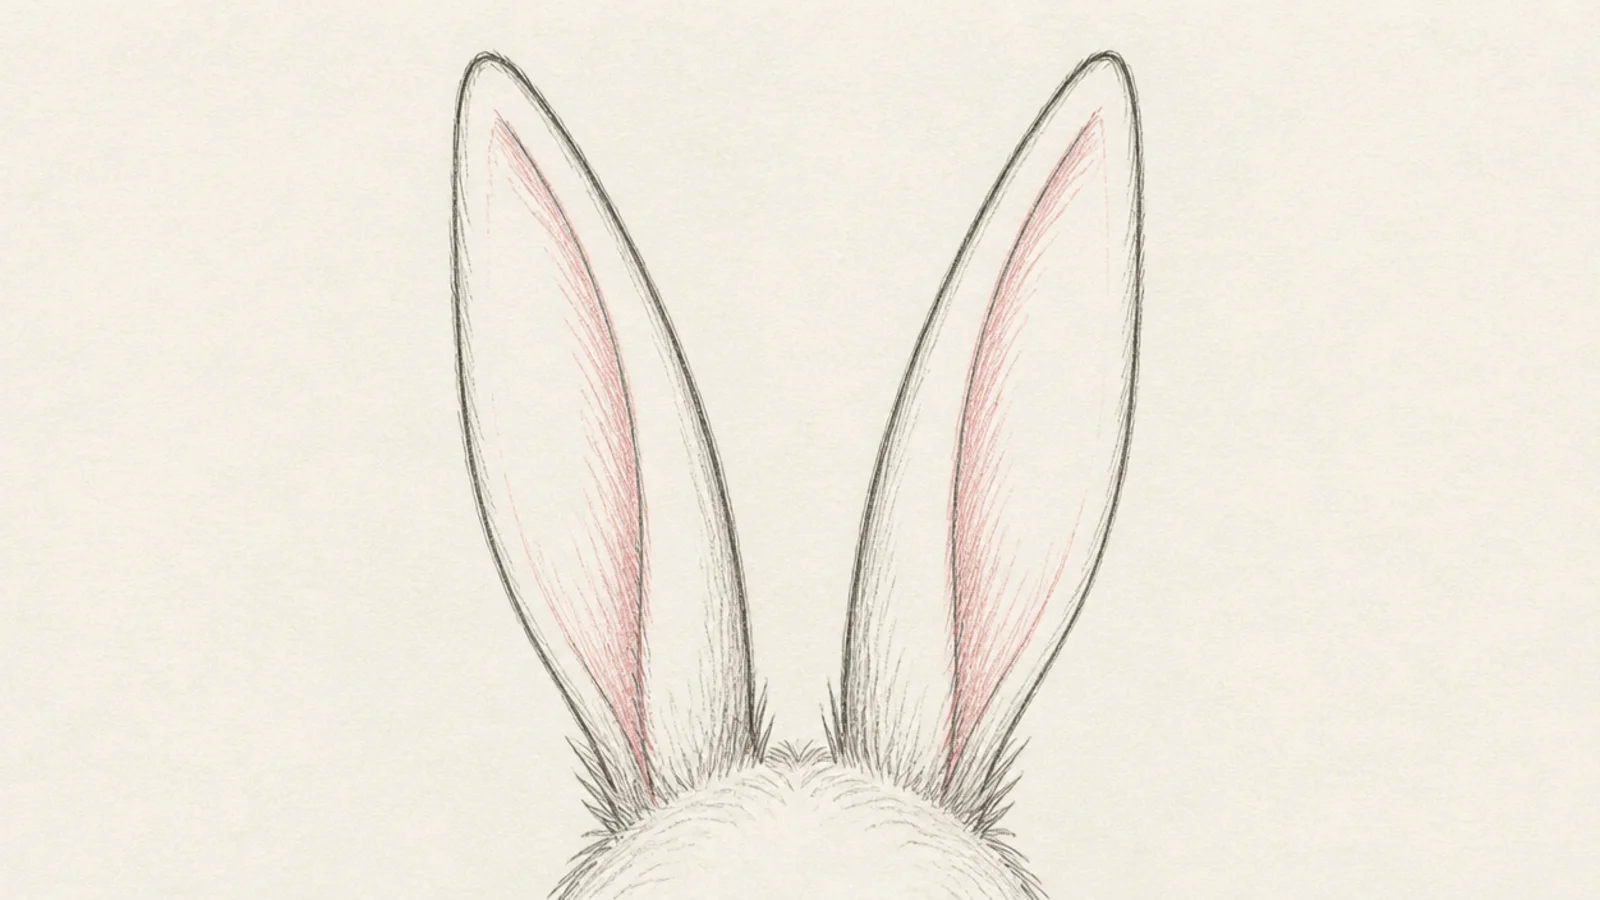
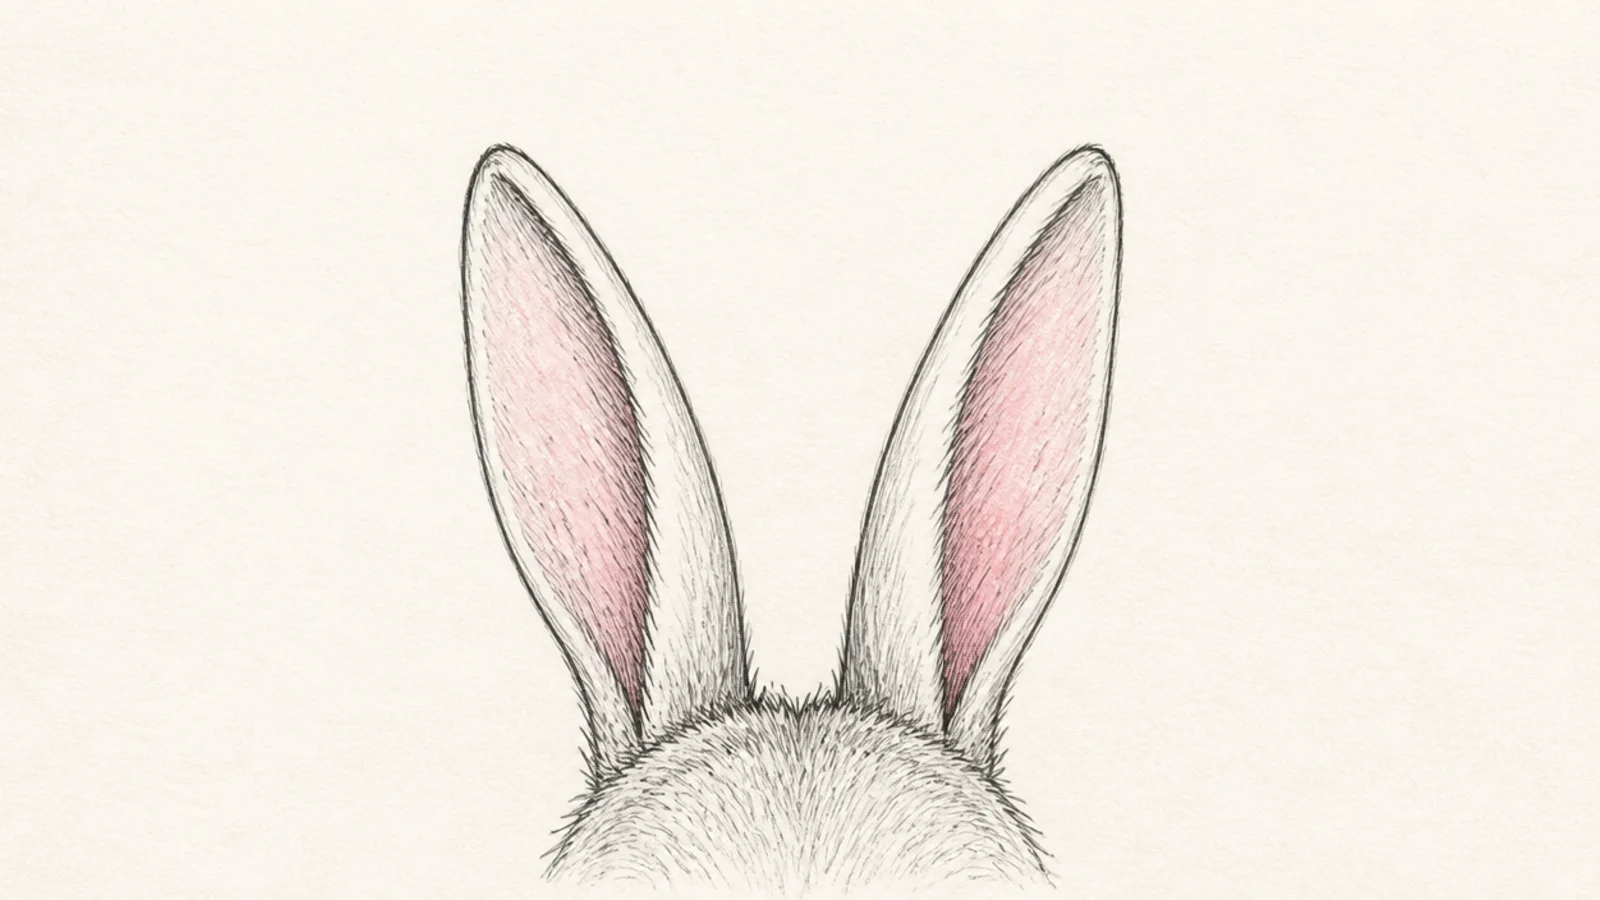
This is the base every other ear builds on — two long ovals standing straight up. It is the classic, most recognizable rabbit ear. Master it and the rest are just angle changes.
Step 1 draw two long ovals rising from the top of the head, wider at the base. Step 2 taper each toward the tip. Step 3 nest a thinner pink curve inside each.
Root both ears close together near the top of the skull, not far apart.
Don’t make the ears the same width top to bottom; taper them to the tip.
2 Inner-Ear Detail
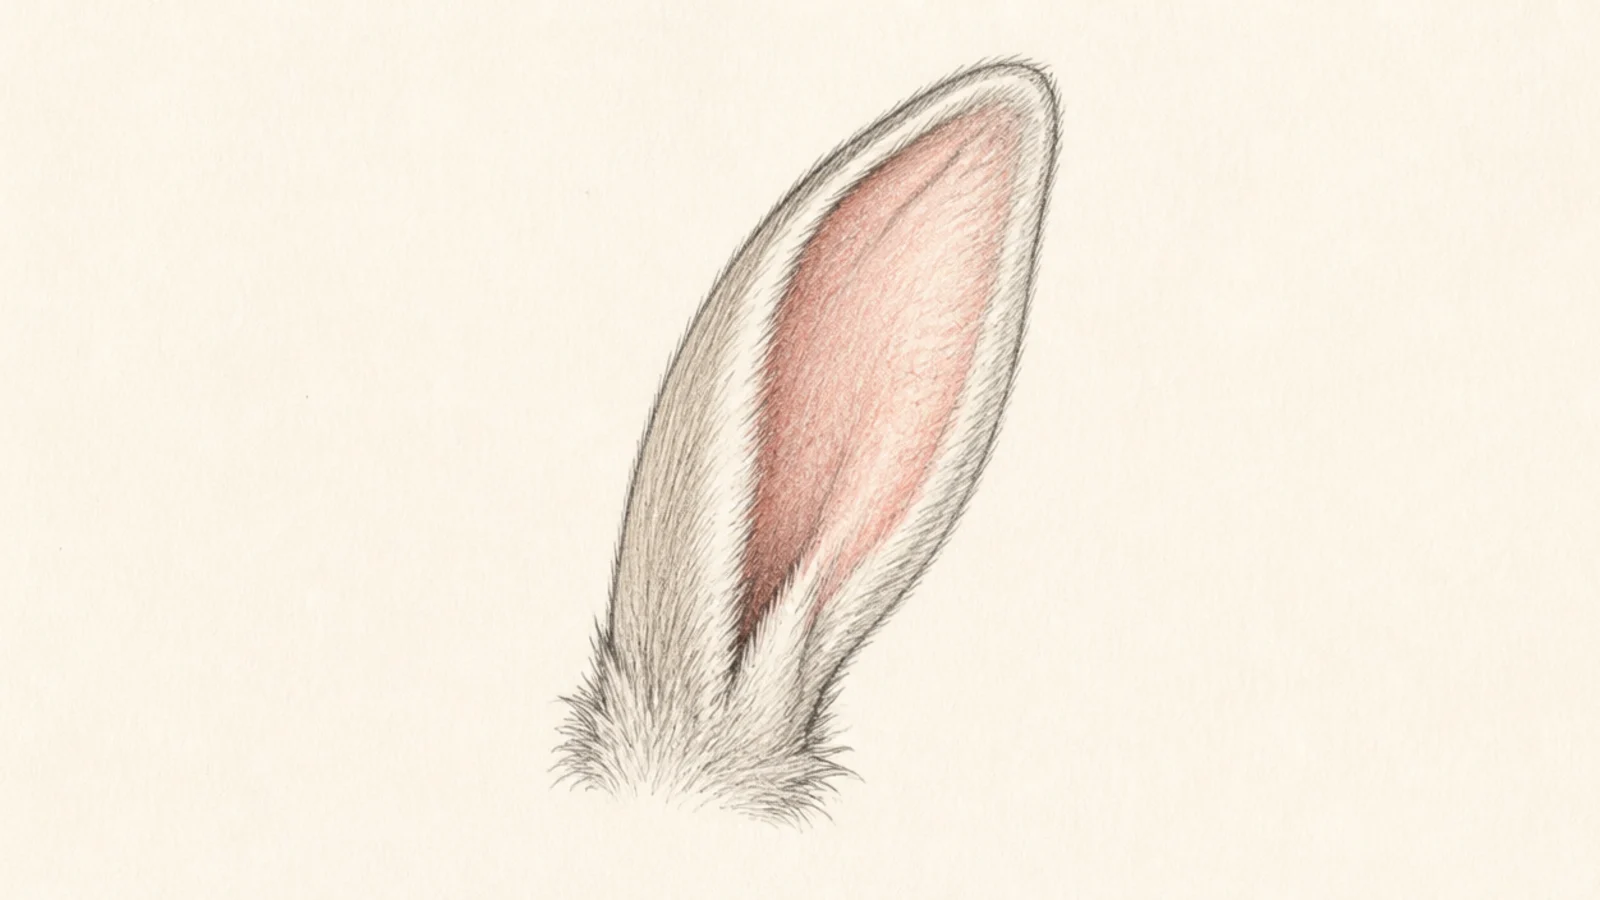
A close look at one ear teaches the soft inner structure. The pink lining and the fur along the edge make the ear look real. It is worth studying on its own.
Step 1 draw one large ear shape. Step 2 add the inner curve following the outer edge, leaving a fur rim. Step 3 add short fur flicks along the base and inside edge.
Leave a soft fur rim between the outer edge and the inner pink shape.
Don’t fill the whole ear pink; the fur rim is what makes it look furry.
3 One Up, One Down
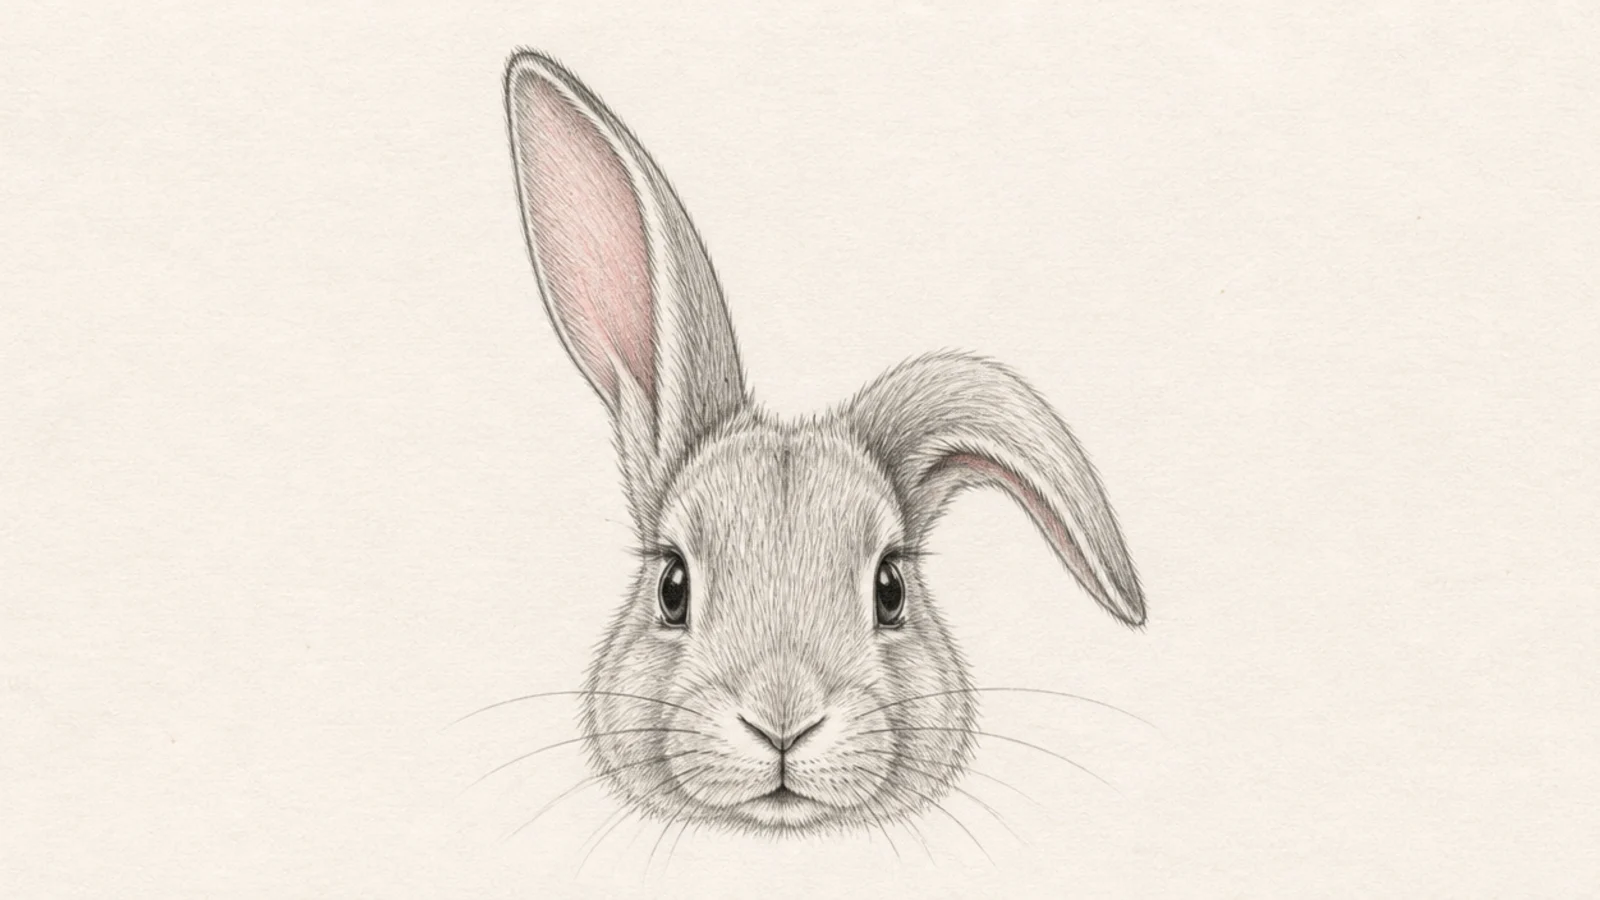
One ear up and one down is the quickest way to add personality. The mismatch reads as a curious, playful bunny. It looks alive and characterful.
Step 1 draw one ear standing straight up. Step 2 draw the second ear flopping down to the side. Step 3 add inner curves to both, following their directions.
Bend the flopped ear near its middle so it clearly falls over.
Don’t match the two ears; the whole charm is that they differ.
4 Floppy Lop Ears
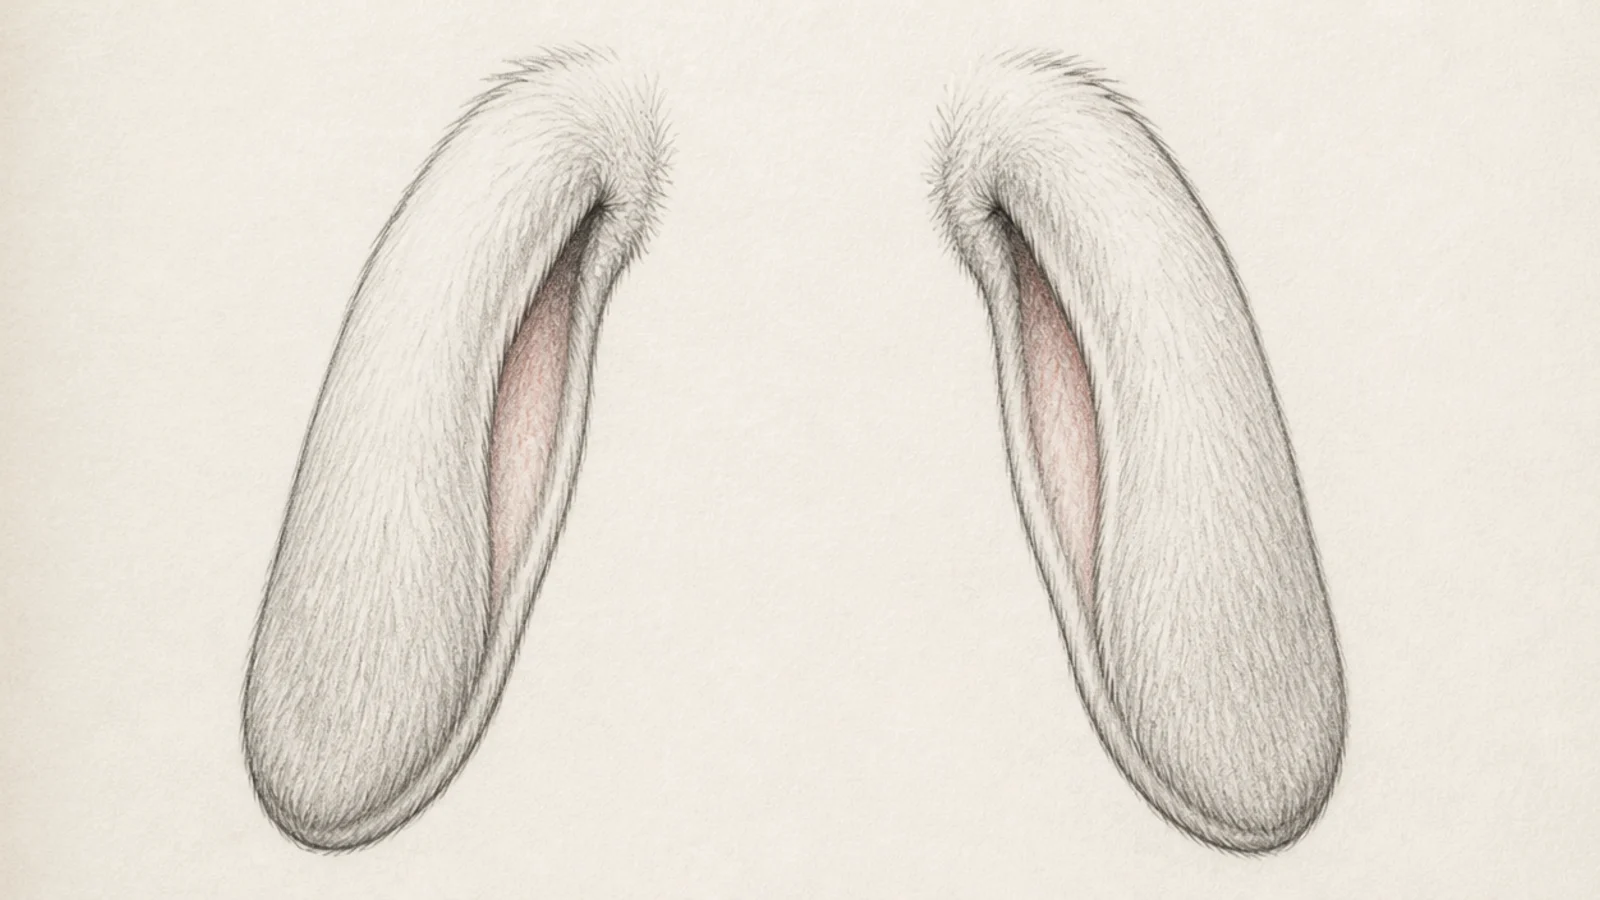
Lop ears hanging down beside the face give a soft, gentle look. The heavy drooping shape frames the cheeks. It reads as a calm, cuddly pet rabbit.
Step 1 draw two wide ears hanging straight down along the face. Step 2 widen them slightly toward the rounded bottoms. Step 3 add the inner curve near the top fold.
Widen the ears toward the bottom so they look soft and weighty.
Don’t stand these ears up; the downward hang defines a lop.
5 Swept-Back Ears
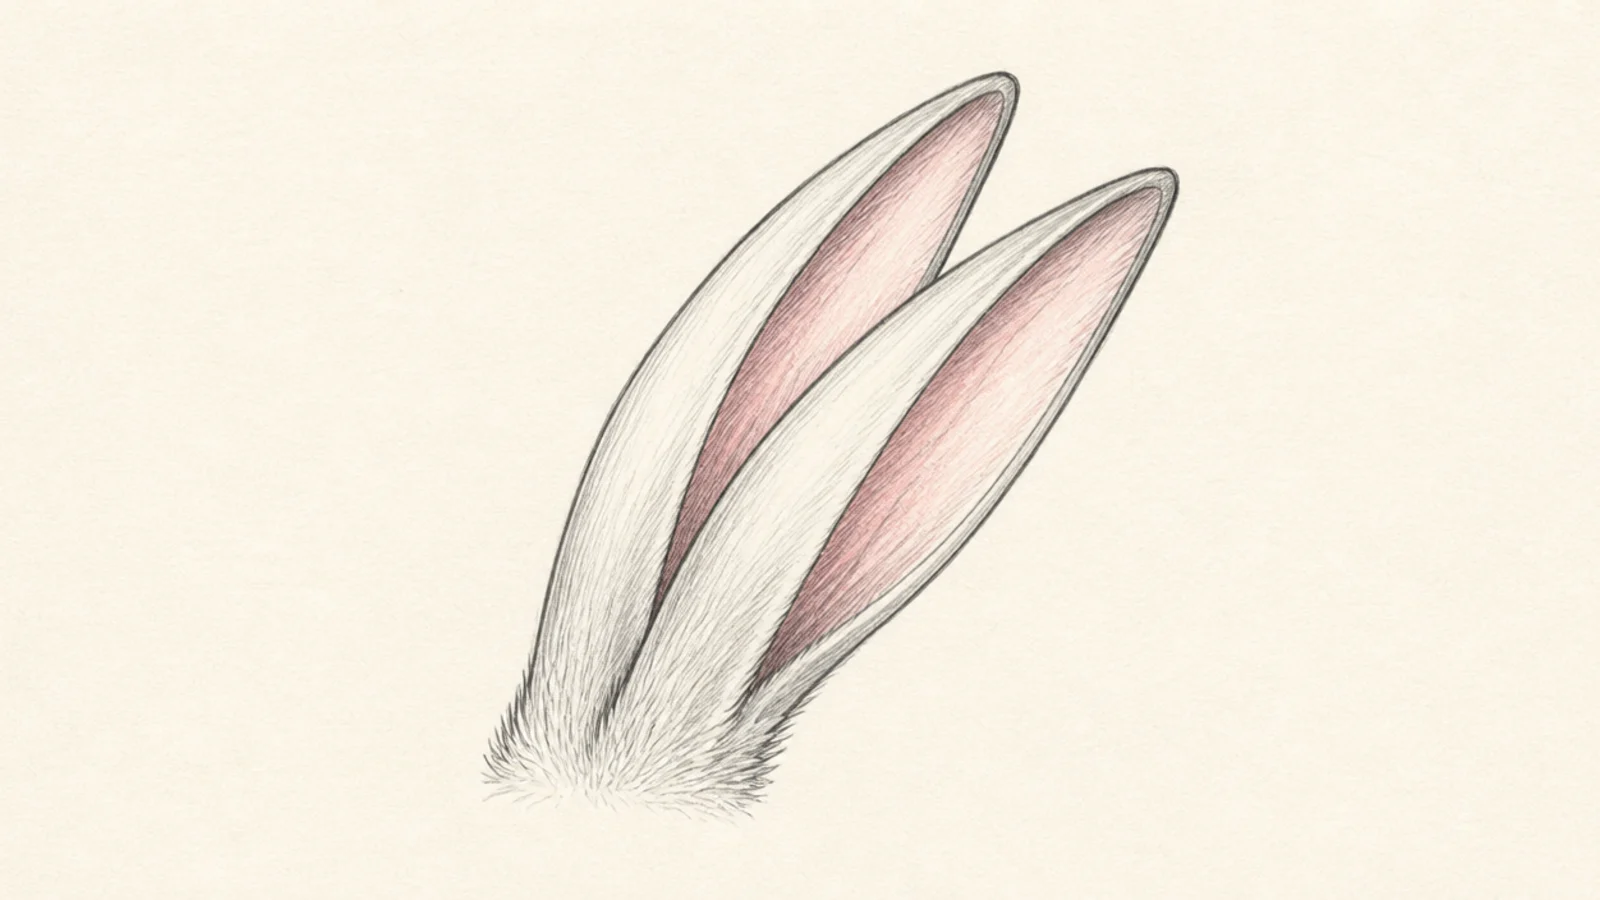
Ears swept back behind the head read as speed or shyness. The backward angle adds motion. It is essential for drawing a running or timid bunny.
Step 1 draw both ears angled back behind the head. Step 2 keep them close together and streamlined. Step 3 add thin inner curves along their length.
Angle both ears back at the same slant for a streamlined, fast look.
Don’t leave the ears upright; the backward sweep is what shows motion.
6 Listening Swivel Ears
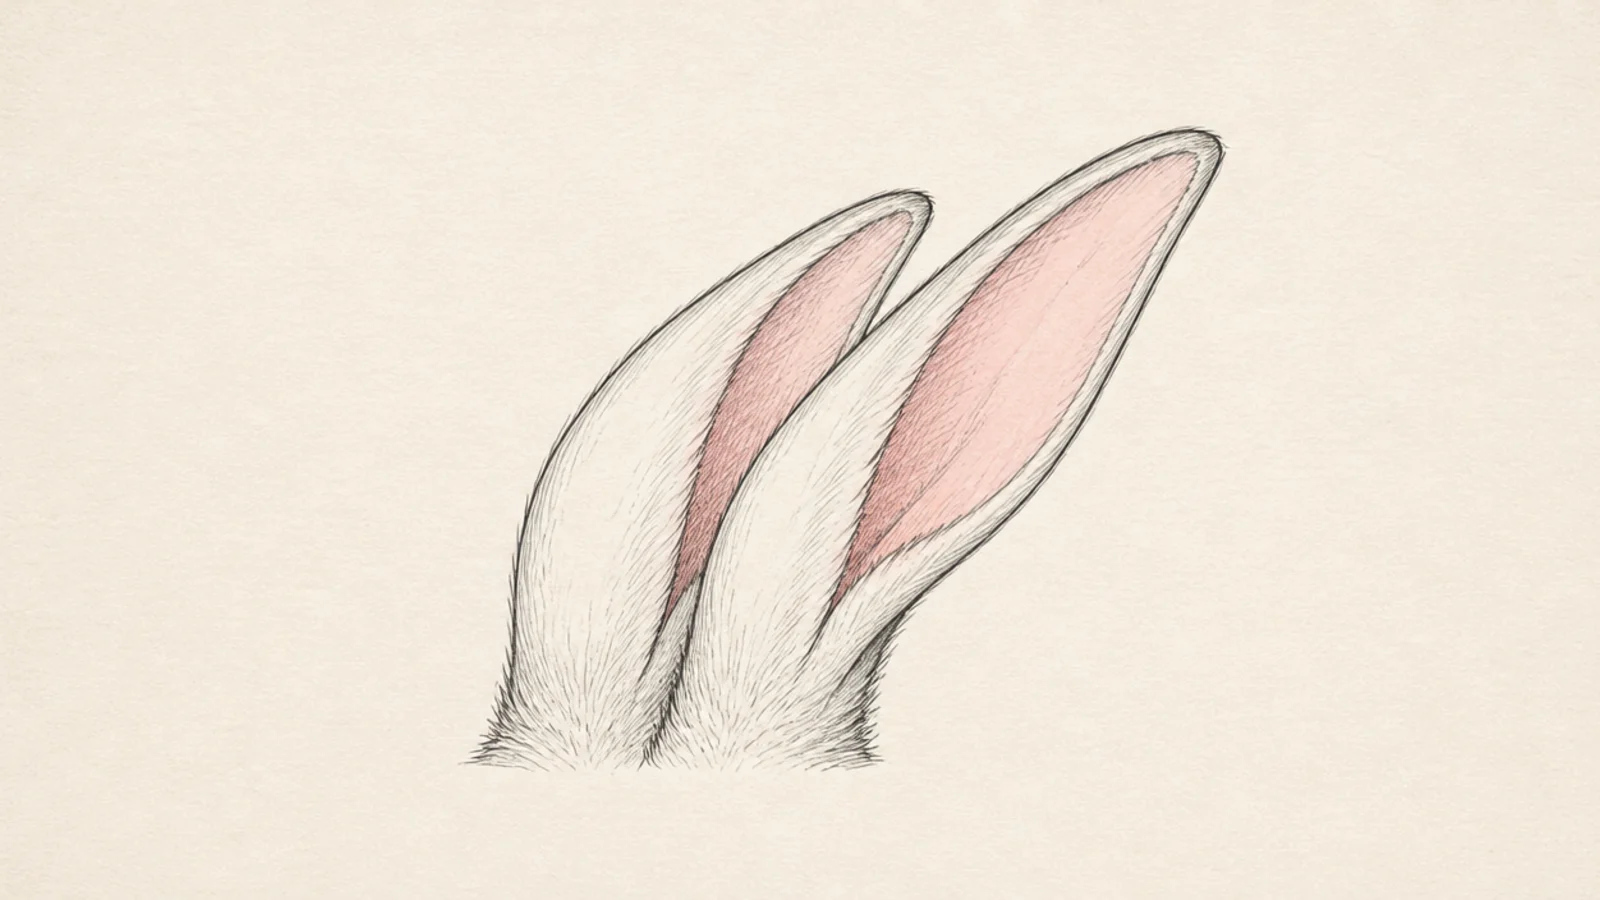
Ears swiveled to one side show a bunny listening hard. The turned openings point toward a sound. It is an expressive, natural position.
Step 1 draw both ears turning toward the same side. Step 2 show the inner pink of the ear facing that direction. Step 3 keep the bases rooted while the tops swivel.
Pro tipFace both inner ear openings the same way to show where it is listening.
AvoidDon’t point the ears different ways; both should turn toward the sound.
7 Alert Tall Ears
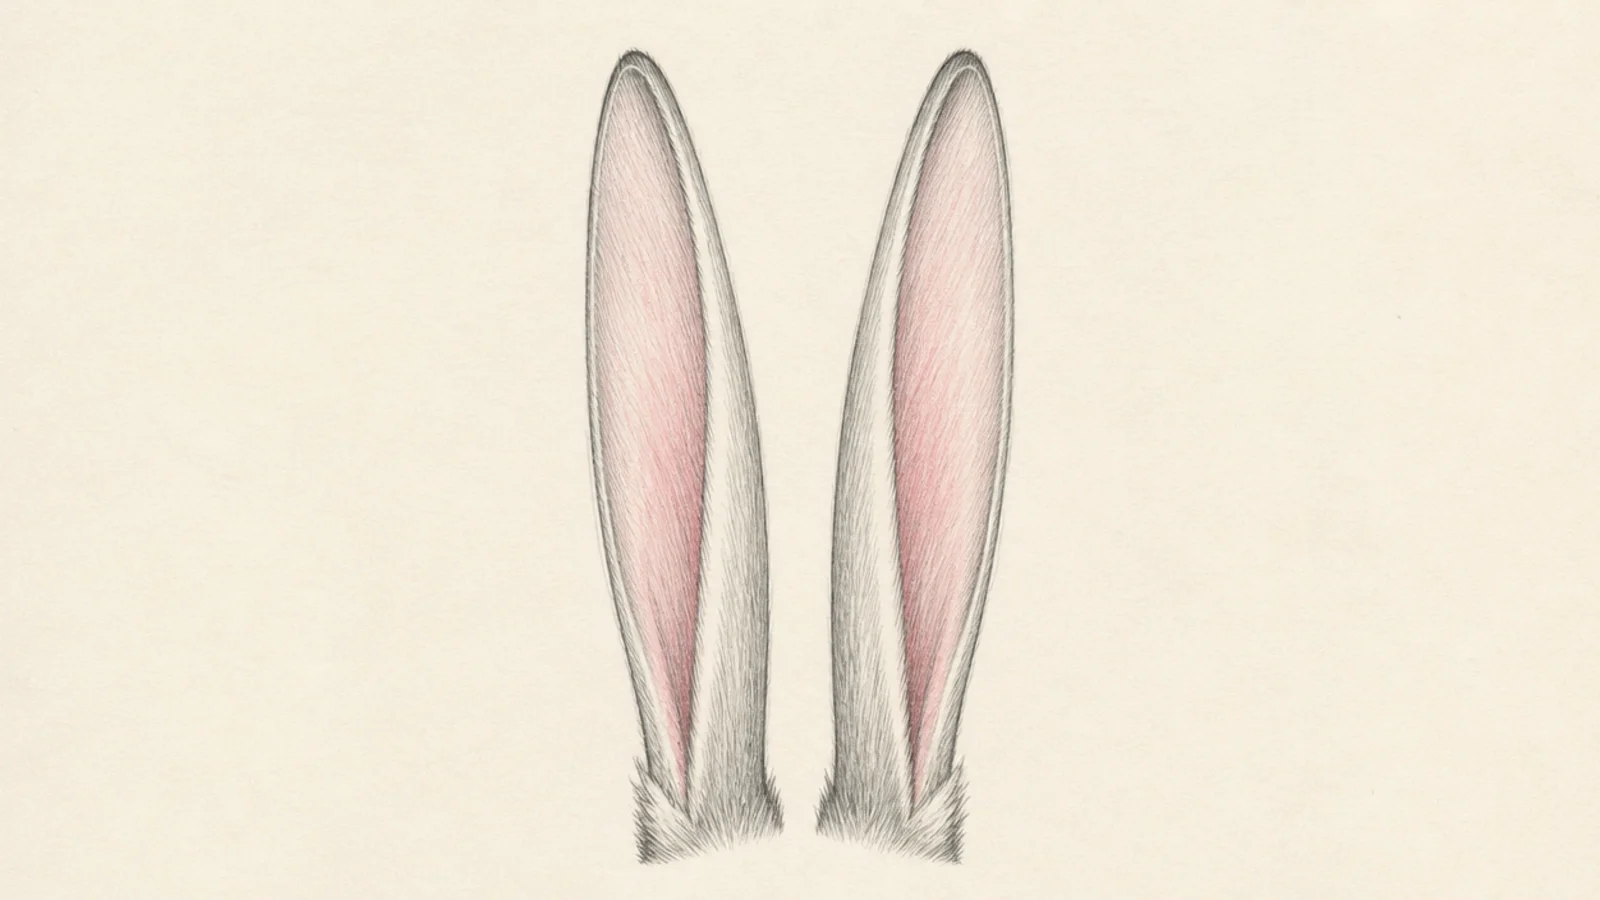
Extra-tall, straight ears at full height read as maximum alertness. The stretched length shows a bunny paying close attention. It is a bold, attentive look.
Step 1 draw two ears longer than usual reaching straight up. Step 2 keep them stiff and parallel. Step 3 add narrow inner curves the full length.
Pro tipKeep the tall ears stiff and parallel so they look at full attention.
AvoidDon’t bend the tips; alert ears stay straight and rigid.
8 Relaxed Side Ears
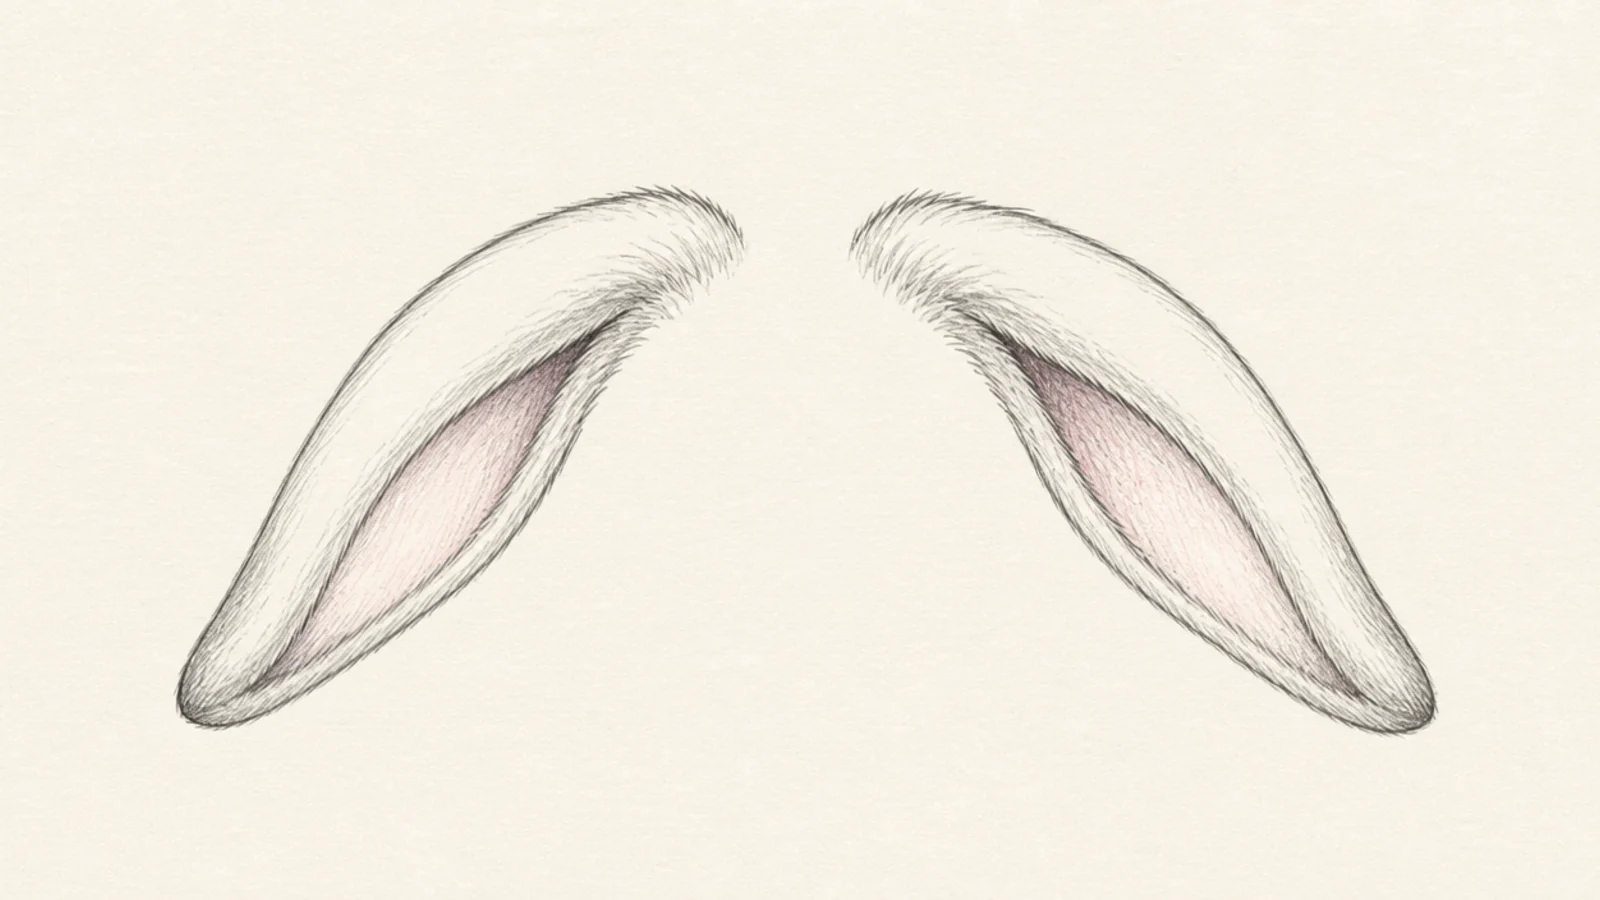
Ears resting out to the sides read as calm and content. The gentle outward fall softens the whole face. It suits a resting, happy bunny.
Step 1 draw both ears leaning gently outward and down. Step 2 keep the curves soft, not drooping fully. Step 3 add relaxed inner shapes.
Keep the outward lean gentle so it reads as relaxed, not sad.
Don’t drop the ears all the way; a soft outward tilt is enough.
9 Curious Tilt Ears
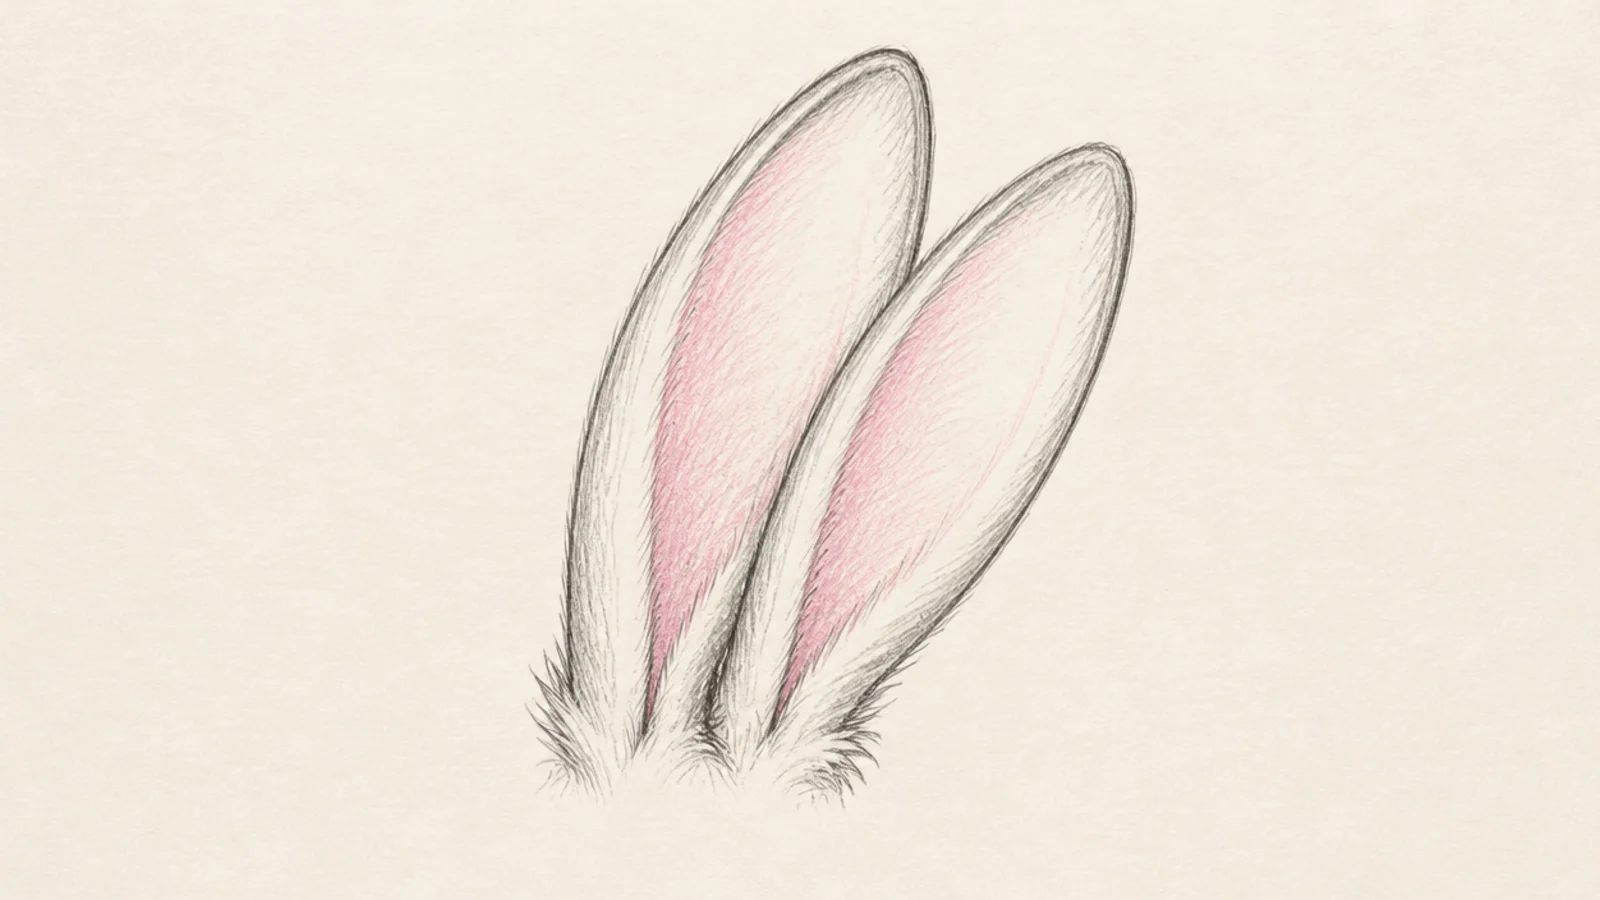
Both ears tilting the same way with a head tilt reads as curious. The unified lean gives a charming, questioning look. It pairs perfectly with a head tilt.
Step 1 tilt the head slightly to one side. Step 2 lean both ears the same direction as the tilt. Step 3 keep them close and add inner curves.
Lean the ears the same way as the head so the tilt looks natural.
Don’t keep the ears vertical when the head tilts; angle them to match.
10 Folded-Tip Ears
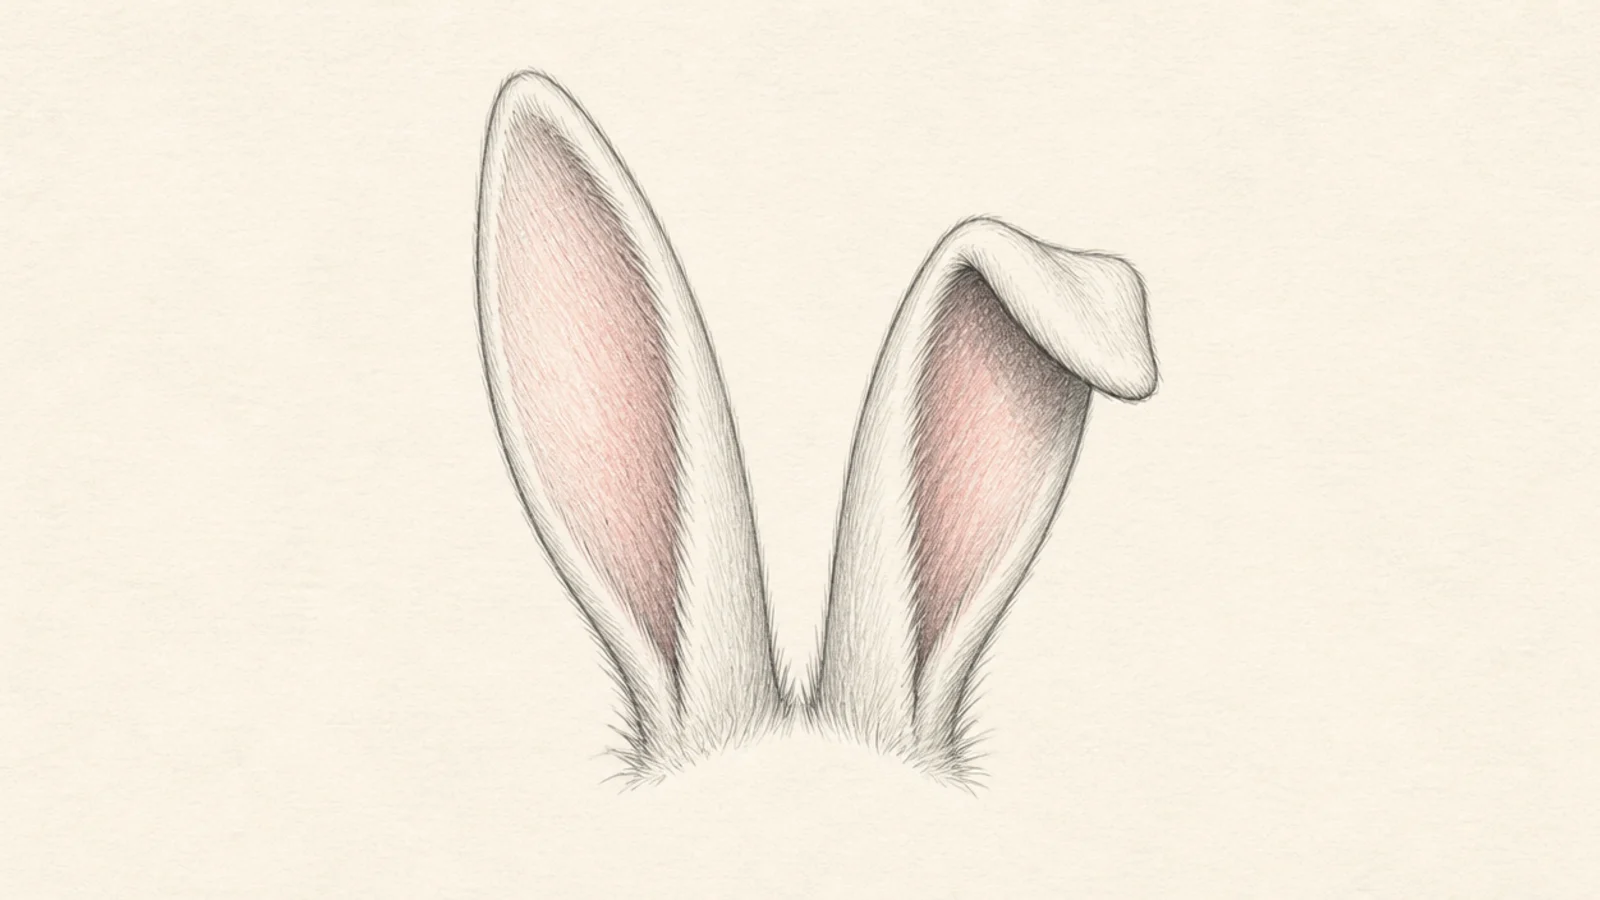
An ear with a folded-over tip adds softness and realism. Real bunny ears often flop at the tip. It is a small detail that reads as natural.
Step 1 draw two mostly upright ears. Step 2 fold the tip of one ear over with a small crease line. Step 3 add inner curves and a shadow under the fold.
Add a short crease line where the tip folds so the bend looks real.
Don’t fold both tips the same; one folded tip looks more natural.
11 Side-Profile Ear
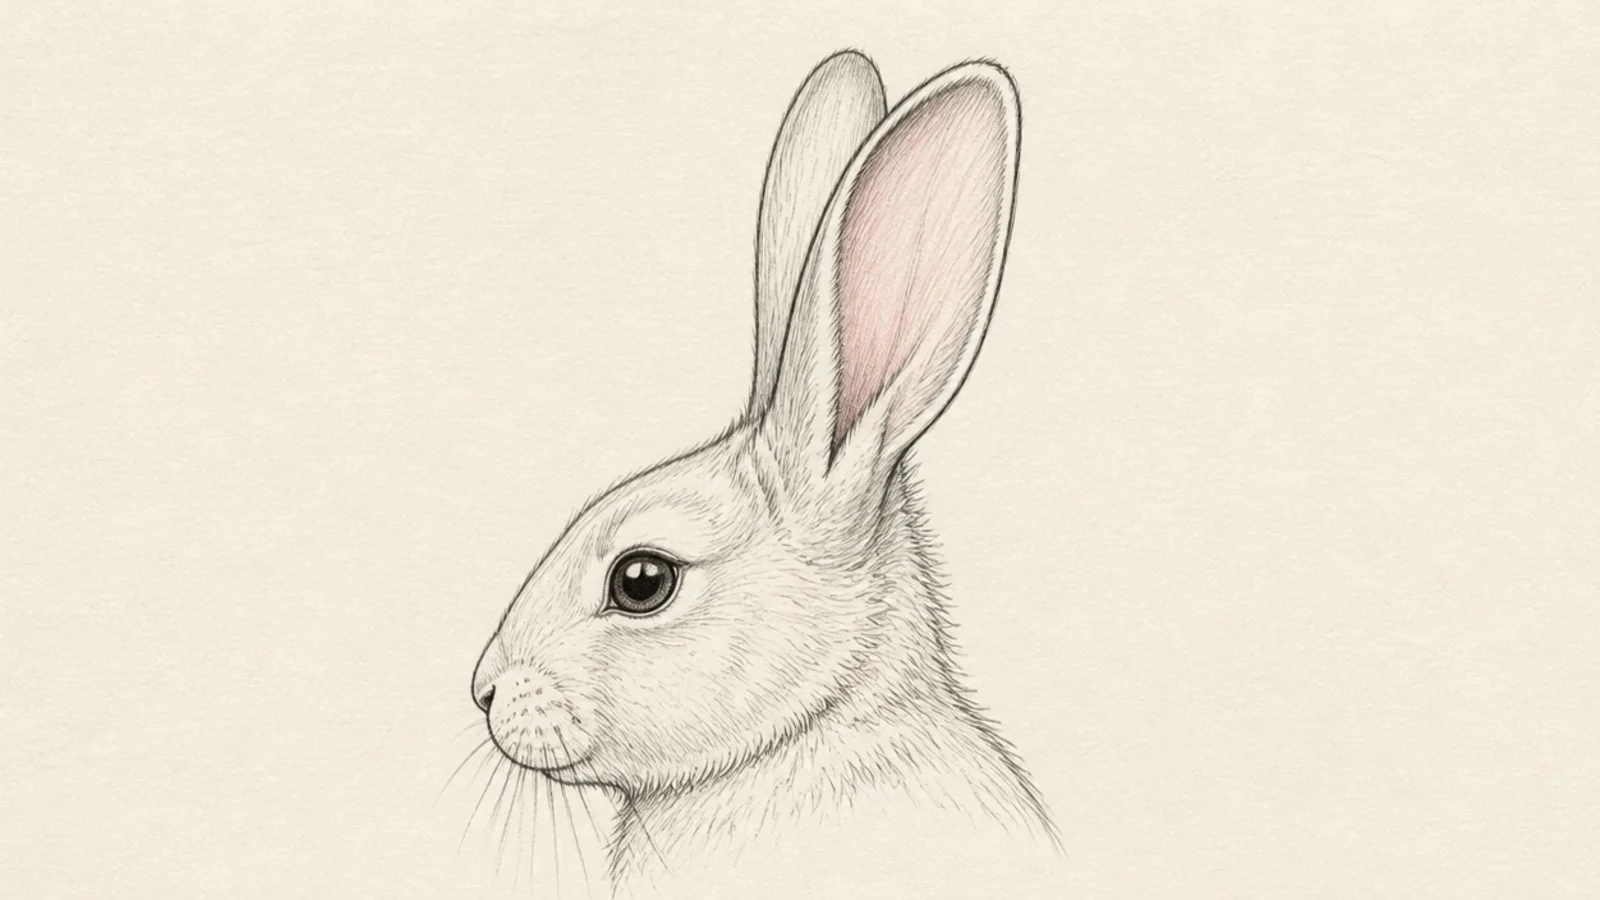
Seen from the side, an ear turns thin and shows its edge. Drawing the ear in profile teaches how it sits in space. It is key for side-view bunnies.
Step 1 draw the near ear as a full shape from the side. Step 2 draw the far ear as a thin sliver behind it. Step 3 show only the edge of the inner curve on the near ear.
Draw the far ear as a thin sliver so it reads as turned away.
Don’t draw both ears full width in profile; the far one is nearly edge-on.
12 Short Round Ears
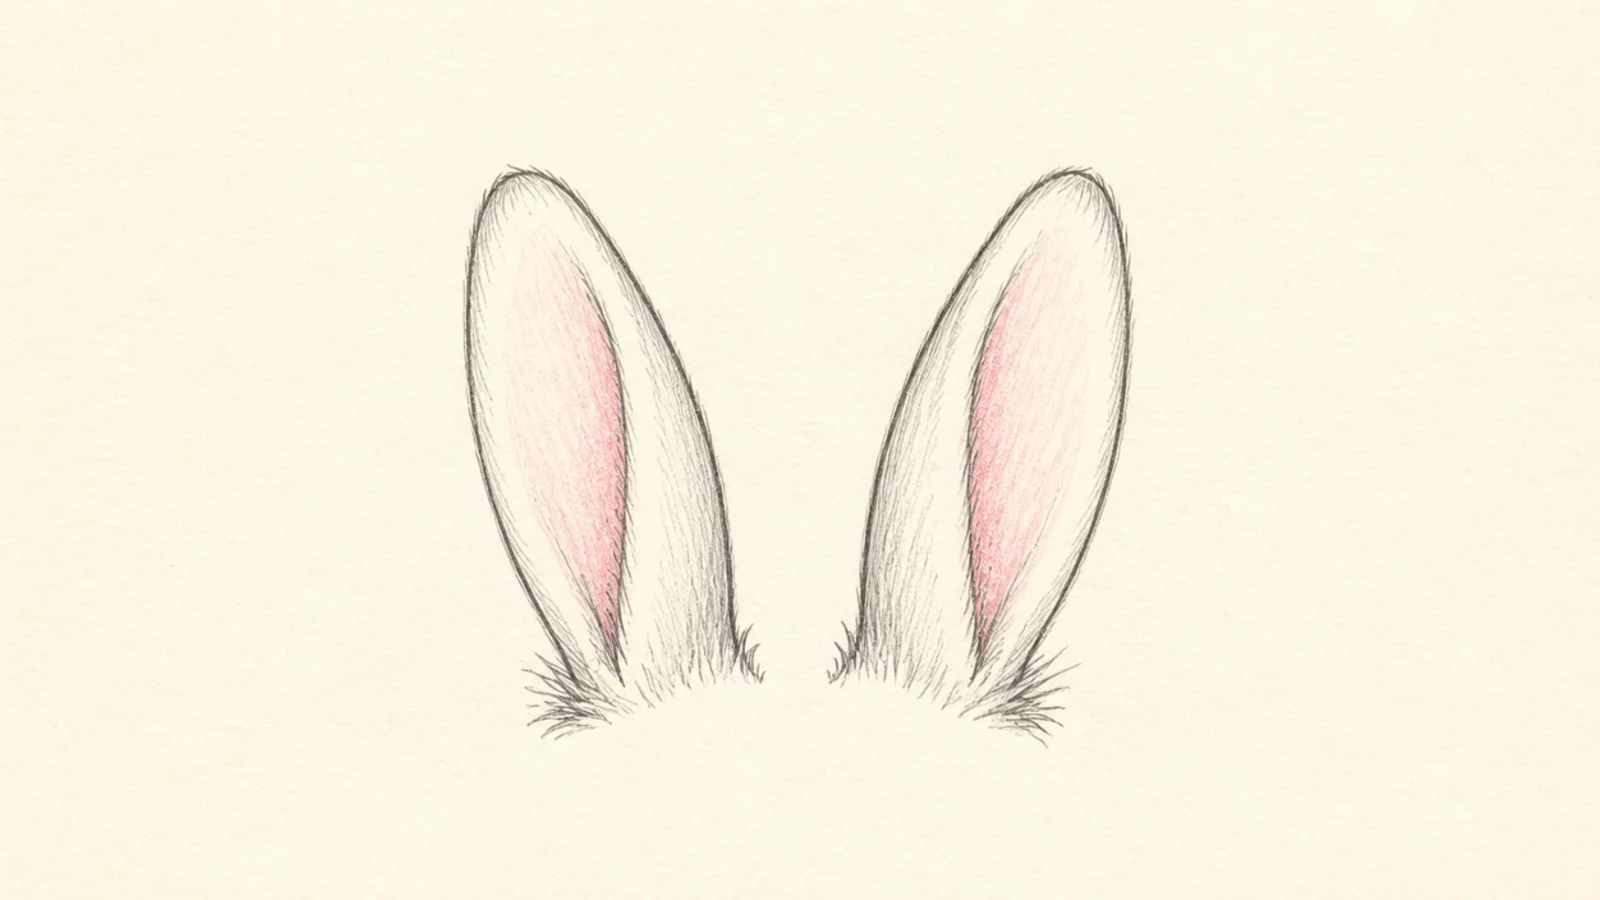
Short, rounded ears read as babyish and extra cute. The stubby shape suits a young or kawaii bunny. It softens the whole character.
Step 1 draw two short rounded ears, barely taller than the head. Step 2 keep the tops soft and round, not pointed. Step 3 add small inner curves.
Keep the ears short and round-tipped for a baby-bunny look.
Don’t draw them long or pointed; short and round is the cute effect.
13 Furry Textured Ears
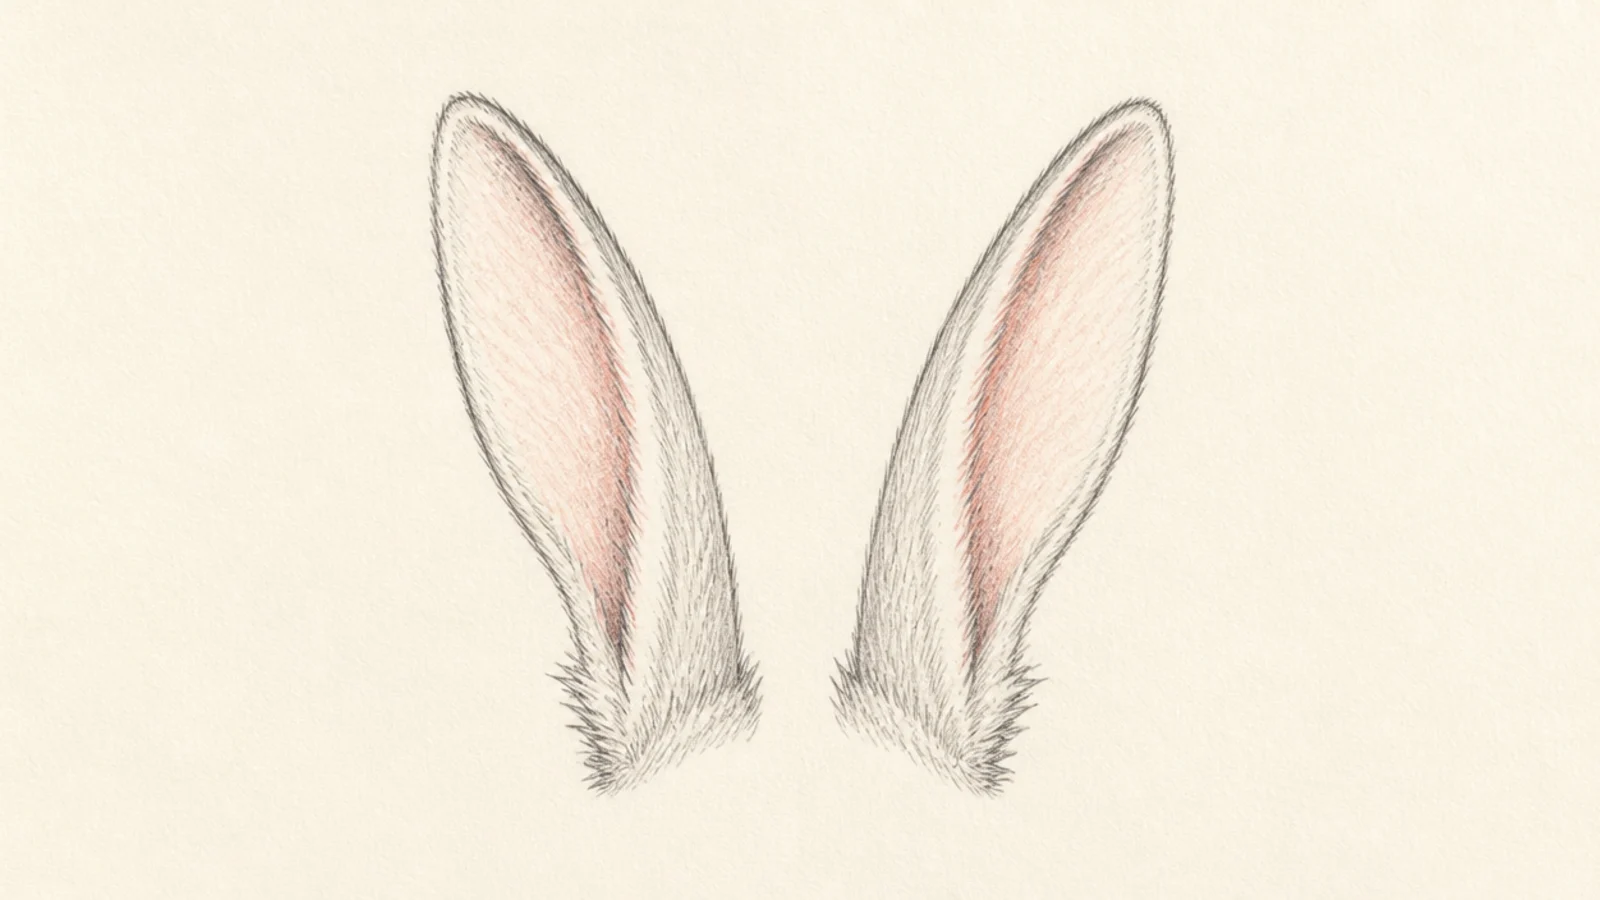
Adding fur texture makes the ears look soft and realistic. Short strokes along the edges break the hard outline. It lifts a simple ear into a detailed one.
Step 1 draw two ear shapes. Step 2 replace the hard outline edges with short fur strokes. Step 3 add light fur inside the base and along the inner rim.
Pro tipFlick the fur strokes outward following the ear’s direction.
AvoidDon’t draw a solid clean outline; the broken furry edge is the point.
14 Pinned-Back Ears
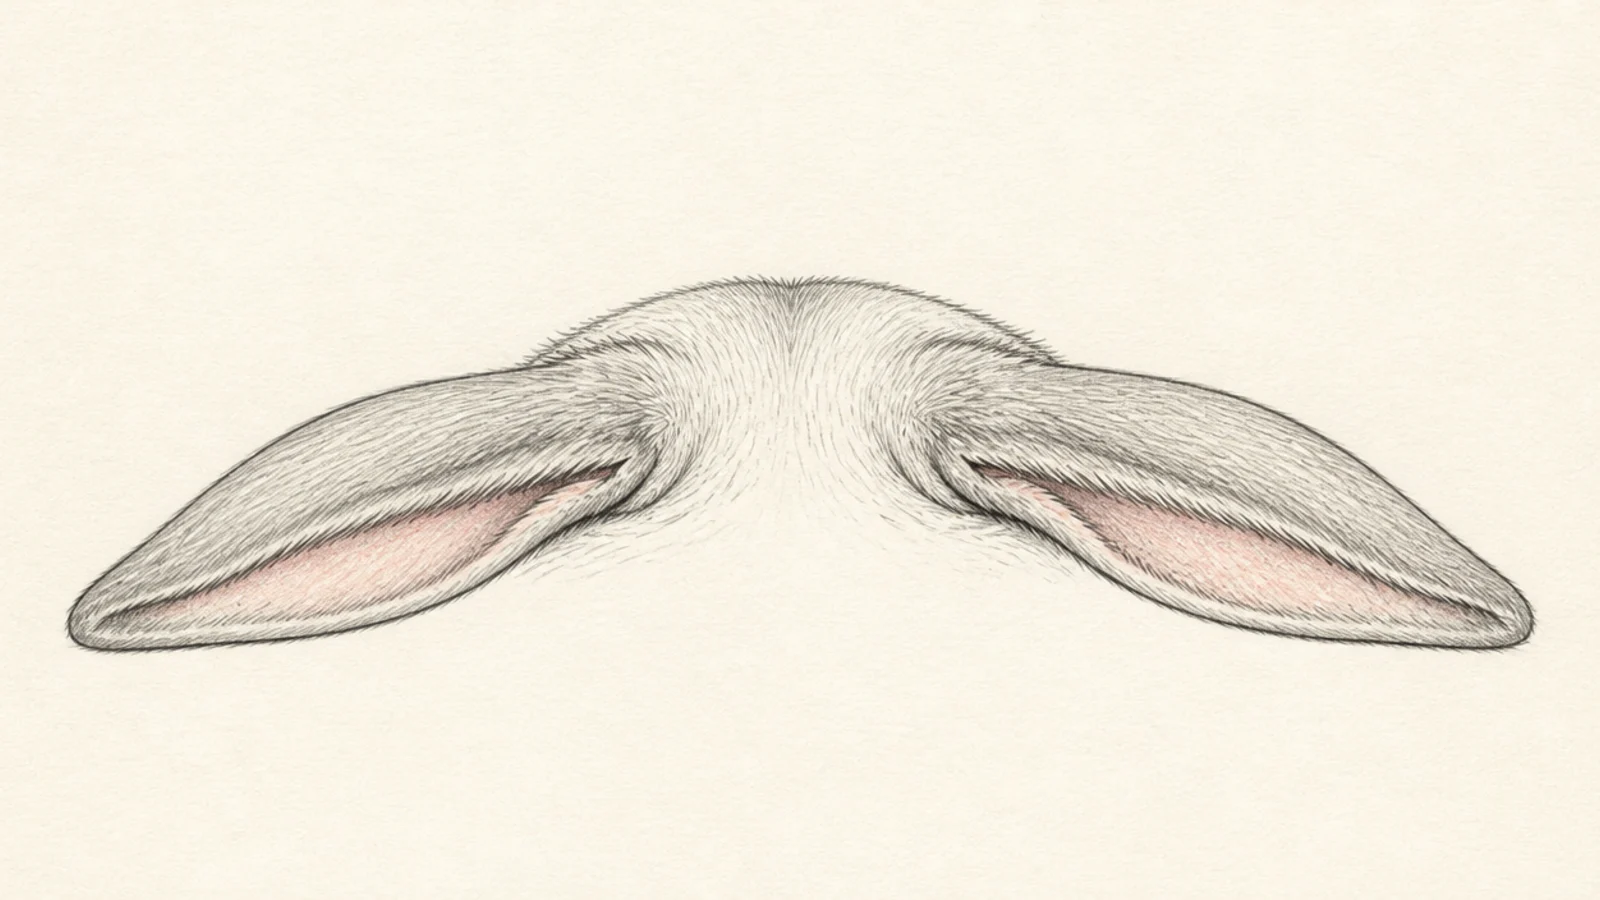
Ears pinned flat back against the head read as scared or annoyed. The tight backward flatten is a strong emotion. It is useful for an expressive, upset bunny.
Step 1 draw both ears laid flat back along the head and neck. Step 2 keep them low and close to the body. Step 3 add tension lines at the base.
Pro tipFlatten the ears right down against the head to show the strong emotion.
AvoidDon’t lift the ears at all; fully pinned ears show fear or annoyance.
15 Wind-Blown Ears
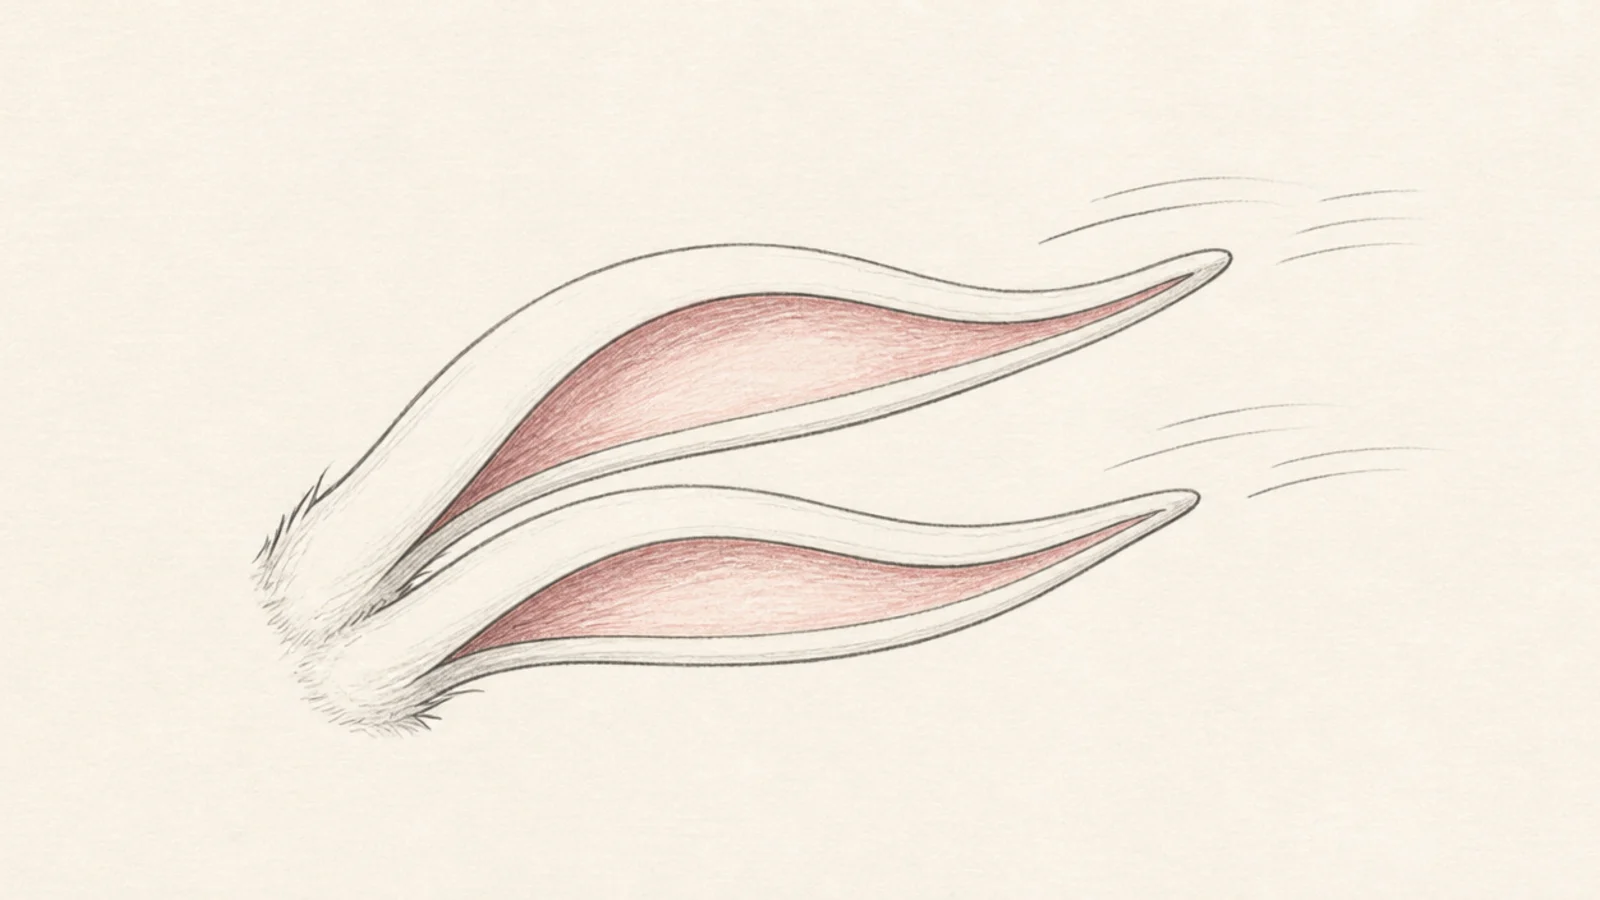
Ears streaming to one side in the wind add drama and motion. The flowing curves suggest a breeze or a fast hop. It is a lively way to close the list.
Step 1 draw both ears flowing to the same side in soft curves. Step 2 add a slight wave to the length. Step 3 add a few motion lines trailing off the tips.
Pro tipCurve both ears the same way with a gentle wave for a windswept look.
AvoidDon’t draw stiff straight ears; flowing curves show the wind.



