
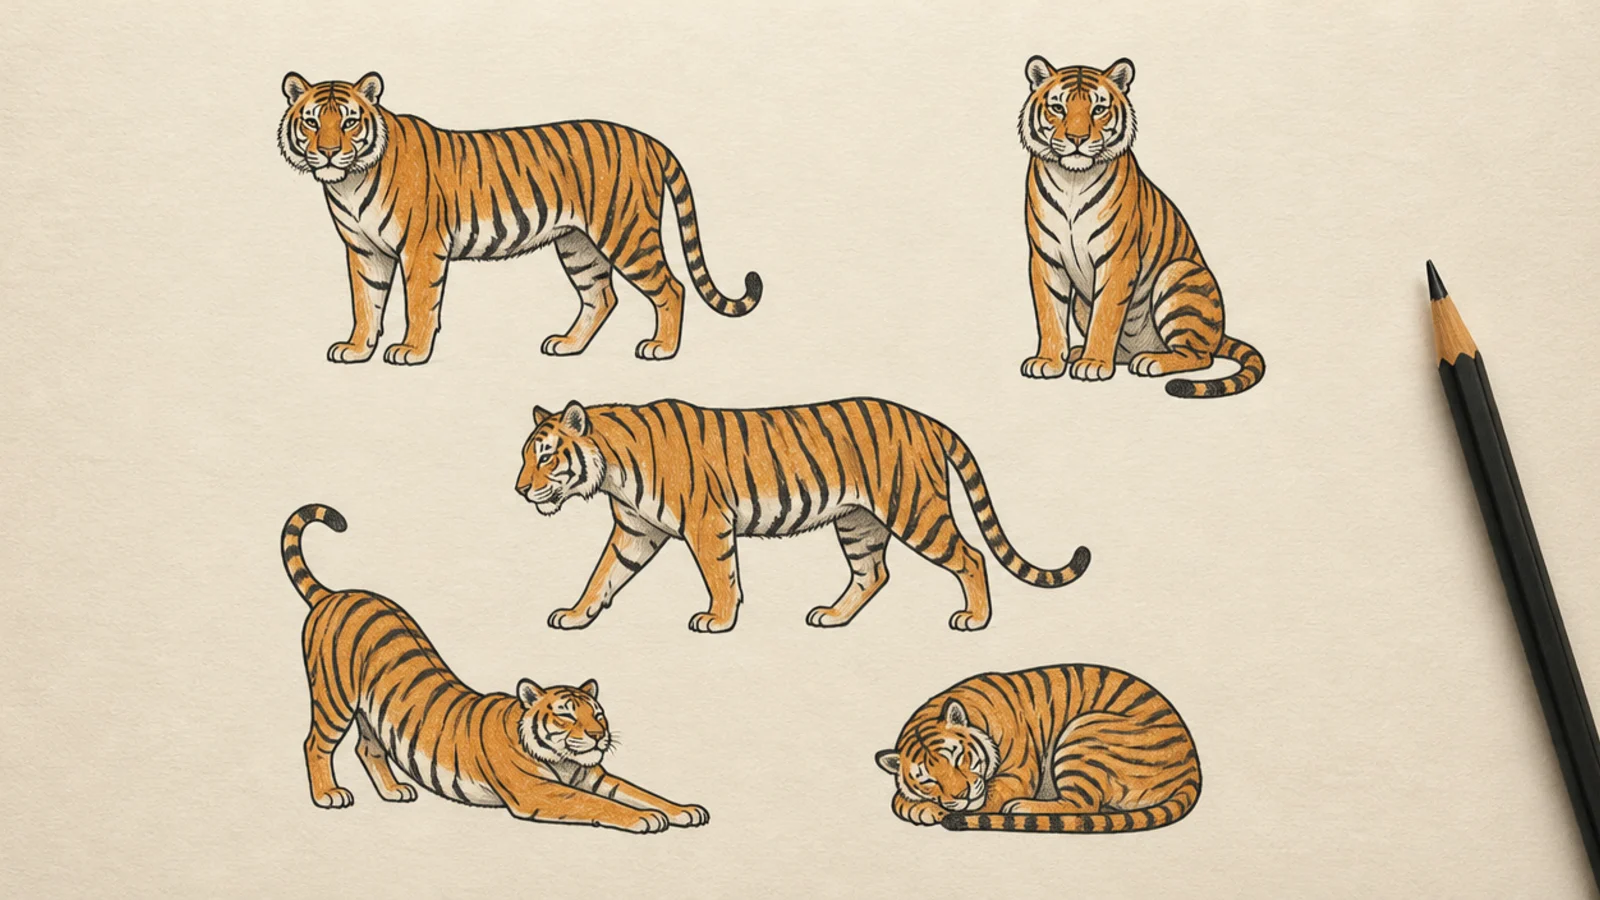
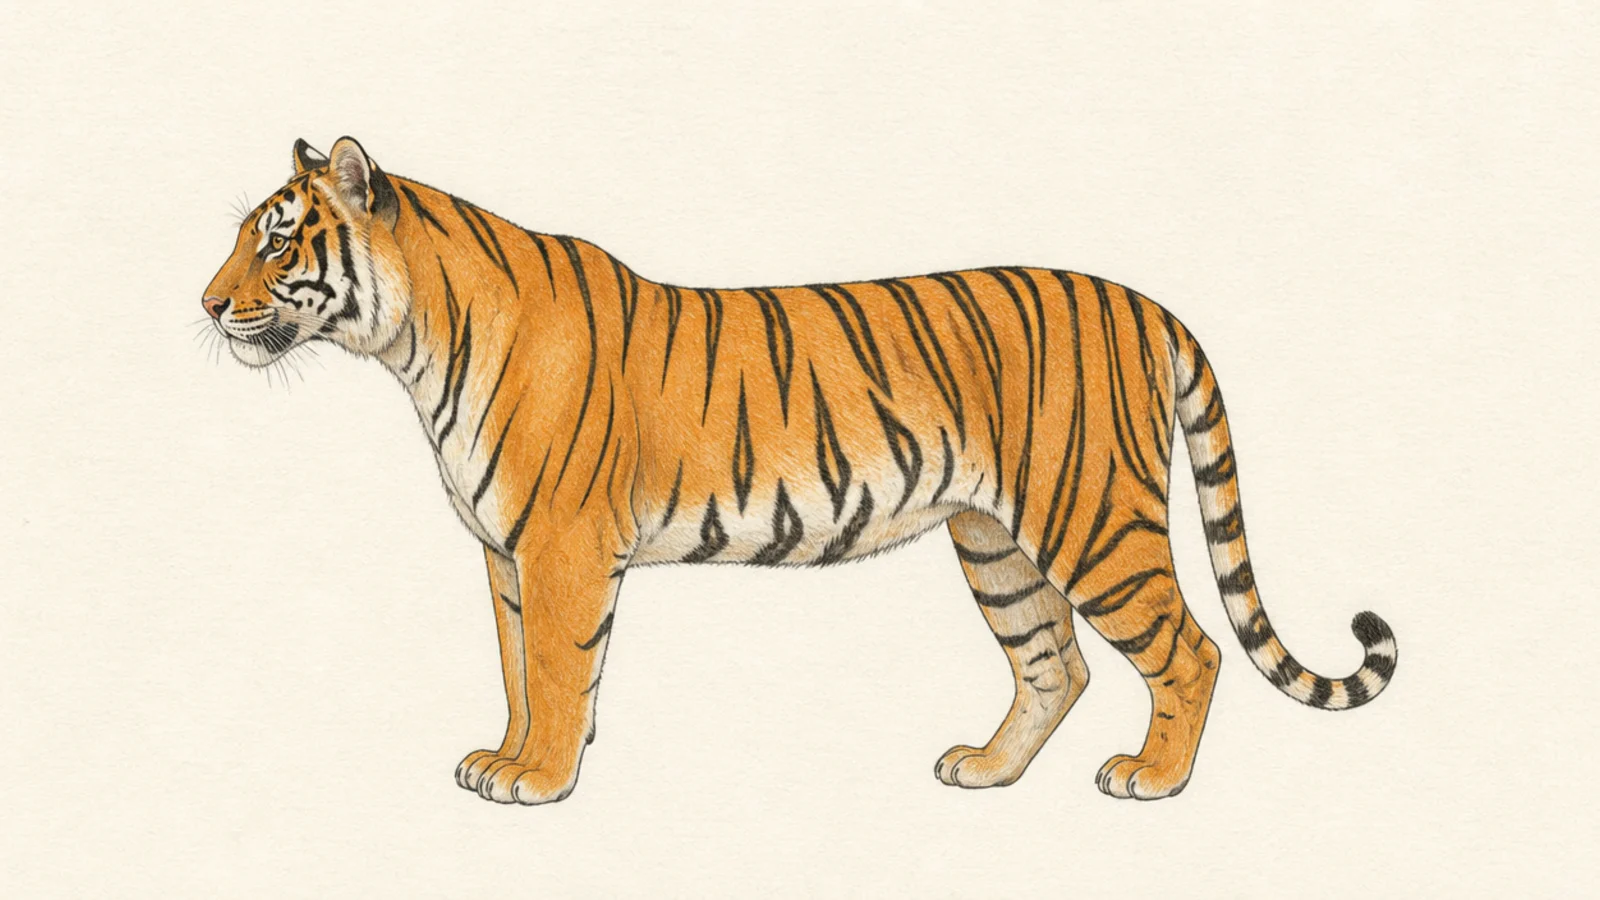
1 Basic Standing Tiger
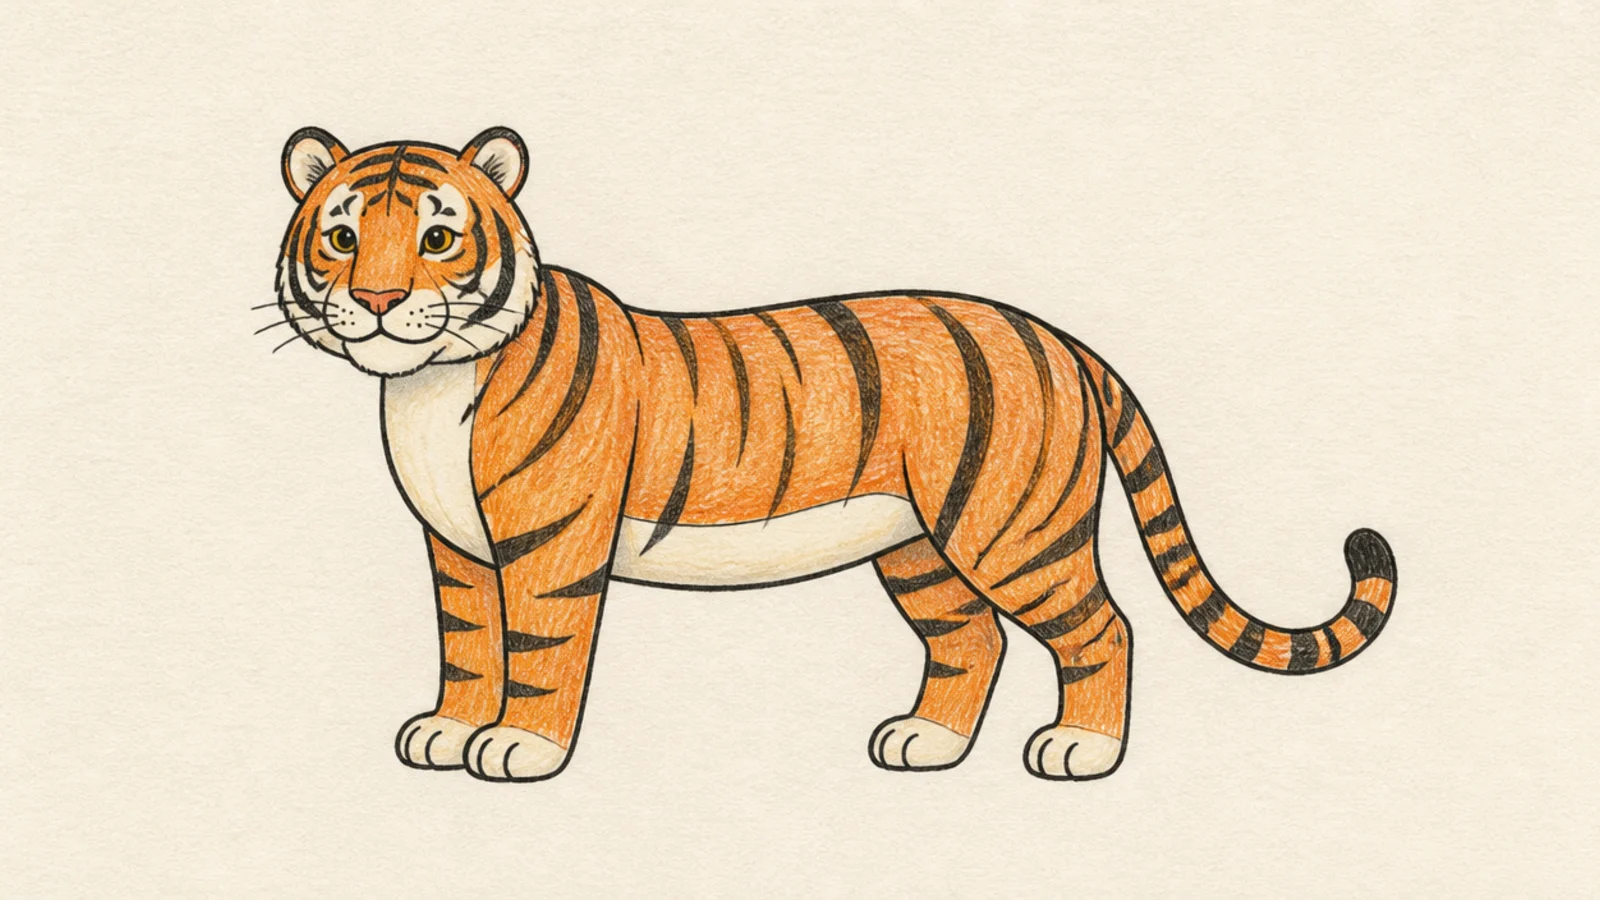
This is the foundation tiger and the base for the whole list — a clean standing side view. It teaches the two-oval body and simple tube legs that every other pose builds on.
Step 1 draw two ovals joined by a curved back and a round head. Step 2 add four tube legs and a curved tail. Step 3 add ears, a simple face, and a few wrapping stripes.
Space the two ovals about one oval-width apart for good proportions.
Don’t draw the outline in one go; build the ovals first.
2 Simple Sitting Tiger
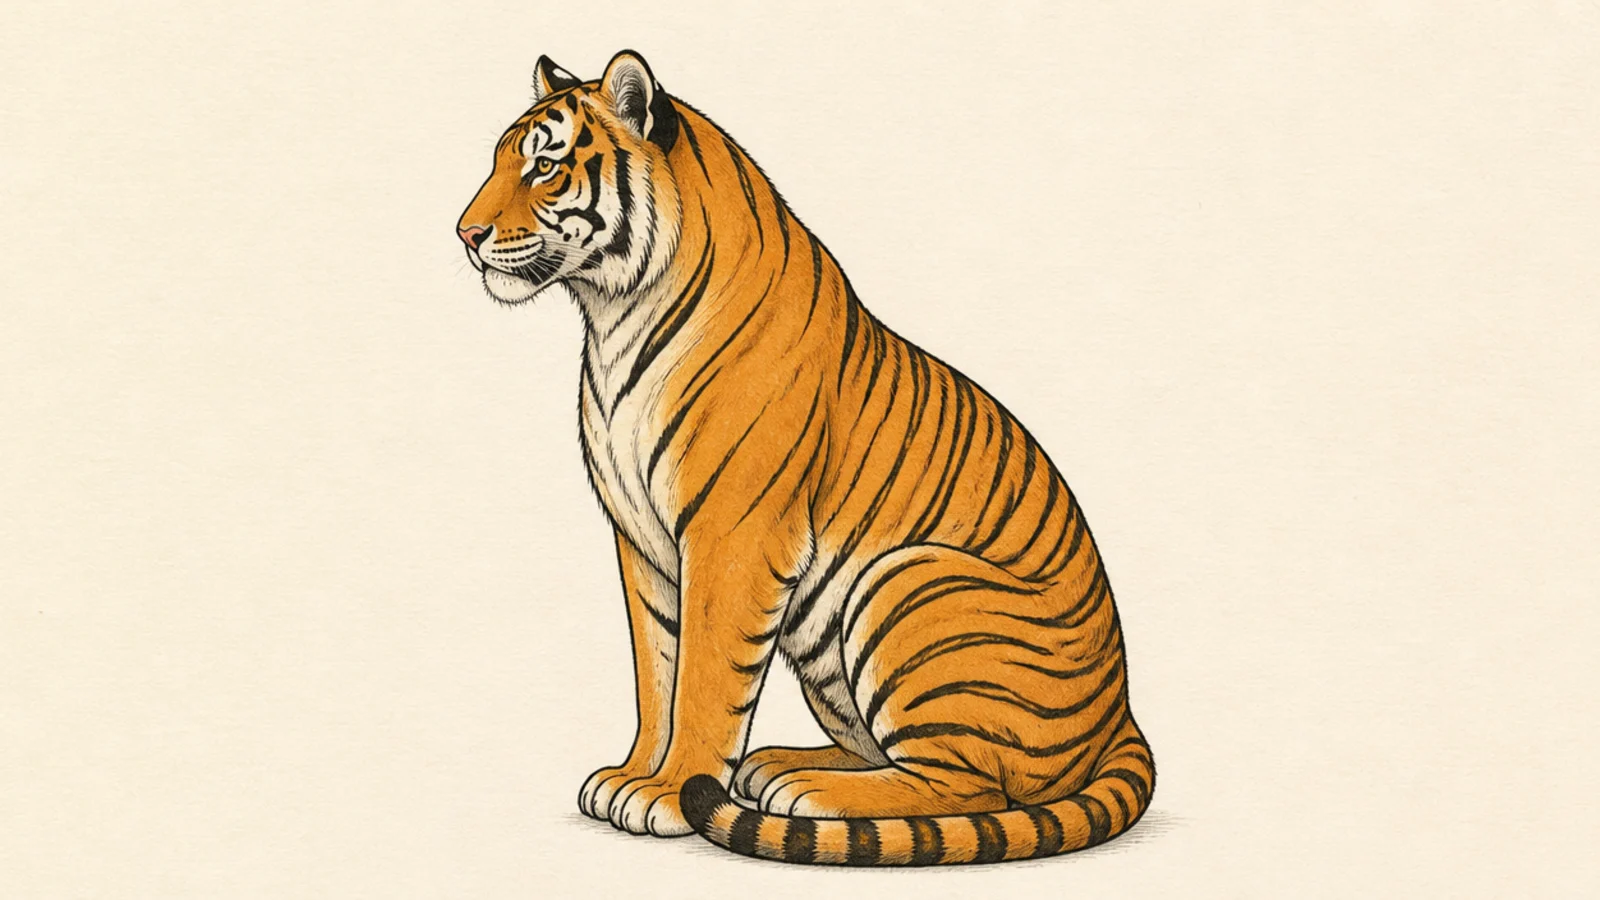
A sitting tiger is calm and compact, with the hips settled down and front legs straight. It teaches how the two-oval body folds into a seated pose.
Step 1 draw the chest oval up and the hip oval settled low. Step 2 drop straight front legs and tuck the back legs under. Step 3 curl the tail around the front paws and add stripes.
Pro tipSettle the hip oval low to the ground so the tiger clearly sits.
AvoidDon’t leave the back legs sticking out; tuck them under the hips.
3 Walking Tiger
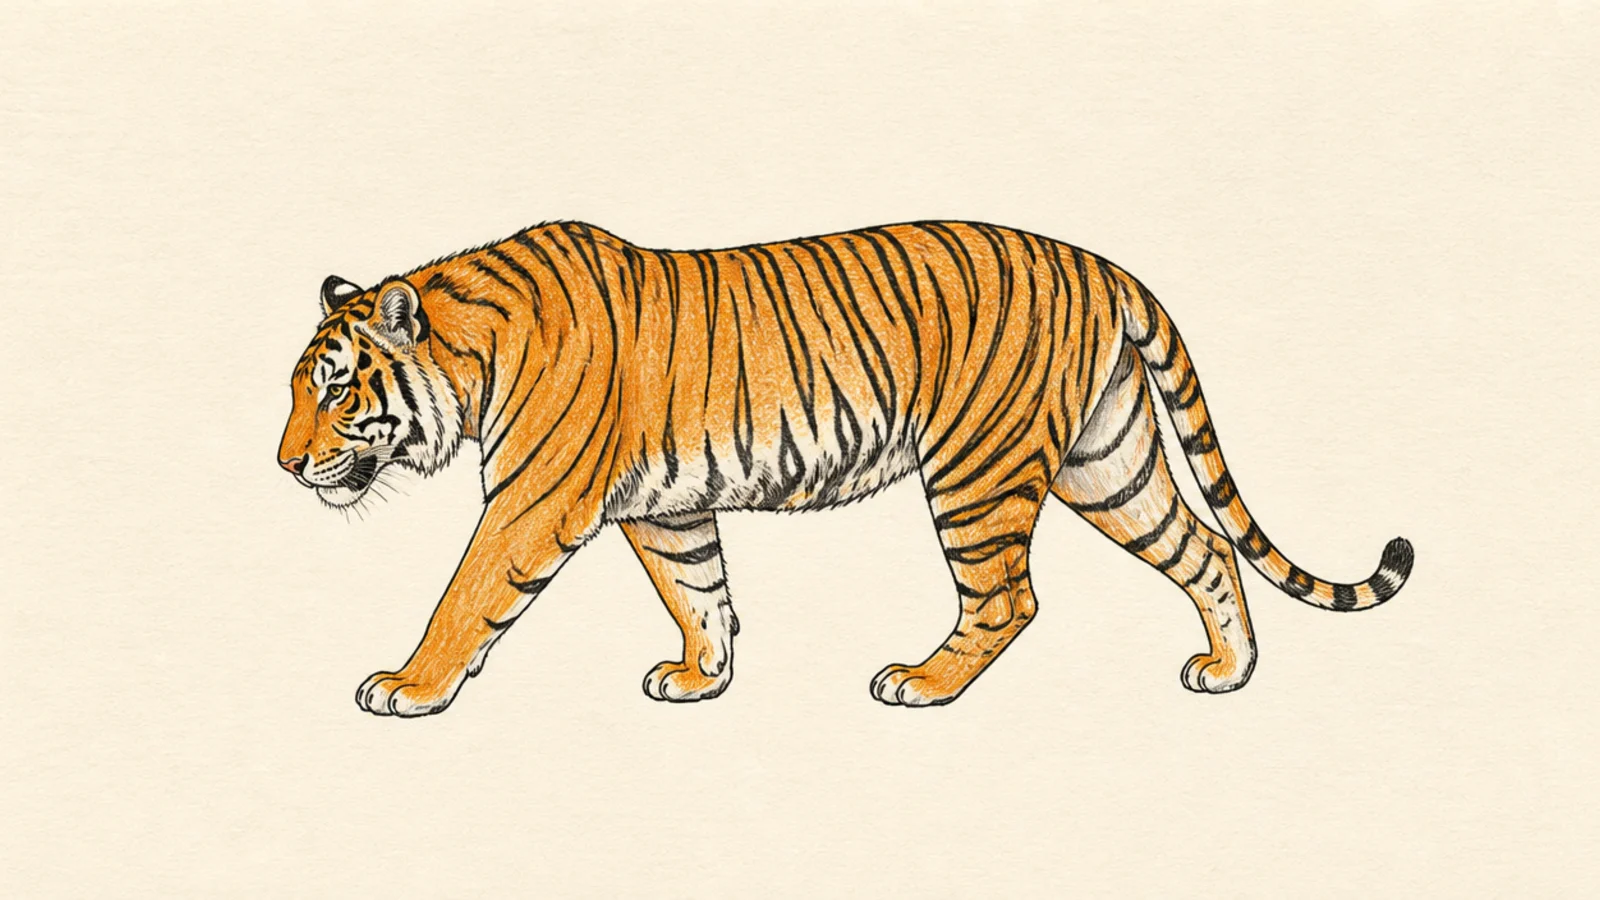
A walking tiger adds gentle motion by staggering the legs. It teaches the simplest way to show a step without complex anatomy.
Step 1 draw the two-oval body level. Step 2 stagger the legs — one front and the opposite back reaching forward. Step 3 add a low head, a trailing tail, and wrapping stripes.
Pro tipOffset two legs forward and two back so the tiger reads as mid-step.
AvoidDon’t line all four legs up; a stagger shows the walk.
4 Stretching Tiger
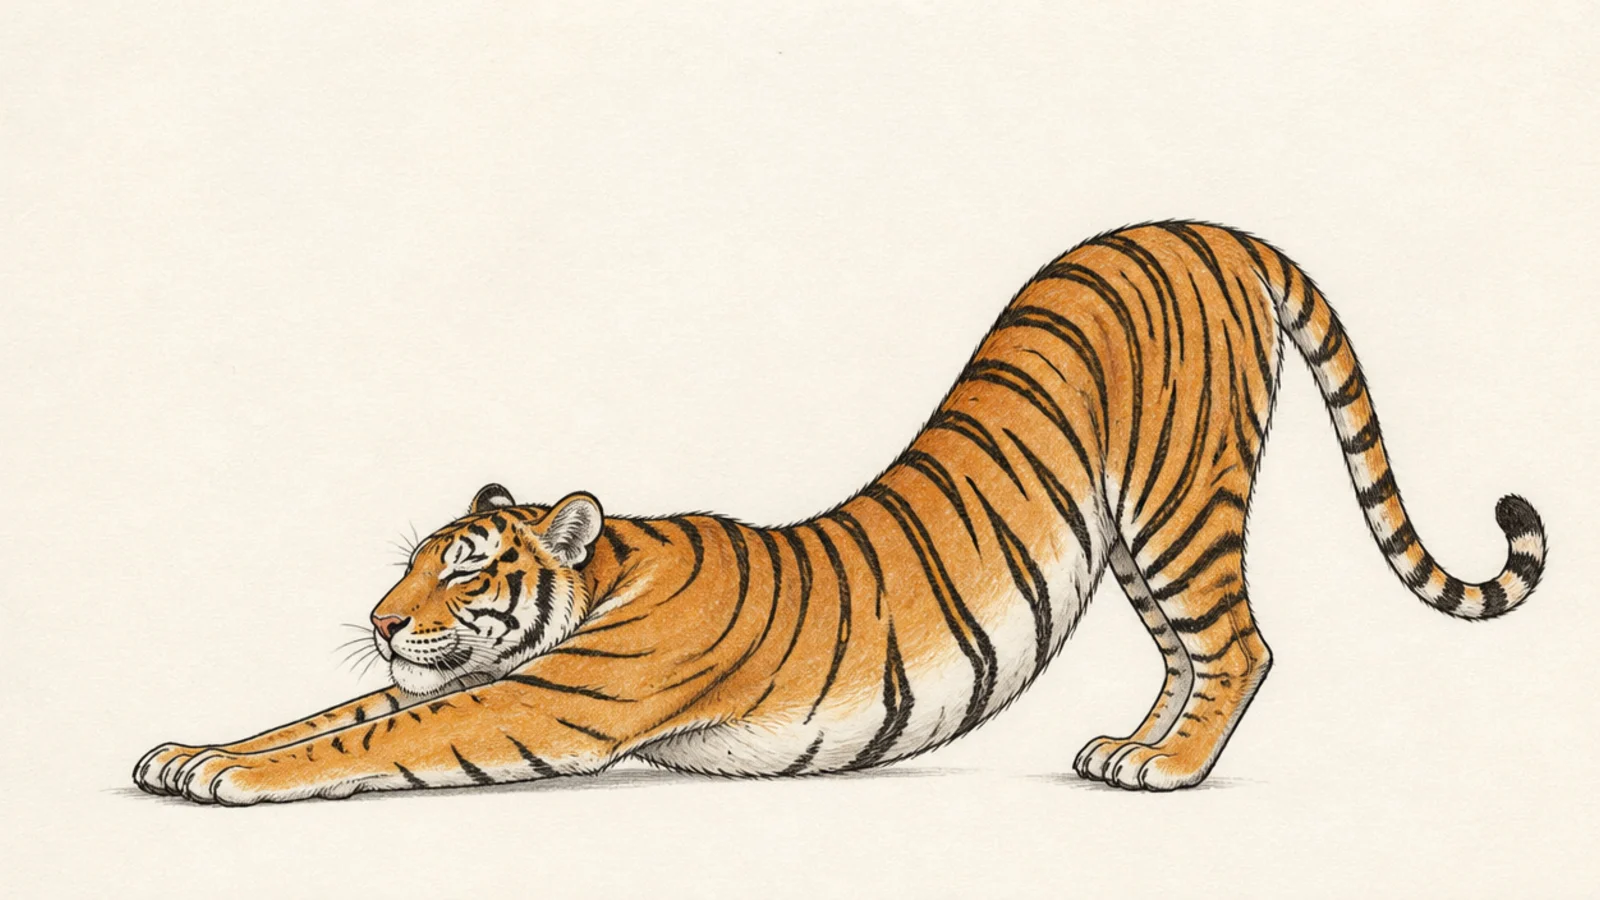
A stretching tiger arcs its back and reaches its front legs forward, a lovely catlike pose. It teaches how bending the back line changes the whole gesture.
Step 1 draw the two ovals with a deep dip in the back line. Step 2 reach the front legs far forward and raise the hips. Step 3 add a low head and stripes stretching along the back.
Pro tipDeepen the dip in the back and raise the rear for a real stretch.
AvoidDon’t keep the back straight; the arch is what sells the stretch.
5 Lying-Down Tiger
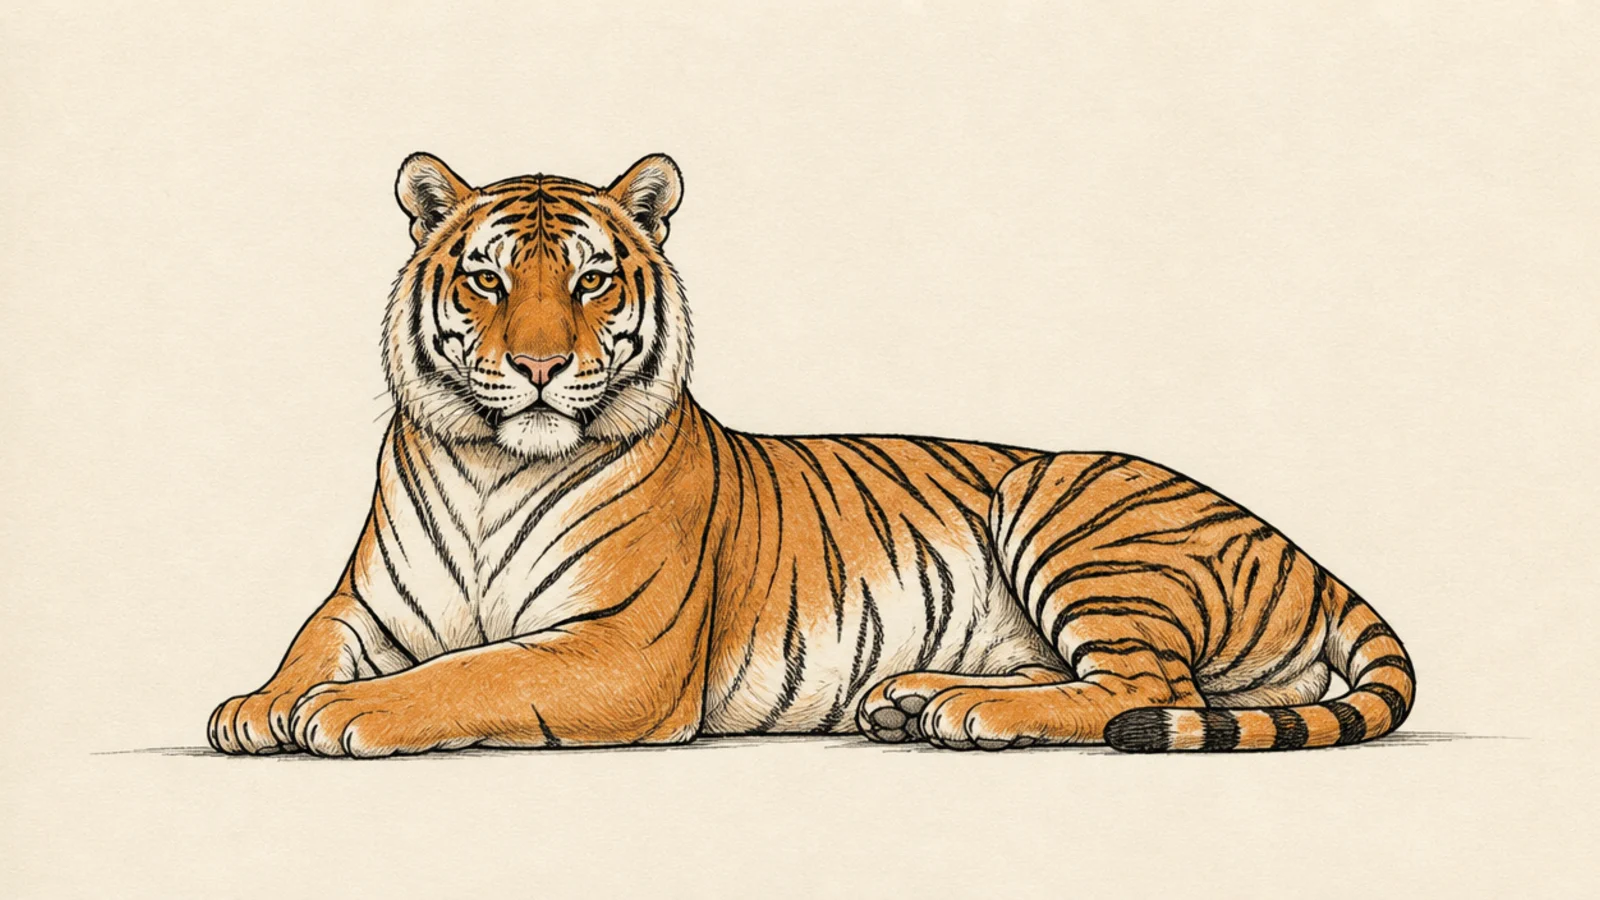
A lying tiger rests the body flat with the legs tucked and head lifted. It teaches a low, restful pose where the two ovals sit close to the ground.
Step 1 draw the two ovals low and close to a ground line. Step 2 tuck the legs folded under the body. Step 3 lift the head up alert and add stripes along the back.
Rest both ovals near the ground line so the tiger clearly lies down.
Don’t leave gaps under the body; a resting tiger sits on the ground.
6 Prowling Tiger
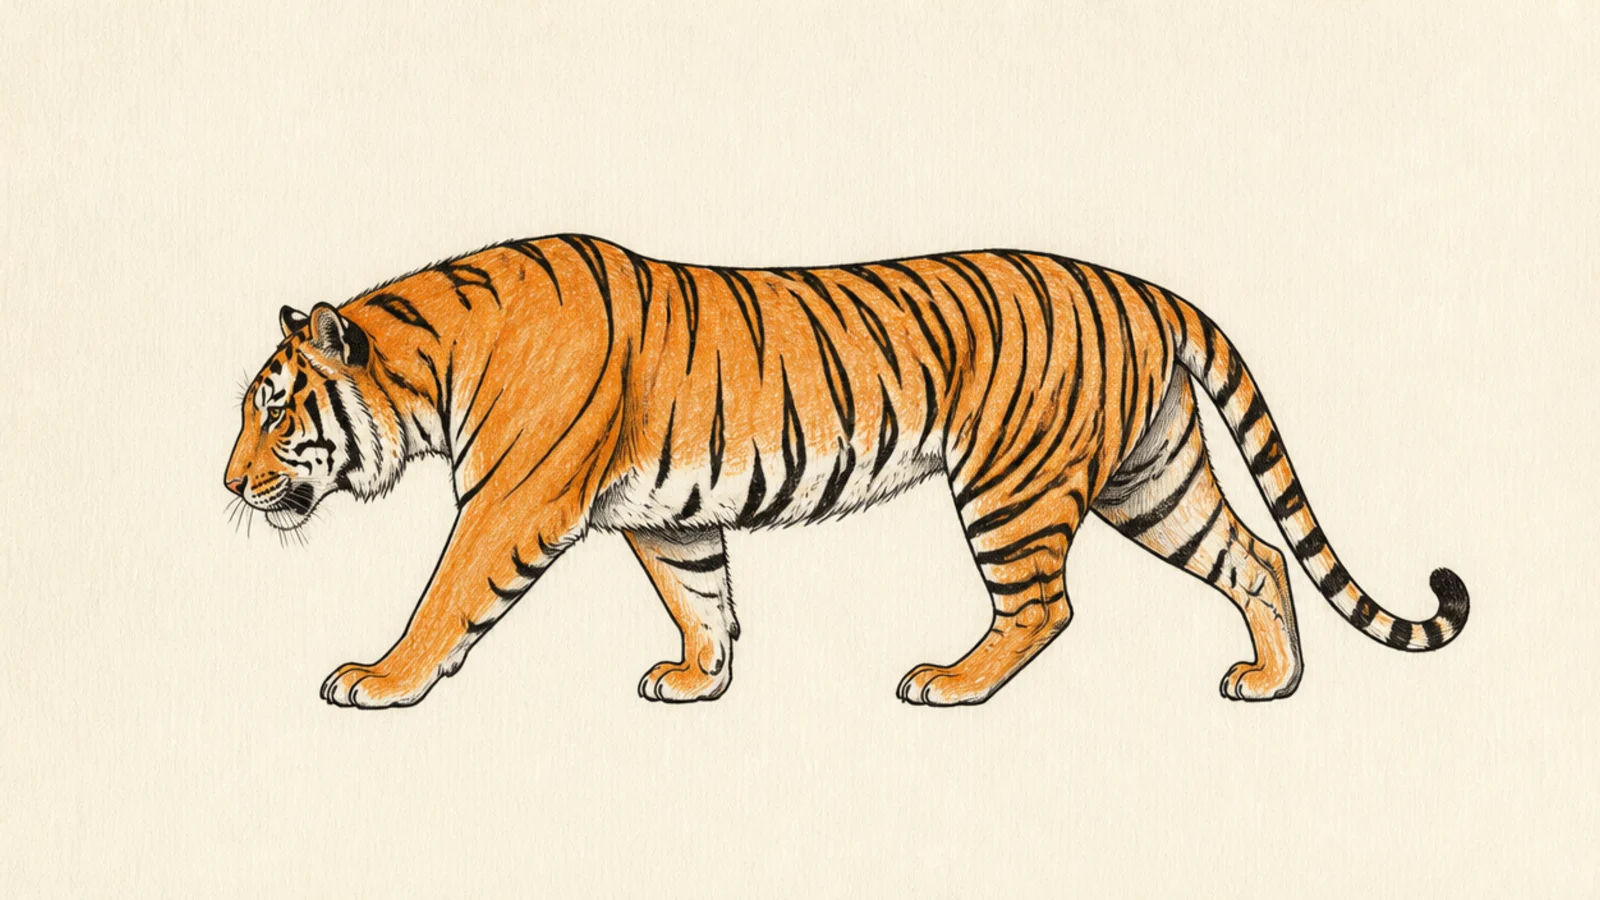
A prowling tiger lowers its whole body into a stalking line. It teaches how dropping the head level with the back reads instantly as hunting.
Step 1 draw the two-oval body long and low. Step 2 bend the legs slightly for a crouch. Step 3 drop the head level with the spine and add stripes and a low tail.
Pro tipKeep the head and back on one low line for a stalking prowl.
AvoidDon’t raise the head; a prowl keeps everything low and level.
7 Simple Roaring Tiger
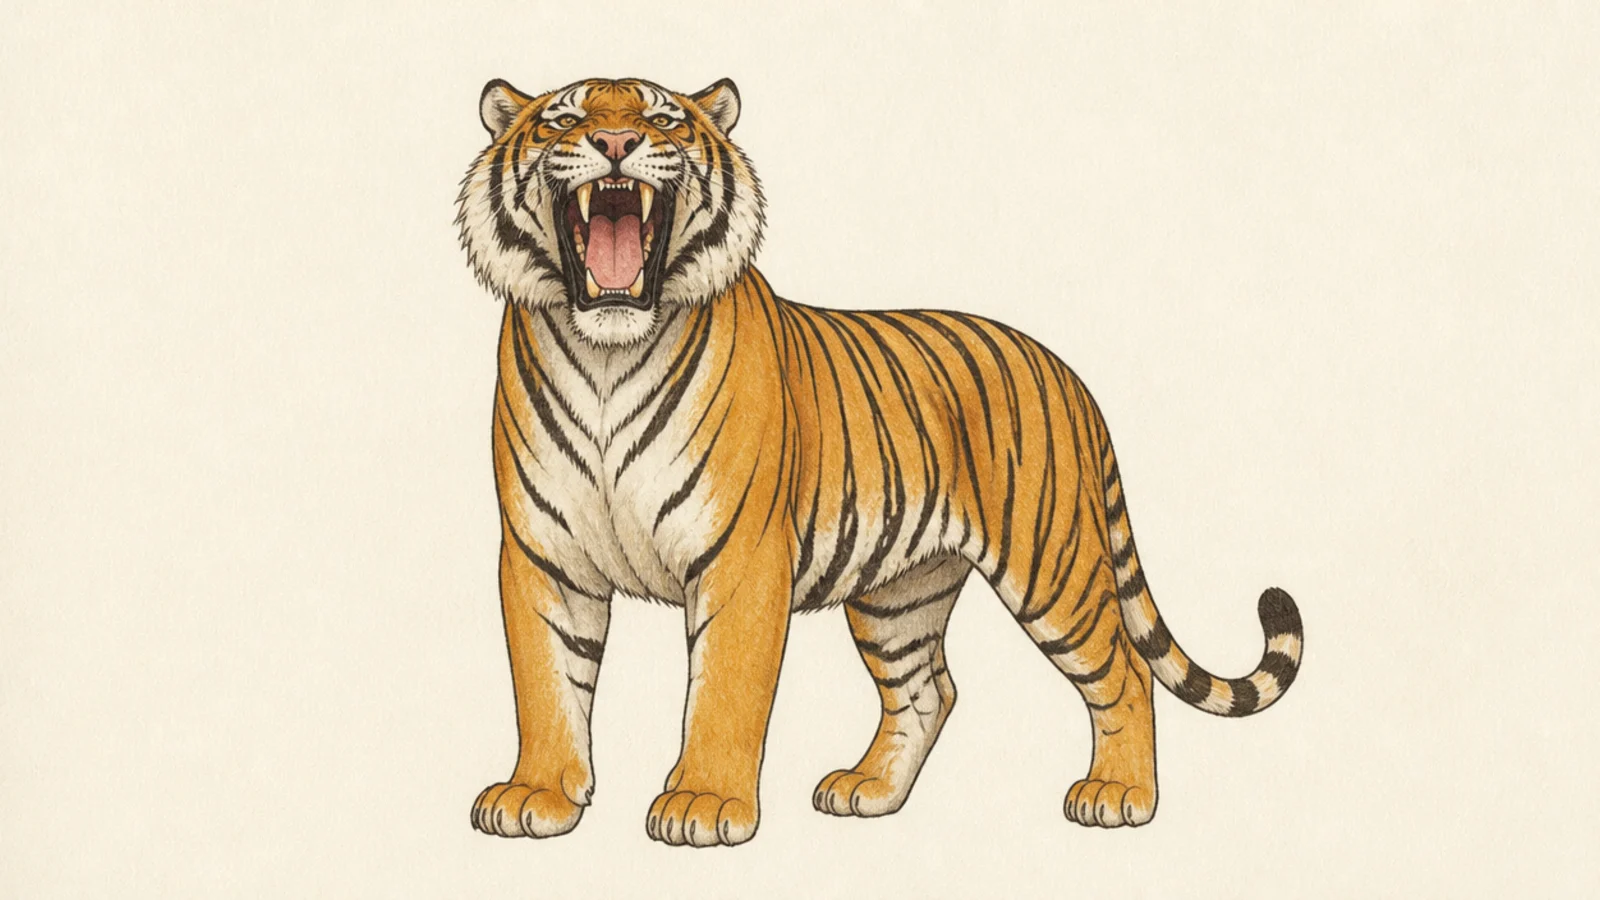
A roaring tiger adds drama to the standing pose with an open mouth. It teaches a simple open jaw on a full body without overcomplicating it.
Step 1 draw the standing two-oval tiger. Step 2 lift the head and open the mouth into a rounded shape. Step 3 add two top fangs, a tongue, and stripes.
Tilt the head up a little as the mouth opens for a natural roar.
Don’t make the mouth a thin line; a rounded open shape shows the roar.
8 Simple Tiger Cub
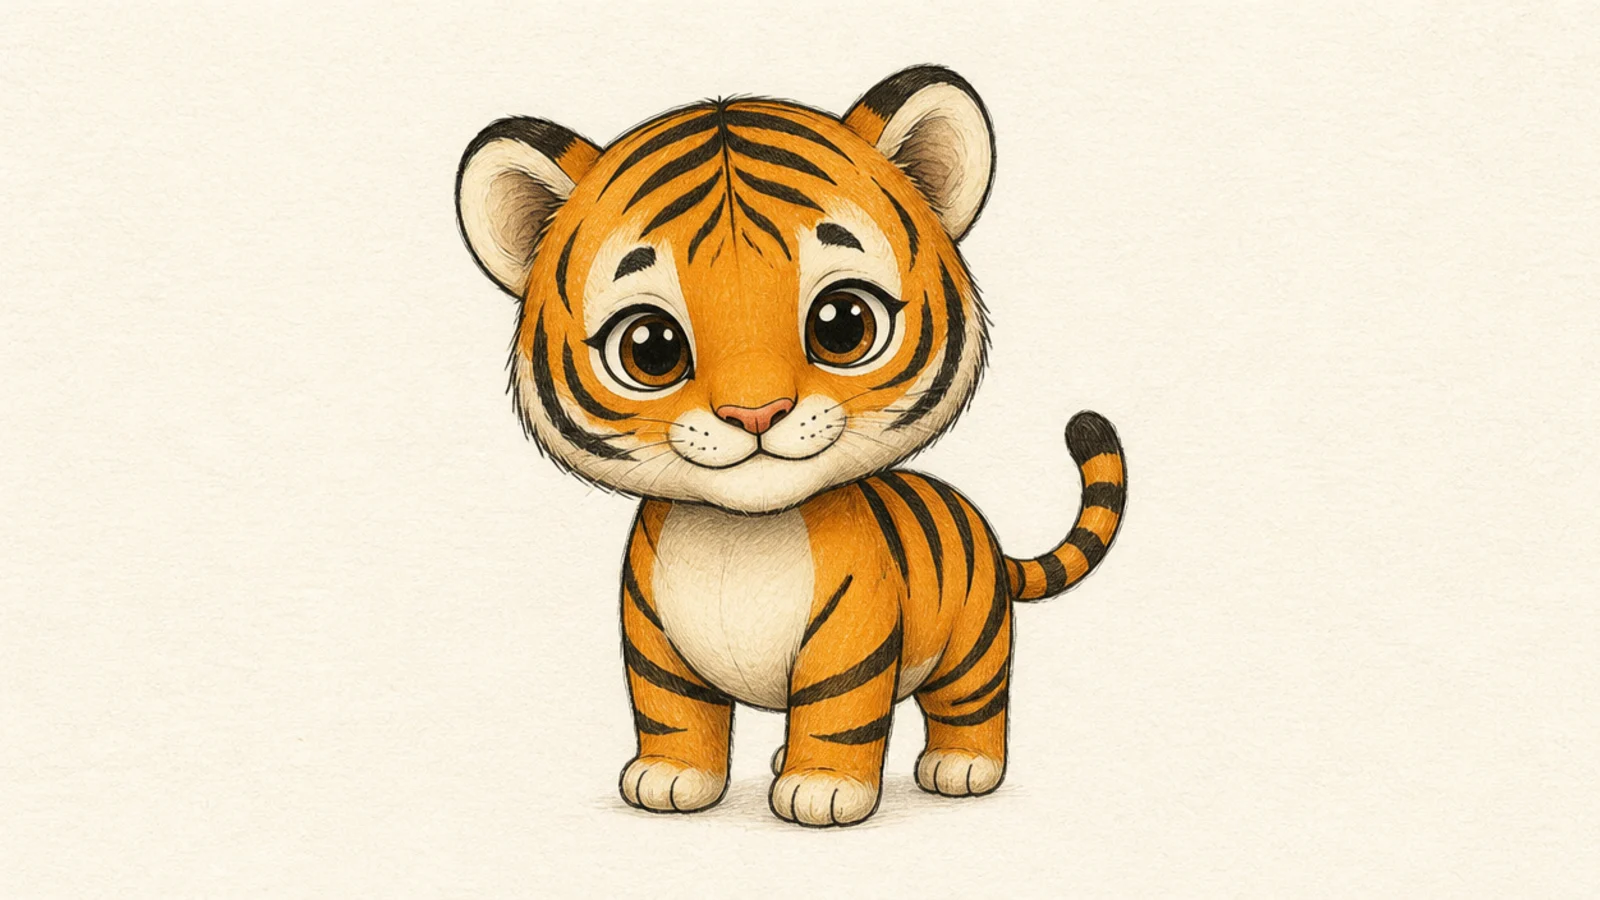
A cub keeps the two-oval body but with baby proportions — a bigger head and shorter legs. It teaches how shifting proportions younger changes the whole animal.
Step 1 draw a big head and a small two-oval body. Step 2 add short stubby tube legs. Step 3 add big eyes, a small muzzle, and soft stripes.
Make the head bigger and the legs shorter than an adult’s.
Don’t use adult proportions; a cub has a big head and short legs.
9 Back-View Tiger
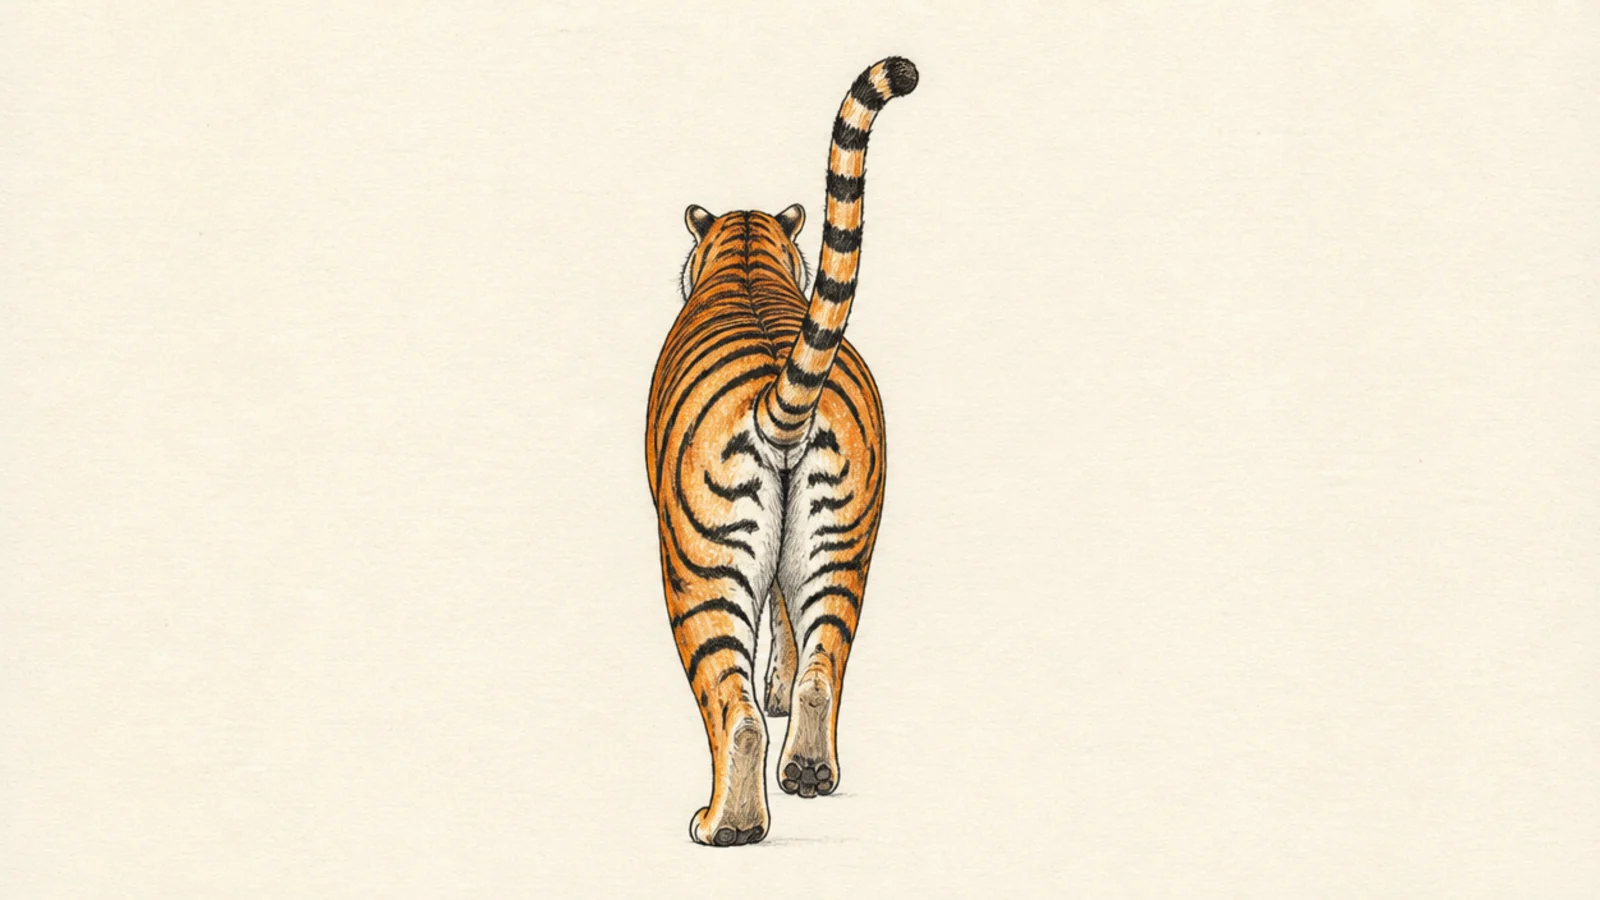
A tiger seen from behind is an easy, unusual angle — a broad rear and a raised tail. It teaches drawing the body from the back with the head small and far.
Step 1 draw a broad hip oval nearest and the body receding small. Step 2 add two back legs and a raised tail. Step 3 wrap horizontal stripes across the rump and add small ears at the top.
Pro tipCurve the stripes over the rump so the back reads as round.
AvoidDon’t draw the far body full size; it shrinks going away.
10 Pouncing Tiger
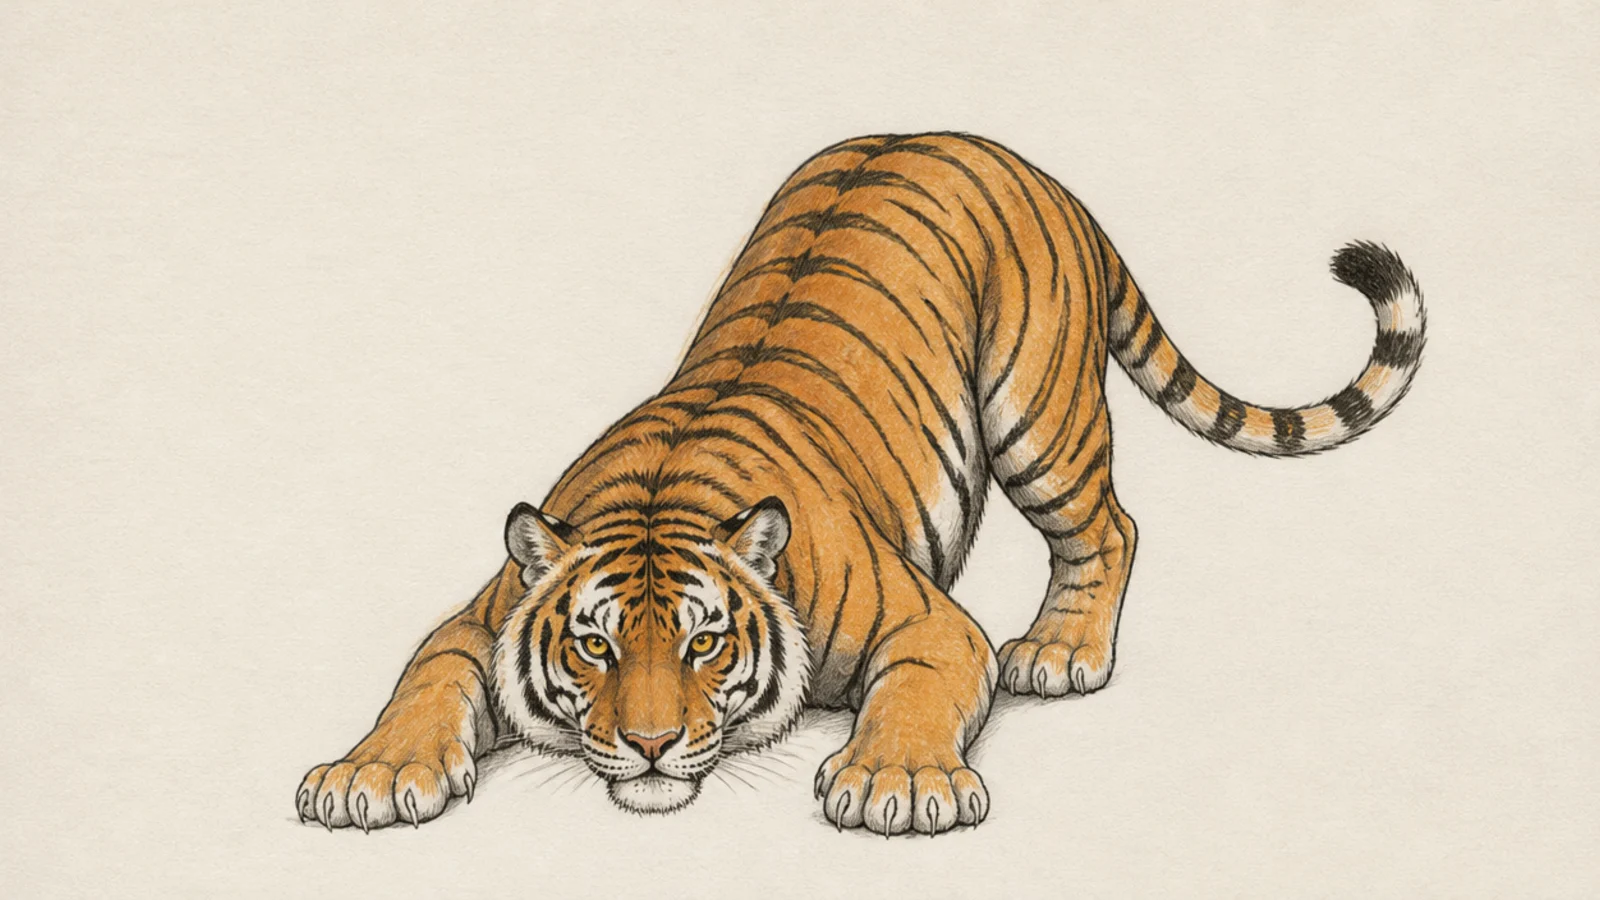
A pouncing tiger coils the two-oval body low and tight, ready to spring. It teaches a compact, loaded pose with the hind legs bunched.
Step 1 draw the two ovals low and close together. Step 2 bunch the hind legs high and reach the front paws forward and low. Step 3 keep the head low and add stripes and a flicked tail.
Bunch the hips high and low the front so the tiger looks loaded to spring.
Don’t stretch the body out; a pounce is coiled and compact.
11 Playful Rolling Tiger
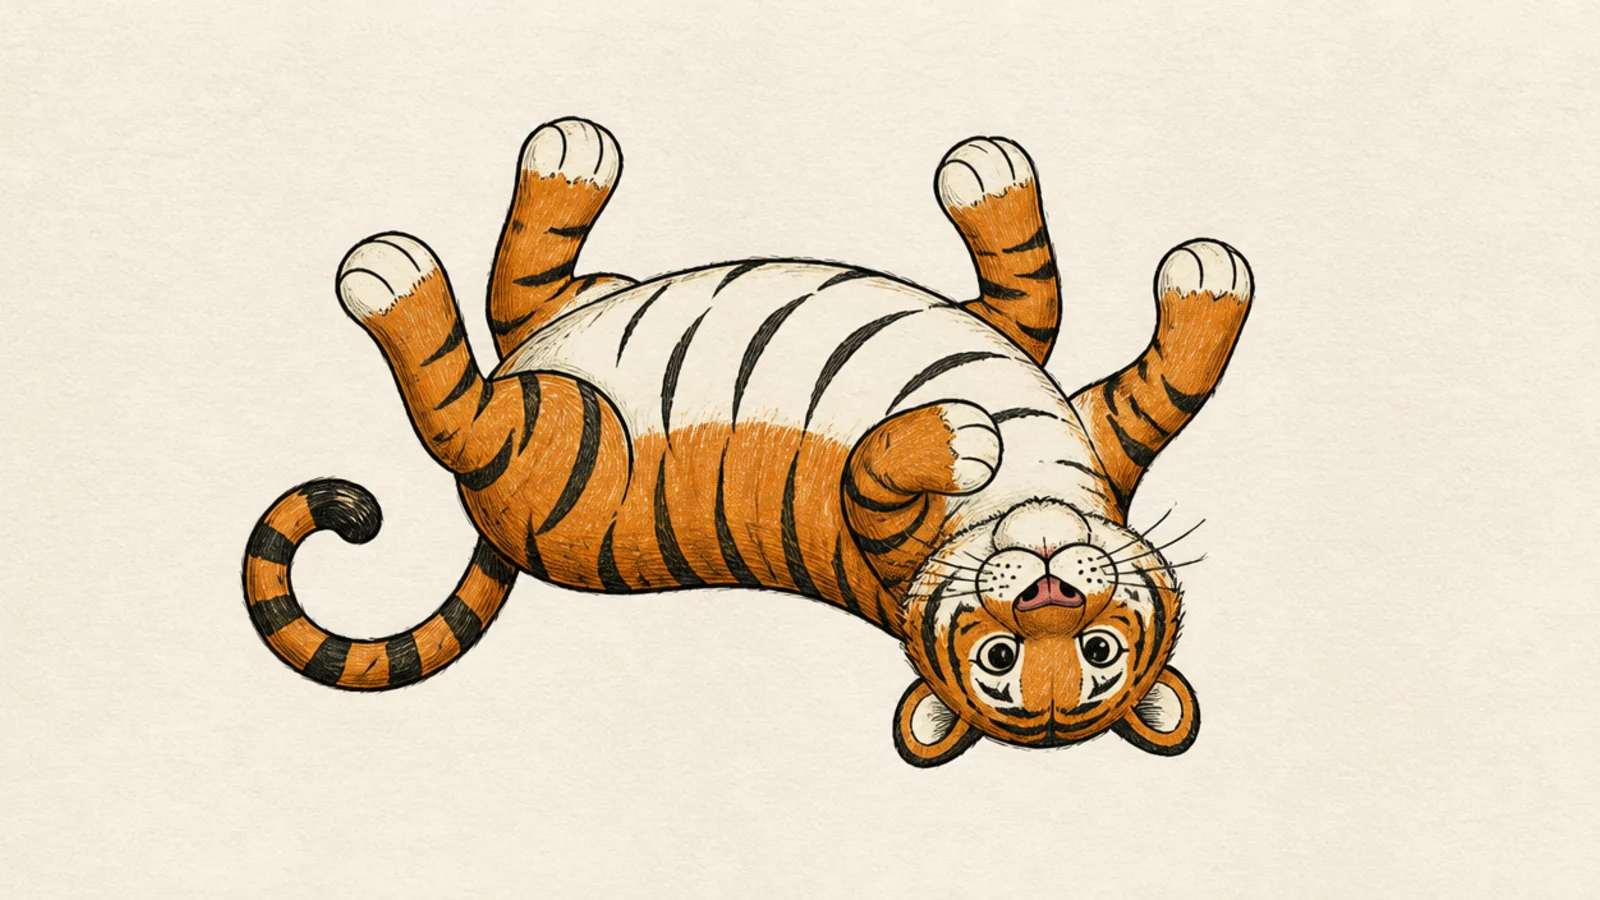
A tiger rolling on its back with paws up is playful and simple, like a big kitten. It teaches an upside-down pose using the same two ovals.
Step 1 draw the two ovals belly-up. Step 2 put four tube legs up in the air with rounded paws. Step 3 add an upside-down happy face, a curled tail, and belly stripes.
Point all four paws up and loose for a carefree roll.
Don’t stiffen the legs; loose paws sell the playful roll.
12 Simple Tiger Family
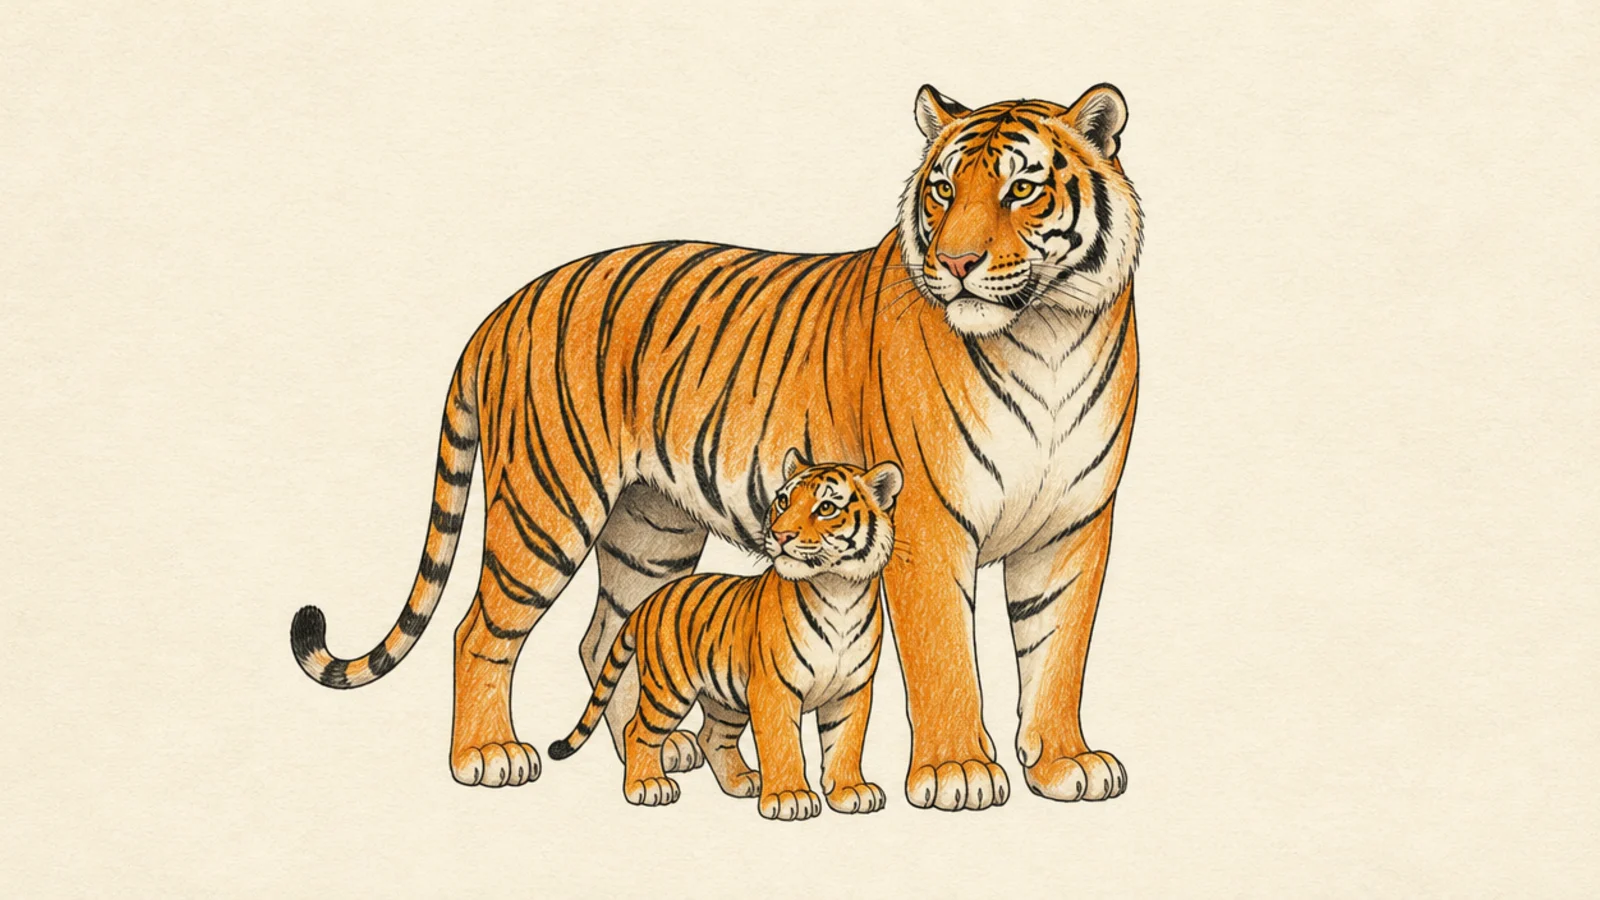
A grown tiger beside a small cub makes a sweet family pair. It teaches size relationships by drawing the same two-oval body large and small.
Step 1 draw a large standing tiger with the two-oval method. Step 2 draw a small cub beside it the same way. Step 3 give both stripes and turn the heads slightly together.
Keep the cub clearly smaller and use the same style for both.
Don’t make them the same size; the size gap shows the family.
13 Jumping Tiger
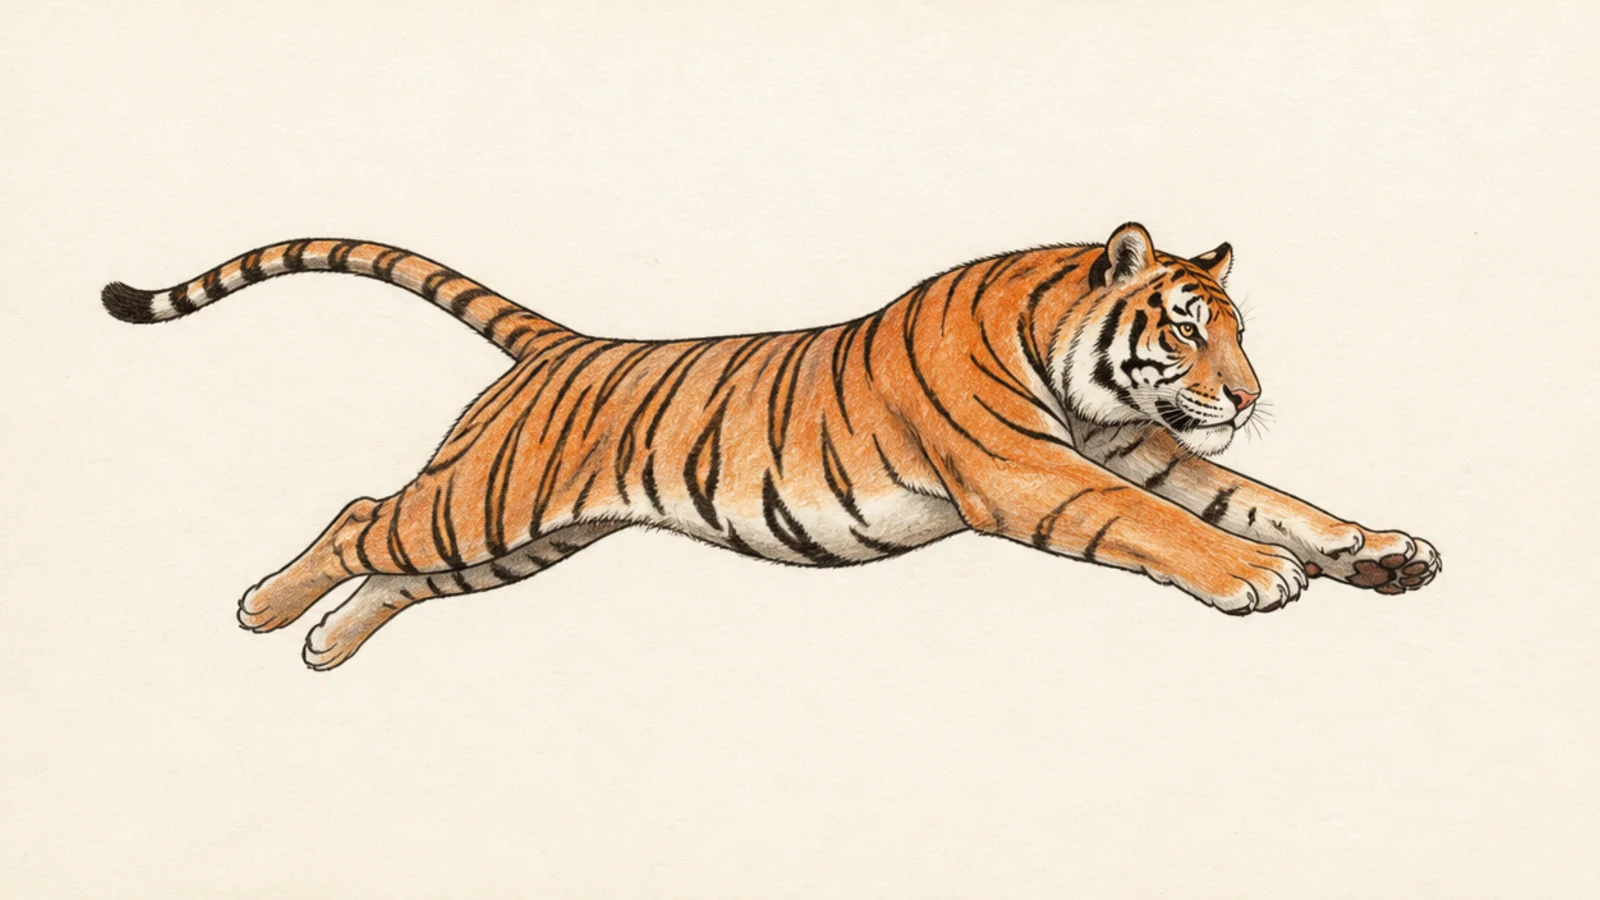
A jumping tiger stretches the body airborne with legs reaching out. It teaches an action pose by extending the two-oval body on a diagonal.
Step 1 draw the two ovals stretched on a diagonal. Step 2 reach the front legs forward and trail the back legs. Step 3 add a streaming tail, stripes, and a focused head.
Stretch the body long on a diagonal so the leap has momentum.
Don’t bunch the legs; extend them for an airborne feel.
14 Curled Sleeping Tiger
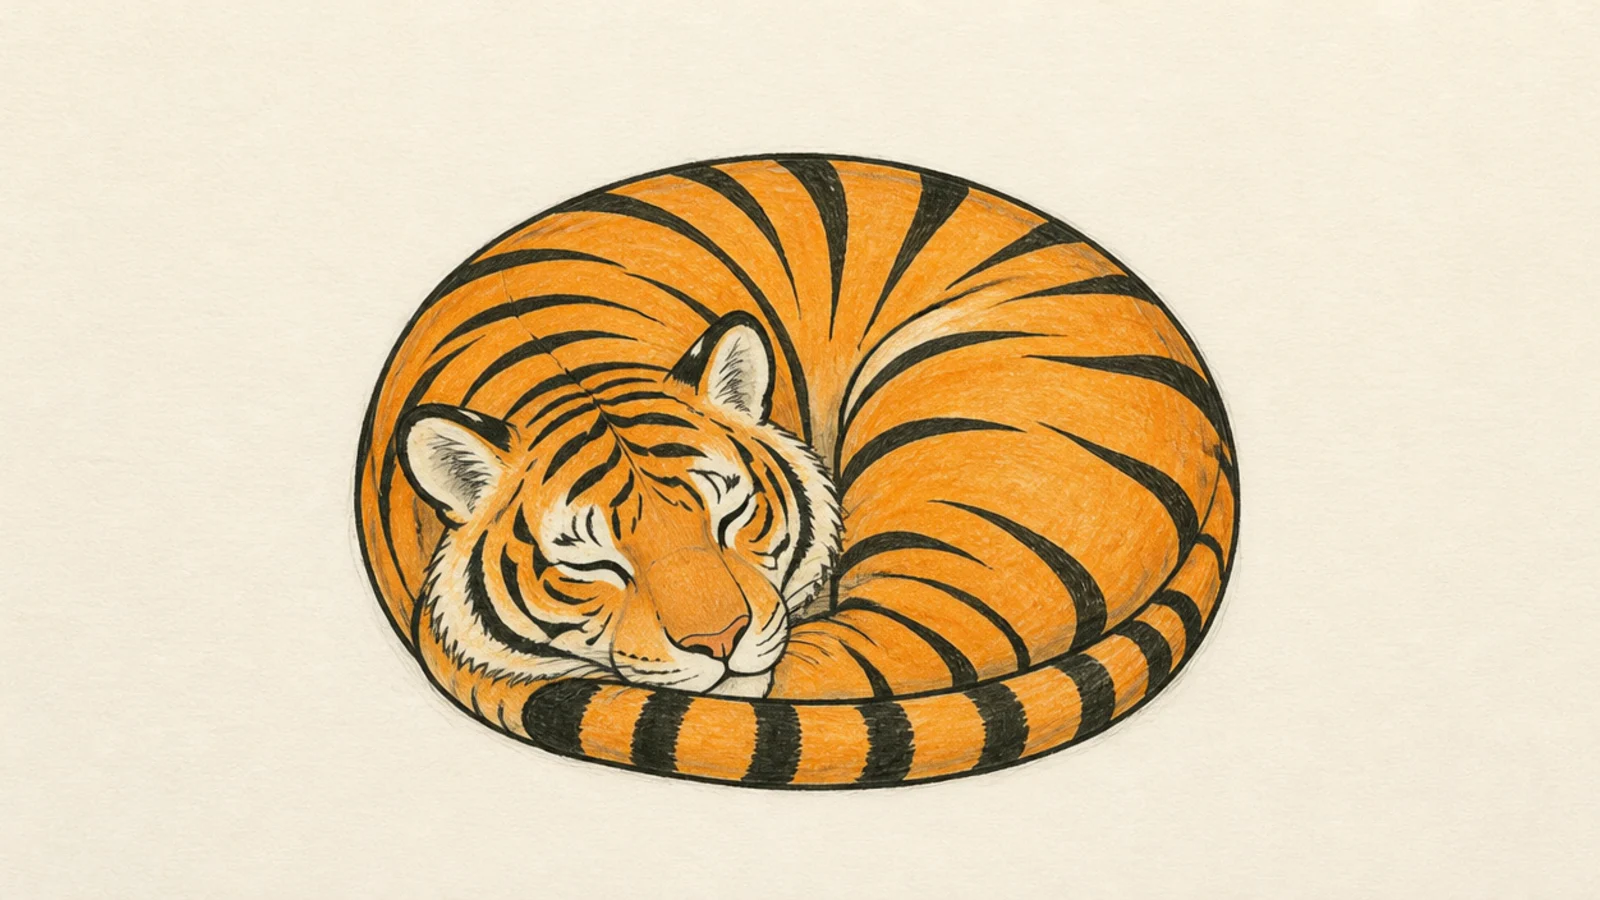
A curled sleeping tiger simplifies the body into one round shape. It teaches the coziest, easiest pose where the ovals merge into a circle.
Step 1 draw one big round curled body. Step 2 tuck the head in with closed curved eyes. Step 3 wrap the tail around and add stripes along the curve.
Merge the two ovals into one round curl for a sleeping tiger.
Don’t draw the legs; a curled tiger hides them.
15 Alert Standing Tiger
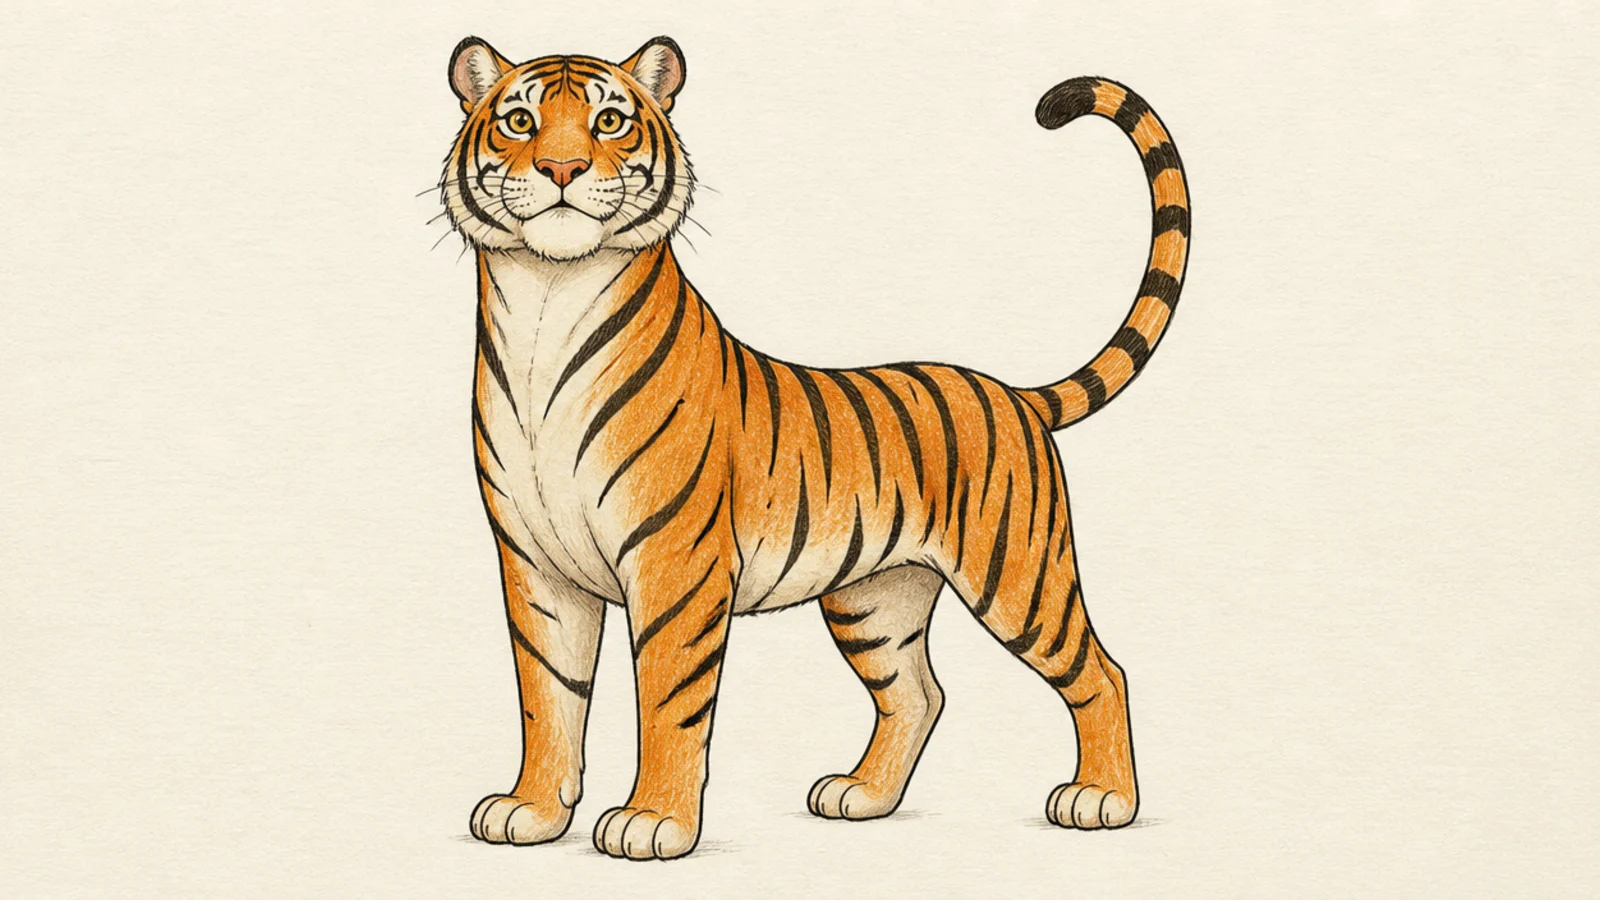
An alert tiger stands tall with the head lifted and ears perked. It teaches how raising the head and ears changes a calm stand into a watchful one.
Step 1 draw the standing two-oval body. Step 2 lift the head high on the neck. Step 3 perk the ears forward, add wide eyes, a tail up, and stripes.
Pro tipLift the head and perk the ears forward for an alert, watchful look.
AvoidDon’t drop the head; an alert tiger holds it high.
16 Drinking Tiger
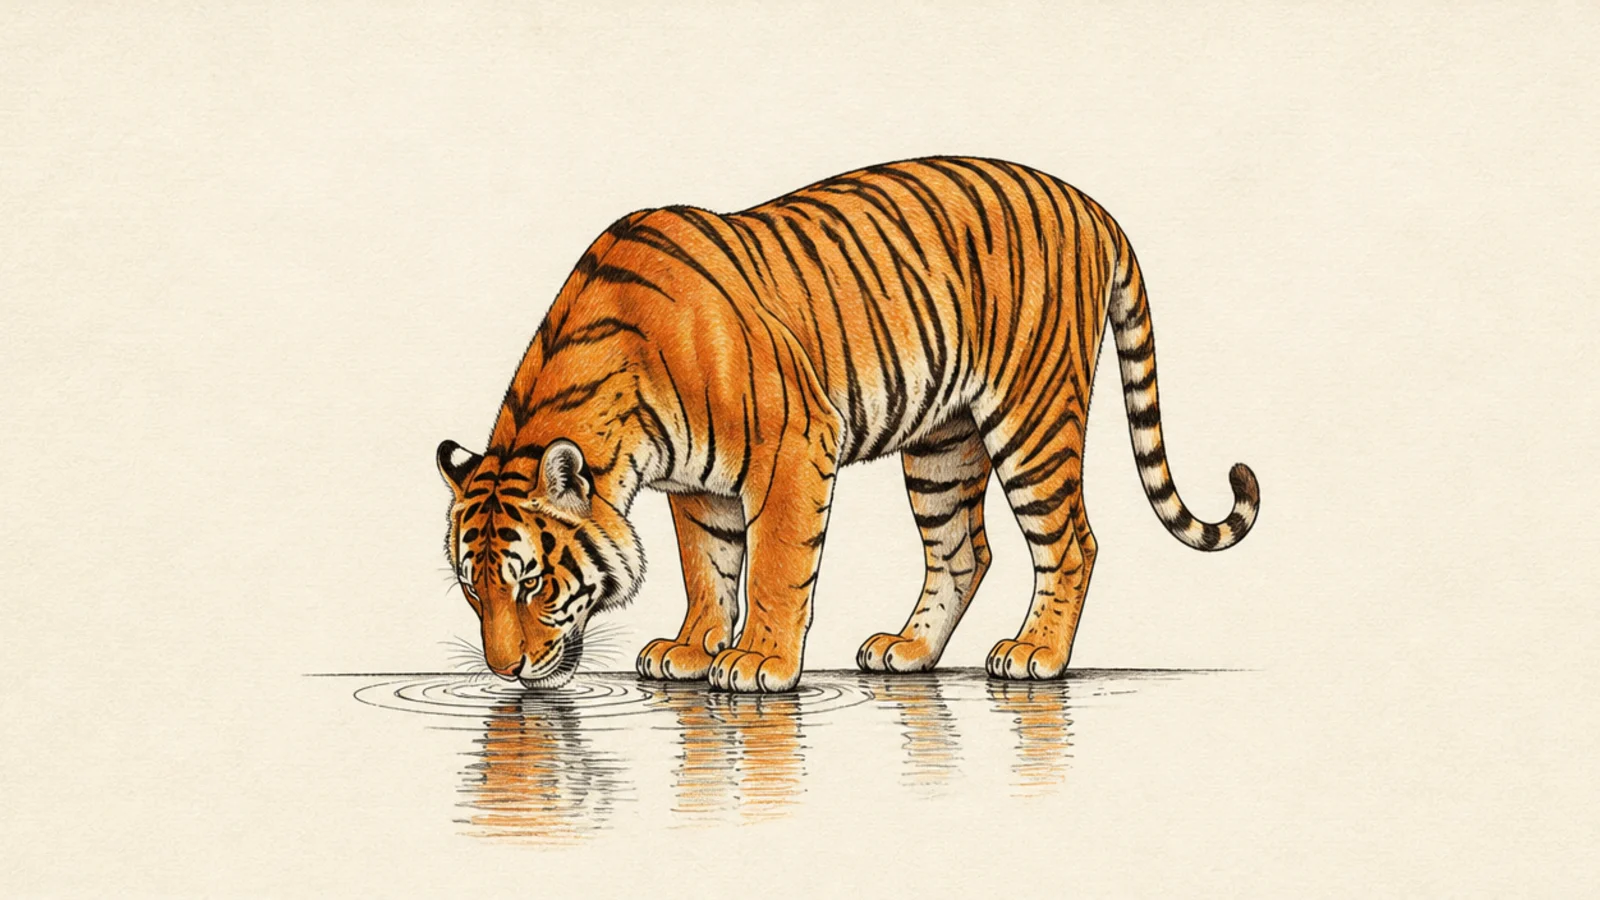
A drinking tiger lowers its head to a waterline, a calm everyday pose. It teaches bending the neck down while the two-oval body stays standing.
Step 1 draw the standing two-oval body. Step 2 bend the neck and head down to a water line. Step 3 add a small reflection, ripples, and stripes.
Curve the neck smoothly down so the head reaches the water naturally.
Don’t keep the head level; lower it to the water to read as drinking.
17 Tiger on a Rock
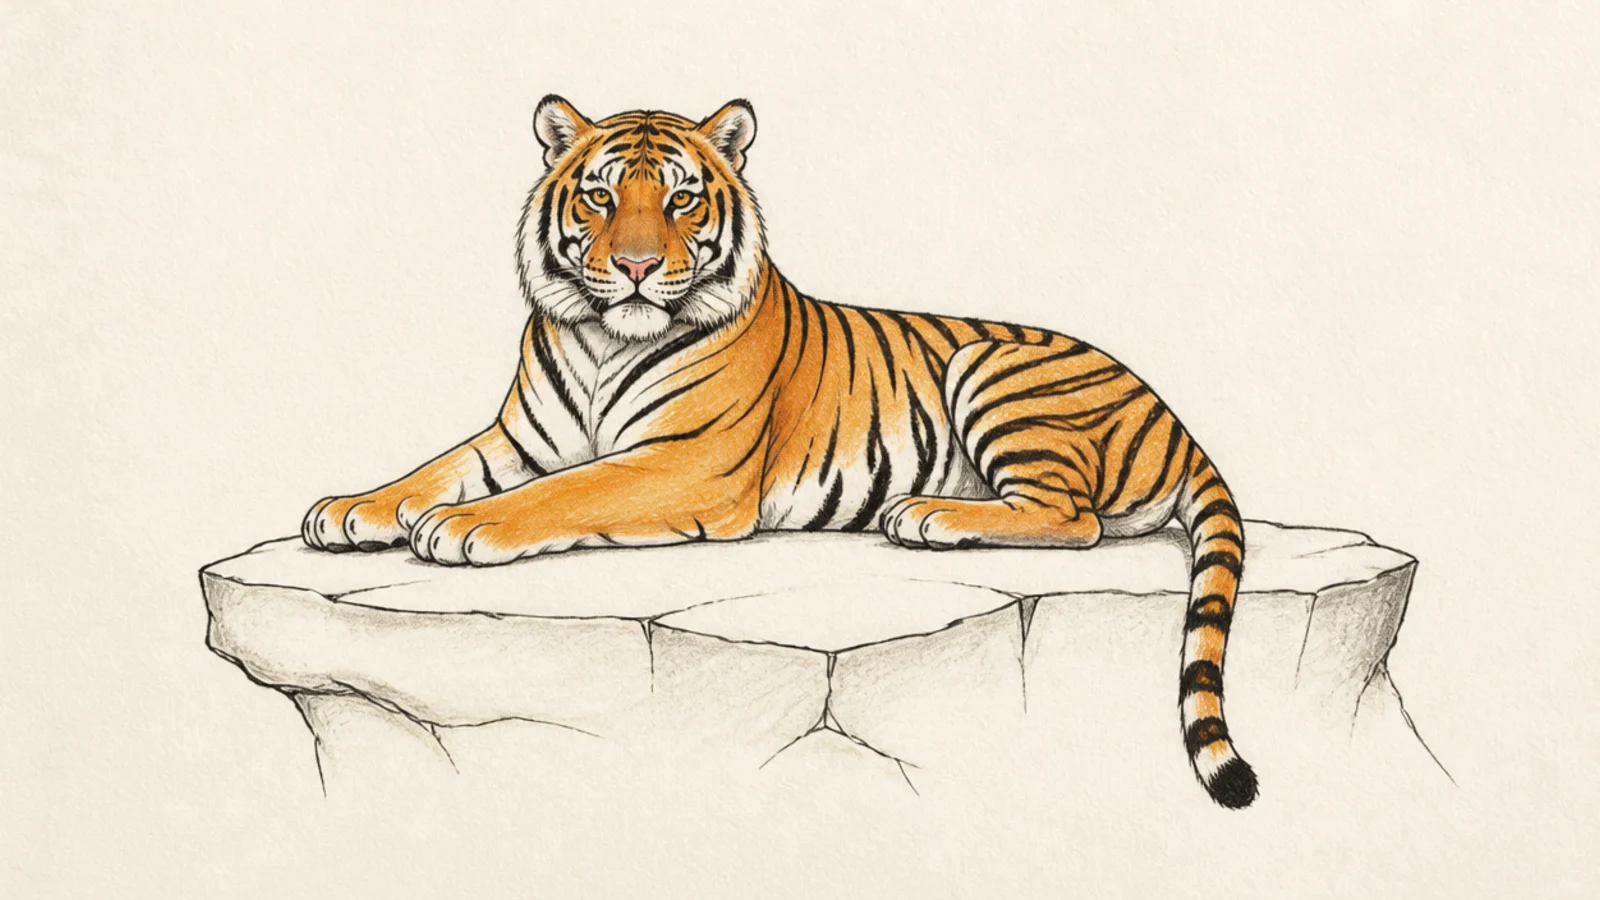
A tiger perched on a rock adds a simple setting under a familiar pose. It teaches grounding the animal on a surface for a mini scene.
Step 1 draw a flat rock ledge. Step 2 sit or lie the two-oval tiger on top. Step 3 add stripes, a hanging tail over the edge, and a few rock lines.
Let the tail hang over the rock edge so the tiger sits on it convincingly.
Don’t float the tiger; plant its paws flat on the rock.
18 Chubby Cartoon Tiger
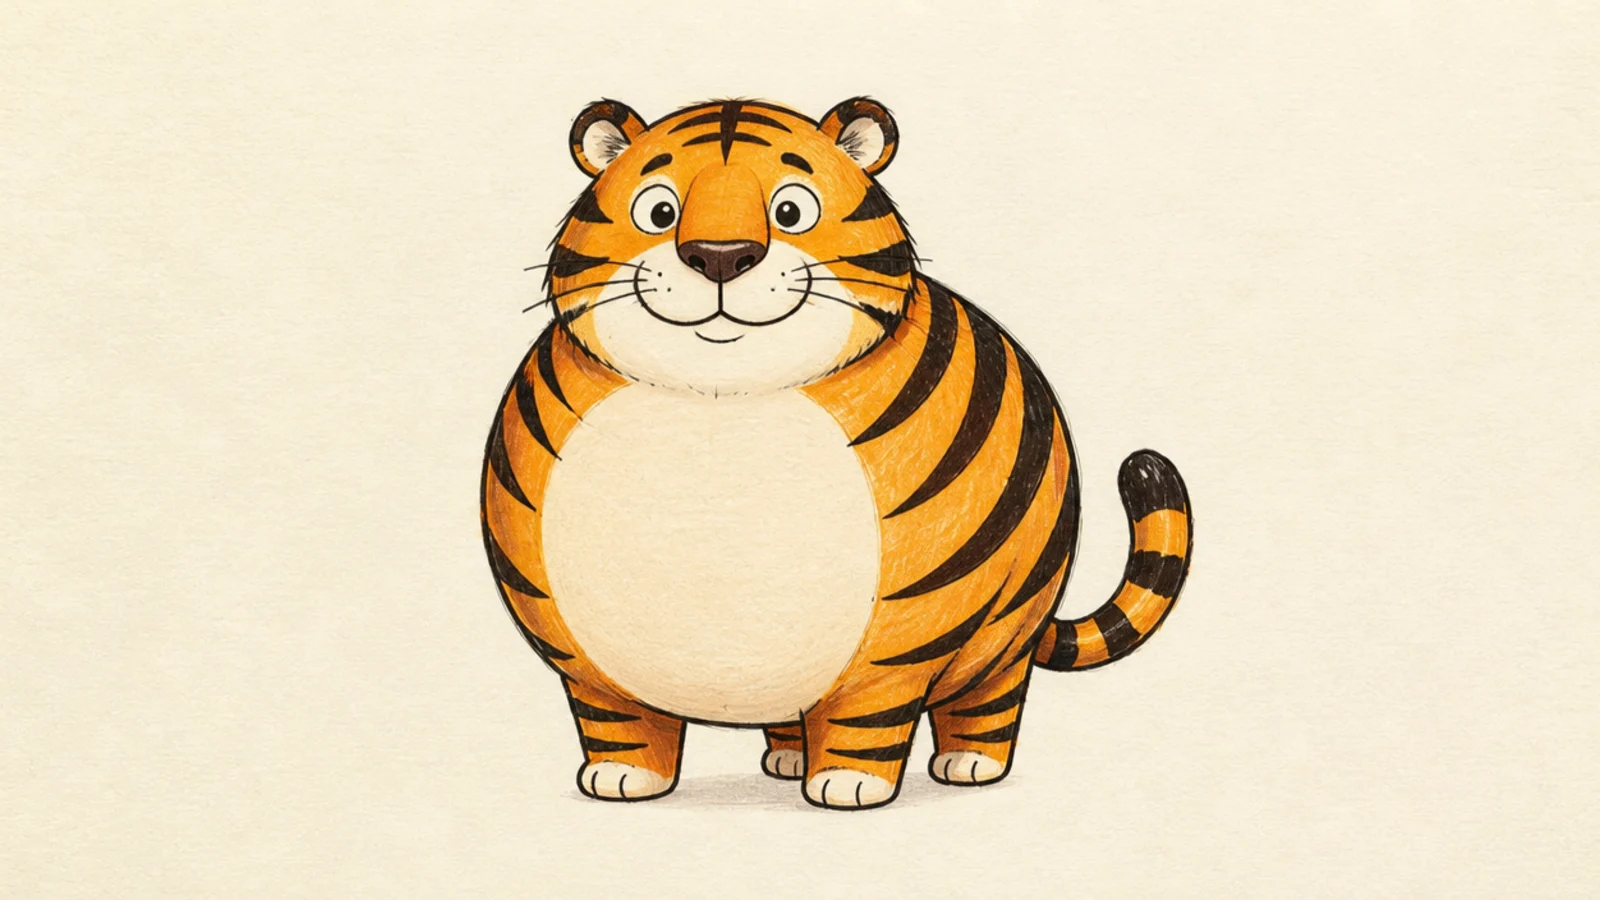
A chubby cartoon tiger rounds the two ovals into a plump, friendly body. It teaches how fuller shapes read as cute and cartoonish.
Step 1 draw two big round ovals close together. Step 2 add short stubby legs and a small head. Step 3 add a happy face and a few bold stripes.
Round the ovals fuller and the legs shorter for a chubby cartoon look.
Don’t slim the body; the plump shape is the charm here.
19 Clean Profile Portrait Body
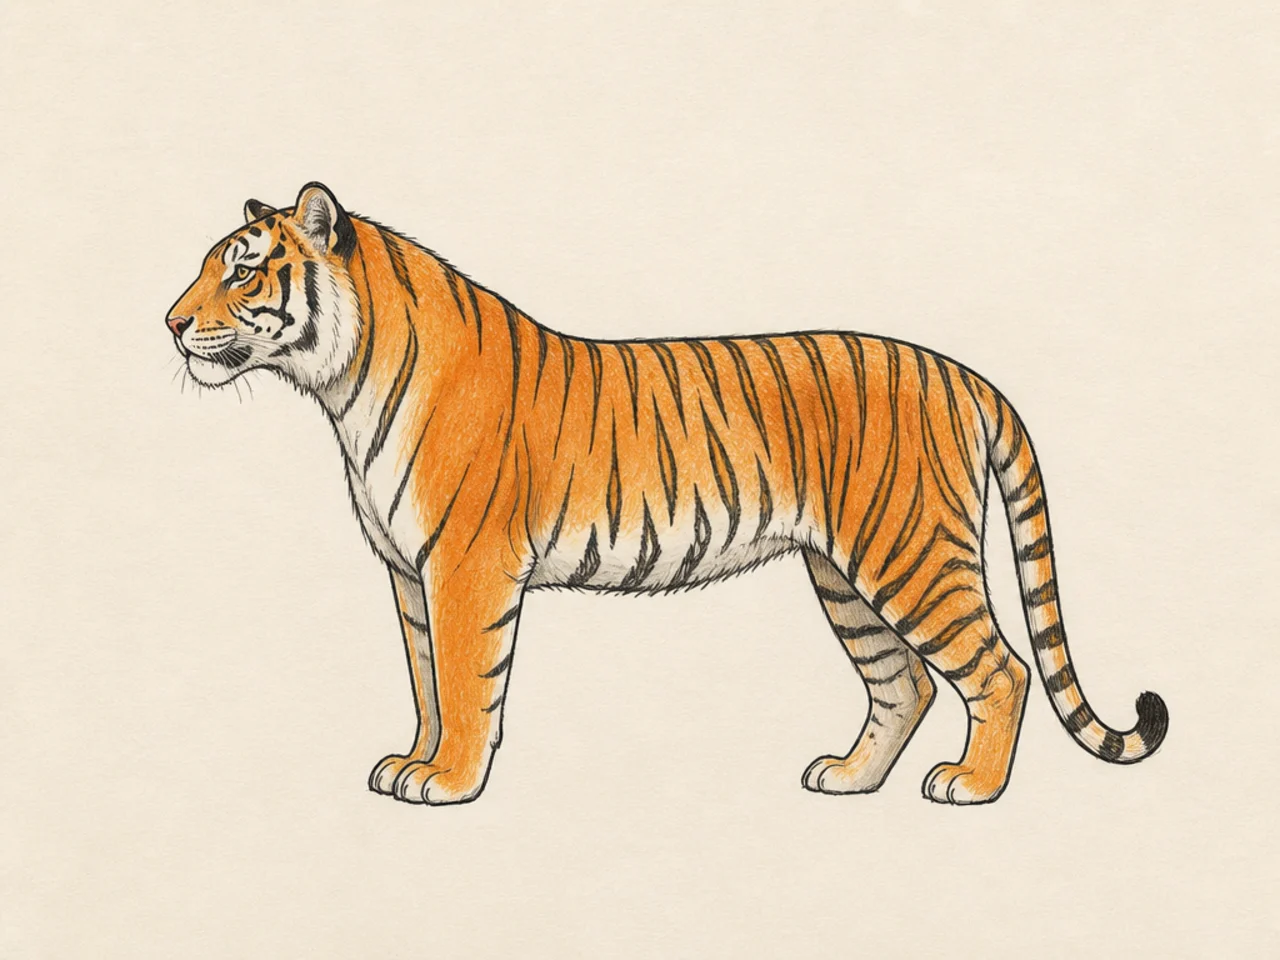
A chest-up profile focuses on the head and shoulders without full legs. It teaches a simpler crop that still shows the powerful front of the tiger.
Step 1 draw the chest oval and a profile head. Step 2 add the near front leg and shoulder. Step 3 add the muzzle line, ear, and stripes down the neck.
Crop at the chest so you focus on the head and shoulder only.
Don’t force in all four legs; a chest-up crop keeps it clean.
20 Happy Trotting Tiger
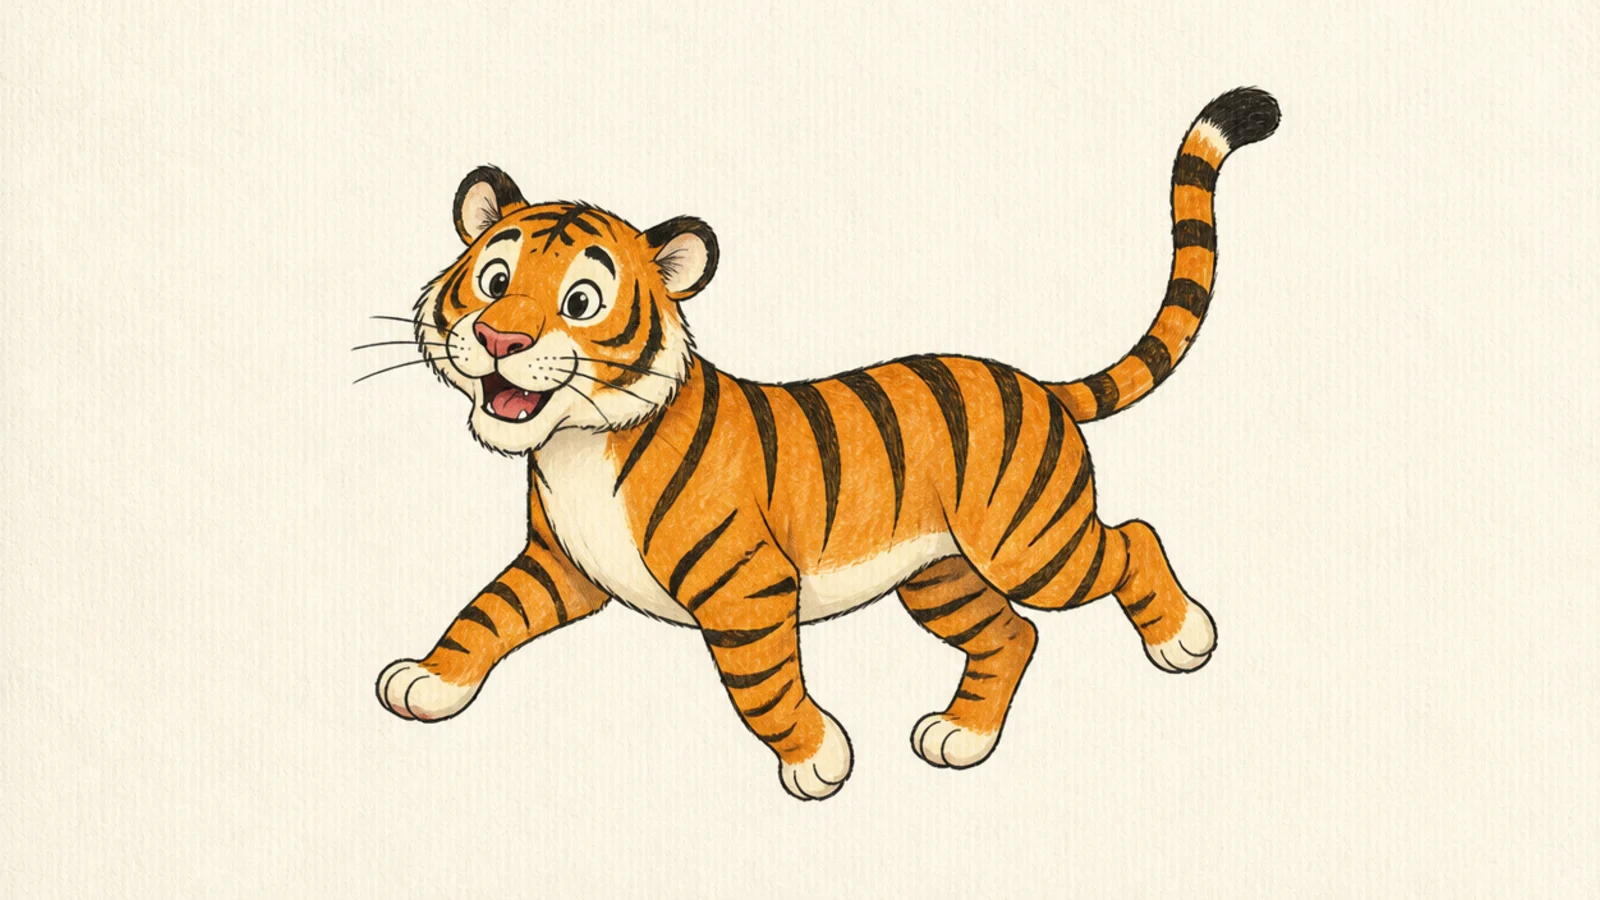
A trotting tiger adds a light, bouncy energy to the walk. It teaches a springier stride with a lifted tail and cheerful head.
Step 1 draw the two-oval body slightly bouncing up. Step 2 lift the diagonal legs higher in a trot. Step 3 raise the tail, add a happy face, and stripes.
Lift the stepping legs a little higher than a walk for a bouncy trot.
Don’t drag the legs low; a trot lifts them with energy.
21 Yawning Tiger
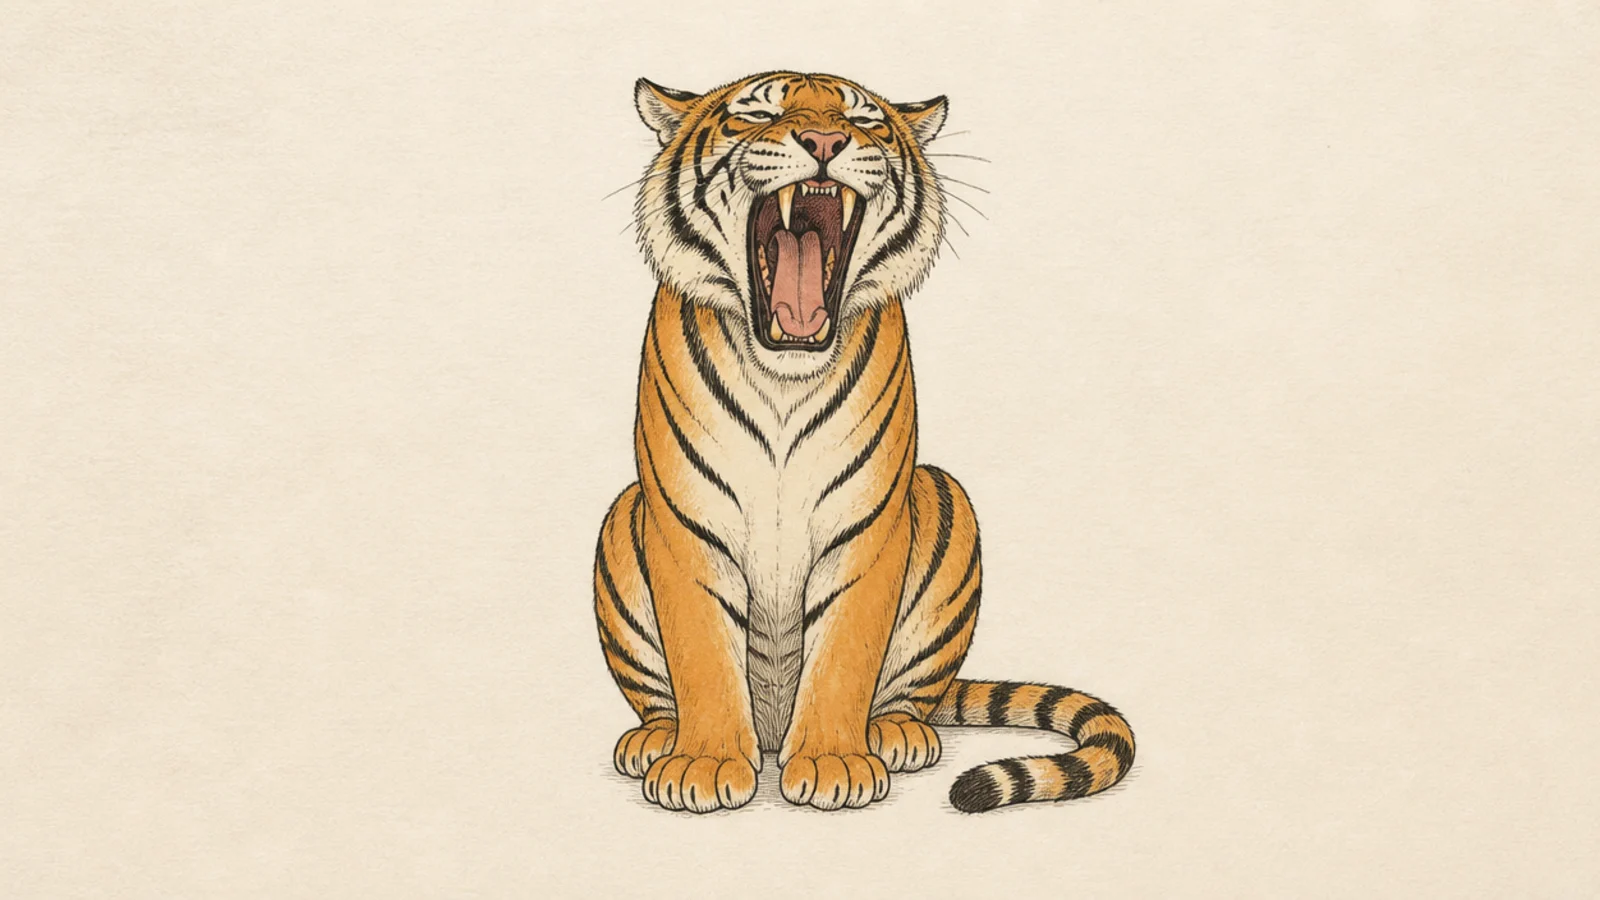
A yawning tiger opens its mouth wide in a sleepy stretch. It teaches a relaxed open mouth that reads as tired rather than fierce.
Step 1 draw a sitting two-oval tiger. Step 2 open the mouth wide with a curled tongue. Step 3 half-close the eyes and add stripes and a lazy tail.
Half-close the eyes so the wide mouth reads as a sleepy yawn.
Don’t add fierce fangs; a yawn is soft and sleepy.
22 Tiger Nuzzling a Cub
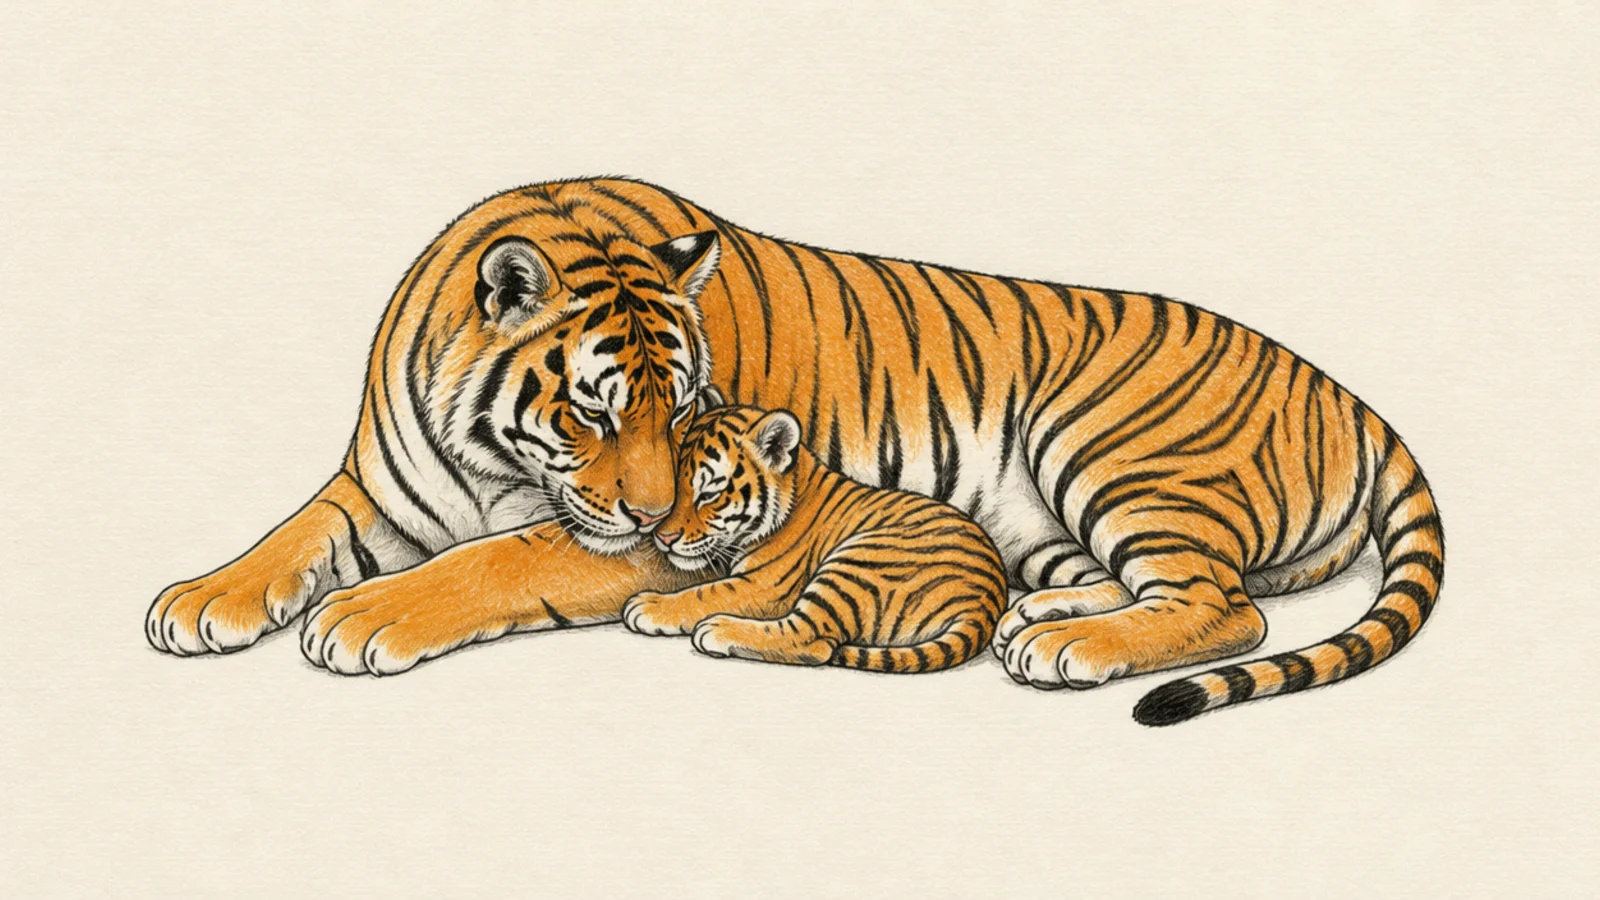
A tiger nuzzling a cub is a tender pair pose. It teaches two simple bodies interacting, with the big head leaning down to the little one.
Step 1 draw a lying two-oval tiger. Step 2 add a small cub tucked against it. Step 3 lower the big head to touch the cub and add stripes to both.
Lean the big head down to the cub so they clearly connect.
Don’t leave a gap; the nuzzle needs the heads to touch.
23 Geometric Simple Tiger
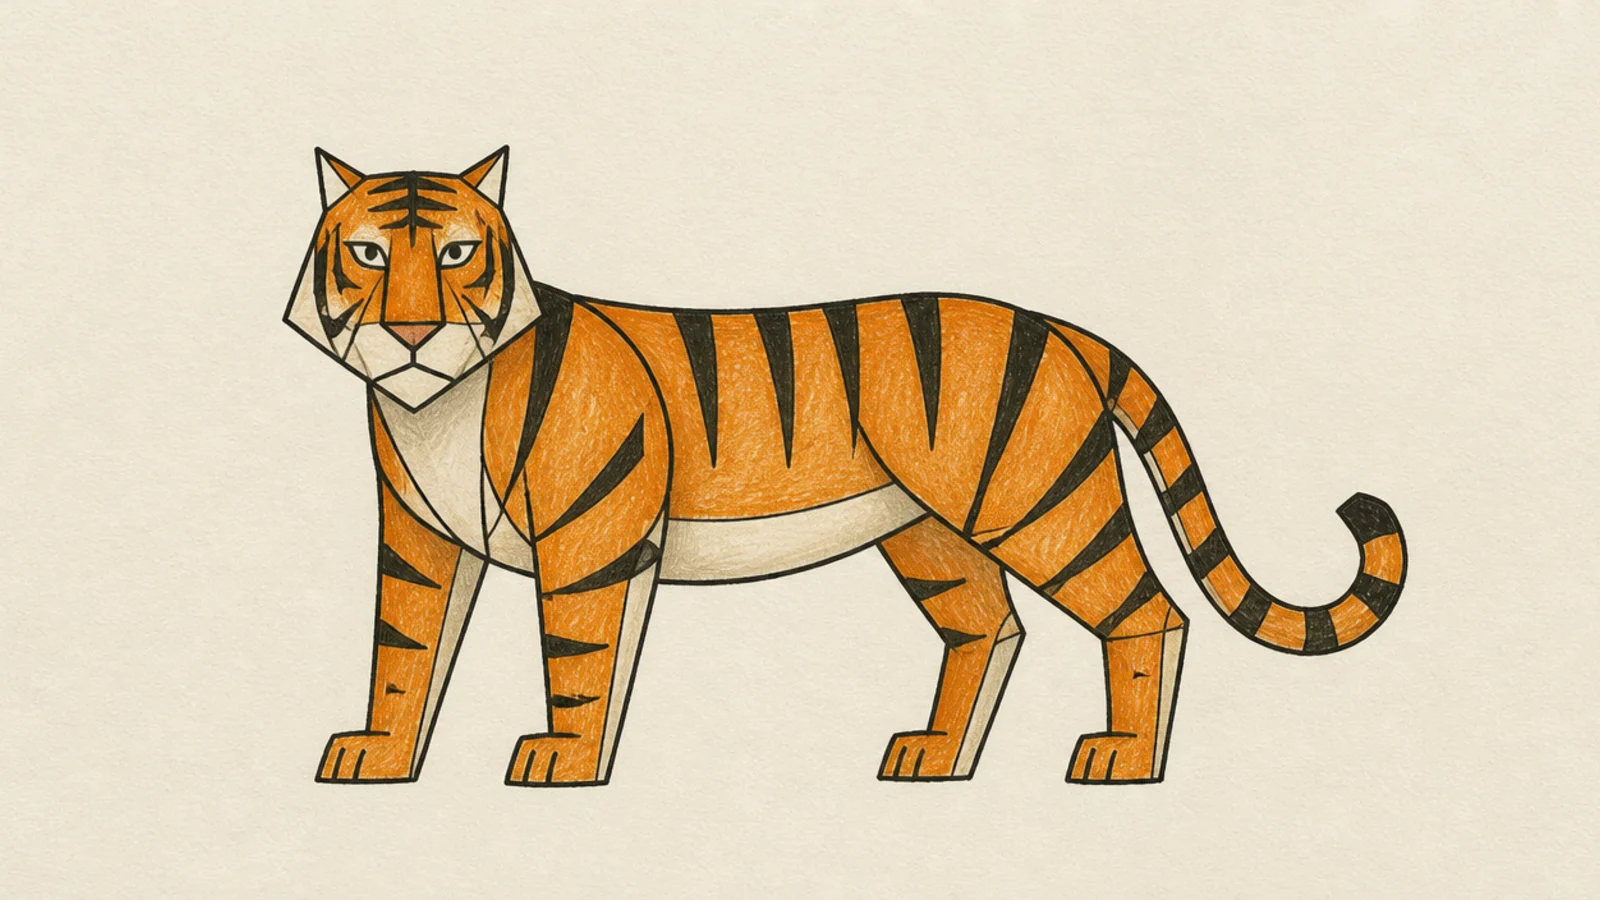
A geometric tiger keeps the two-oval idea but with crisp straight edges. It teaches a clean, modern simplification that is easy to keep tidy.
Step 1 draw the body from a couple of angular blocks. Step 2 add straight-edged legs and a triangular head. Step 3 add straight slash stripes and simple eyes.
Pro tipKeep every edge straight and clean for a tidy geometric tiger.
AvoidDon’t mix in soft curves; commit to straight edges.
24 Minimal Line Tiger
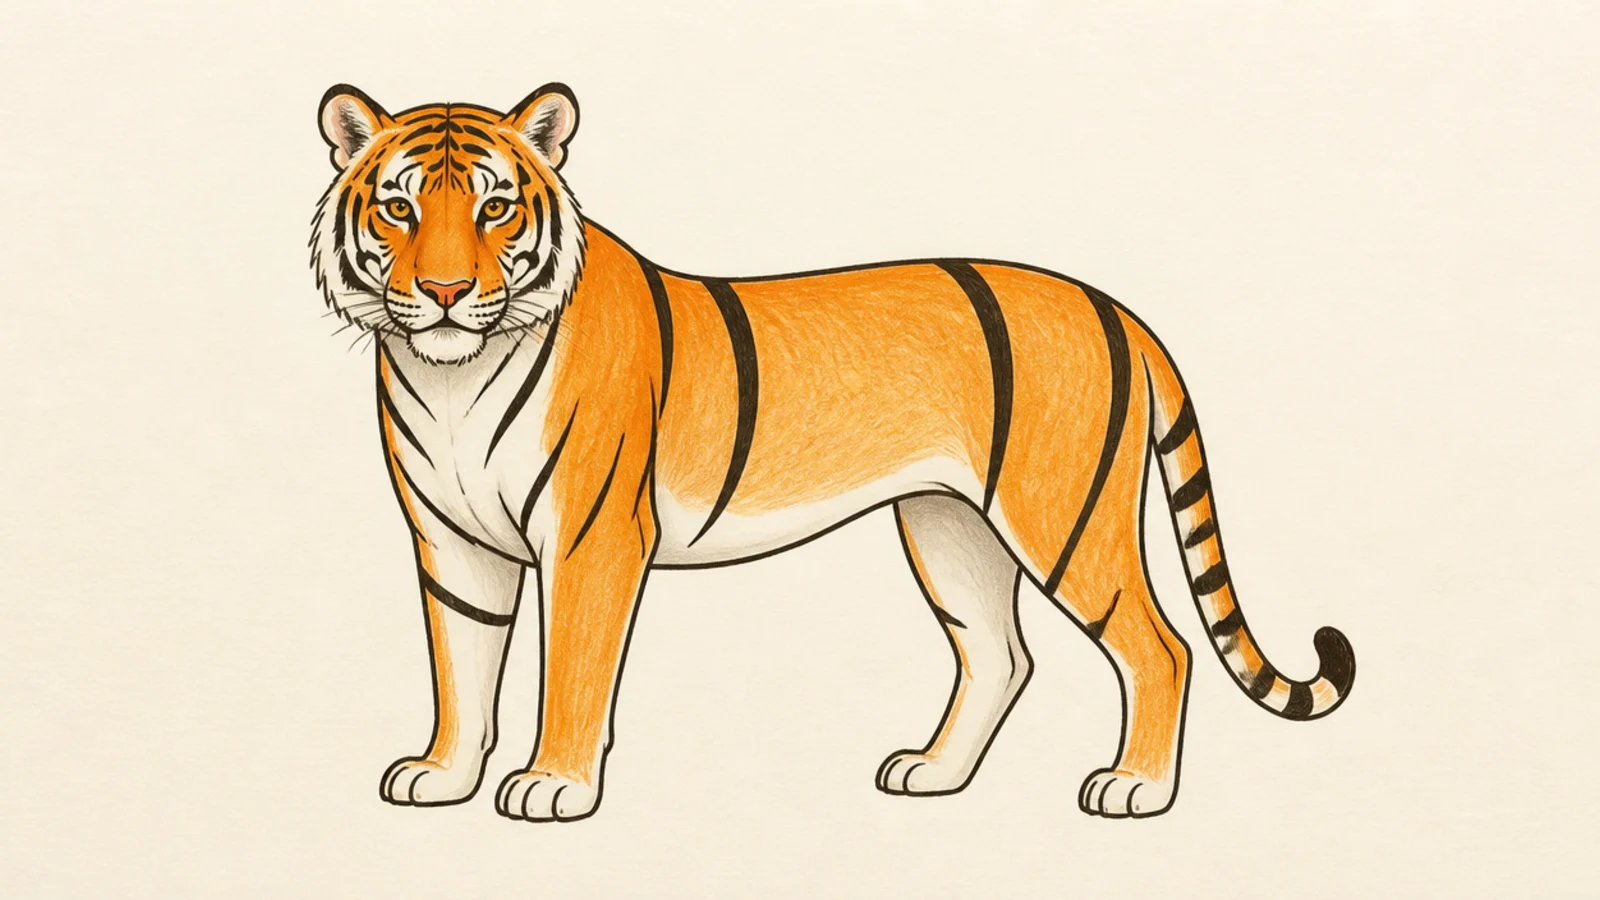
A minimal line tiger reduces the animal to the fewest clean strokes. It teaches restraint — only the lines that are truly needed to read as a tiger.
Step 1 lightly plan the two-oval body. Step 2 draw only the essential outline in one clean pass. Step 3 add just three or four key stripes and two eyes.
Pro tipUse the fewest lines that still clearly read as a tiger.
AvoidDon’t add extra detail; the minimal look needs restraint.
25 Simple Tiger Scene
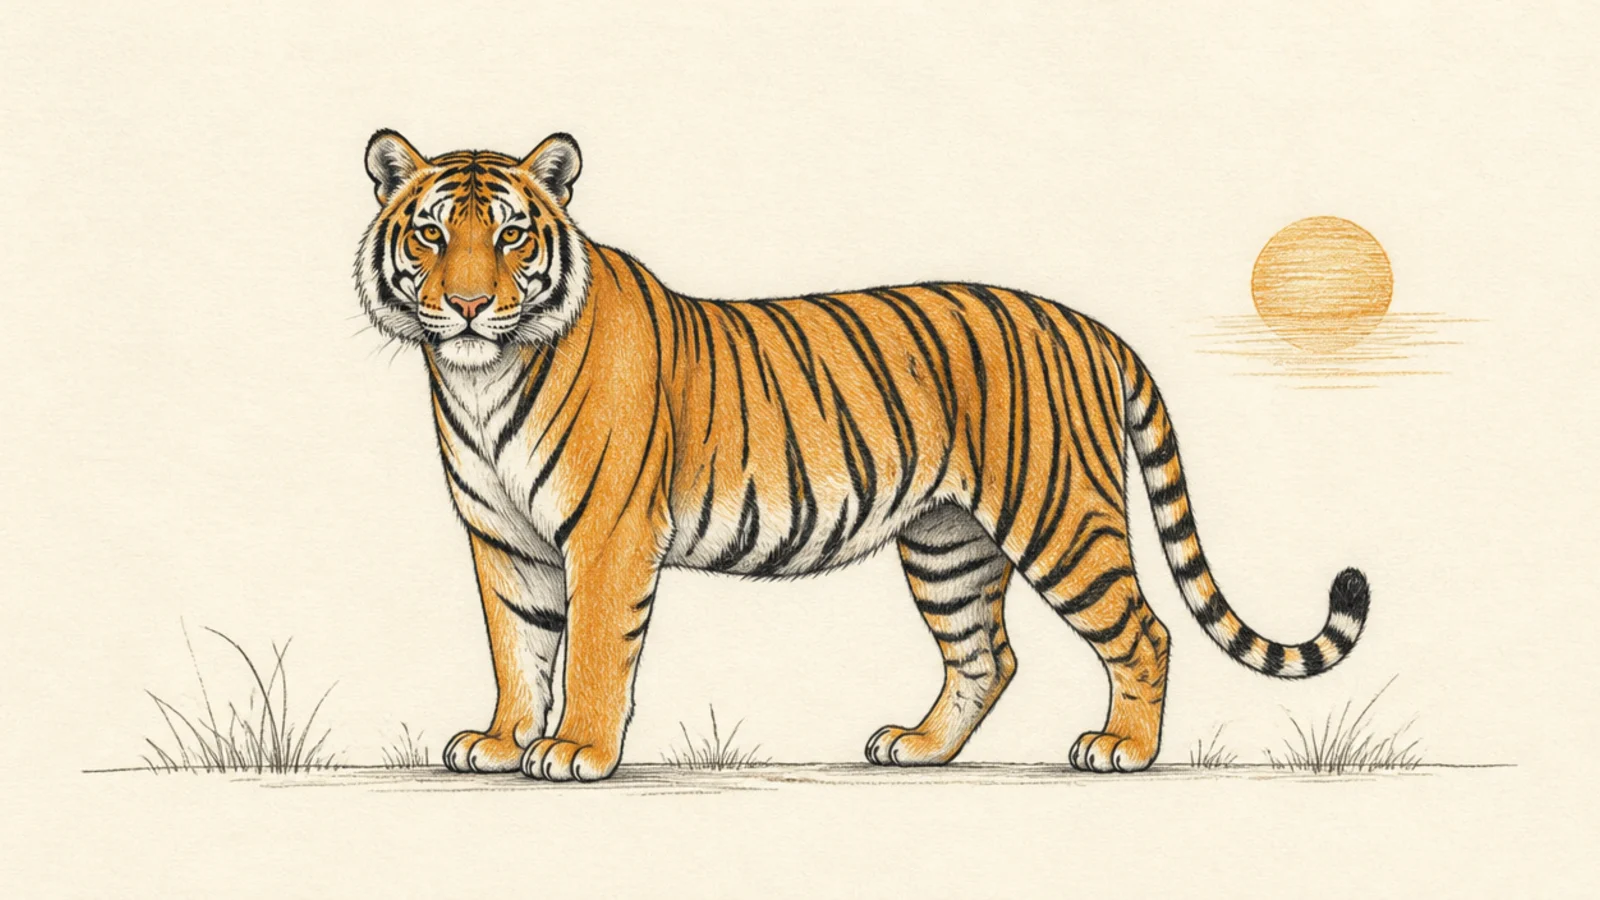
A simple tiger in a tidy little scene is the perfect closer, tying the body into a setting. It teaches composing the mastered tiger into a clean, complete picture.
Step 1 draw a standing two-oval tiger in the middle. Step 2 add a simple ground line, a few grass tufts, and a low sun. Step 3 add stripes and keep the background minimal.
Keep the scene minimal so the tiger stays the clear focus.
Don’t crowd the scene; a ground line and a sun are enough.



