
1. 6x6 Pocket Fox in One-Color Ink
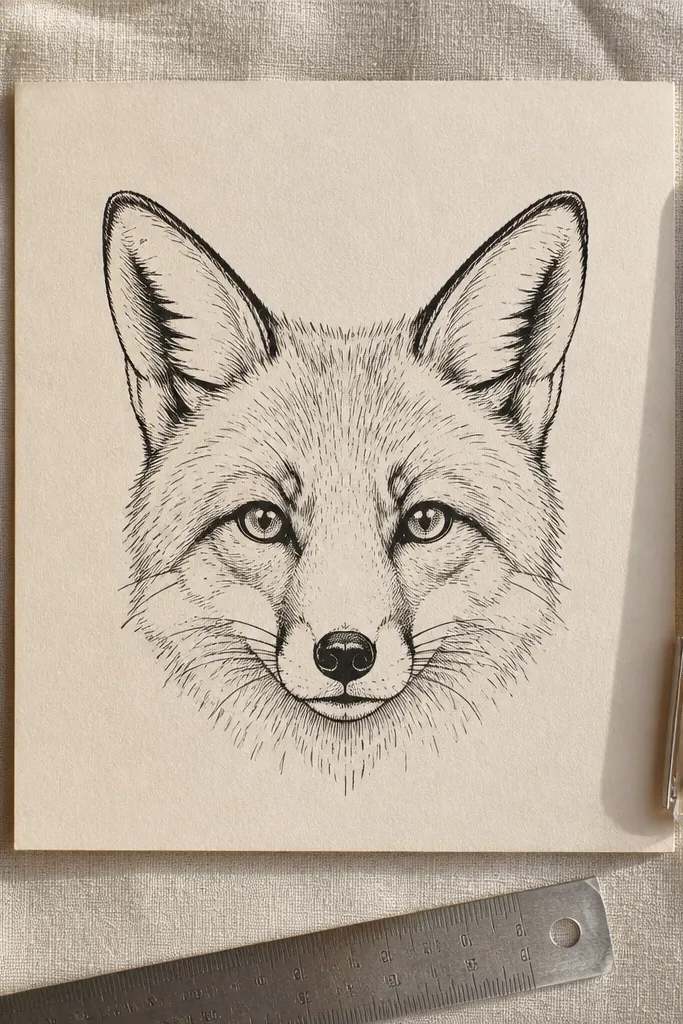
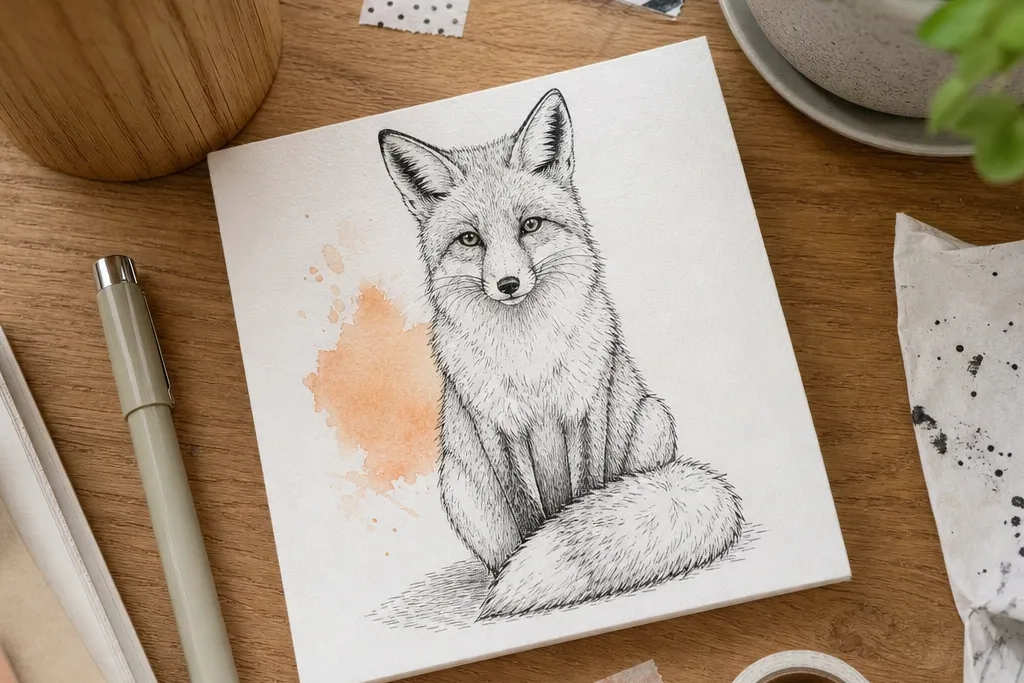
This is the easiest small-space fox drawing that still looks styled. The composition is a tight fox head with big ears and a rounded muzzle, leaving a clean margin around it so it doesn’t feel cramped. Use one ink color so the fox reads instantly — there’s no color clutter, just cute structure. It’s also very photogenic because the line work creates contrast against white paper, even with minimal shading. Skill level is beginner-friendly and the time is short, which makes it perfect for cards, stickers, or a page corner in a sketchbook.
Start by drawing a light construction circle for the head and add two triangles on top for ears. Then place the eyes as small almond shapes and sketch a tiny nose dot with a short curved mouth line. Finally, trace over your best lines with a 0.5 mm fineliner and add one simple shadow under the muzzle using small hatching strokes.
Pro tipKeep your hand moving for ears and outline — shaky lines show more at this scale than you’d think.
AvoidDon’t add lots of fur lines; it makes the small fox look busy instead of adorable.
2. Cozy Scarf Fox Peeking From a Corner
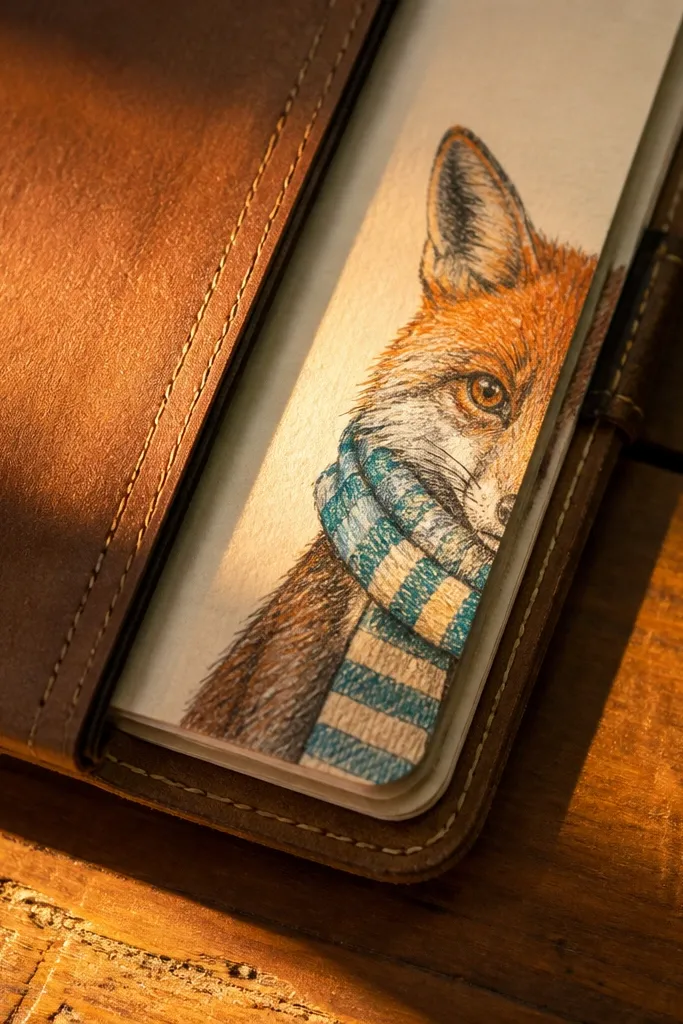
This idea is cute because the scarf gives you a clear visual pattern that frames the face. It also solves the “small-space” problem by placing the fox partially off-page, so your drawing feels intentional rather than too tiny. The scarf stripes create instant personality, and the peeking angle makes the fox look playful. You can keep the background blank — the scarf does the heavy lifting. It’s beginner-friendly, but the scarf needs clean curves so it looks neat in photos.
Sketch the fox head in the corner using a partial oval for the face and triangle ears that touch the top edge. Add a scarf band around the neck using two parallel curved lines, then draw three to five short stripe bands across it. Finish by outlining with a fineliner, then color the scarf stripes with two pencils or markers while leaving the fox face mostly uncolored or lightly shaded.
Pro tipUse pencil first for the scarf — thin scarf edges look better when you can erase and re-draw the curves.
AvoidSkip tiny details on the scarf ends; chunky shapes look better at small size.
3. Fox Reading a Tiny Book
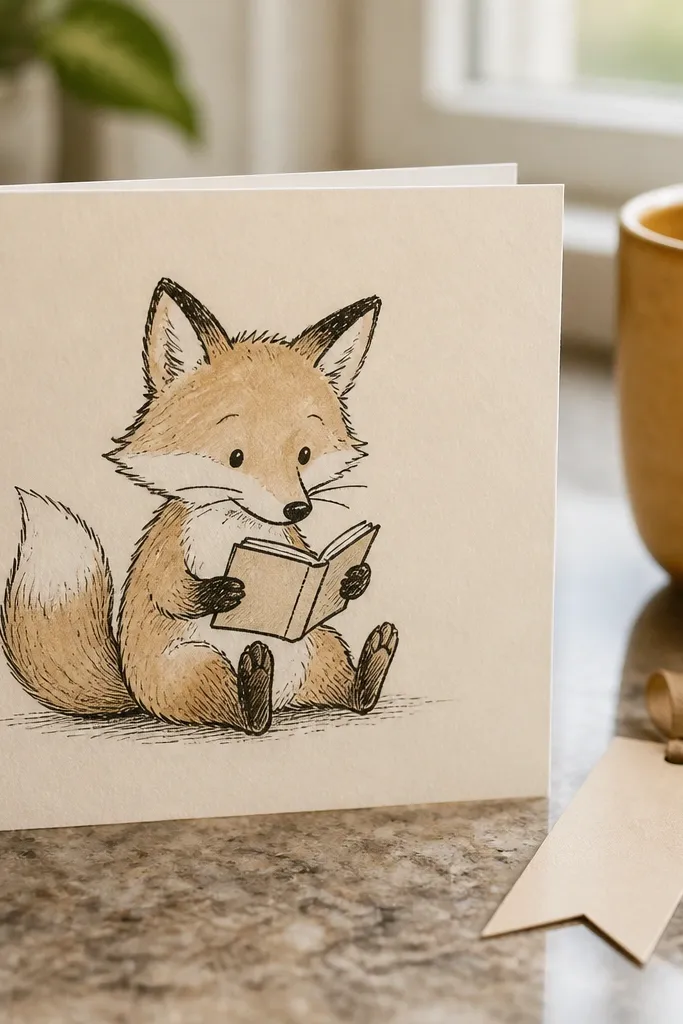
A fox with a prop is automatically more interesting in a small-space fox drawing because it creates a second focal point. The book gives you straight-ish edges to balance the fox’s soft curves, which makes the whole piece look designed. Add a simple page line and a bookmark tab so the book reads clearly without needing a lot of text. This is perfect for bookmarks, mini cards, or a square canvas panel where you want the cuteness to come from the scene, not heavy coloring. Time is about 45-60 minutes depending on your line confidence.
Draw the seated fox body as a rounded triangle with small front paws holding an open book shape. Place a vertical line in the book’s center to suggest pages, then add one horizontal crease line near the bottom. Draw the fox eyes looking down at the open pages, and outline the curled tail behind the body. Color lightly with colored pencils: warm orange for the head, one muted color for the book cover, and a softer gray for the paws.
Make the book slightly larger than you think — at small sizes it needs to be readable in photos.
Don’t draw the book as a rectangle with no perspective lines; the scene will feel flat.
4. Watercolor Wash Fox With Crisp Fineliner
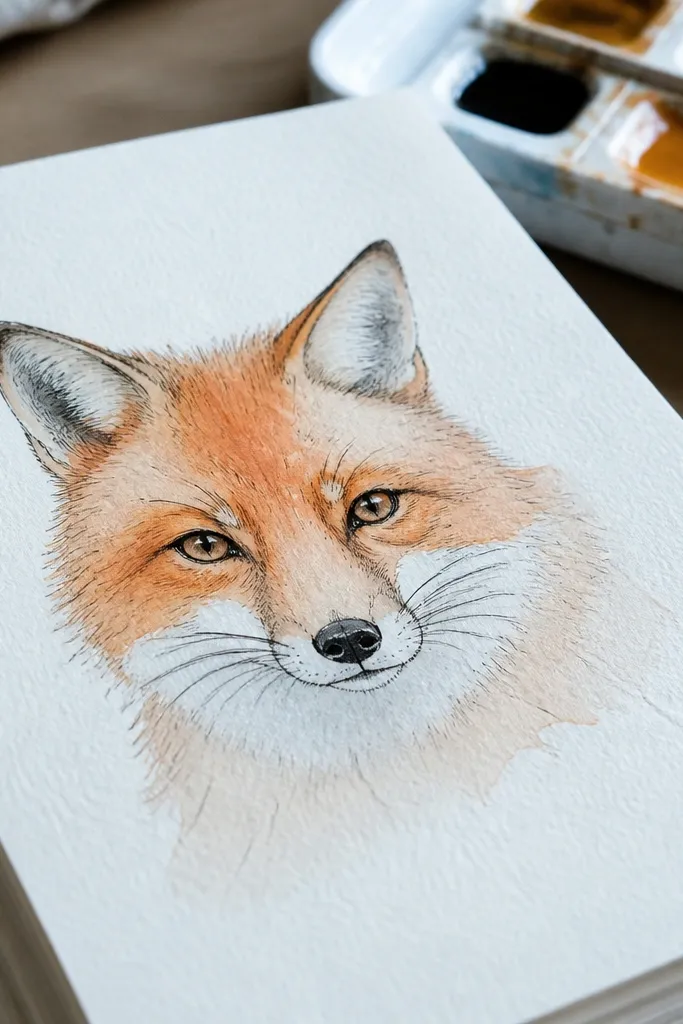
This look is adorable because it mixes soft color and sharp edges. The watercolor wash gives you gentle fur texture without drawing individual hairs, and the fineliner keeps the face crisp so it still reads as a fox. For small-space fox drawing, this combo is the easiest way to get a “finished” look without hours of shading. The key is controlling the wash — thin layers, let it dry, then add a darker shadow where the muzzle meets the cheek. It suits paper that can handle water and anyone who wants cute results with minimal detail work.
Tape or clamp 140 lb watercolor paper if you have it, then sketch the fox head lightly in pencil. Wet the muzzle and cheeks with clean water, apply a light orange wash, and let it bleed slightly for softness. After it dries, outline the eyes, nose, mouth, and ear edges with a 0.3 or 0.5 fineliner, then add one small shadow under the chin with a darker orange-brown mix.
Pro tipUse two water jars: one for clean water, one for pigment. It keeps your wash from turning muddy.
AvoidDon’t fill the whole page with wash; leaving white space makes the fox look brighter and cuter.
5. Fox Stamped Effect Using Dot Clusters
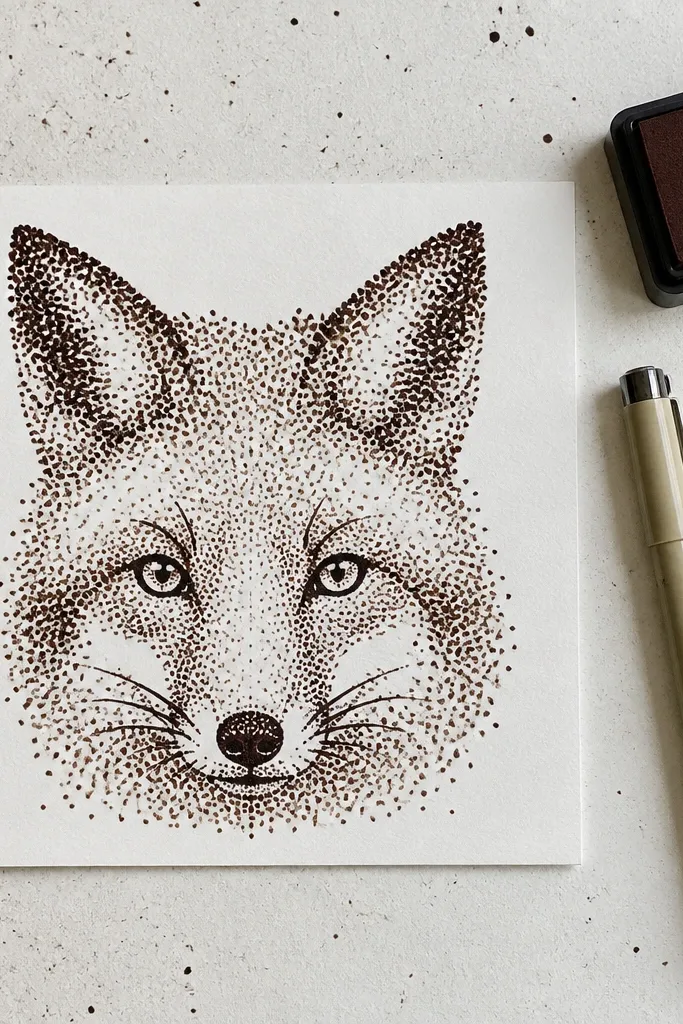
Dot clusters create a cute, slightly playful texture without you drawing fur. This is a great small-space fox drawing because you can keep details minimal and still get a rich look. The “stamped” style reads well in photos because the dots catch light and create depth. It also works with cheap supplies: a fineliner plus a black marker or pen. You can make it monochrome for a clean look, or add one warm dot color in the cheeks.
Draw the fox silhouette lightly first: head oval, ears triangles, and a simple muzzle curve. Then replace fur texture with dot clusters by tapping the pen or marker in small groups, heavier on the cheeks and forehead. Add dot shading under the muzzle and around the ear bases, then outline key features (eyes, nose, mouth) with clean lines.
Pro tipKeep your dot clusters in layers: light dots first, then denser dots in the darkest areas.
AvoidDon’t do single scattered dots across the whole face; it looks unfinished at this size.
6. Fox Sleeping With Tiny Moon Background
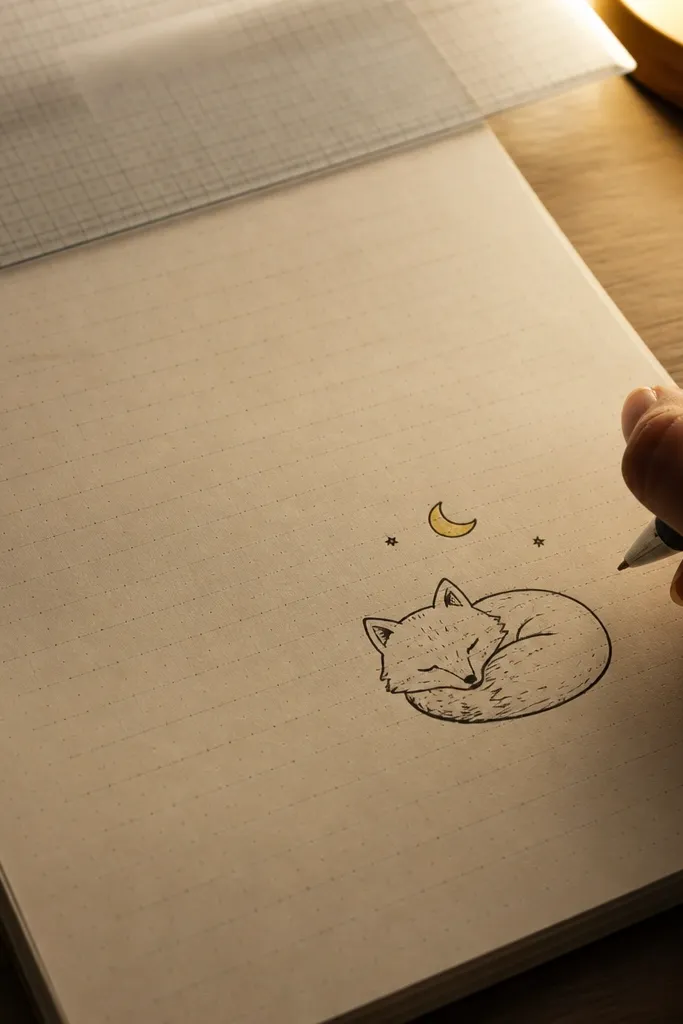
A sleeping fox is automatically cute because the shape turns simple — a curl, a closed eye, and a tiny nose. Add a small moon and two or three stars to give the drawing a clear theme without crowding the page. This is an ideal small-space fox drawing for planners, sticky notes, and mini art cards because the scene is readable even when it’s small. The moon gives you a smooth circle to contrast the fox’s curves, which makes the composition look balanced in photos. It takes about 30-40 minutes and is beginner-friendly.
Sketch a curled fox shape using one main curve for the body and a small tail loop. Draw the face inside the curl with one closed eye line, a tiny nose, and a small sleeping cheek curve. Place a moon circle above and add two or three star dots around it. Outline everything with fineliner, then color the moon one soft color and the fox with light orange plus a gray-blue for the belly shadow.
Pro tipUse a ruler or coin to trace the moon circle so it looks crisp in a small composition.
AvoidSkip lots of stars; three stars read better than ten when the drawing is tiny.
7. Fox Nose Close-Up With Patterned Border
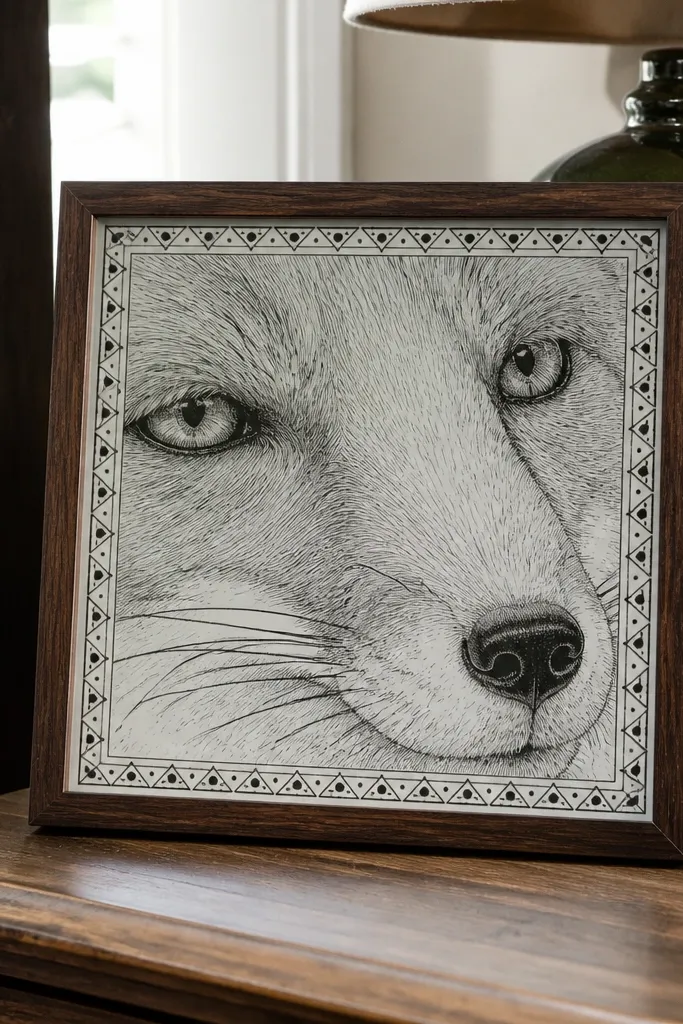
This is a smart small-space fox drawing trick: zoom in on the face. A close-up nose and cheeks take up most of the space, so you don’t need a full body scene to feel “complete.” Add a simple patterned border — triangles, small dots, or tiny leaves — and suddenly the drawing looks like it was made for a frame. It’s very photogenic because the nose highlights and cheek shading create contrast. This works well for printable art, mini cards, and sticker sheets where you want impact in a small area.
Draw a large oval for the nose and two curved cheek shapes around it, leaving the top edge open for the ear tips if you want. Add a tiny highlight dot on the nose and a short curved mouth line beneath. Create a border around the outside edge with alternating small shapes, then outline everything with fineliner. Color the nose with a warm brown and lightly shade the cheeks with orange pencil.
Pro tipPut the highlight dot on the nose and keep it small — it makes the nose look glossy even with pencil.
AvoidDon’t shade the entire nose evenly; leave one small lighter patch so it looks cute, not flat.
8. Fox With Big Ears and Minimal Face Lines
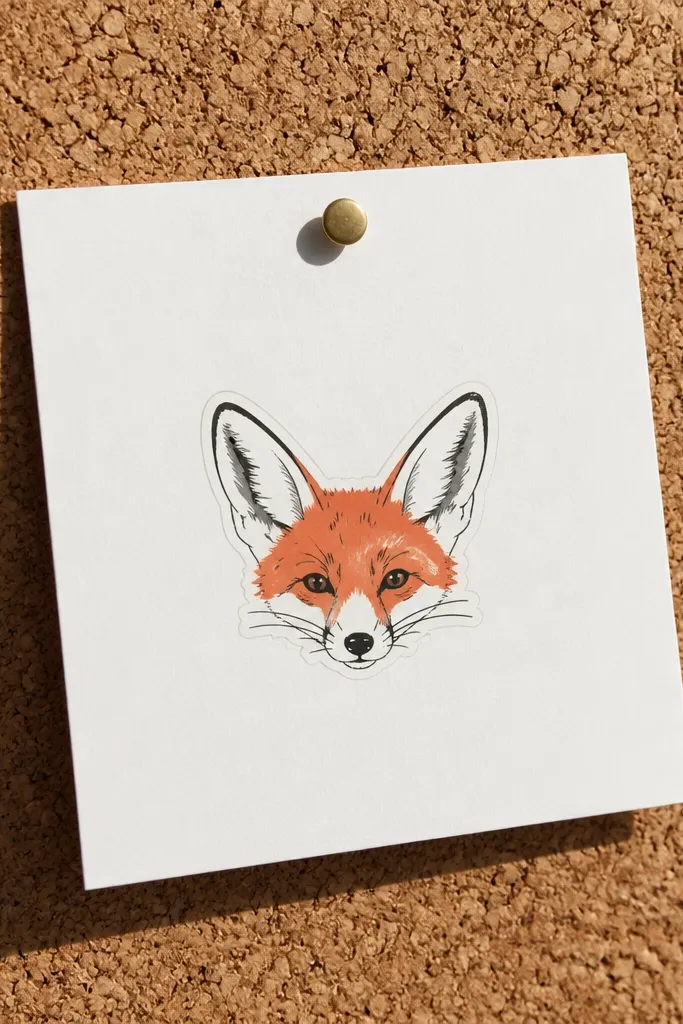
Big ears are the fastest path to cute. This drawing style exaggerates the ear size so the fox looks adorable even with minimal facial details. It’s also perfect for small-space fox drawing because you can keep the face simple and let the silhouette do the work. The clean background makes it look modern, like a sticker design. You’ll only need a pencil and one black pen, plus optional light color for the ears. The result looks sharp in photos because there’s less visual noise.
Sketch a head oval and then draw two ears that extend higher than the head by about half the head height. Place eyes as small dots or tiny ovals and draw a curved smile line with just one stroke. Outline the whole fox with a 0.5 fineliner, then add light orange or peach color only to the ears and one cheek area.
Keep your smile line thin and short. A long smile line makes the fox look goofy instead of cute.
Don’t add whiskers unless you keep them to two short lines per side.
9. Kawaii Fox Head With Blush Cheeks
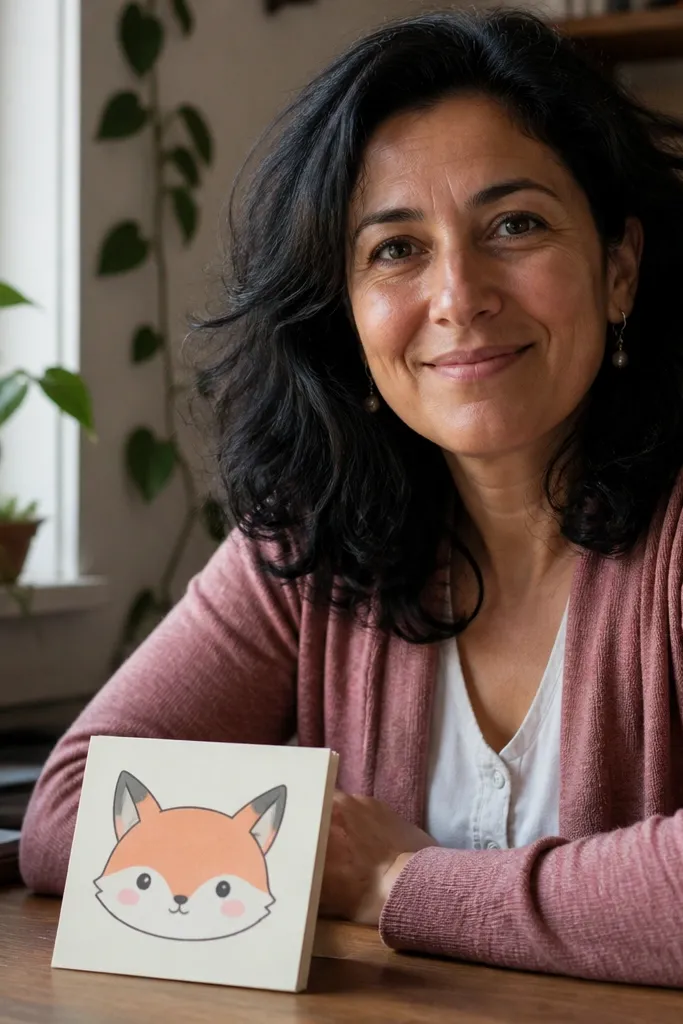
This is the classic kawaii look, tuned for small-space fox drawing so it doesn’t get cluttered. Blush cheeks do a lot of work — they make the face look friendly and “finished” even when you keep the eyes simple. The trick is to keep facial features tiny and centered, so the drawing reads from a distance in photos. If you want a consistent aesthetic across multiple drawings, this one is easy to repeat with the same palette. It’s great for tiny canvases and greeting cards where the fox needs to look sweet at a glance.
Draw a round head and add ear triangles on top. Place eyes as small oval dots and add a tiny nose as a small inverted triangle or dot. Draw a short curved mouth line and then add blush circles or ovals on both cheeks. Outline with fineliner, then color: orange for the head, soft pink for blush, and leave the background white.
Pro tipUse colored pencil for blush so you can build it slowly without staining the paper.
AvoidDon’t color the cheeks too dark; dark blush looks like bruising in tiny drawings.
10. Fox in Falling Leaves Frame
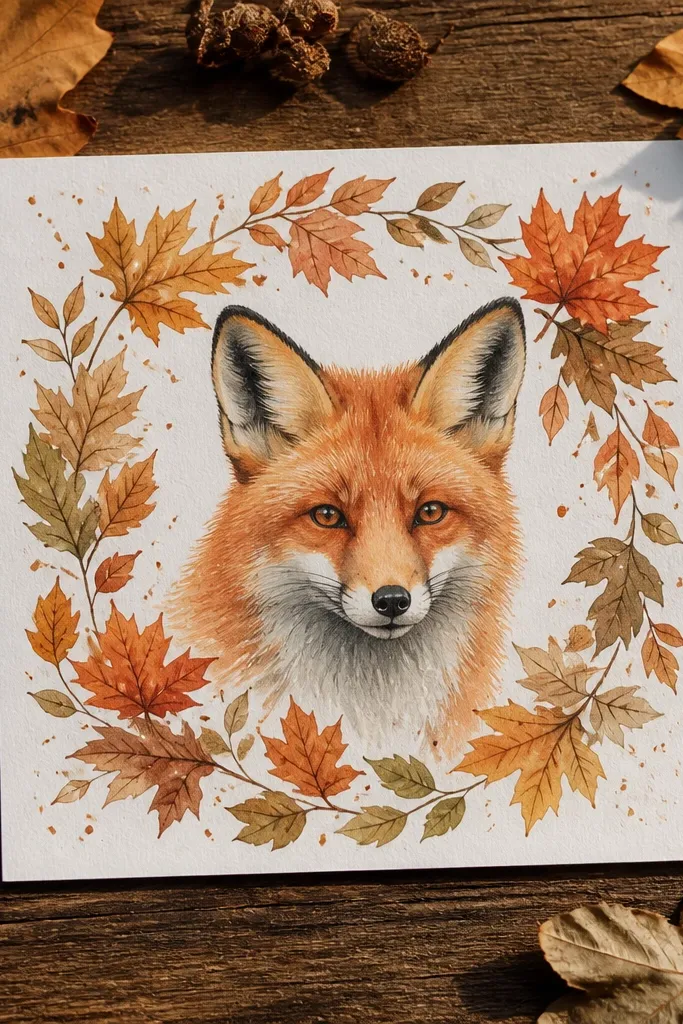
A leaf frame makes a small fox feel like it belongs to a scene, without needing a full forest background. The leaves create a repeating pattern around the edges, which makes the fox look intentional and neatly composed. This is photogenic because the leaf shapes add texture and contrast to the smooth face. You can keep the fox simple and let the leaves carry the visual interest. It suits seasonal art, bookmarks, and mini wall prints where you want the fox to be the focus but the border adds charm.
Draw the fox head in the center, using a simple oval for the face and triangle ears. Create a border around it with 10-15 leaf shapes — mix sizes and angle them like they’re falling. Outline everything with fineliner, then color the leaves with two fall colors (burnt orange and muted olive) and the fox with light orange plus gray-brown shadows.
Vary the leaf tips — one or two leaves should be narrower to prevent the frame from looking uniform.
Don’t overcrowd the center with leaf overlaps; the fox face needs breathing room.
11. Fox Profile With One-Stripe Tail Tip
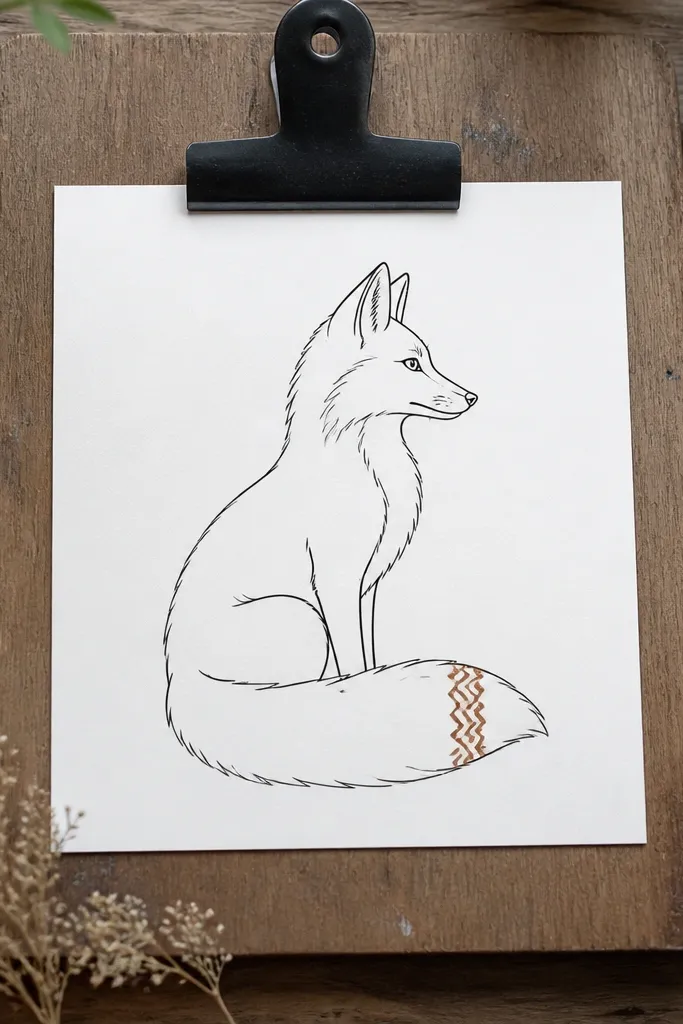
Profile foxes look elegant and cute when the line work is clean. This one is designed for small-space fox drawing by keeping the body nearly out of frame and focusing on head shape, eye, and the tail tip stripe as the only pattern. One stripe is enough to make it feel designed without becoming busy. It also looks great in minimalist monochrome with a single accent stripe. Skill level is easy — it’s mostly about getting the head angle right.
Sketch a head in profile: an angled oval for the skull, a small triangular nose, and one pointed ear. Add one eye as a small almond shape and a short mouth curve. Draw the tail as a curved line behind the head and add a single stripe at the very tip. Outline with fineliner, then color the stripe and inner ear with one warm accent color.
Pro tipKeep the nose and mouth on one smooth curve. Breaks in that curve make the profile look awkward.
AvoidDon’t add full fur texture to the side profile; it’s too fine for small scale.
12. Fox Sitting on a Moon Crescent
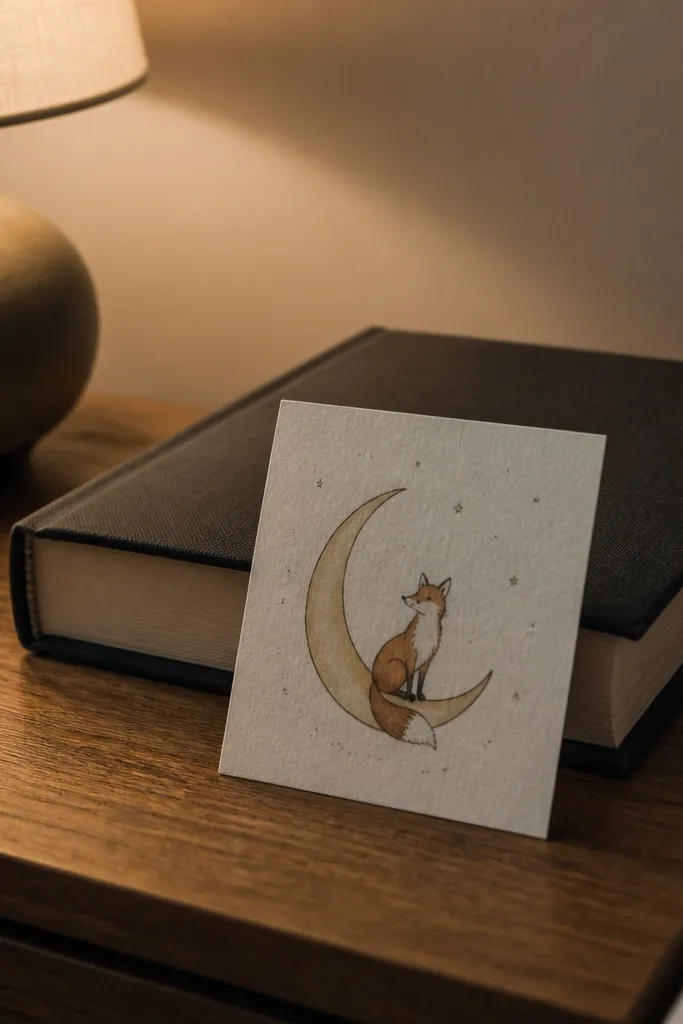
This composition is adorable because it turns the moon into a platform. It’s also good for small spaces: you only need one big crescent shape plus the fox silhouette. The contrast between the smooth moon curve and the fox’s rounded body makes it look clean and photo-ready. Add a few tiny dot stars and you’re done. It’s beginner-friendly, and the shapes are forgiving. Use this if you want your fox drawing to look like a sticker design without complex shading.
Draw a large crescent moon with a thick outer curve and a thinner inner curve. Place the fox sitting on the moon by drawing a rounded body and two small paws resting on the crescent top. Add ears and a small face with simple eyes and a tiny nose. Outline with fineliner, then color the moon with one cool tone and the fox with light orange and a gray shadow under the paws.
Pro tipColor the moon first, then do the fox. It keeps the edges clean when you overlap shapes.
AvoidAvoid drawing a thin crescent — it looks like a scratch at small size.
13. Fox With Heart-Shaped Tail (Valentine Cute)
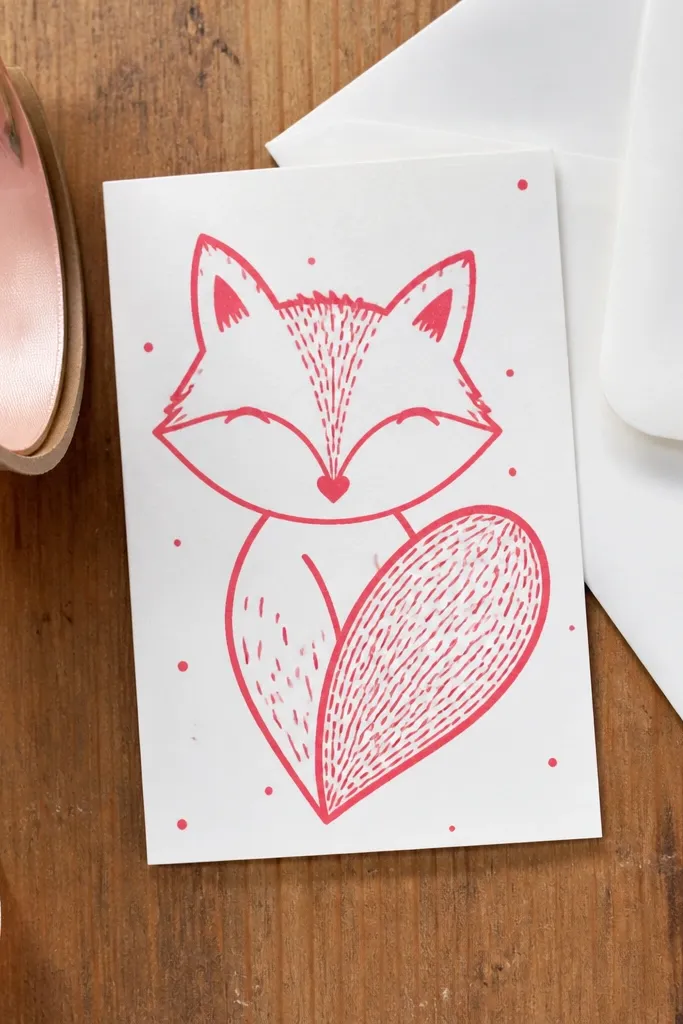
Heart-shaped tails are pure cute, and they’re also a composition cheat for small-space fox drawing. The heart shape gives you an obvious focal point and makes the fox feel playful instantly. Keep the face simple and let the tail be the “wow” part. This is perfect for mini cards, tiny framed drawings, or sticker sheets where you want the concept to be instantly readable. The drawing is easy enough for beginners — most of the work is clean curves.
Start with the fox head: oval face, triangle ears, and small eyes. Draw the body as a small rounded shape under the chin. Then create the tail by drawing a heart outline that sits behind the body and slightly curves toward the viewer. Outline all lines with fineliner, then color the fox in light orange and the heart tail with a warm accent color like coral or red-orange.
Make the heart tail slightly tilted so it feels like it’s swishing, not floating.
Don’t add a lot of fur lines on the heart tail; keep it smooth so the heart shape stays clear.
14. Fox Sitting in a Polka-Dot Frame
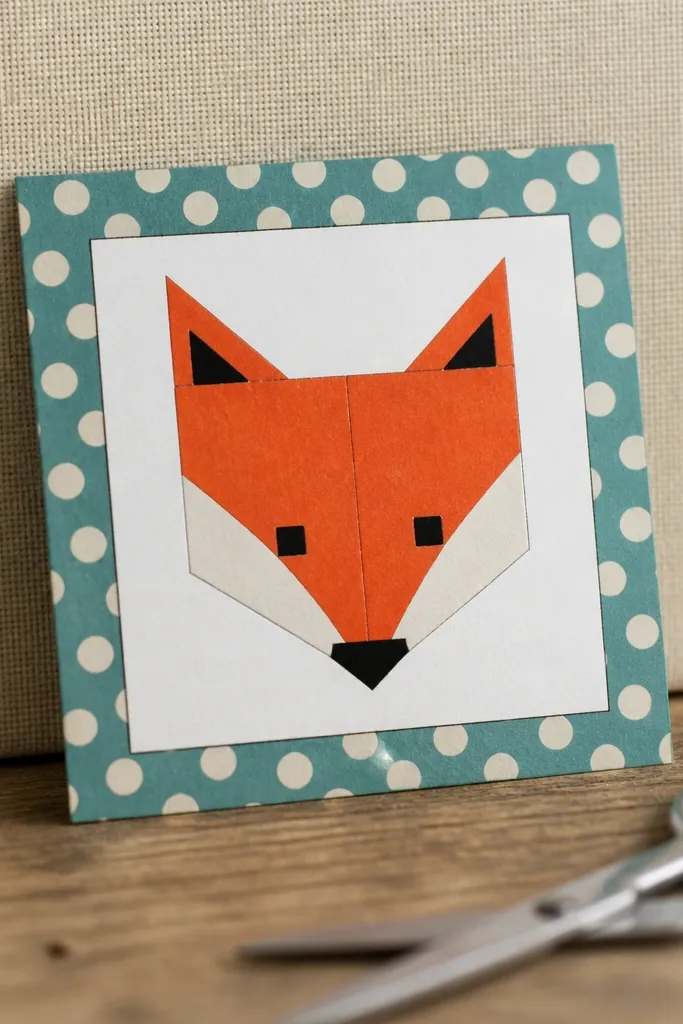
A polka-dot frame makes even a simple fox look like a finished graphic. The dots create a lively border, while the fox can stay mostly minimal — that’s how it works in small-space fox drawing. It’s photogenic because the repeating dots give texture and the fox face gives warmth. Use a limited color palette so the dots and fox don’t fight. This is a great project if you want something cute for gift tags or a mini wall collage.
Sketch the fox sitting pose with a rounded body, small legs, and a curled tail behind. Draw a square or circle border around it, then fill the border area with evenly spaced dots. Outline the fox and the border with fineliner, then color: one warm orange for the fox and one cool or neutral color for the dots (gray, navy, or muted teal).
Pro tipUse a dotting tool or the back of a small brush handle for consistent dot size.
AvoidDon’t let dots cross into the fox face area; it makes the drawing look cluttered.
15. Fox and Snowflake Background Cutout Look
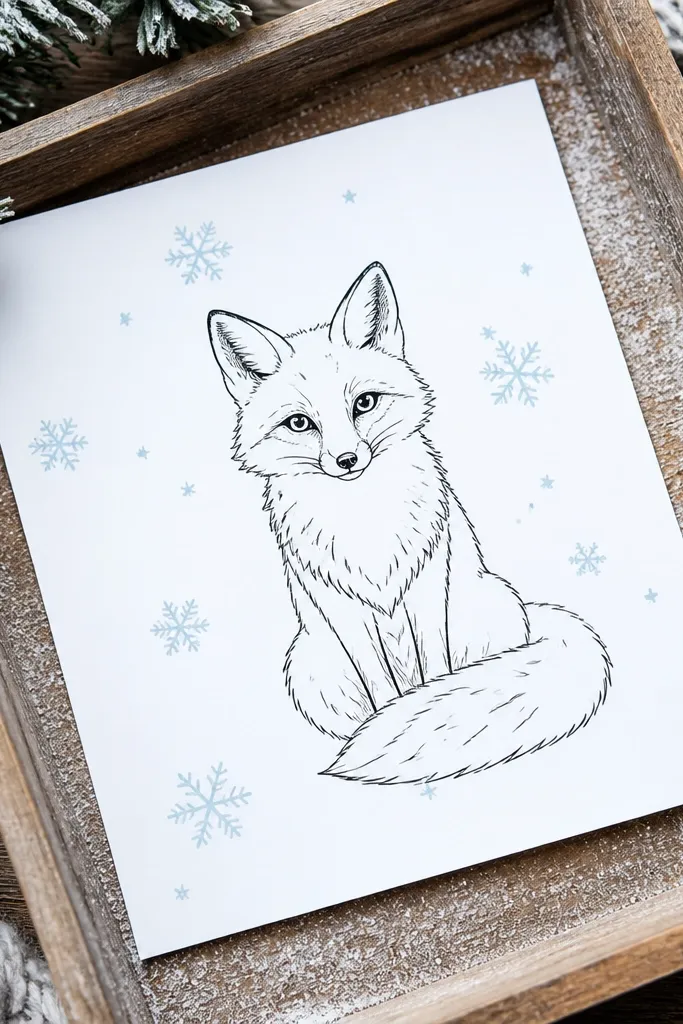
This idea looks crisp and cute because it uses negative space. You draw the fox with clean lines, then place simple snowflakes around it while leaving the background mostly blank. The blank space keeps the fox readable and makes the snowflakes pop in photos. It’s great for winter-themed mini drawings, ornaments, and small paper crafts. The skill level is easy — snowflakes are repetitive and quick, and the fox face is straightforward. Time is about 40 minutes depending on how many snowflakes you add.
Draw the fox head centered, with triangle ears and a small muzzle. Outline with fineliner and add simple shading under the chin. Add snowflakes around the fox using 6-armed star shapes, keeping them smaller near the edges. Color the fox lightly with colored pencil, then leave the snowflakes unfilled (white paper) so they look like cutouts.
Plan snowflake placement first with tiny dots so you don’t crowd one side.
Don’t fill the background with blue — the negative space is what makes it look clean.
16. Fox With Branch and Buds Minimal Scene
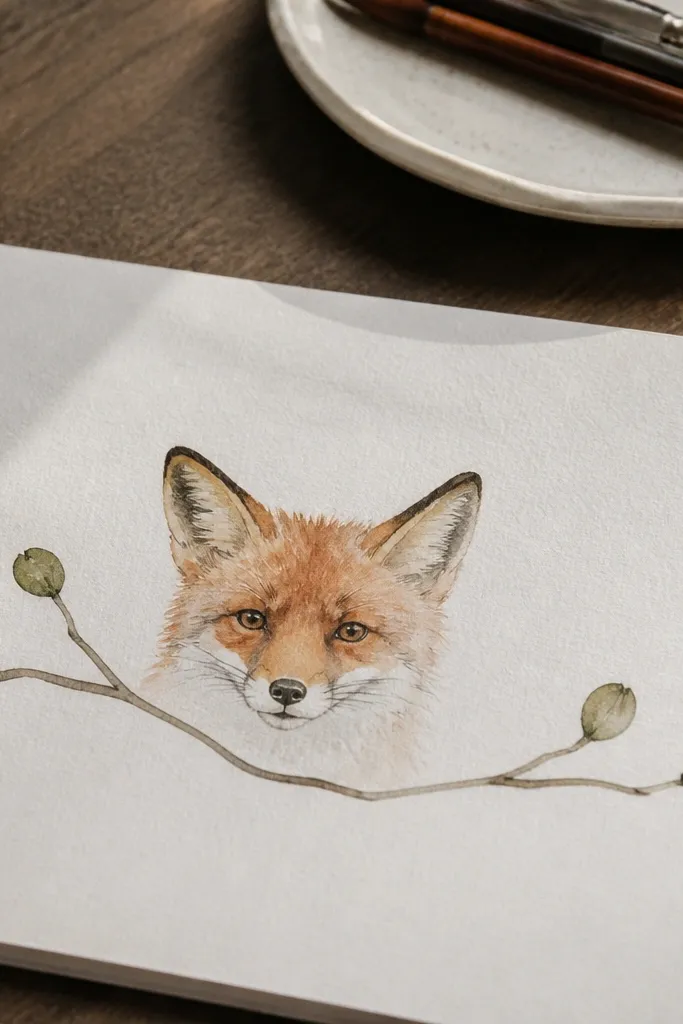
This is a mini scene that still feels airy. A thin branch and a few buds give your fox a “home” without turning the drawing into a full landscape. It’s perfect for small-space fox drawing because the scene elements guide the eye and frame the face. The branch line adds elegance, and the buds add cute detail without needing lots of texture. It looks great on bookmarks and small prints where you want more than a headshot but less than a full background.
Sketch a thin branch curve across the page and place the fox head where the branch meets the cheek area. Draw the fox face on top of the branch with triangle ears and a small nose. Add two or three buds along the branch as simple circles or teardrops. Outline everything, then color the buds with one light green and the fox with light orange plus a soft gray shadow under the chin.
Pro tipKeep the branch line lighter than the fox outline so the fox stays the focus.
AvoidDon’t add extra leaves everywhere; buds only look cute when they’re limited.
17. Fox in a Tiny Frame With Hand-Lettered Dots
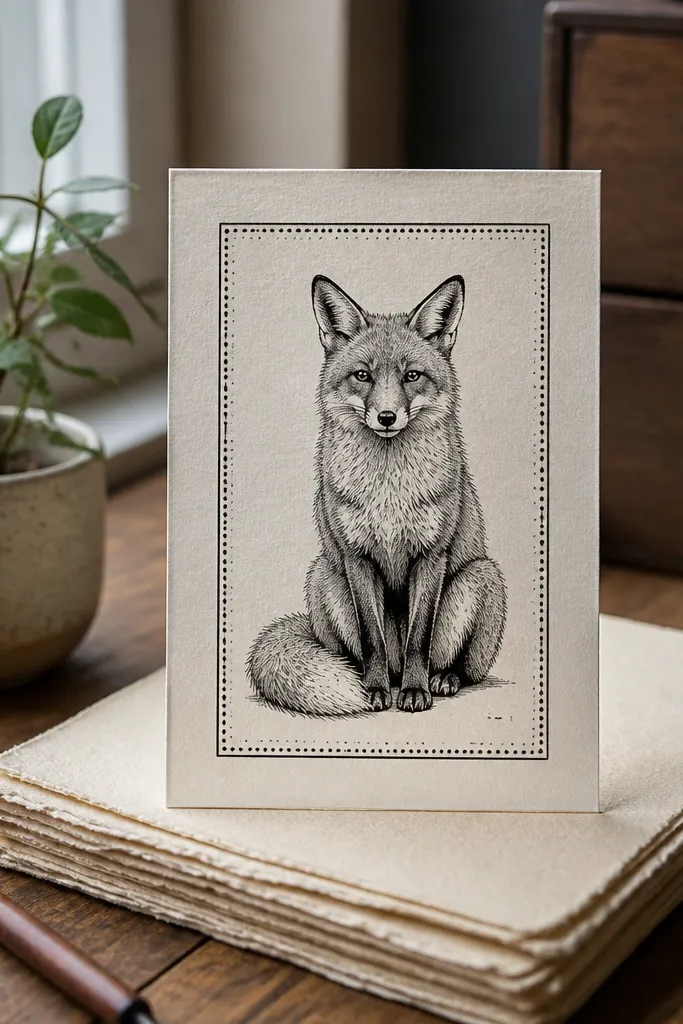
This one looks like a finished print because it has a frame and a graphic texture around it. The fox stays central and simple, while the dot marks create a playful “handmade” feel without needing actual lettering. In small-space fox drawing, frames make the artwork feel larger because they define the boundaries. The dot pattern also adds depth without cluttering the face. Use this if you want your fox drawing to look like it belongs in a gallery wall collage.
Draw a thin rectangle frame around your fox using a light pencil guide. Place the fox head centered inside, with ears reaching close to the frame corners. Add a border of small dot marks outside the frame edges or in a narrow strip around the rectangle. Outline the fox with fineliner, then color the face lightly with orange pencil and add one accent color to the dots.
Keep dot marks uniform in size and spacing for a cleaner graphic look.
Don’t make the frame too thick; thick frames swallow the fox in tiny formats.
18. Tiny Fox in a Teacup Steam Cloud
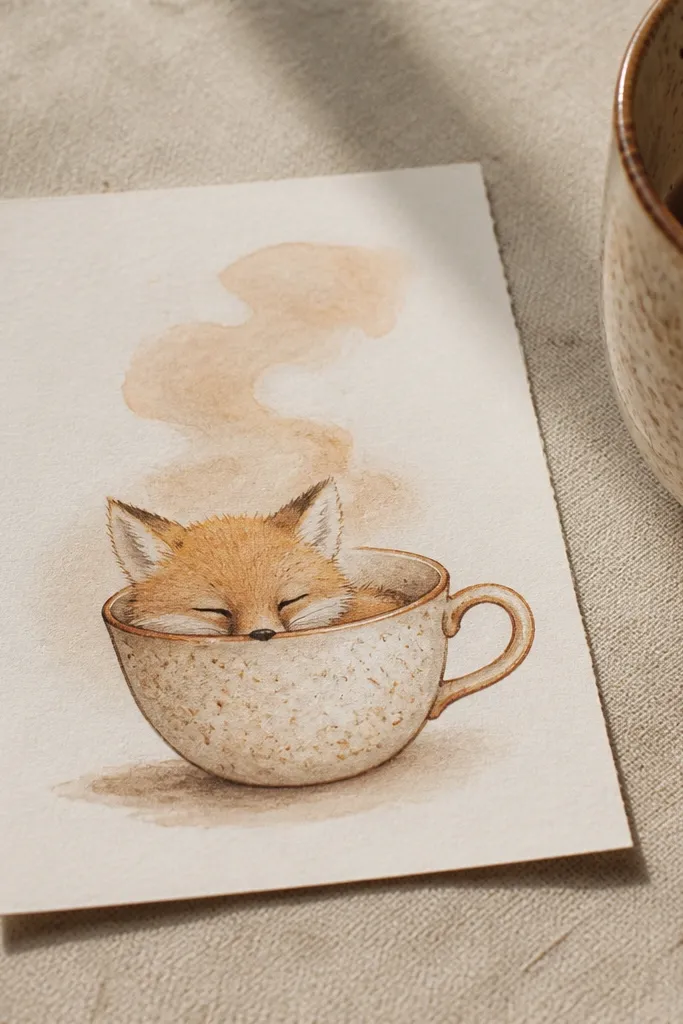
This one stays adorable in a small-space fox drawing because the composition is built around a single cute shape: a fox head tucked into the rim of a teacup. The steam gives you instant movement without adding clutter, and it frames the fox so the drawing reads well even at postcard size. Use a warm color wash for the cup and steam, then crisp fineliner for the fox so it looks clean, not muddy. It’s a good pick if you want something that feels cozy and giftable for shelves, mugs, or mini cards. Skill level is beginner-friendly — it’s mostly rounded shapes and controlled line work. Time is about 30-45 minutes once your sketch is laid out.
1) Draw a teacup shape about 3.5 inches wide on your paper. Place the fox face so it peeks from the cup opening — start with an oval for the head, then add two small ears and a tiny triangular nose; keep the eye slightly above the cup rim line. 2) Color the cup with a light watercolor wash (pale peach, cream, or soft terracotta) and add a darker shadow under the rim using a second, lighter pass. 3) Draw steam as three to five looping lines rising from the cup — keep them thin and slightly uneven for a hand-drawn look. 4) Finish the fox with a black or dark brown fineliner, then add a few whisker strokes and a small blush dot on the cheek.
Let the watercolor cup dry fully before you ink the fox — wet paper makes the line edges feather.
Don’t make the steam lines too thick or too many — it turns cute into busy fast.
19. Fox Under a Hanging Lantern (Moonlight Glow)
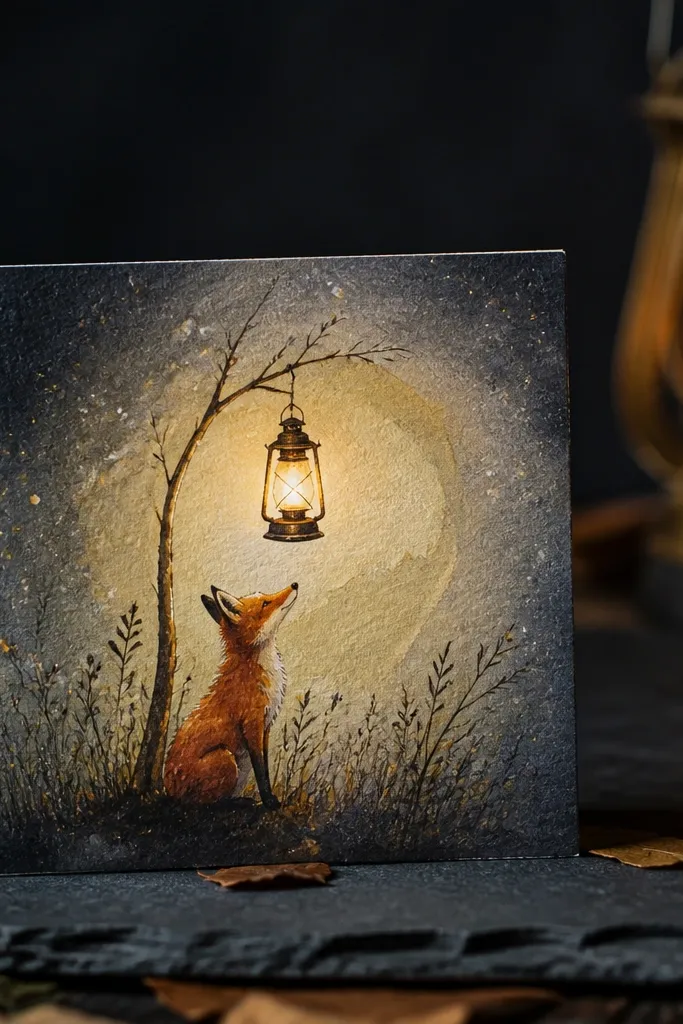
This drawing looks standout-cute because it adds a clear focal point: the lantern. The hanging lantern creates strong shapes and gives you a natural frame for a small-space fox drawing without needing extra background elements. A soft glow effect makes the fox feel magical while the lantern stays graphic and readable. It’s also a great project if you like clean lines but want one painterly element — the glow. It takes about 45-60 minutes with simple tools, and it suits bookmarks, small wall art, and gift tags. Skill level is easy to intermediate because you need steady hand control for the glow rays, not complex drawing.
1) Sketch a lantern centered on the page — draw a rounded rectangle body about 2.5 inches tall with a small top cap and two hanging strings that connect to a point above. Position the fox below the lantern so its head is just under the lantern opening. Keep the fox compact: head oval, two ear triangles, short body curve, and a tail loop tucked to one side. 2) Ink the lantern first with a dark fineliner, then color the lantern with light yellow or muted amber watercolor. 3) Create the moonlight glow by wetting only a small area around the lantern rays and painting pale blue or lavender behind the lantern outline; then add 6-8 thin glow rays with diluted paint or a light gel pen. 4) Finish by inking the fox with dark brown and adding a simple nose highlight dot and one cheek blush mark.
Draw the glow rays lightly in pencil first so you keep them evenly spaced and don’t crowd the fox.
Don’t color the glow over the fox — keep the glow behind the fox so it doesn’t wash out the face.
20. Fox With a Tiny Castle Door and Brick Border
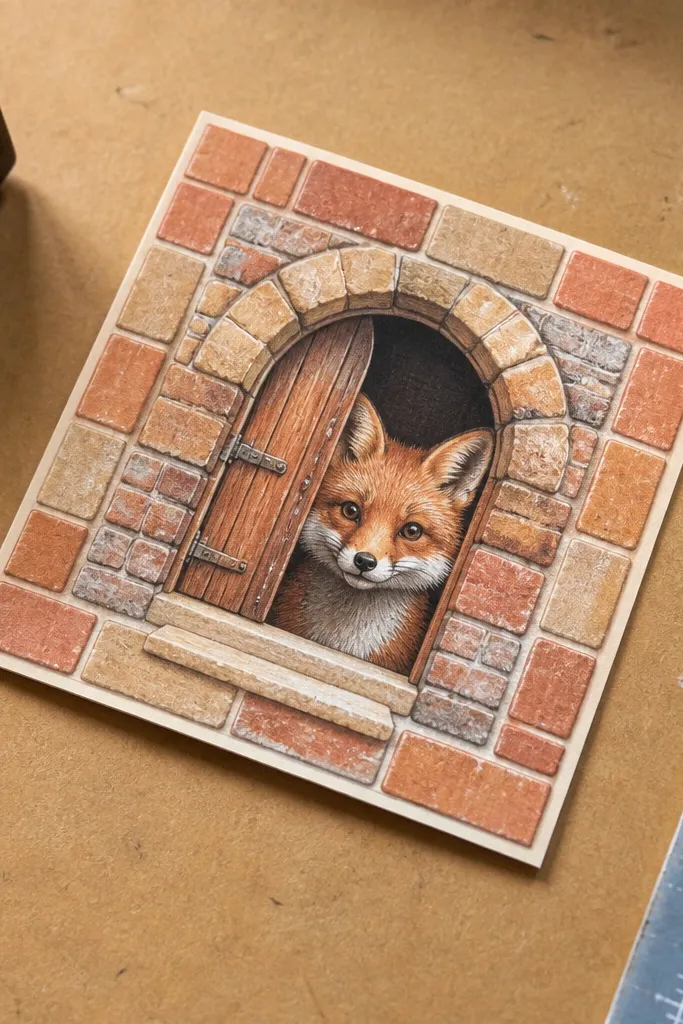
This one earns its cuteness by mixing two kid-friendly motifs: a fox and a tiny castle door. The door gives you a natural “window” for the fox face, which keeps the drawing readable in a small-space fox drawing format. The brick border adds texture without turning into a full scene, so it stays simple and photogenic. Use warm browns and a light cream base so it looks like a storybook print rather than a flat doodle. It’s a solid pick for labels, envelope seals, and mini prints because it looks complete even when cropped. Skill level is beginner — the castle shapes are rectangles and triangles, and the bricks are repeat marks. Time is about 40-55 minutes.
1) Make a border first: draw a rectangle frame around your paper area, leaving a 0.25-inch margin. Add brick lines by drawing short horizontal “mortar” gaps, then place brick blocks with staggered vertical lines; aim for 12-15 bricks across the width. 2) Draw a tiny castle door in the center — a rounded rectangle about 1.75 inches tall with a small arched top, then add two simple side panels. Place the fox face peeking from behind the door edge so only the eyes, muzzle, and ears show above it. 3) Color the bricks with a light tan wash, then deepen every other brick with a darker brown. Color the door cream or pale gray, add a small doorknob dot, then ink the fox with dark brown and add a short tail curl.
Use a ruler for the frame and mortar lines, then freehand everything inside — you get a crisp border with a handmade feel.
Don’t overcrowd the brick border with too many mortar gaps — keep the brick pattern coarse so it stays cute, not busy.



