
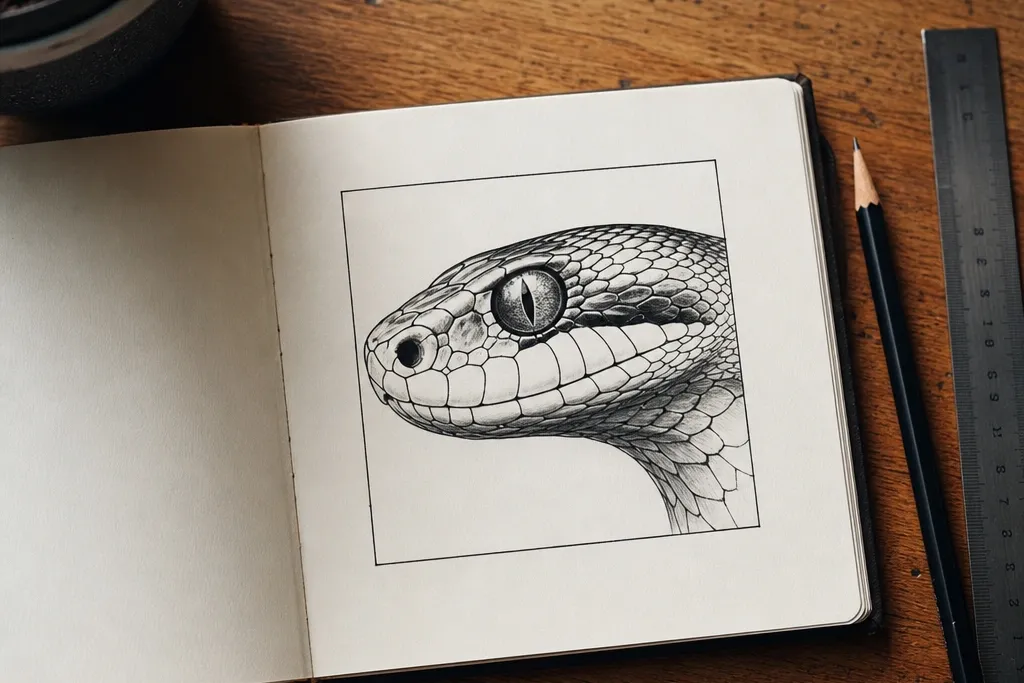
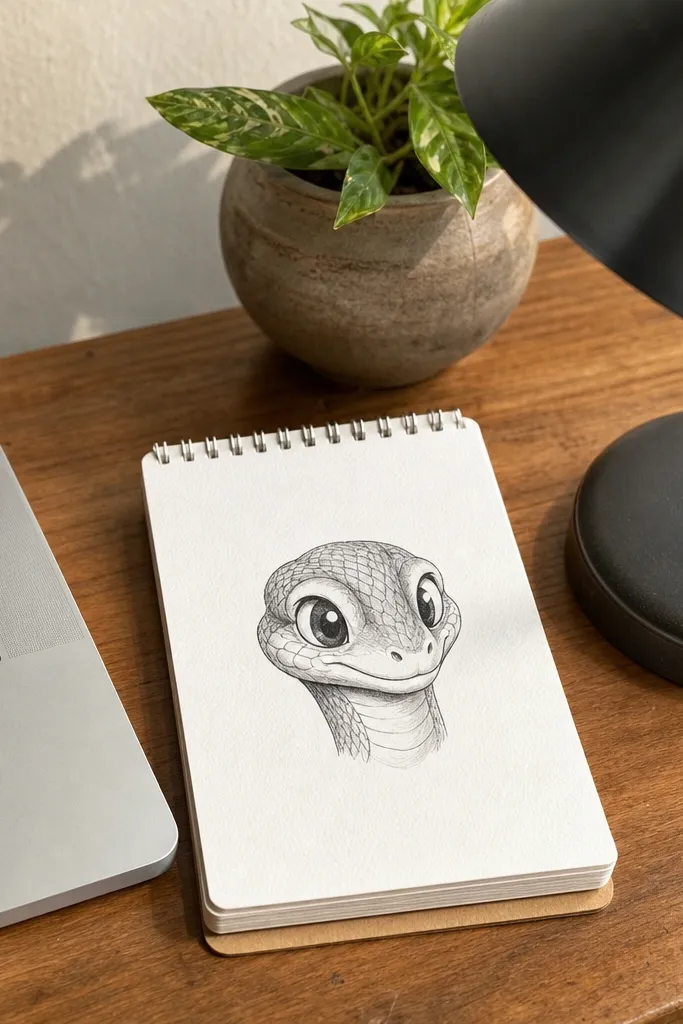
1. 6x6 Square Coiled Head with Chevron Bands
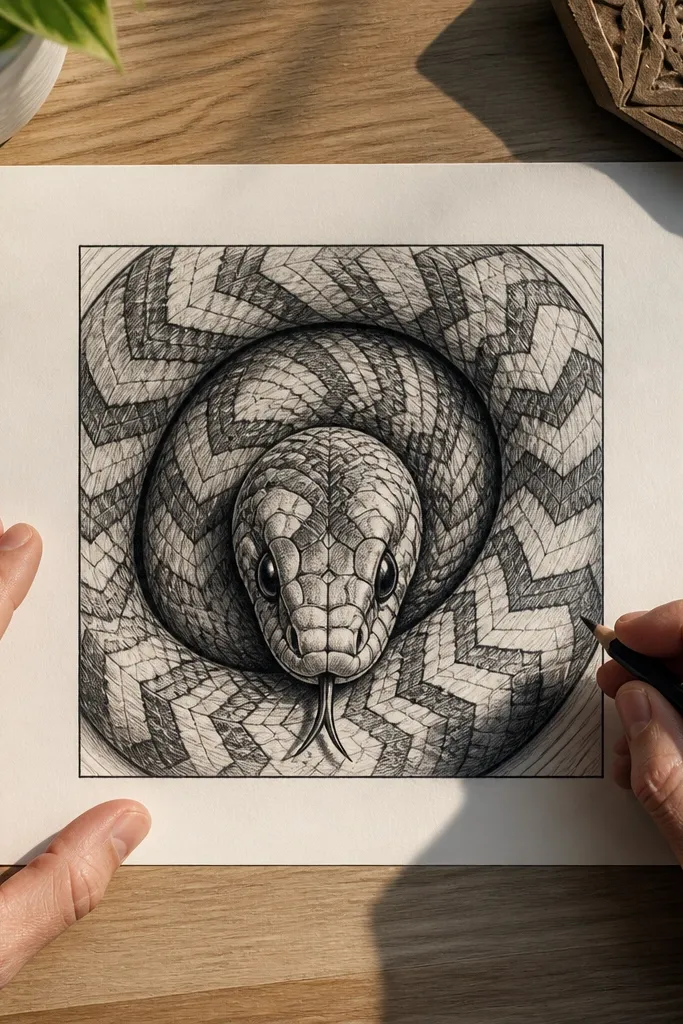
This one is built for small-space snake head drawing because the coiled posture gives you a natural frame. The head sits forward while the neck curls back, so the negative space in the square doesn’t get swallowed by scales. Chevron bands read instantly at a distance, and they look clean in photos because the stripes catch light evenly. Use a bold outer contour line, then keep the chevrons consistent in thickness so the pattern feels deliberate instead of scribbly.
Start with a 6x6 inch guideline square, then sketch the head silhouette with a single continuous thick line. Add the eye and brow ridge next, then draw 4-6 chevron bands that wrap from cheek to jaw, curving with the head. Finally, shade only inside the chevrons with light pencil or stipple so the bands stay crisp; trace over the outer line and the darkest chevron edges with a liner.
Pro tipDraw the chevrons with a ruler or a flexible curve tool, then keep the spacing identical from one band to the next.
AvoidDon’t add extra scale textures between chevrons — it kills the clean band look in tiny space.
2. Monochrome Ink Head with Diamond Scale Grid
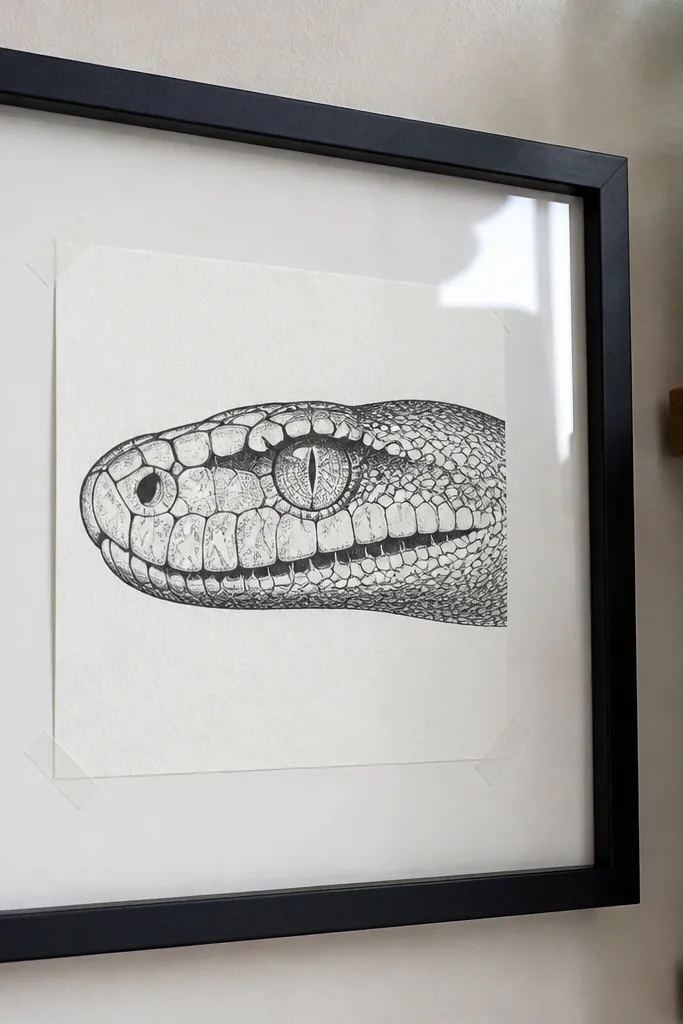
If you want the most photogenic “designed” look, go monochrome with a diamond grid. Diamonds create a scale illusion that stays readable even when the drawing is small, because the repeating shapes give structure. The head looks sharp because the grid naturally defines the cheeks, and the jawline can be darker without needing heavy shading. This style also photographs well because the ink blacks hold their contrast.
Begin by drawing the head outline and the eye shapes, leaving a tiny highlight gap in each eye. Lightly map the face into three horizontal zones: brow, cheek, jaw, then sketch diamond tiles inside each zone with consistent angles. Darken the outline and add a slightly thicker border around the diamonds near the jaw for depth. Finish by reinforcing the pupil area and the nostril line with ink.
Pro tipUse a fine liner (0.3-0.5) for diamonds and a slightly thicker one (0.8-1.0) for the outer contour.
AvoidAvoid random diamond sizes — uneven tiles make the head look chaotic at small scale.
3. Watercolor Wash Head with Negative-Space Scales
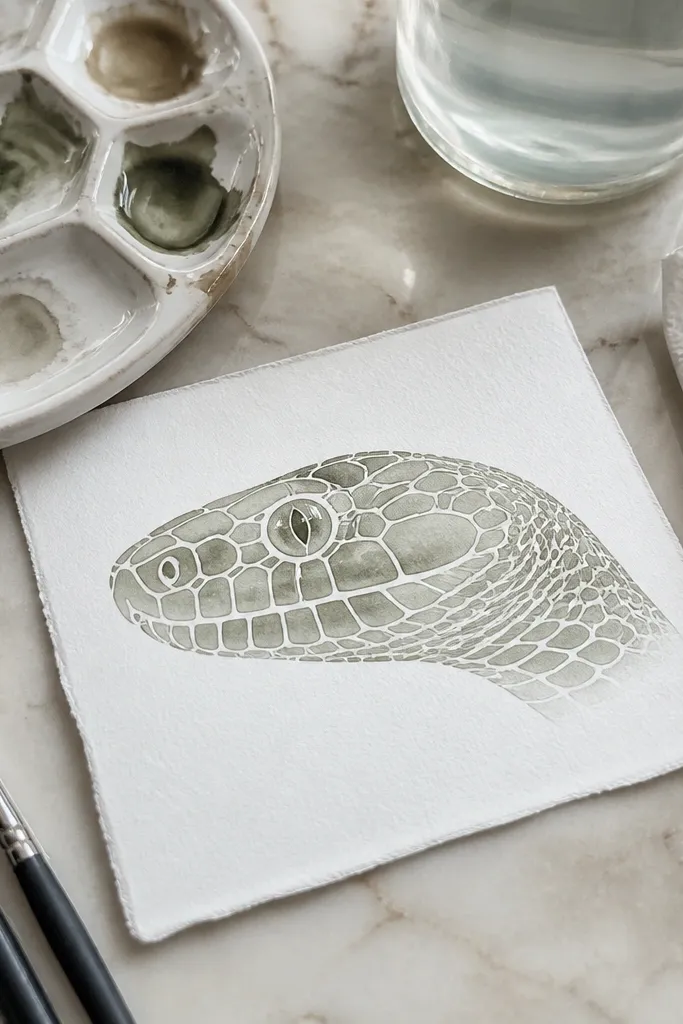
This is the aesthetic option when you want softness without losing clarity. The method is simple: paint a wash for the head base, then leave the scale pattern as negative space so the drawing still reads as “scales” instead of a blur. Negative-space scales look gorgeous in small formats because they create crisp edges against the wash. Keep the palette tight — one warm wash and one cool shadow is enough for a polished look.
Lightly sketch the head silhouette and eye highlights with pencil, then wet the head shape with clean water. Apply a single wash color across the head, leaving the scale shapes unpainted by masking them with the paper’s whiteness. When it dries, add a darker wash under the jaw and around the eyes, then outline the eyes and nostrils with a fine pen. Add a few scale borders in ink to sharpen the pattern where it matters.
Pro tipUse watercolor paper or the wash will feather and your negative-space scale edges won’t stay crisp.
AvoidDon’t go heavy on multiple colors — too many washes muddy the scales in a small head drawing.
4. Pencil Stipple Head with Eye-First Focus
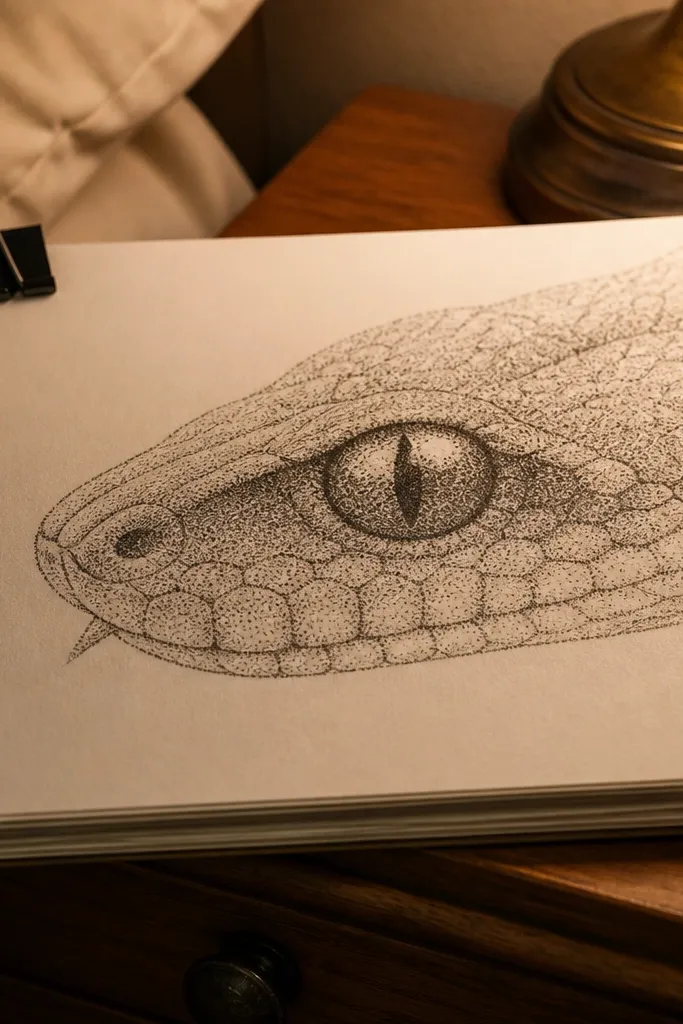
Stippling is perfect for small-space snake head drawing because you can control depth without smearing. The eye stays the focal point by using the densest dots around the pupil and leaving a clean highlight. Scales can be suggested with subtle stipple density changes rather than drawing every individual scale. The result looks calm, textured, and expensive in photos because the surface has grain.
Sketch the head outline and block in the eye shape with a darker pencil tone. Add stipple dots in bands: densest around the brow and jaw, lighter on the cheeks, and keep the highlight area clear. Use tiny stipple clusters to suggest scale rows — small, repeated curves that follow the face contour. Finally, deepen the nostrils and inner eye lines with a darker pencil or fine liner.
Pro tipWork from dark to light. Start with the densest stipple areas so you don’t overwork the highlights.
AvoidDon’t outline every scale — stipple should imply texture, not become a full grid.
5. Side-Profile Head with Split Face Pattern
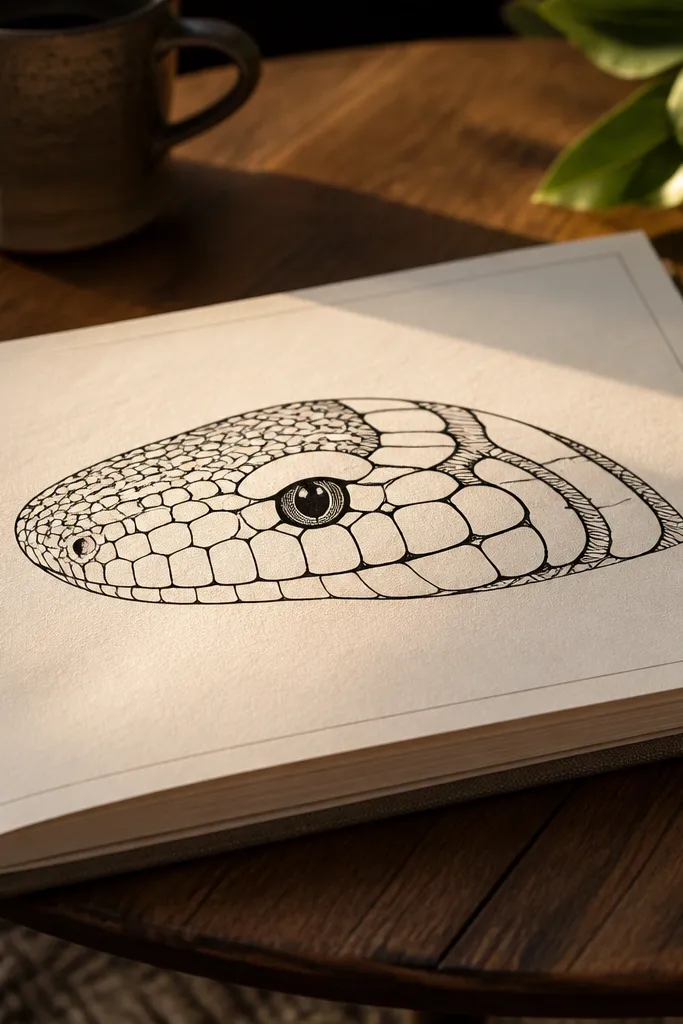
A side-profile head solves a common small-space problem: too much front detail crowds the eyes. Split face pattern makes it look intentional by changing the scale motif from one side to the other. One side can have tight scales and the other can have broader bands, so the composition reads fast. This style looks clean in narrow frames and phone wallpapers because the head silhouette is long and clear.
Draw a side-profile head silhouette with a smooth jaw curve, then add the eye and brow ridge early. Divide the face with a gentle center line, then choose two motifs: for example, left side uses diamond scales and right side uses chevrons. Keep the scale sizes smaller near the eye and bigger near the jaw to mimic how snakes wrap their skin. Ink the outline and the eye line last so the profile pops.
Pro tipKeep the center split line faint in pencil; ink only the outer contour and the pattern edges.
AvoidDon’t make both halves the same density — the split loses its designed look.
6. Half-Head Mirror Symmetry with Thick Eyelid Stripe
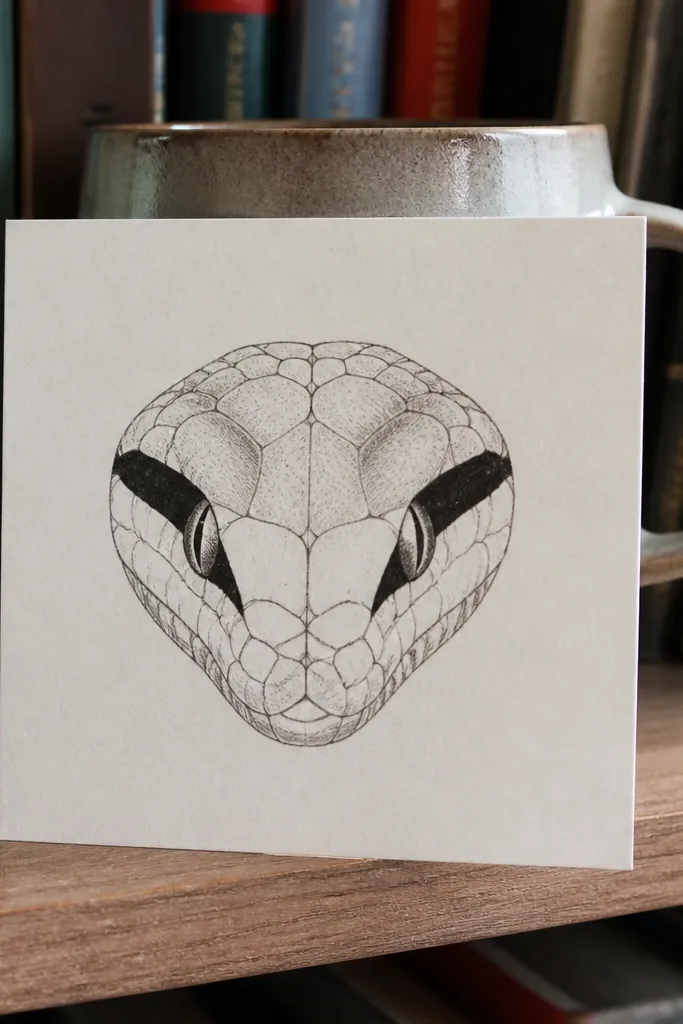
This is the easiest way to make a small-space snake head drawing look polished: symmetry with one bold feature. The thick eyelid stripe gives the eye area a graphic shape, which makes the head look like illustration rather than sketch. Mirror symmetry also helps beginners because mistakes show up immediately, and you can correct them before you add fine scales.
Sketch a vertical center guideline, then draw the head outline and both eyes as mirror shapes. Add the thick eyelid stripe across both sides, then fill the rest of the face with either simple oval scale rows or tiny diamonds. Keep the scales smaller near the stripe and slightly larger toward the jaw. Trace the entire outline and stripe with ink, then lightly shade around the stripe for depth.
Pro tipUse a lightbox or hold the paper against a window to check symmetry before inking.
AvoidAvoid freehand asymmetry in the first pass — fix it before you commit to ink.
7. Neon-Look Marker Head with Limited Palette
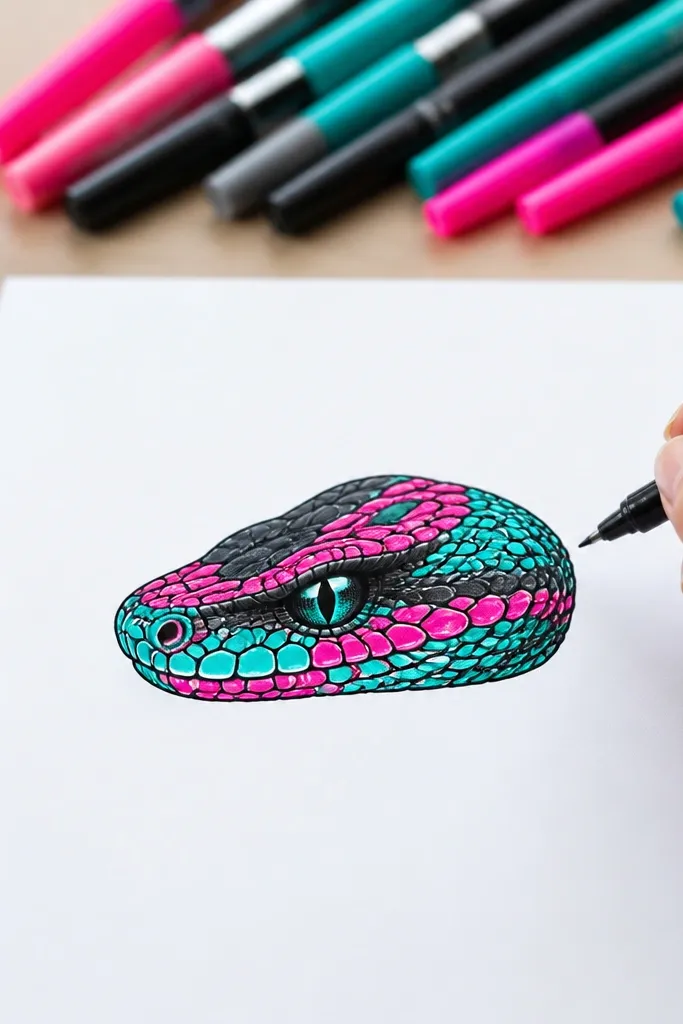
If you want something that screams “aesthetic” on social media, marker color with strict limits works. Choose two bright colors plus one dark line color, and let the white paper do the rest. The head looks striking because the neon accents define the scale pattern without needing dozens of shades. Keep the eye area dark and glossy with a small highlight so the colors don’t flatten.
Sketch the head and outline it with a deep black or dark brown pen. Color the base with one neon tone, leaving narrow white gaps where scales separate. Add the second neon color in bold stripes or patches on the cheeks and jaw, then use the dark line to define the scale boundaries. Finish by coloring the pupils black and leaving a tiny white highlight spot.
Pro tipUse the broad chisel tip for base fill and the fine tip only for scale borders and the eye outline.
AvoidDon’t blend three+ marker colors on the same area — you’ll get brown sludge on small heads.
8. Charcoal Smudged Jaw with Clean Scale Edges
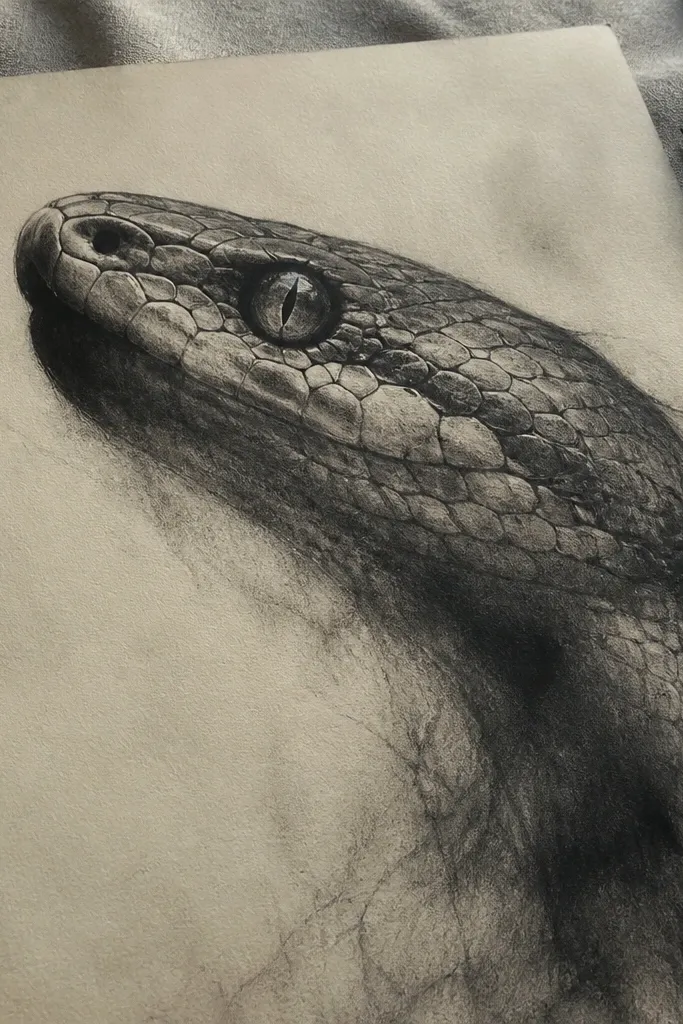
This style gives you contrast: soft charcoal shading in the jaw and crisp linework for scales near the face. The eye stays readable because you keep the brow and eye region sharp, then let the jaw melt into shadow. In small-space snake head drawing, that contrast keeps the drawing from looking flat. It also looks moody and expensive in photos without needing color.
Start with a sharp pencil outline and ink the eyes and outer contour lightly if you want permanence. Shade the jaw area with charcoal using a stump or paper towel, keeping edges around the cheek scales cleaner. Draw a few scale rows near the mouth with pencil lines that you keep darker than the smudge. Add a dark charcoal layer under the brow and then lift highlights with a kneaded eraser.
Use kneaded eraser to lift highlights, not your fingers — fingerprints ruin charcoal edges fast.
Don’t smudge over the eye highlights — they disappear and the head looks tired.
9. Ink Outline + Gold Gel Pen Scale Highlights
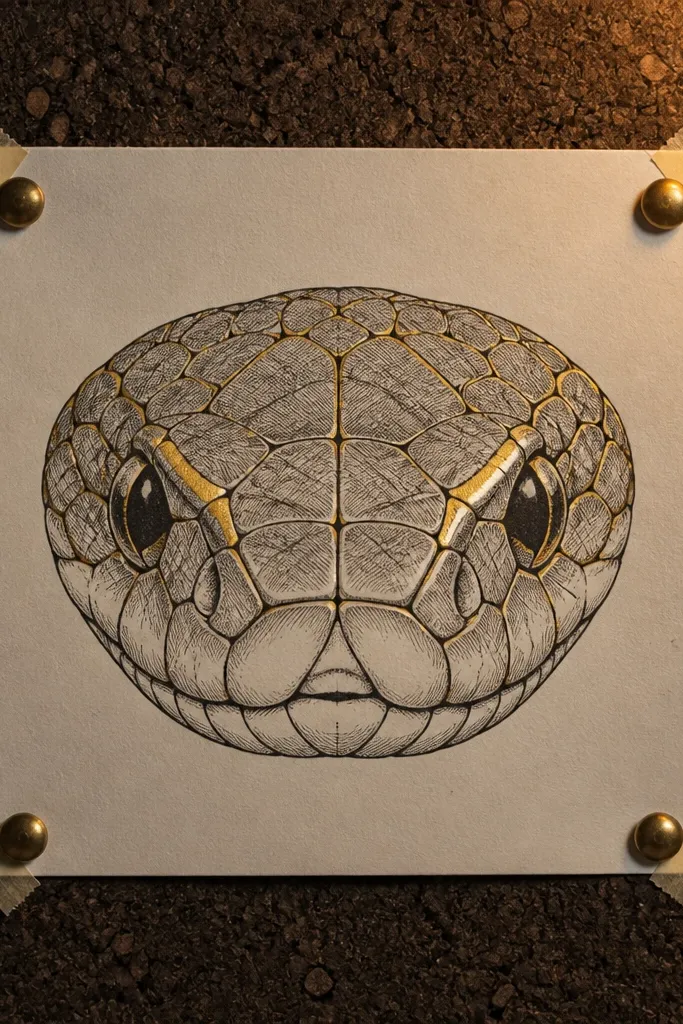
Gold gel pen highlights make a tiny snake head drawing look like jewelry. The key is where you place gold: narrow lines along scale borders and a few accents around the eye ridge. Black ink does the heavy lifting for readability, while gold adds a photogenic sheen that catches light. This works especially well if you plan to frame it or put it on a card.
Draw the head outline and eyes in black ink, keeping the outer contour thick and smooth. Add simplified scale rows with black pen, but skip filling every scale — leave some white paper. Then trace select scale borders with a gold gel pen, focusing on the cheek and jaw curves. Let the gold dry fully before you add any additional ink so it doesn’t smear.
Pro tipGold gel pen looks best when you apply it in thin strokes, not filled blocks.
AvoidDon’t cover the whole head in gold — it turns into glitter instead of highlights.
10. Geometric Head with Triangular Facets
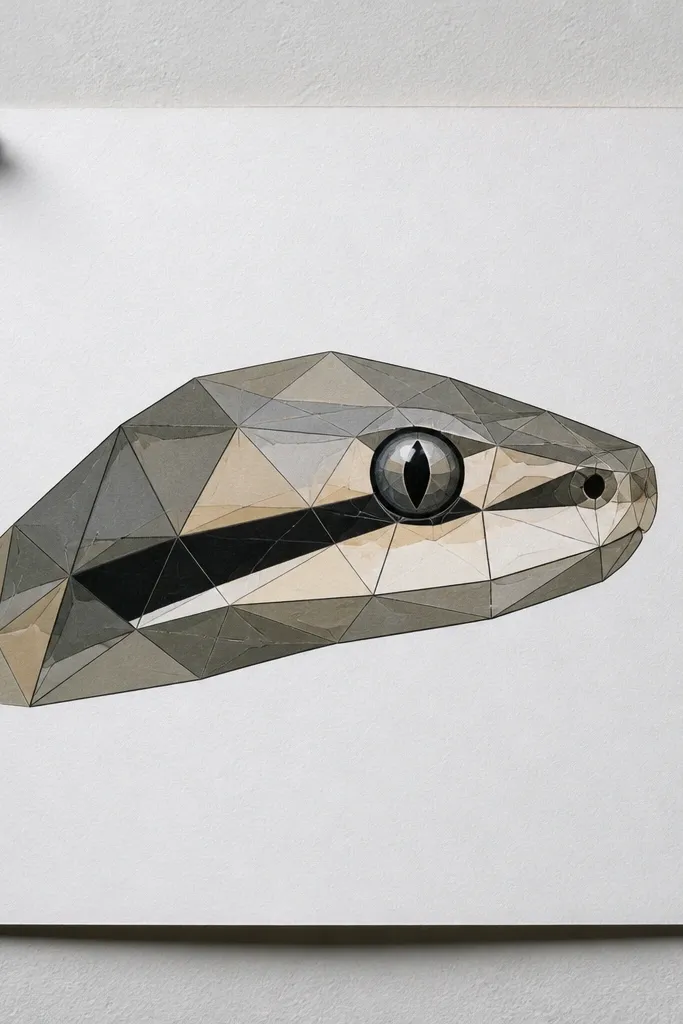
Geometric facets are a cheat code for small-space snake head drawing because triangles scale down cleanly. Instead of drawing tiny scales, you create a faceted face that reads like a stylized snake. The result looks crisp and modern, and it photographs well because edges stay sharp. Add one dark band under the eye and one light highlight on the brow to make the geometry feel dimensional.
Sketch the head outline first, then draw a center line and a brow line to guide the facet layout. Fill the face with triangles of slightly different sizes, following the cheek curve. Keep triangle edges consistent thickness, then add a darker triangle cluster around the eye socket. Finally, reinforce the outer contour and add a few highlight lines in white gel pen.
Pro tipUse a ruler for the triangle edges, then curve only the outermost contour lines.
AvoidAvoid random triangle angles everywhere — pick one dominant angle family so the pattern looks intentional.
11. Minimal Line Snake Head with Two-Scale Motifs
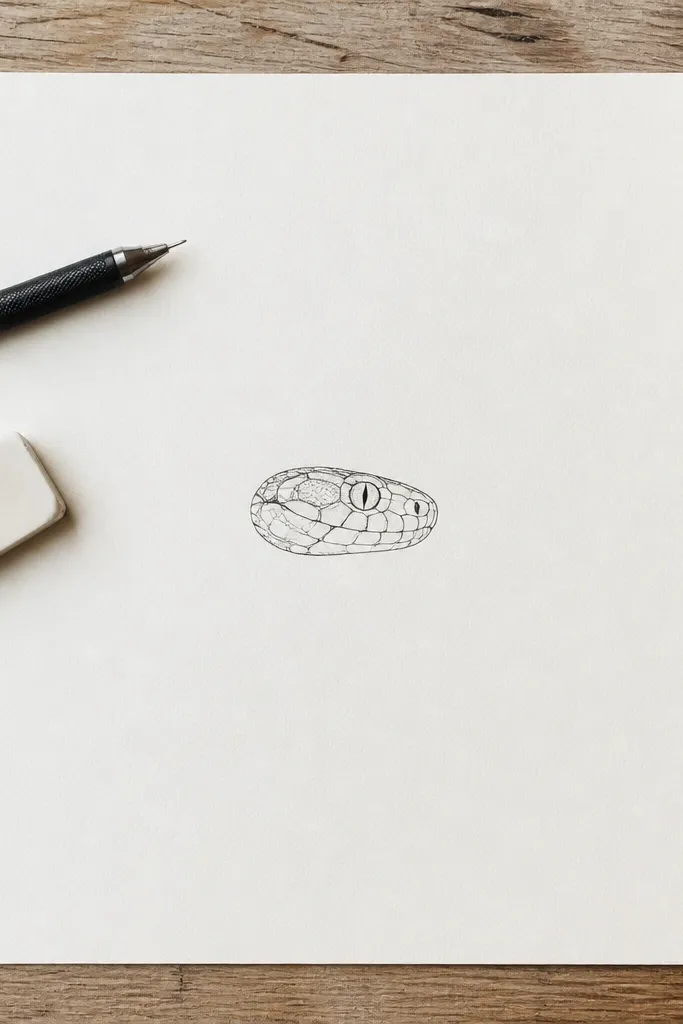
Minimal linework works in small formats when you limit the pattern to two motifs. One motif sits around the eyes and brow, and the other wraps the jaw. This gives the head a graphic look without overcrowding. The aesthetic is clean, and it’s forgiving if your space is small because you’re not trying to fit dozens of scales into a tiny area.
Draw the head outline and eyes with a single consistent line weight. Add a small repeating motif near the brow, like tiny arcs or short U-shapes, then switch to a second motif on the jaw, like short chevrons. Keep the motifs separated by clear negative space so the head doesn’t blur. Go over the outline with a darker pen at the end for instant readability.
If the drawing feels busy, remove one full motif row before you add shading.
Don’t add crosshatching on a minimal piece — it kills the clean look.
12. Patterned Back-of-Head View with Scales Like Tiles
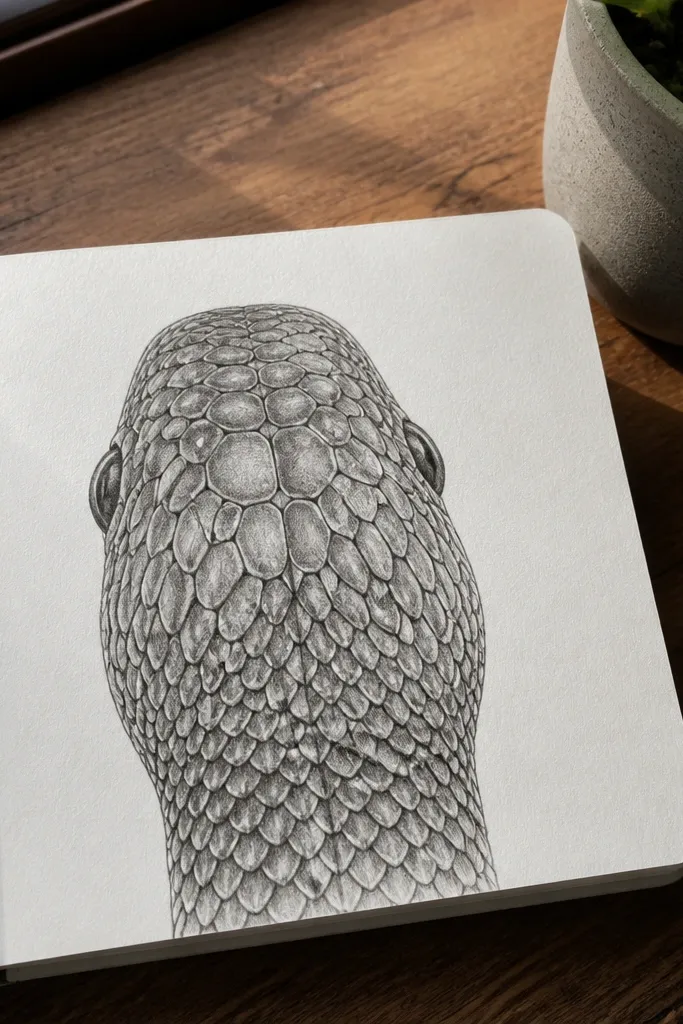
This angle is a smart choice when you want detail but don’t want a tight eye rendering. The back-of-head view lets you focus on scale pattern tiles that wrap around the head curve. Tiles are photogenic because they create a regular rhythm, and they make small-space snake head drawing look intentional even without heavy shading. Use a darker border line around each tile row to make the pattern pop.
Sketch a head shape from above or slightly behind, then place the eye area as a simple oval with a small pupil dot. Draw a few tile blocks across the top, then extend them down the sides following the curve. Outline only the tile borders, not every tiny border line, so it stays readable. Finish with a shadow under the brow using light pencil or a thin ink wash.
Pro tipStart with 5-7 tile columns, then keep every row aligned to that structure.
AvoidDon’t try to add full scale rows around the whole head — pick one dominant tile region.
13. Red-Green Contrast Snake Head with Layered Pencil Blocks
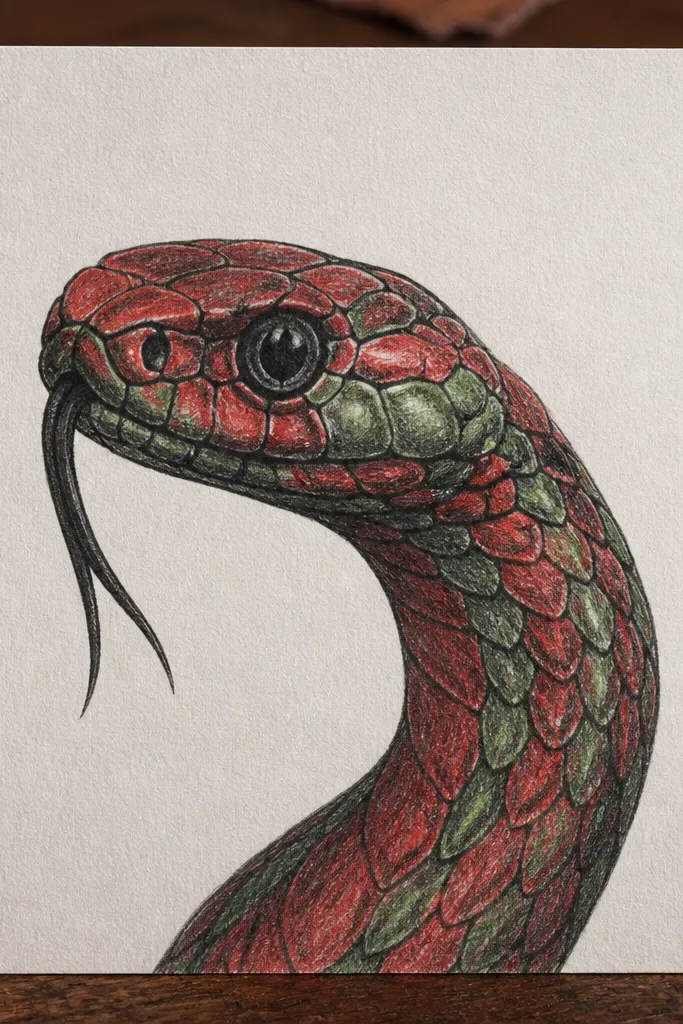
Two-color pencil layering looks bold without needing paint. Red and green create a natural contrast that makes scale separations read clearly in photos. The head looks better when you keep the linework dark and let color live in blocks shaped like scales rather than tiny individual lines. This works great for small-space snake head drawing because you’re building an illustration, not filling every scale.
Outline the head and eyes with a dark pen or pencil, then erase lightly if needed. Block in base color with red pencil on the top and green on the sides, keeping edges crisp. Add a second layer of each color in slightly darker tone along the scale borders you already drew in pencil. Finish by sharpening the eye and nostril lines and adding a small highlight with a white gel pen.
Pro tipUse color pencils with hard pressure for borders, then lighter pressure for the midtones inside each scale block.
AvoidDon’t blend colors fully — the borders are what make scales read at small size.
14. Botanical-Vine Frame Snake Head Drawing
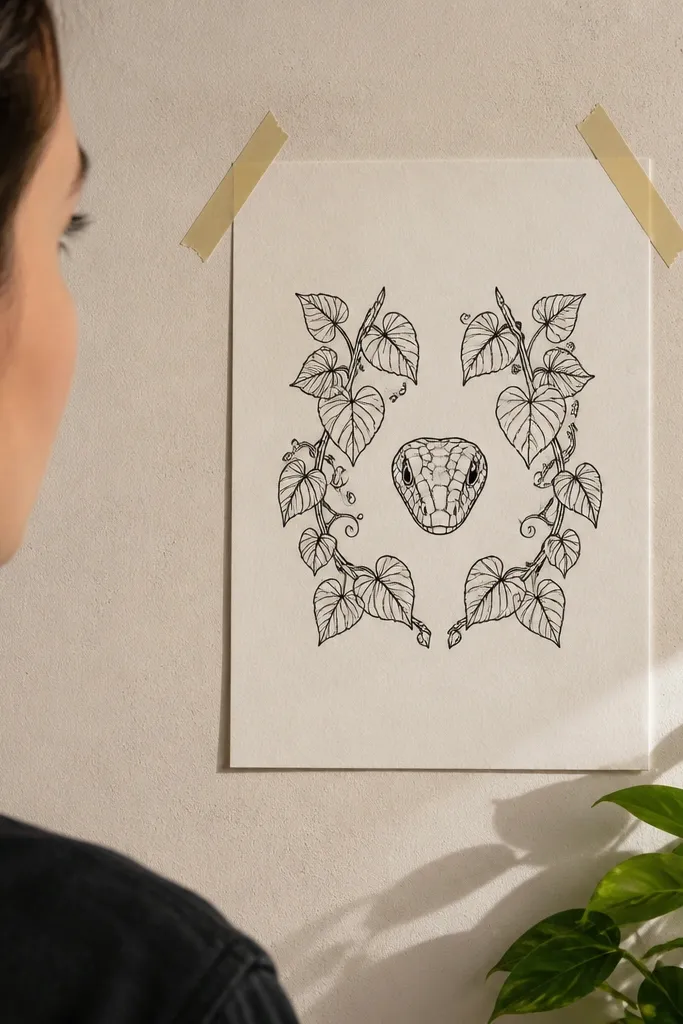
This one gives you a clean “finished page” look because the frame does half the work. The snake head stays small in the center, while vine leaves create rhythm around it, making the whole piece feel intentional. The snake scales can be simpler because the frame pulls attention and adds aesthetic structure. Keep the vine line thin and the snake outline thick so the hierarchy is clear in a photo.
Draw a small snake head centered on your page, then outline it with a bold line weight. Add simplified scale rows on the cheeks and jaw using short curved lines. Next, sketch a vine frame around it using 2-3 leaf shapes repeated, leaving gaps so the page stays airy. Ink the snake first, then ink the vine, then add tiny highlights on the snake scales with gel pen.
Pro tipUse one leaf shape repeated at different sizes — variety without repetition looks random fast.
AvoidDon’t make the vine as dark as the snake outline — it will steal the focus from the head.
15. Backlit Look Snake Head with White Highlights and Black Core
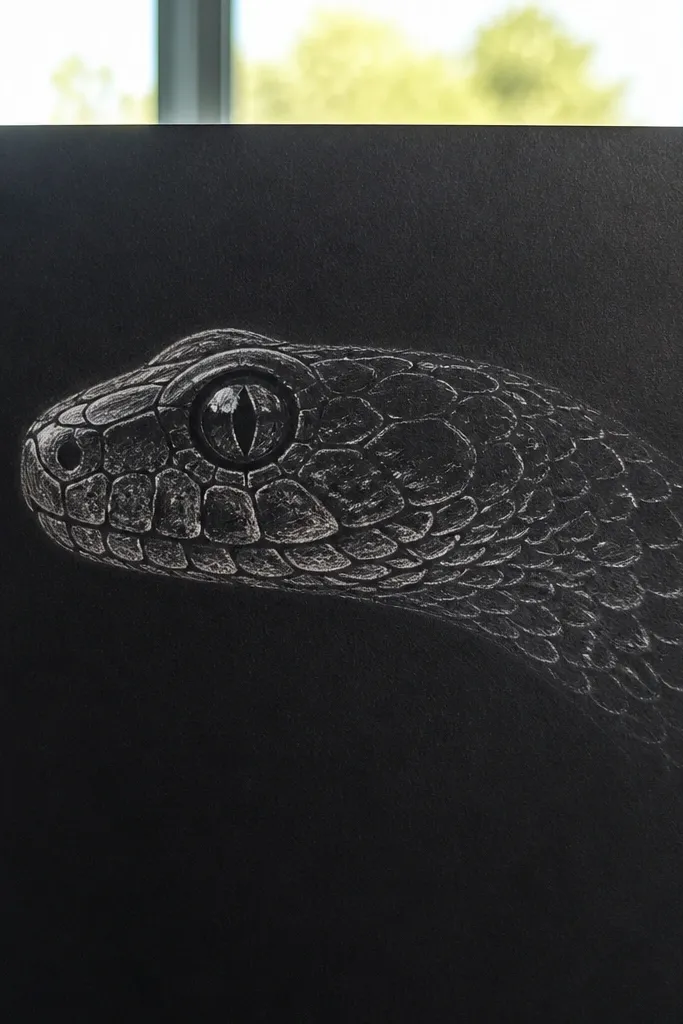
This is a lighting trick you can draw even on paper: black core shading with bright white highlight lines. In a small-space snake head drawing, highlights make the scales look raised because they mimic reflected light. The eye pops because the highlight lines guide the viewer toward the brow and pupil. It also looks dramatic without adding complex color.
Outline the head and place the eyes, then shade the darkest areas first with black pencil or ink, focusing on the brow and under the jaw. Leave clean white highlight paths — thin stripes that follow the scale direction. Add midtone shading with gray pencil around the black core, then trace selected scale borders with a fine pen. Finish by adding a tiny white dot highlight in each eye and one highlight stripe down the snout.
Plan highlight lines before shading so you don’t accidentally cover them with pencil.
Don’t overfill the head with black — keep the highlights as intentional gaps.



