

1. Pocket Dome Turtle with Bold Shell Rings
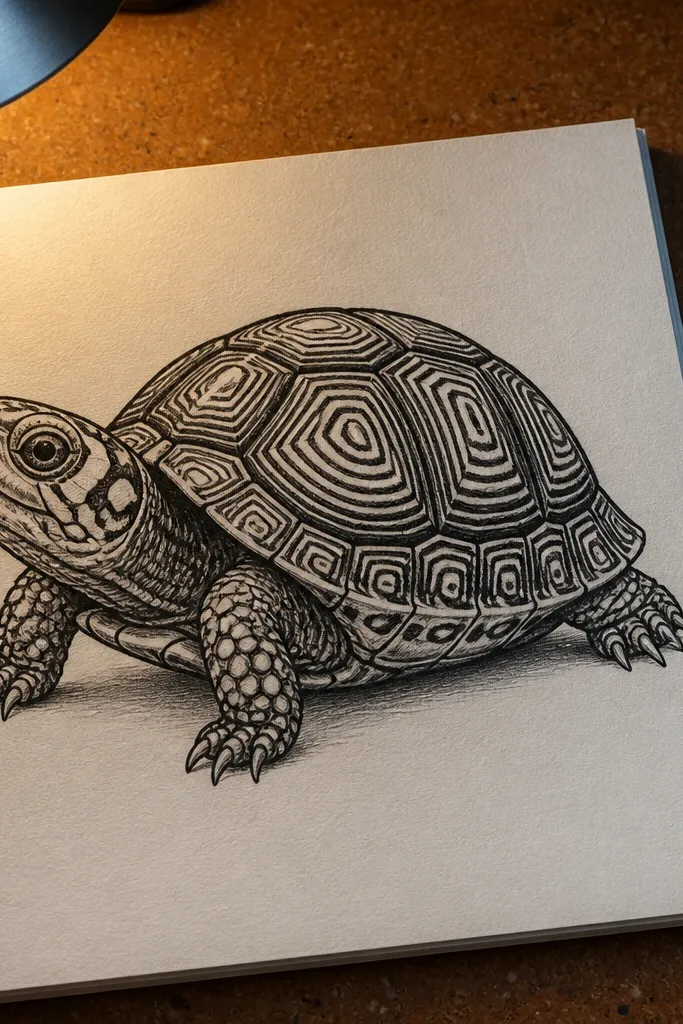
This drawing is perfect for small-space Turtle Drawing practice because it looks complete with almost no background. The shell rings give you instant structure, and the thick outline makes the turtle read clearly even when the page is crowded. Start with a dome shell that fills most of the page width, then place a simple head and two visible legs low on the shell. The result is cute, graphic, and very easy to repeat in a sketchbook.
Start by drawing a big dome for the shell. Add a small head oval facing right and two short leg paddles under the shell edge. Then draw 6-8 bold rings across the shell, leaving a small gap at the rim for a highlight. Finish by adding a shadow band under the rim and a darker ring segment on one side.
Pro tipUse a single fineliner weight for the outline, then switch to a slightly thinner pen for the ring breaks.
AvoidDon’t cram rings all the way to the rim — leave a thin highlight gap so the shell looks rounded.
2. Side-Facing Turtle with One Eye and Clean Shadow
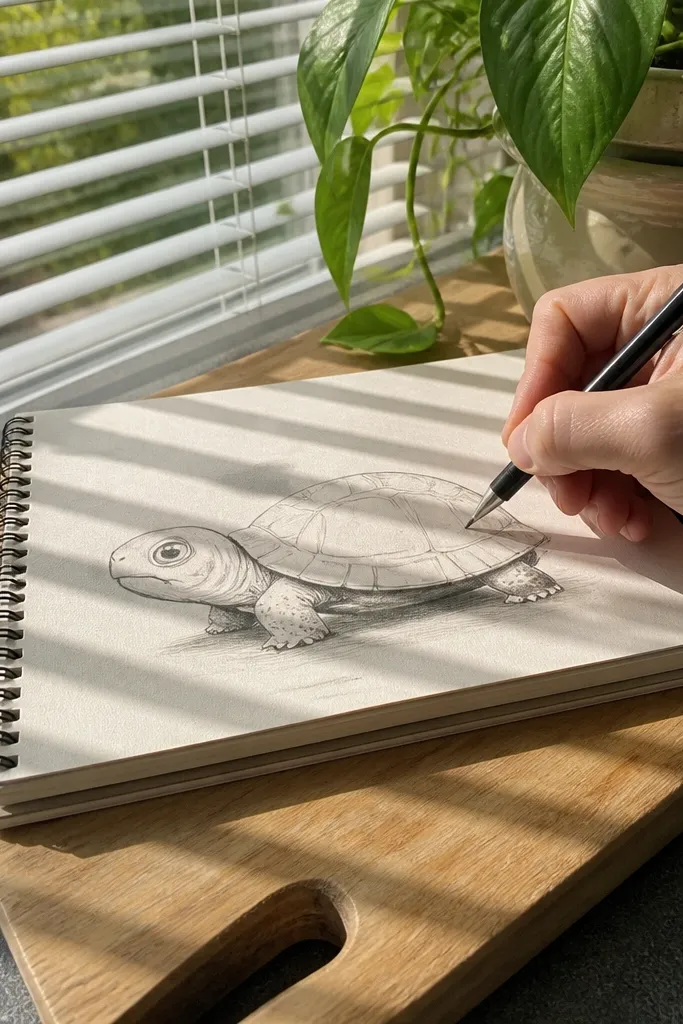
This one looks polished because the head angle is the main character. A side profile turtle is easier to make symmetrical and it gives you a clean silhouette, which is what makes aesthetic drawings feel “designed.” Keep the eye big and simple, and don’t add extra facial details. The shell still gets the same dome treatment, so the turtle feels consistent across a whole page series.
Draw the shell as a horizontal dome with a slightly flattened bottom. Sketch the head as a small oval attached to the front of the shell and add one eye as a dark dot. Add four leg shapes as rounded tubes — two in front, two tucked — keeping them short to fit small pages. Shade with a single shadow under the shell rim and a second shadow on the underside of the front legs.
Pro tipIf the head looks crooked, align the eye dot with the shell’s centerline before you ink.
AvoidAvoid putting shadows on every line — one shadow zone under the rim is enough.
3. Turtle in a Tiny Flower Pot (Minimal Background)
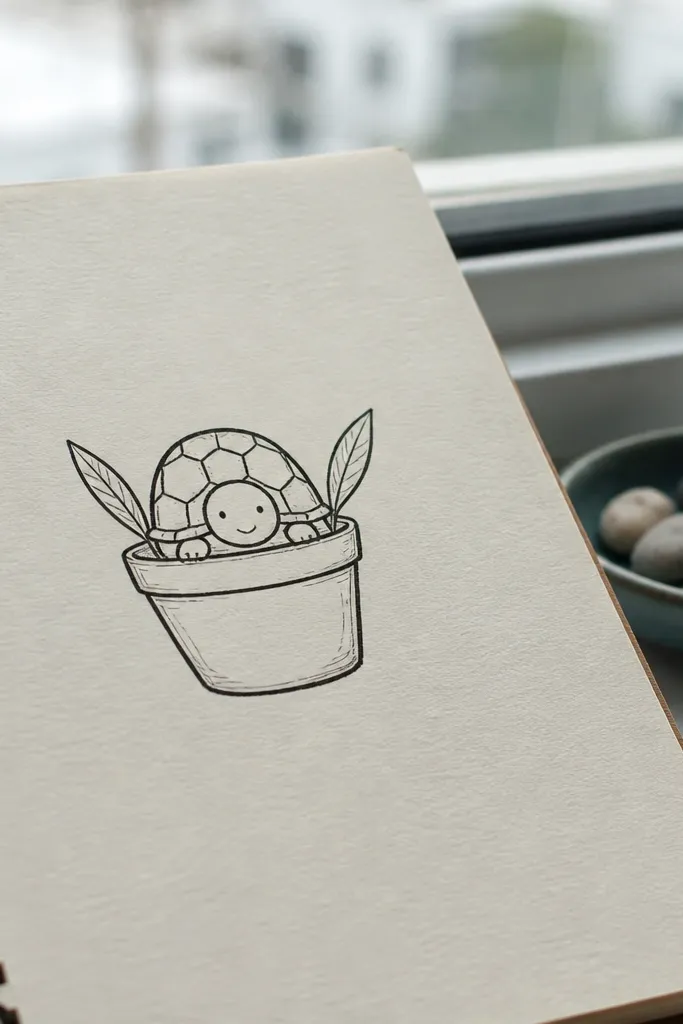
This is a small-space Turtle Drawing that looks instantly charming because the pot gives you a clear frame. You don’t need a full scene; just one pot shape and two leaf strokes make the turtle feel placed, not floating. It’s also a great way to practice consistent spacing: pot rim, shell dome, then two tiny legs gripping the edge. The contrast between the smooth pot and textured shell makes the drawing pop.
Draw a simple trapezoid pot with a curved top rim. Place a turtle shell dome inside the pot opening so only the top half shows. Add two small legs reaching over the rim and a tiny head peeking out. Ink the shell with 8-10 simple scute lines, then shade the pot rim and the turtle underside where they overlap.
Pro tipUse one thin zigzag line for pot texture instead of dots — it reads cleaner at thumbnail size.
AvoidDon’t draw a full garden — the pot and two leaves are the whole composition.
4. Three-Quarter Turtle with Shell Scute Checker
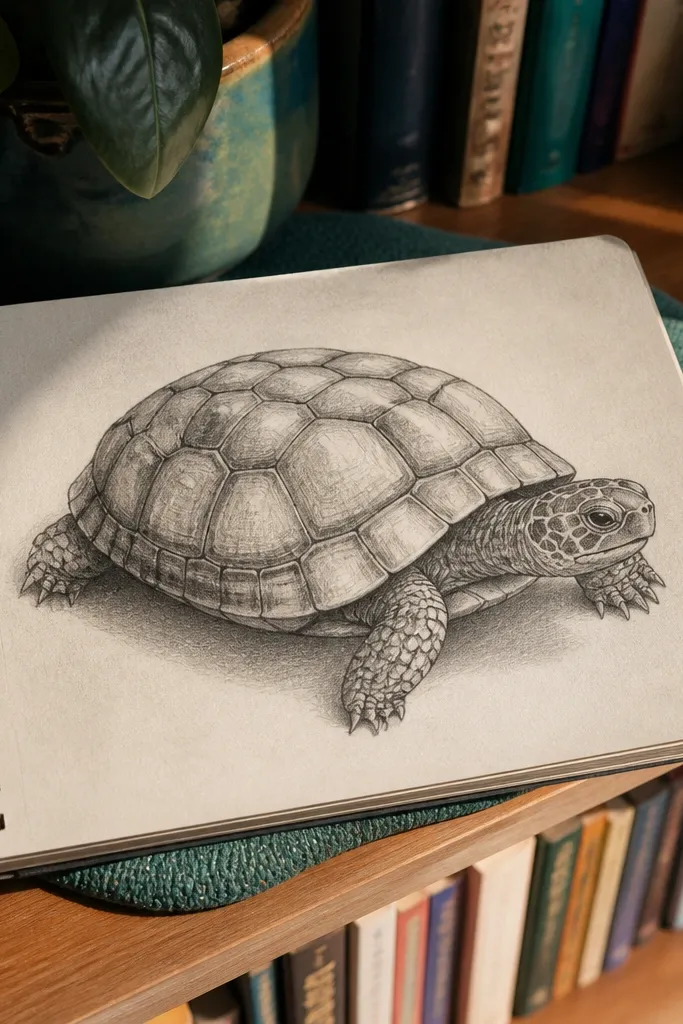
Three-quarter views are the fastest way to add variety without making the turtle harder. This design looks aesthetic because the shell pattern wraps around the dome and creates implied curvature. The checker-like scutes act like a map, so your lines look intentional even if your drawing is small. It’s also a great practice piece for learning how far to rotate the head relative to the shell.
Start with a dome shell, then tilt it slightly so the front half is closer to you. Draw the head oval angled toward the viewer and add the front legs as two overlapping paddles. Then sketch scute blocks across the shell — make them slightly larger near the front and smaller toward the back. Shade under the shell rim and add a darker wedge on the far side to push the 3D effect.
Pro tipKeep scute corners rounded; sharp corners make it look like a cartoon sticker instead of a shell.
AvoidAvoid straight scute lines that ignore the dome — bend lines slightly to follow the curve.
5. Minimal Line Turtle with One Splash Shadow
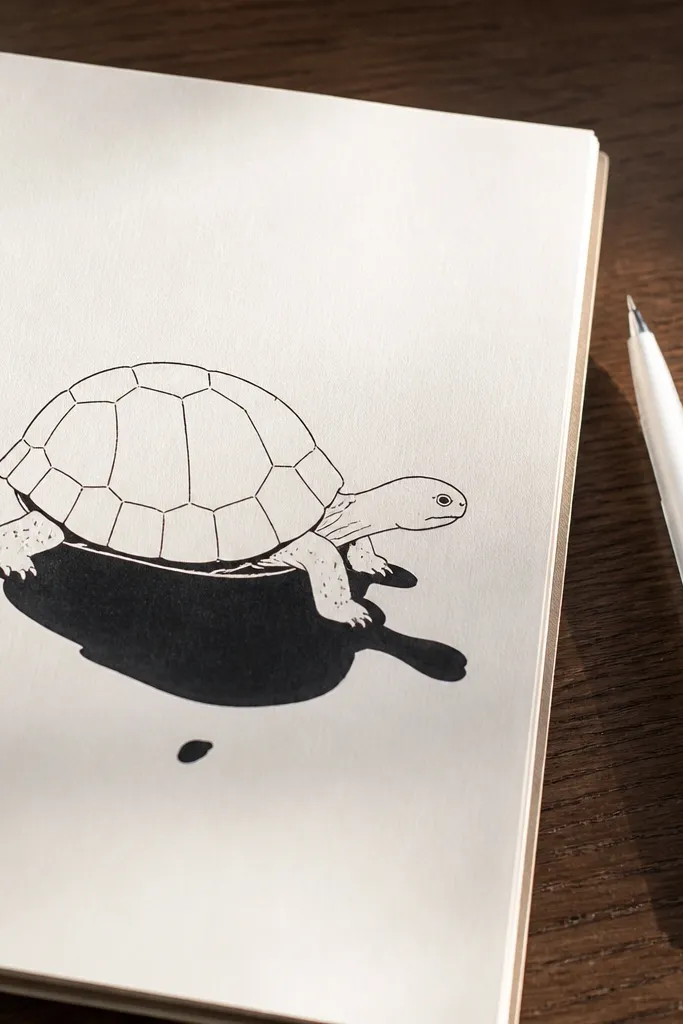
If you want an aesthetic page without heavy coloring, this is your go-to. The outline is light, but the shadow is bold — that contrast makes it feel modern and clean. The shell is just a dome with a few segment lines, and the rest is negative space. This style also helps you practice line confidence because you’re not hiding behind lots of texture.
Draw the shell dome and outline the legs with single continuous curves. Add a tiny head oval and a single eye dot. Place 4-5 shell segment lines that stop before the rim. Then create one shadow splash under the shell using a thicker marker or a darker pencil, keeping it wider at the center and tapering near the edges.
Pro tipUse a lighter pencil for construction, then erase fully before inking so the outline stays crisp.
AvoidDon’t add multiple shading areas — one shadow shape is what makes this style feel intentional.
6. Geometric Turtle with Triangle Shell Grid
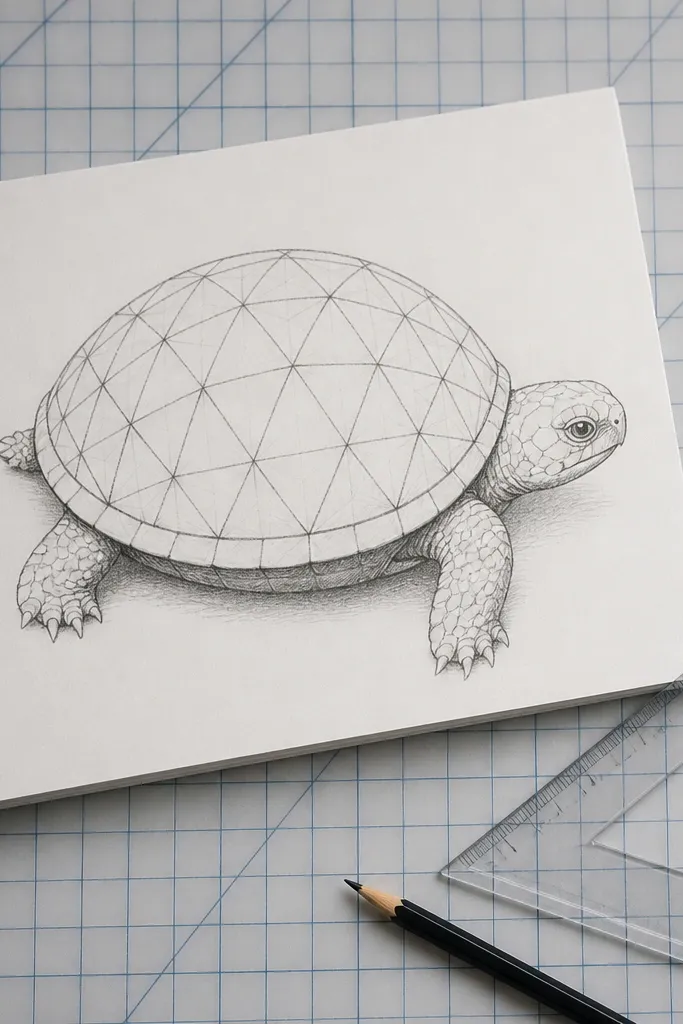
Geometry makes turtles look clean and graphic, which is exactly what you want in a small-space Turtle Drawing. The triangle grid turns the shell into a design object, and it’s easier to draw than it looks because triangles are repeatable. You’ll get a strong, photogenic look with just linework and one shadow band. This also trains you to keep proportions consistent across a series.
Sketch the shell as a dome, then draw a center guideline down the dome. Create a triangle grid by drawing rows of small triangles that get slightly smaller toward the back. Add the head and legs as simple curved shapes that sit inside the shell’s outline. Ink the triangles, then shade only along the bottom rim and between triangles in one shadow direction.
Pro tipMake triangle rows follow the dome curve by starting the first row larger than you think.
AvoidAvoid uneven triangle sizes — pick one size and repeat it with tiny variation.
7. Cute Turtle with Big Polka Dot Shell
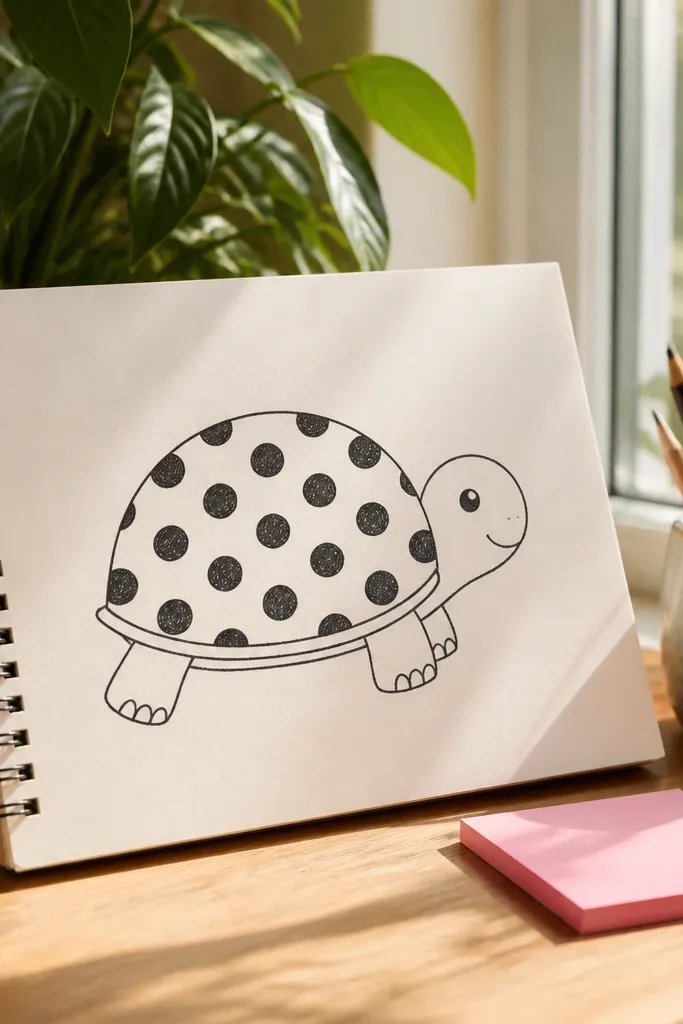
This drawing is photogenic because the polka dot pattern creates a strong texture without drawing 50 tiny lines. Big dots look playful and stay readable in small formats. Keep the dots evenly spaced and let the shell rim remain clean so the dome shape doesn’t get lost. The face is simple: one eye, one smile curve, and a small nostril line.
Draw a rounded shell dome and add a few segment lines that act like placement guides for the dots. Add head and legs as rounded blobs with short curves. Place 18-25 big dots on the shell, leaving a small dot-free highlight area near the top right. Ink everything, then color the dots with a single marker shade and add a darker shadow under the rim.
Use a dotting tool or the marker tip at a consistent angle to keep dot size uniform.
Don’t let dots spill into the rim — keep a clean rim edge for shape.
8. Watercolor-Style Turtle with Two-Tone Wash
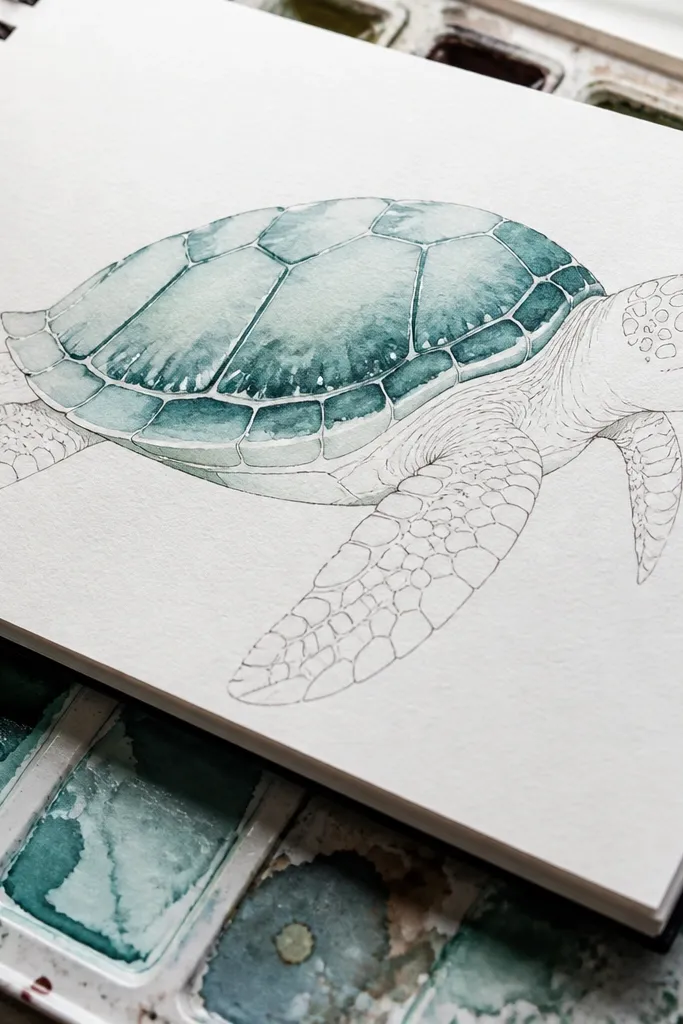
This is your “pretty page” option when you want softness but still need control. The turtle stays small-space friendly because the wash is limited to the shell, and the legs stay mostly line-only. Two tones — one base and one shadow — create depth without complex blending. It also photographs nicely because the edges look airy while the outline keeps it from turning messy.
Ink the turtle first with a fineliner: dome shell, simple legs, and a small head. Wet the shell lightly with water using a clean brush, then drop in a base color wash on the dome. Add a second darker wash only along the lower rim and under the front legs. Let it dry fully, then reinforce the outline and add one highlight spot on the shell.
Pro tipKeep the brush water separate from the ink color so you don’t get gray mud under the rim.
AvoidAvoid painting over the eye — ink it last after the wash dries.
9. Shell Mandala Turtle (Small, Not Busy)
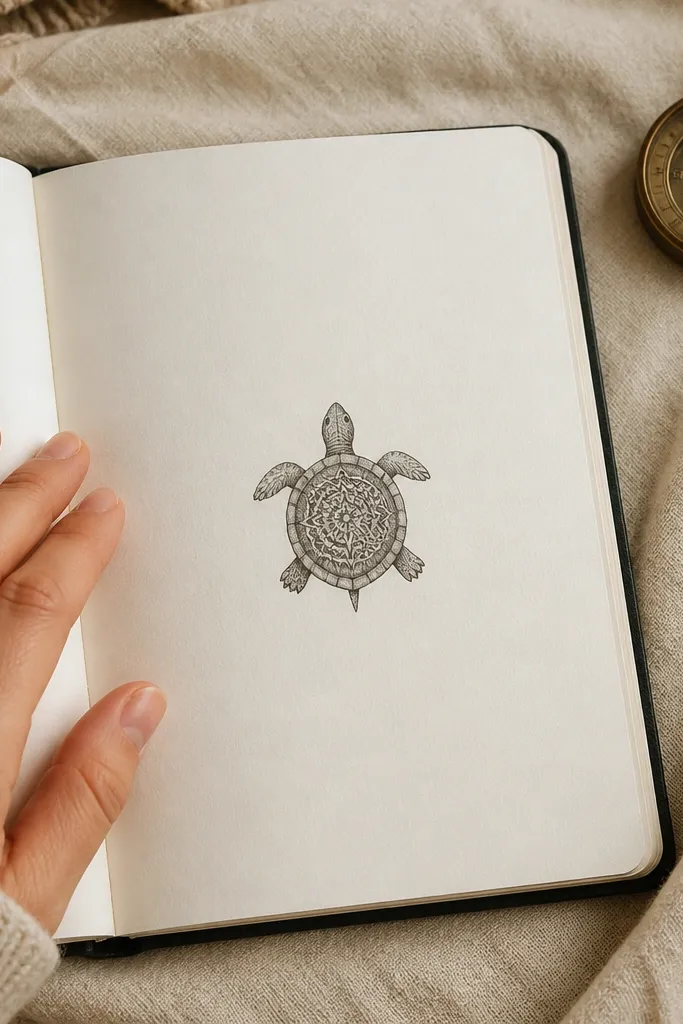
Mandala turtles look fancy, but you don’t need a full page of patterns. This version uses one centered mandala — a small circle of repeating shapes — so it stays doable in a tiny space. The rest of the shell has just a few clean scute lines, keeping the drawing readable. It’s a great practice piece for symmetry and for making your turtle look “finished” fast.
Draw the shell dome and a center circle guideline on the dome. Add a small mandala inside that circle using 6-8 repeating petals or dots around a center point. Keep the outer shell simple with 5-6 scute lines that stop at the rim. Shade under the rim and add one darker petal cluster on the lower left to create contrast.
Use a compass or trace a bottle cap for the center circle size so it lands perfectly on small shells.
Don’t add mandala patterns all the way to the rim — that’s where it turns cluttered.
10. Chibi Turtle with Oversized Head and Tiny Shell
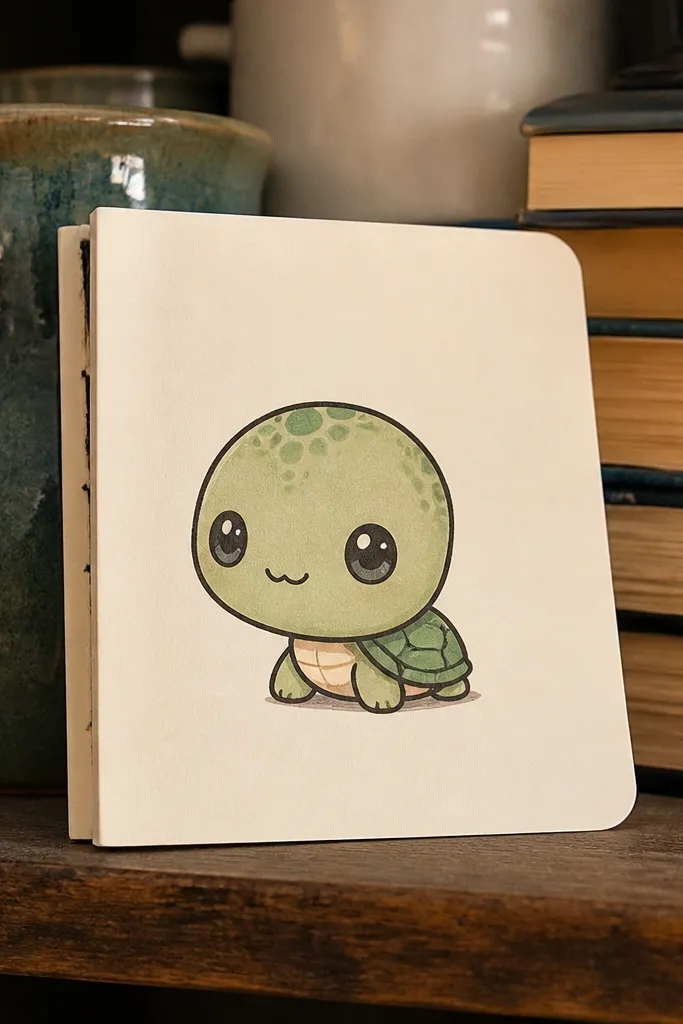
Chibi proportions are the easiest way to make a turtle look cute and stylized without adding detail. The oversized head gives personality, and the tiny shell keeps the composition compact. For small-space Turtle Drawing practice, this style is great because it makes every page feel different just by changing pose and expression. Use one strong outline and add a simple blush dot for extra cuteness.
Draw a large head oval first, then attach a smaller shell dome behind it. Add short legs as two tiny arcs on each side and a small tail curl. Place the eye as a big dot and add a small curved smile. Ink the shell with 4-6 scute lines, then add one shadow under the shell and a blush dot on each cheek.
Pro tipKeep the shell smaller than your instinct — chibi works when the shell feels almost too small.
AvoidAvoid realistic leg length — chibi legs should look stubby to keep the style consistent.
11. Turtle with Striped Shell and Bow-Tie Shadow
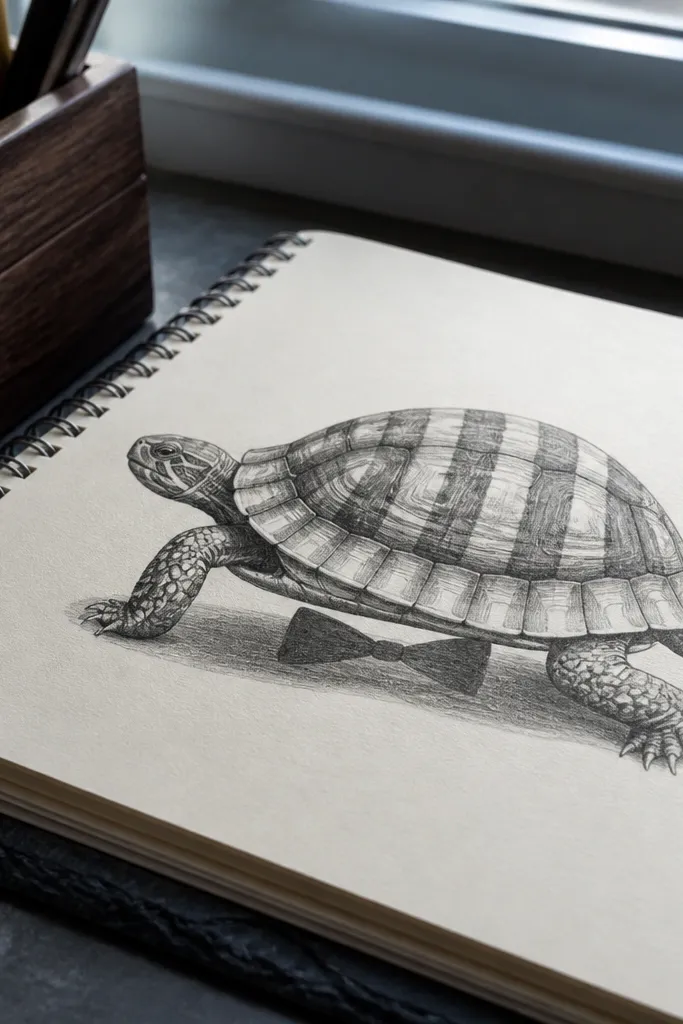
This one looks graphic and neat because the shell stripes are controlled and the shadow shape is fun. The “bow-tie” shadow under the shell makes the turtle look planted on the page without needing a background. Stripes also show curvature well, so your shell dome will look rounded. It’s a strong choice for making a cohesive set because each turtle can get a different stripe spacing.
Sketch the shell dome and draw 8-10 stripe guide lines from top toward the bottom rim. Add the head oval and legs as simple rounded rectangles. Ink the stripes, leaving one stripe as a lighter gap for the highlight. Create the bow-tie shadow by drawing two mirrored teardrop shapes under the rim that meet in the center. Finish with a darker rim outline line.
Pro tipVary stripe thickness slightly (thick-thin-thick) for a more designed look.
AvoidDon’t make all stripes the same width — that flattens the dome.
12. Turtle on a Swing with Curved Branch

This drawing adds story without taking space. The curved branch and swing rope create strong S-shaped lines that look good in photos. The turtle itself stays simple: dome shell, two legs on a small seat, and a friendly face. It’s a great “aesthetic doodle” for a tiny page because the action lines do the visual work.
Draw a curved branch line across the top third of the page. Add two ropes hanging down to a small rounded seat. Place the turtle on the seat with the shell dome centered and legs gripping the seat edge. Add a simple eye and a small smile, then shade the underside of the seat and the turtle legs where they touch.
Pro tipKeep the swing seat wider than the turtle shell so it reads clearly at a glance.
AvoidAvoid drawing too much rope detail — two straight rope lines are enough.
13. Turtle with Shell Rim Highlight and Crosshatch Base
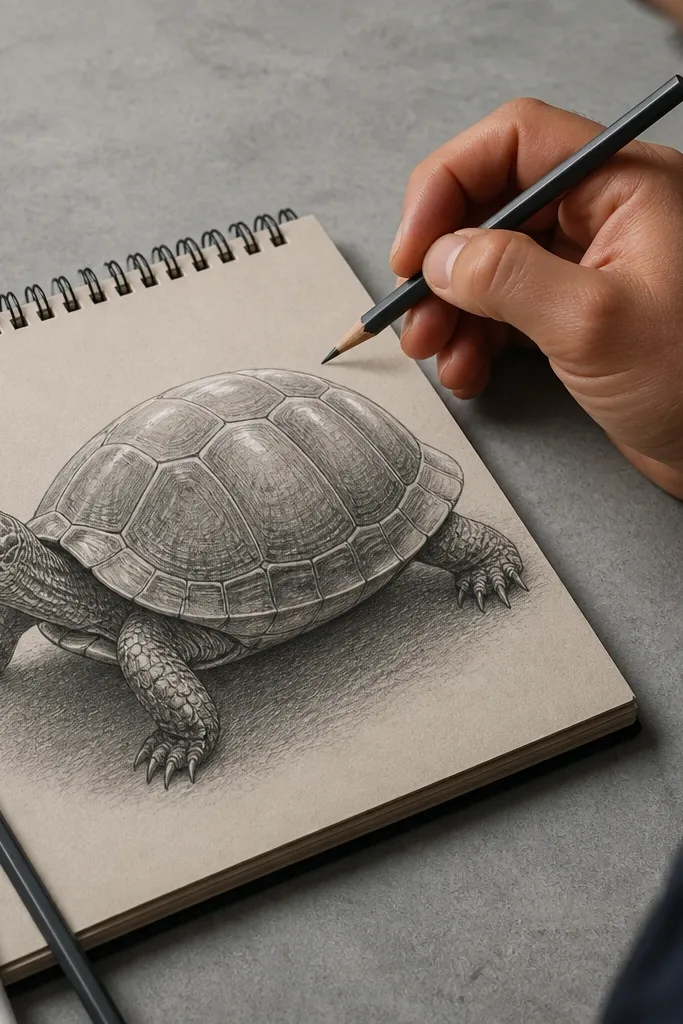
Crosshatch gives you texture that looks expensive, but this version stays controlled. The shell gets a crosshatch base in one direction, while the rim highlight stays clean and bright. That contrast is what makes the turtle feel 3D on a small page. You can do it in pencil or fineliner with a light gray tone, and it still photographs well.
Ink the turtle outline with a fineliner and draw 6-8 scute lines across the shell. Decide your shadow direction and add crosshatch lines only in the lower half of the shell. Leave the top rim area empty for a highlight. Add a darker shadow band under the rim using tighter crosshatching. Finish with a lightly shaded head and feet so the turtle doesn’t look cut out.
Crosshatch with short strokes — long lines make the shell look flat.
Don’t crosshatch the legs too much — it makes the turtle messy on small pages.
14. Turtle with Shell Pattern of Concentric Half-Moons
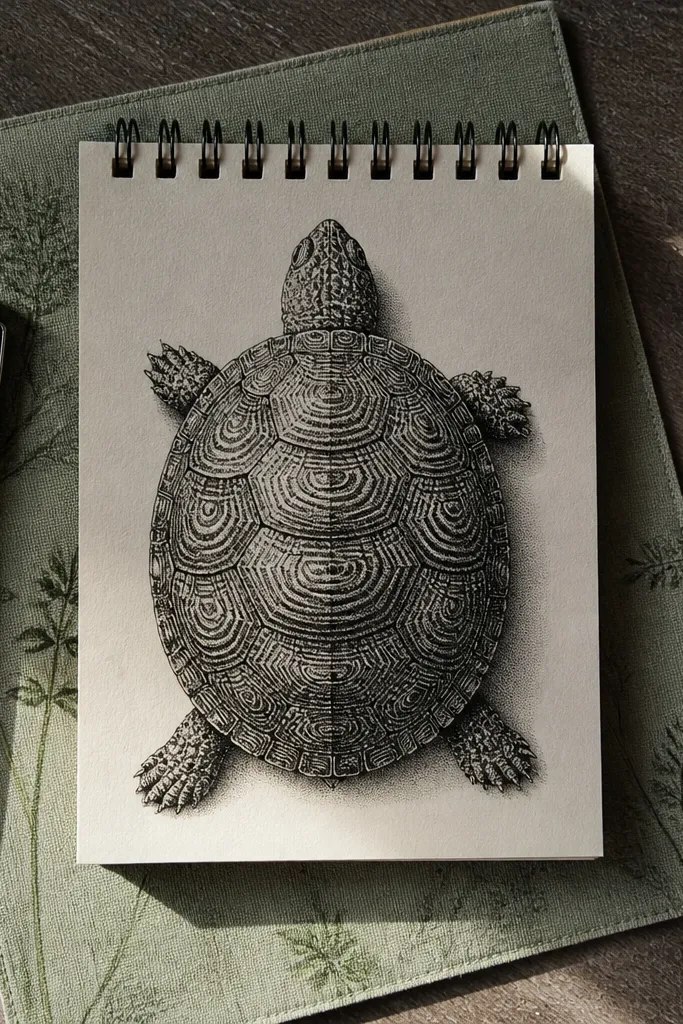
Half-moon patterns look great because they follow the dome curvature naturally. You get a lot of visual interest without drawing tiny scales, and the pattern automatically wraps around the shell. This is a strong choice when you want an aesthetic look that still takes under 10 minutes per turtle. Make the moons slightly offset so it doesn’t look like a printed sticker.
Draw the shell dome and add a center guideline down the middle. Place half-moon arcs starting near the top of the shell, each one slightly larger than the last. Keep the arcs open toward the highlight side so the dome looks round. Add the head oval and legs, then shade under the rim with one soft marker or pencil tone. Ink the half-moons and reinforce the lower rim line.
Use a ruler-free arc — a slightly uneven arc looks more hand-drawn and less mechanical.
Avoid perfect symmetry everywhere — one slightly off moon makes it feel real.
15. Turtle with Leafy Shell Silhouette (No Color Needed)
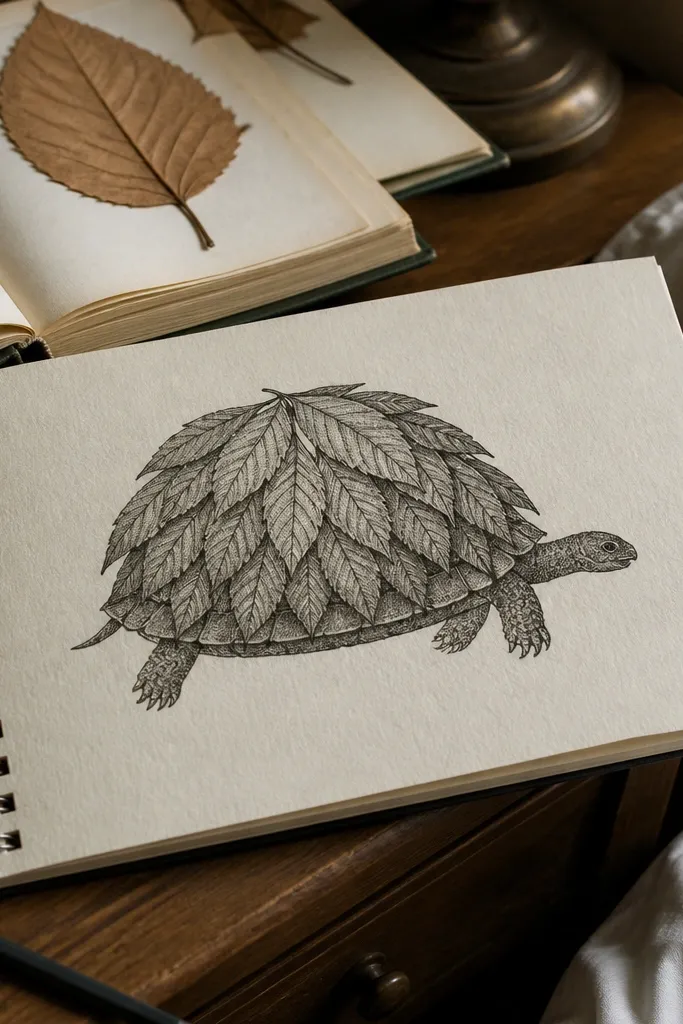
This is a clean, nature-themed turtle that still works in small space because the shell shape is the pattern. Overlapping leaf silhouettes create texture with fewer internal lines. The head and legs stay simple so the drawing doesn’t get busy. It’s also a good option if you don’t want to color — the silhouette does the work.
Sketch the shell as a dome, then redraw the outer shell edge using 10-14 leaf-like bumps. Add 4 simple scute lines inside as placement cues, not full detailing. Draw the head oval and short legs with rounded ends. Ink the leaf bumps with a steady outline and shade under the rim with a darker pencil. Optionally add 3 leaf strokes behind the turtle for a tiny framing effect.
Make the leaf bumps slightly taller at the center of the shell — that’s where the dome should look highest.
Don’t add veins to every leaf — one or two vein lines total is enough.
16. Turtle with Minimal Background Star Dots
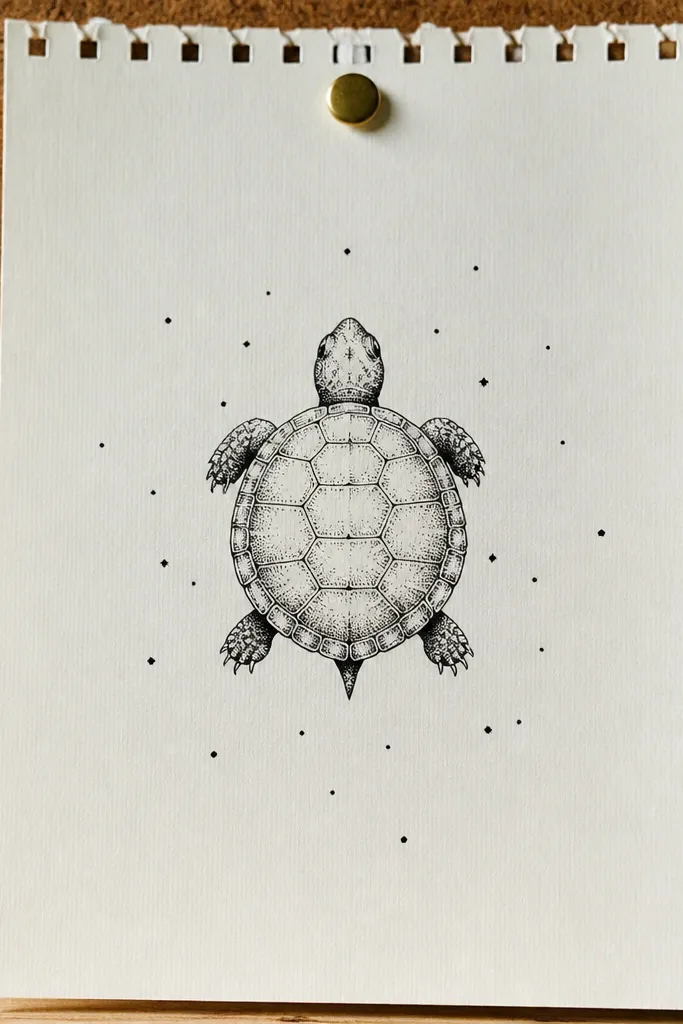
Small-space Turtle Drawing looks better when you give it a simple stage. This design uses a clean turtle and a sprinkle of tiny star dots, so the page feels airy instead of empty. The turtle stays small and centered, and the dots guide the eye around the shell. It’s also a great “series” style because you can repeat it with different shell patterns and keep the background consistent.
Draw the shell dome and add head and legs as simple rounded shapes. Ink a small shell pattern of 5-7 scute lines. Then add 12-20 tiny star dots around the turtle — keep them clustered more on one side for balance. Shade under the rim and add one small highlight dot on the shell. Keep the rest of the page blank.
Vary star dot size slightly (pin-dot, small dot, tiny star cross) to avoid looking random.
Avoid big background elements — the turtle should stay the main focus.
17. Turtle Shell as a Checkerboard Tile
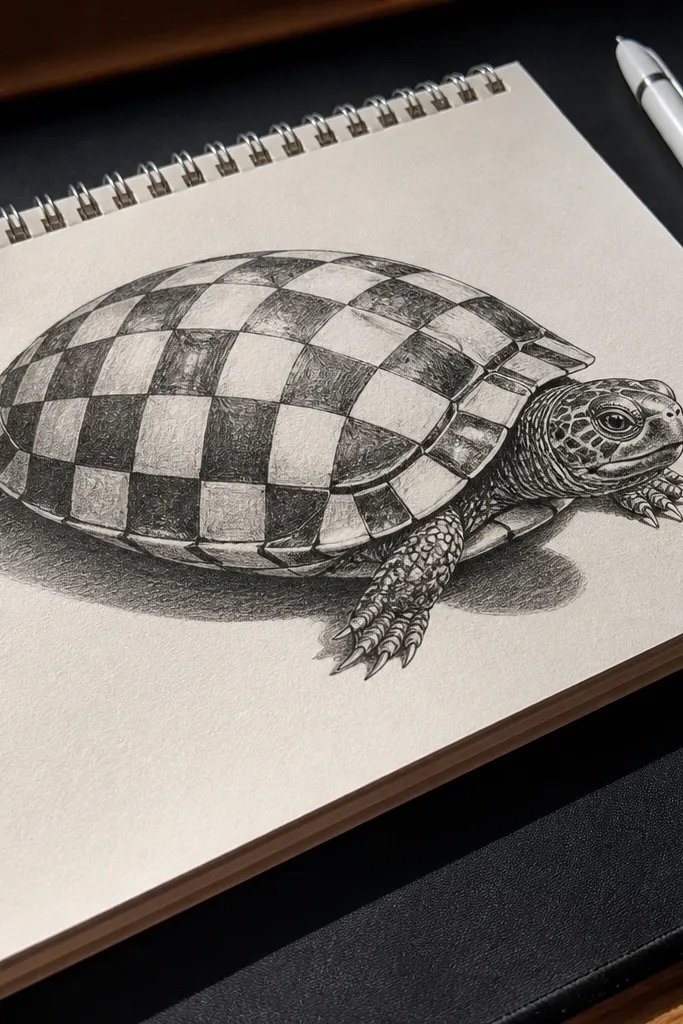
A checkerboard shell is one of the most photogenic turtle drawings you can do in small space. The pattern reads instantly and makes the dome look like it has structure, even without heavy shading. The secret is to keep the checker cells slightly warped to follow the shell curve. Add a single dark shadow under the rim and you’ll get a crisp, graphic look.
Draw a dome shell and lightly sketch a grid with 5-7 rows of squares that curve with the dome. Add the head oval and legs as simple paddles. Fill alternating cells dark, but keep a small highlight area unfilled on the top right. Ink the outline and scute edges between squares. Finish with a shadow band under the rim using the same dark tone as the filled cells.
Pro tipUse two marker shades only: one for filled squares and one for the shadow band.
AvoidDon’t draw a flat grid — if your squares look perfectly straight, the shell won’t look rounded.
18. Turtle with Shell Ombre from Light to Dark
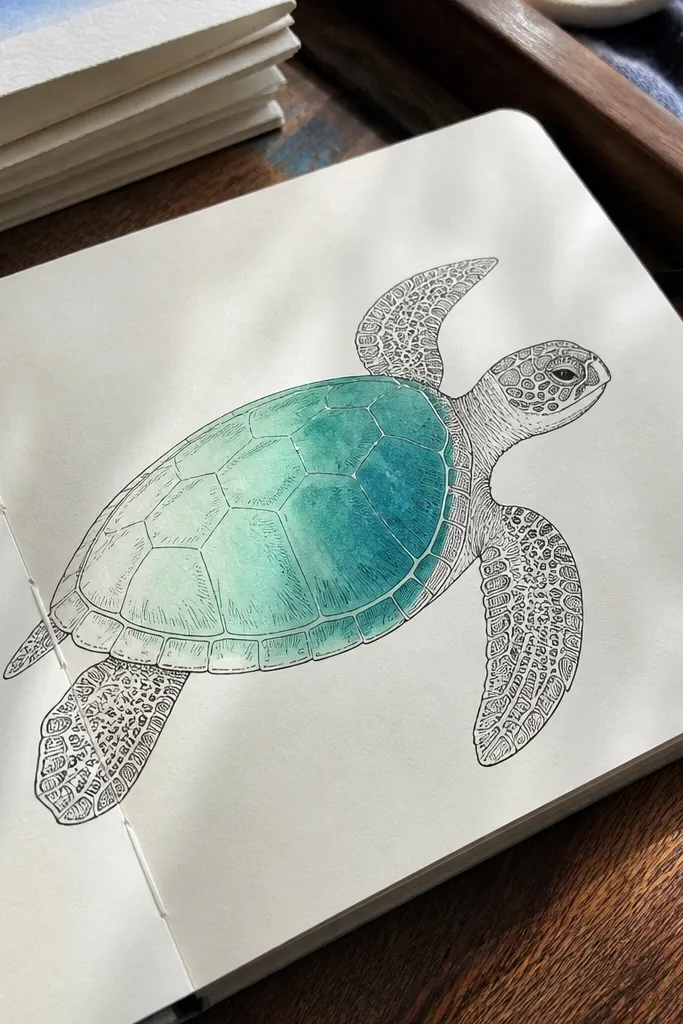
Ombre shells look smooth and modern, and they fit small-space Turtle Drawing practice because you don’t need extra patterns. The gradient does the work that crosshatch usually does. Keep the turtle linework crisp so the color fade doesn’t blur the shape. This is a strong pick for marker users who want a clean, aesthetic set without drawing tons of lines.
Ink the turtle outline with a fineliner and add 6-8 scute lines lightly. Color the shell with a light tone first across the whole dome. Then layer a darker tone only near the bottom rim and blend upward with short strokes. Leave the top edge slightly lighter as a highlight strip. Shade under the rim and under the front legs to anchor the turtle.
Pro tipBlend by moving the marker in tiny arcs following the dome — straight left-to-right blending looks flat.
AvoidAvoid full saturation everywhere — the gradient needs a clear light top to look like a shell.
19. Turtle with Shell Scutes Like Overlapping Scales
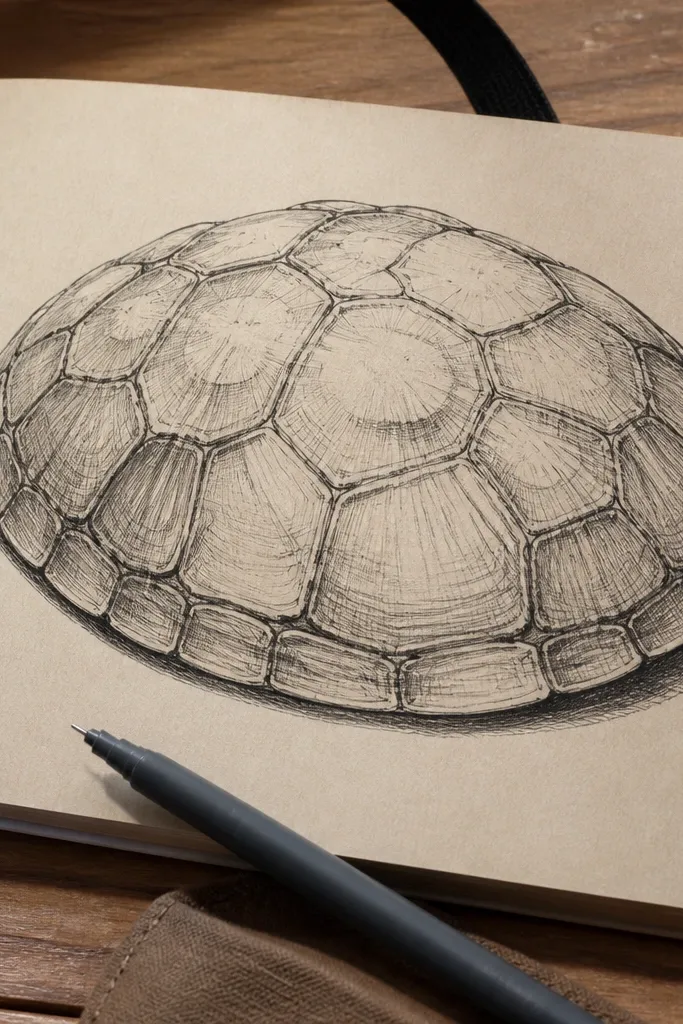
This turtle looks detailed without being tedious because the scutes are big, overlapping shapes instead of tiny scales. It’s a great intermediate step when you want texture but you still want to finish quickly. The overlapping design makes the shell look layered, and the rim shadow makes it look rounded. You also get a clear “read” from far away — perfect for sketchbook photos.
Draw the shell dome and add 4-6 curved scute guide lines that radiate from the center. Sketch large overlapping scale shapes along those guides, keeping each shape about the same size. Add the head oval and legs as simple rounded forms with minimal line detail. Ink the scutes and then shade the lower half more heavily, leaving the top rim clean. Add one darker shadow stripe under the front legs.
Make scutes overlap like fish — always start each new shape under the previous one’s edge.
Don’t draw thin, pointy scales — rounded edges look cuter and hold up better in small drawings.
20. Turtle with Striped Legs and Shell Spots
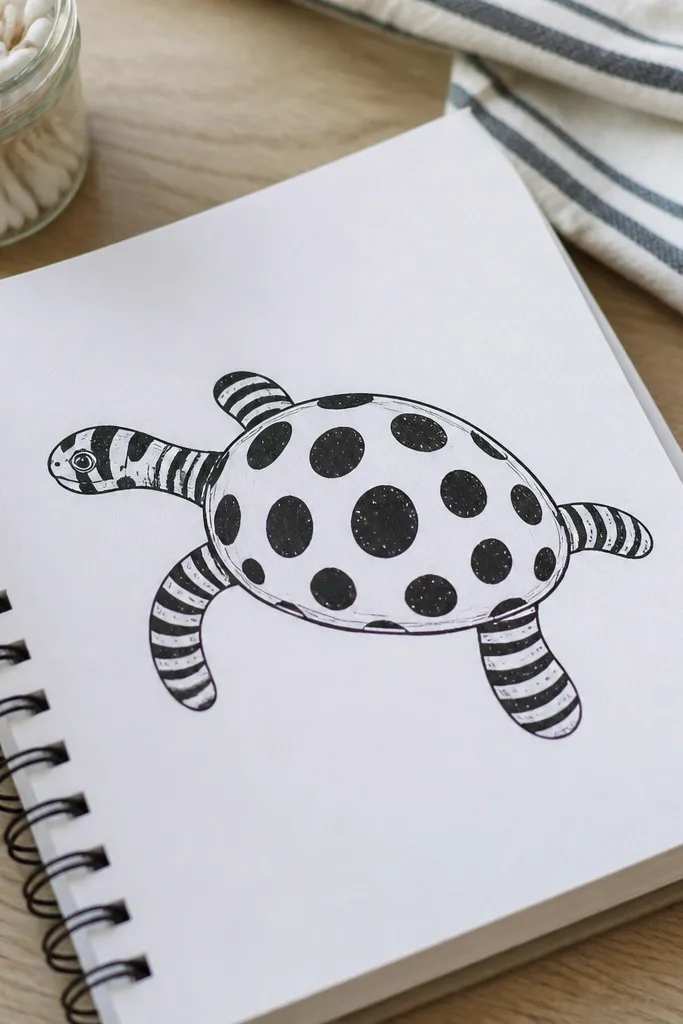
This design gives you contrast by mixing two simple textures: spots on the shell and stripes on the legs. It looks lively while staying easy because each texture uses a limited set of marks. The legs get stripes so they look cylindrical, and the shell spots keep the dome playful. It’s a great choice for filling a small-space Turtle Drawing page with variety that still feels cohesive.
Draw the dome shell and add a few scute lines so you know where to place spots. Add legs as four rounded columns, then draw 3-4 stripes across each leg. Place 20-30 shell spots, leaving a highlight area near the top. Ink everything and add a shadow under the shell rim plus a darker stripe on the underside of each leg. Color the spots and stripes with one accent marker shade.
Pro tipKeep stripes curved to match the leg tube — straight stripes wrap badly on curved legs.
AvoidAvoid mixing too many textures at once — spots plus stripes is enough.



