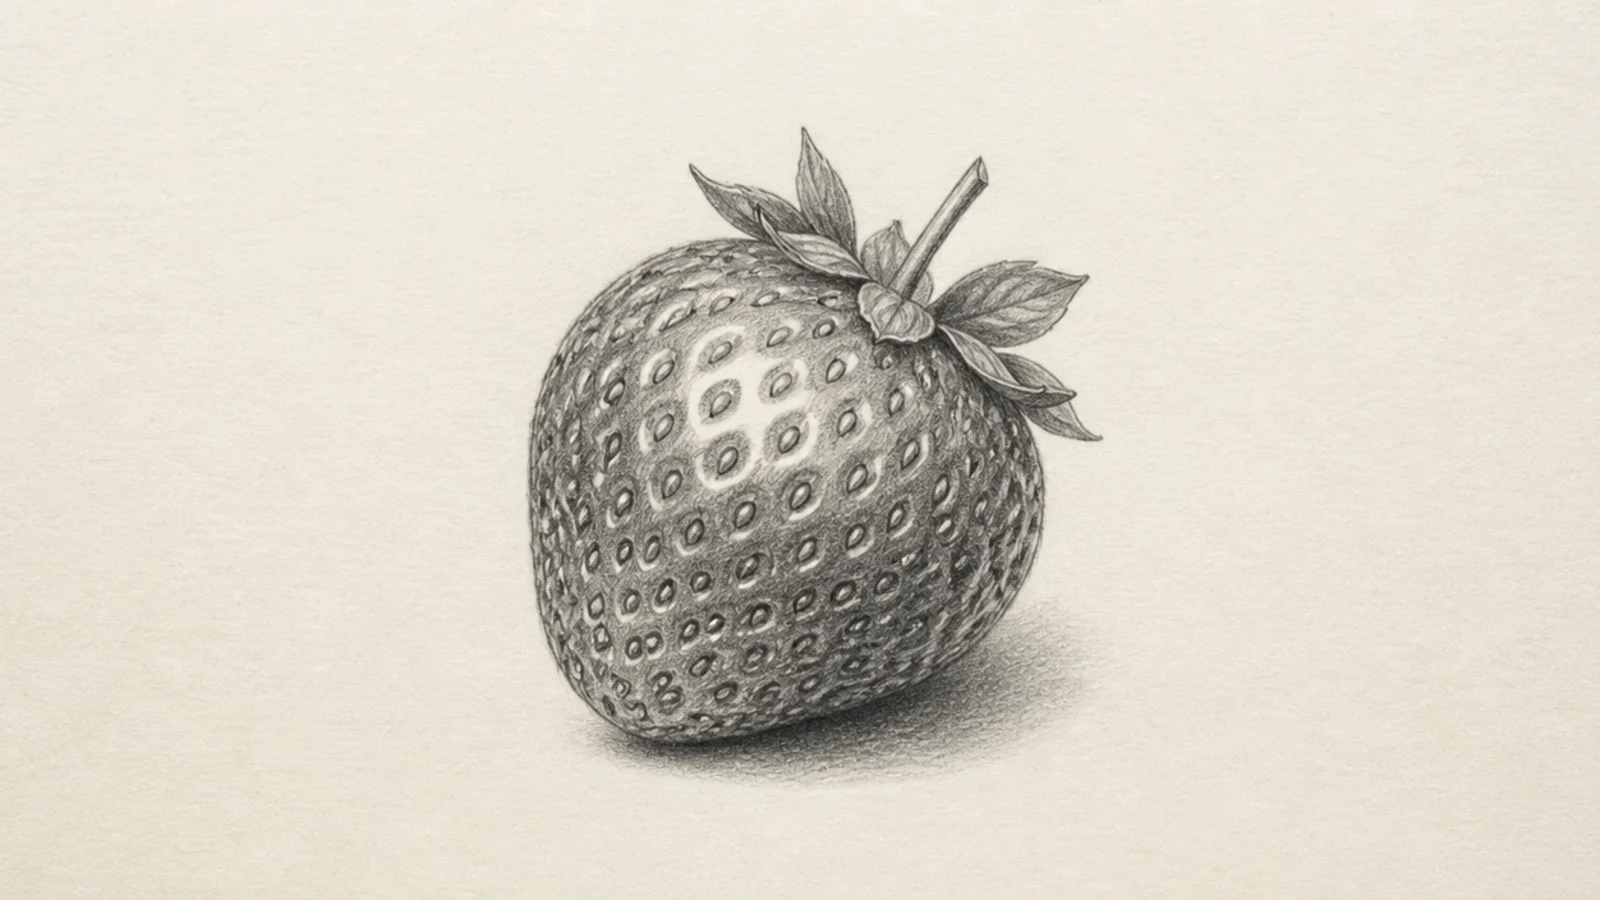
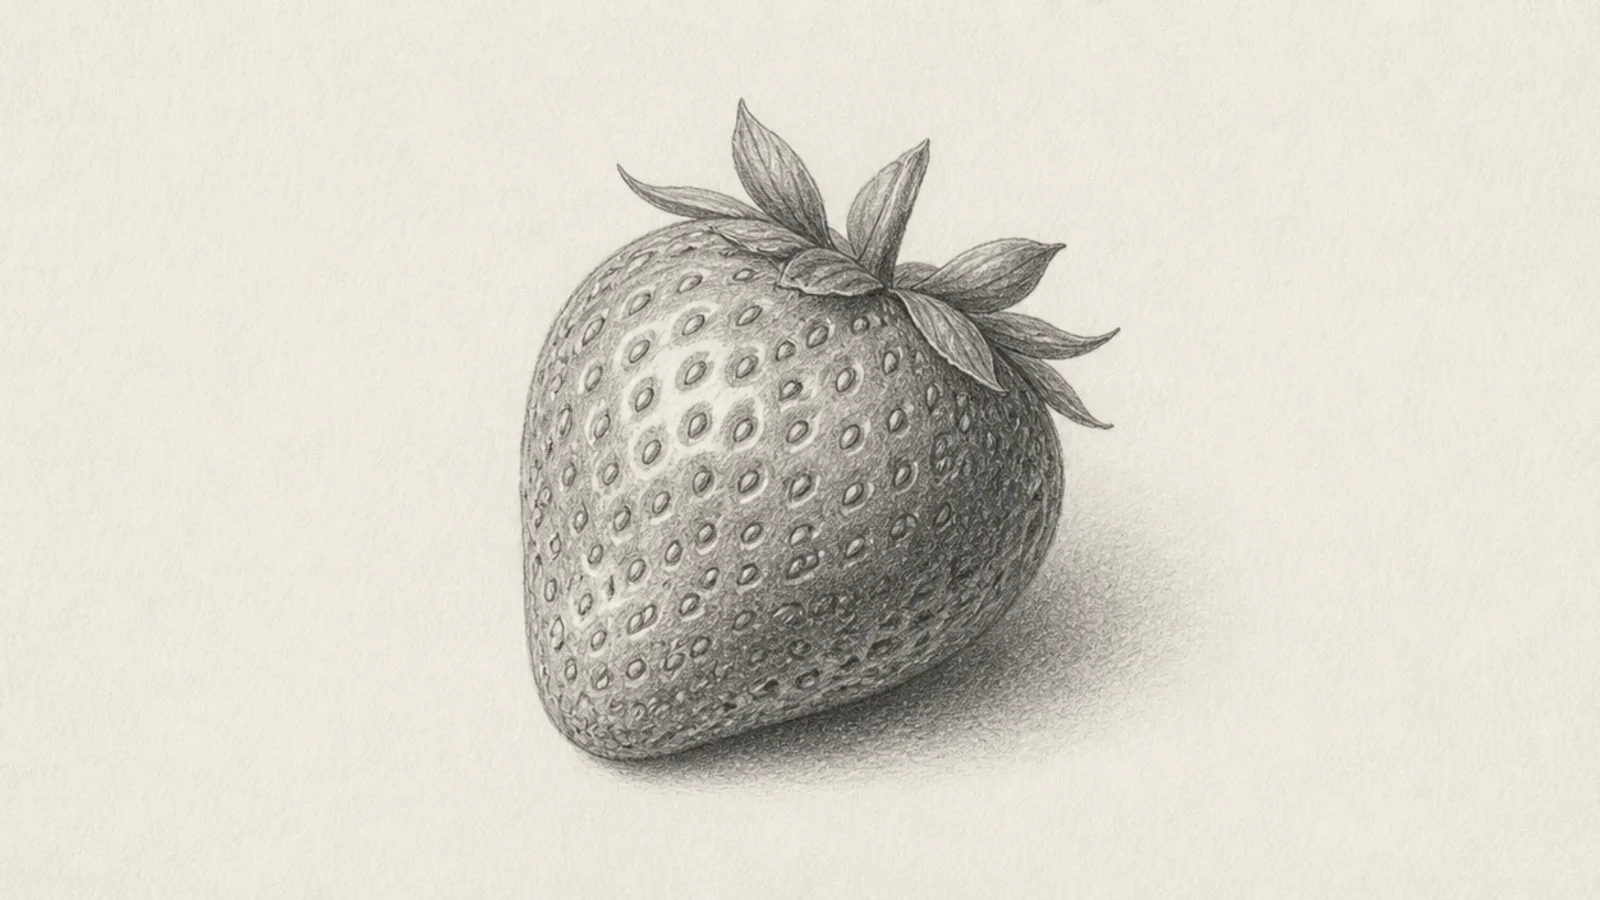
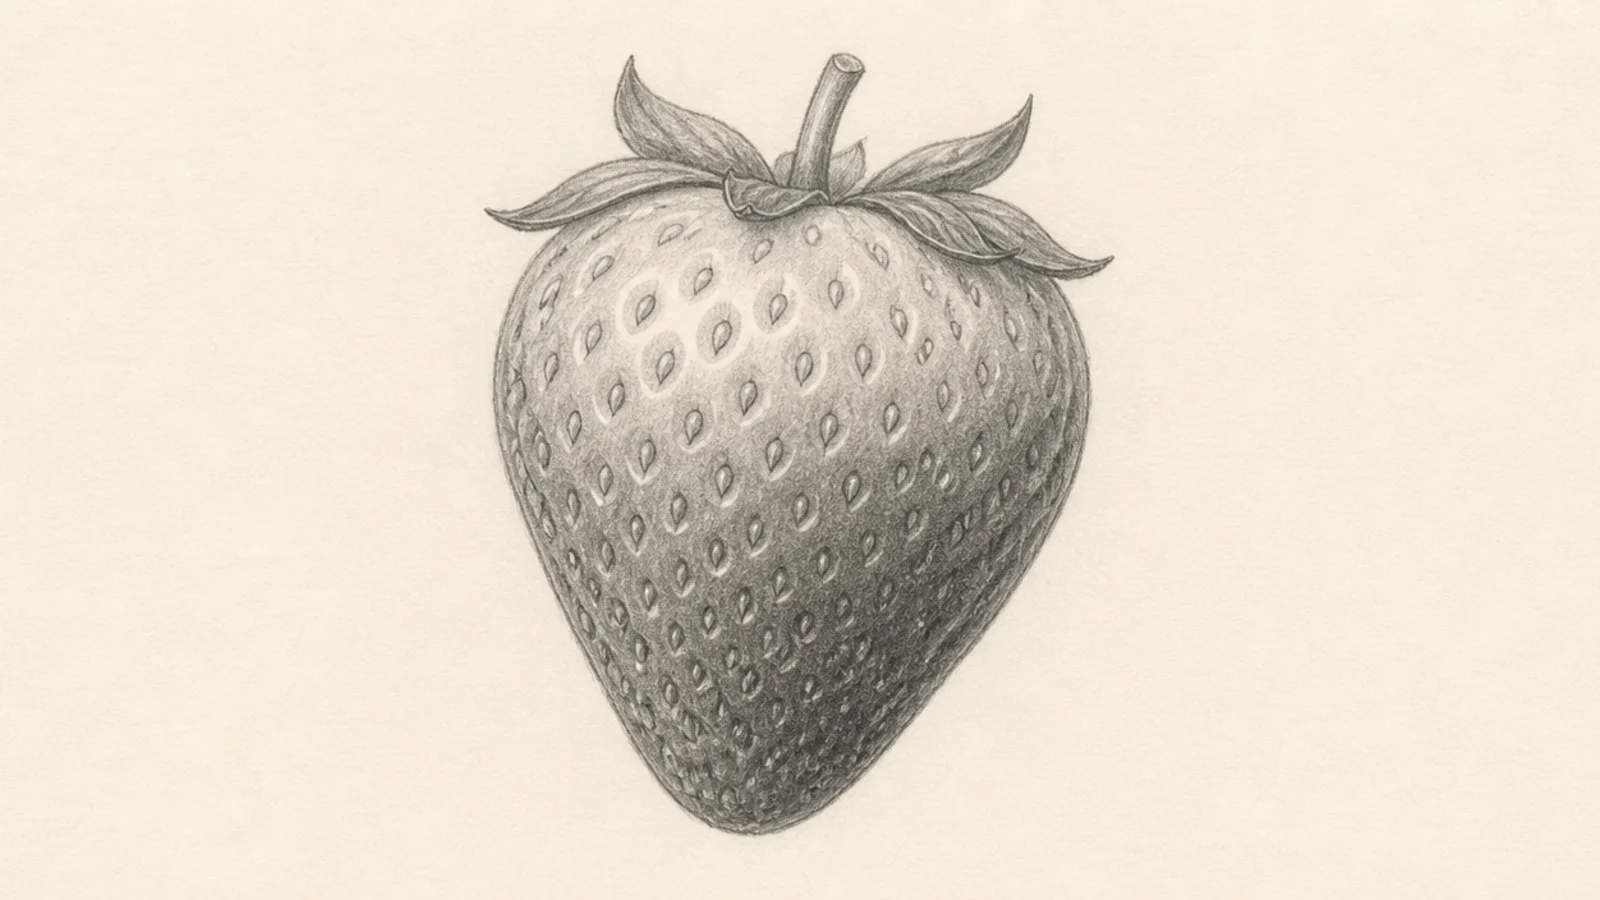
I spent a few weeks doing nothing but strawberry pencil drawing, and it quietly taught me more about shading than any tutorial had. The berry looks simple, but getting it to feel round and real takes a handful of specific habits I only learned by drawing it wrong first. Here are the five honest lessons that stuck, each one a mistake I stopped making or a trick that finally clicked. If you want your pencil strawberries to look convincing fast, these are the shortcuts I wish I had known on day one.
Drawing the same fruit over and over is oddly powerful. The strawberry has just enough going on — a round form, a textured surface, a leafy cap — that each part teaches its own lesson, and pencil is the perfect tool to learn on because you can erase, adjust, and see value clearly without color getting in the way.
None of what follows is about talent or expensive supplies. My biggest jumps came from tiny changes in approach: how I drew the seeds, when I committed to the darks, how lightly I started. These are lessons anyone can apply immediately, and they build on each other — each one made the next berry a little more convincing.
Below are the five lessons in the order they clicked for me, each with what I was doing wrong, what changed, and how to apply it to your own strawberry pencil drawing. Read them, then go draw one. The berry itself turned out to be the best teacher I had.
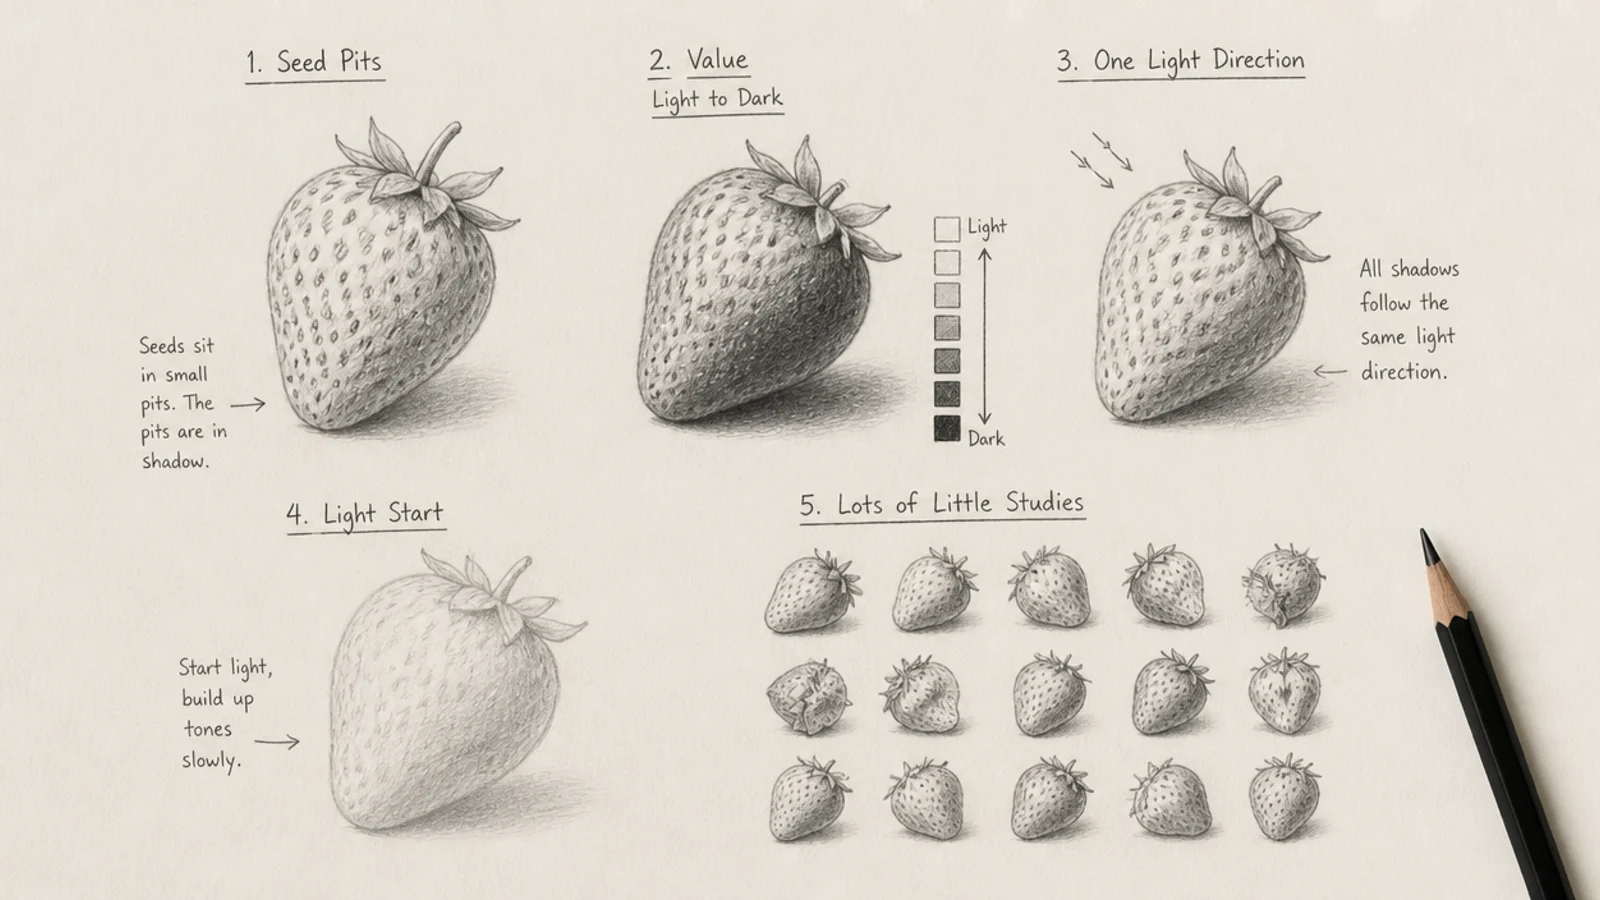
My biggest early mistake was drawing seeds as flat dots sitting on top of the skin, which made every berry look fake. Sinking each seed into a little pit with a shadow changed everything.
Draw each seed as a small oval in a shallow pit, with a soft shadow on the side away from the light and a tiny skin bulge catching light on the near side. Let the pits follow the surface curve.
Add the seed shadows only on the side away from your light source.
Don’t draw seeds as flat dots on top; the pits are the realism.
Lay a light overall tone first, leaving the highlight as bare paper, then deepen the shadow side and bottom in several light passes. Blend the gradient so it stays smooth.
I used to jump straight to dark shadows and the berry went flat and muddy. Starting light and building up gradually gave me a smooth, round form.
AvoidDon’t start with the darks; light-to-dark keeps the form clean.
Pro tipLayer several light passes instead of one heavy one for a smoother gradient.
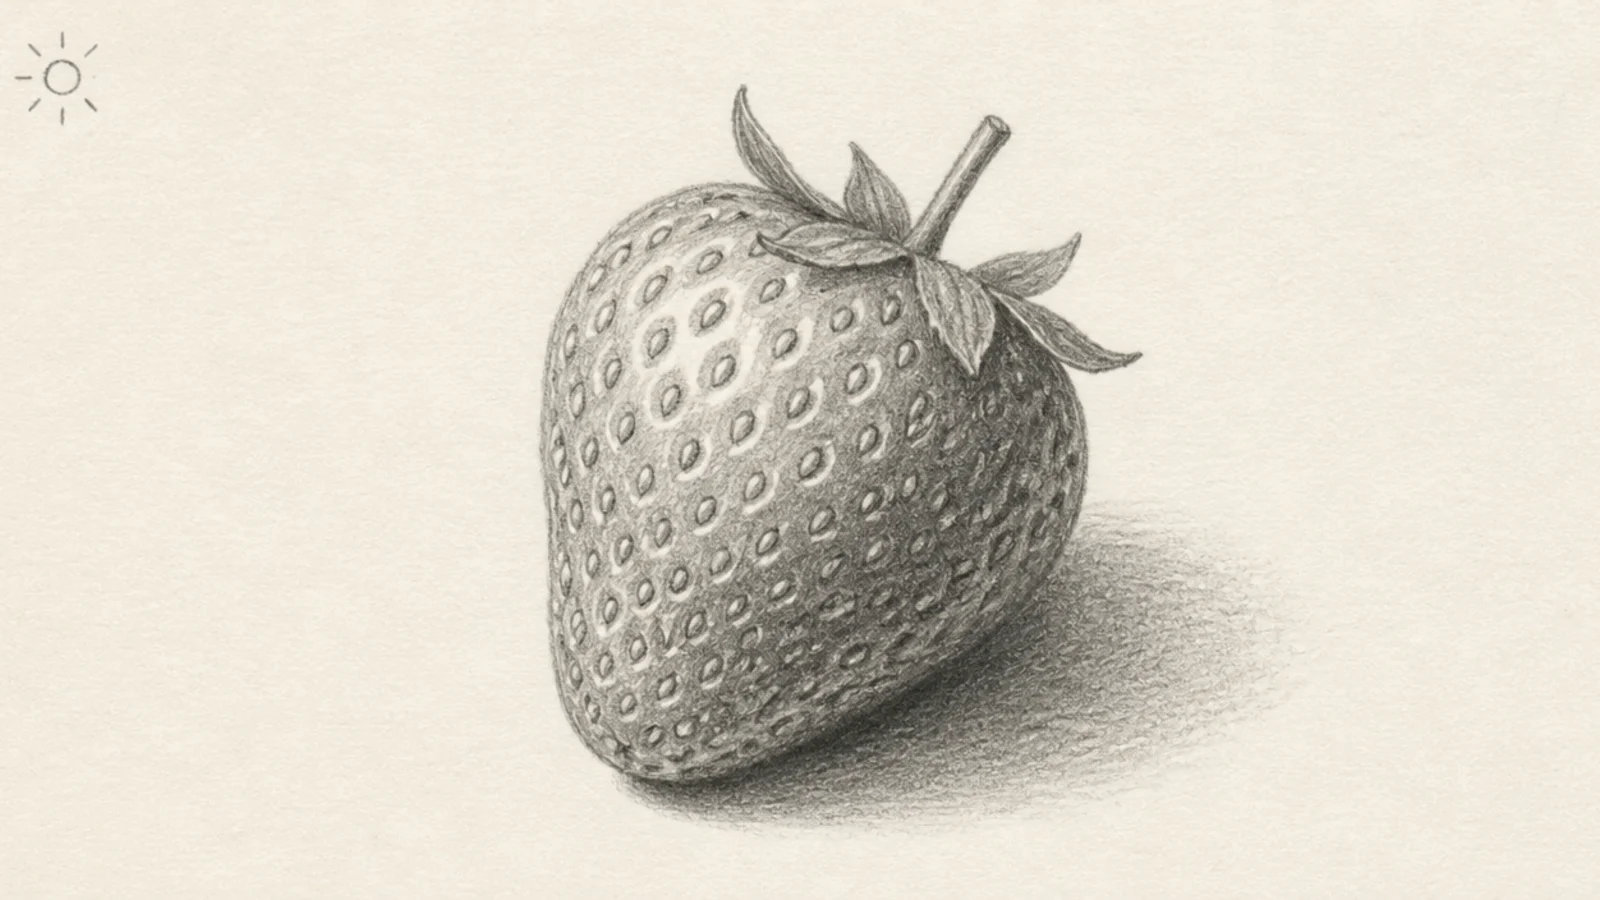
Decide where the light comes from before shading, then keep every shadow — on the body, in each seed pit, and under the cap — on the opposite side. Add the cast shadow to match.
My shading looked confusing because I lit the berry from everywhere at once. Picking one light direction and shading every part to match gave it real, believable form.
AvoidDon’t light each seed separately; light the whole berry together.
Pro tipMark a small sun in the corner so you remember your light direction.
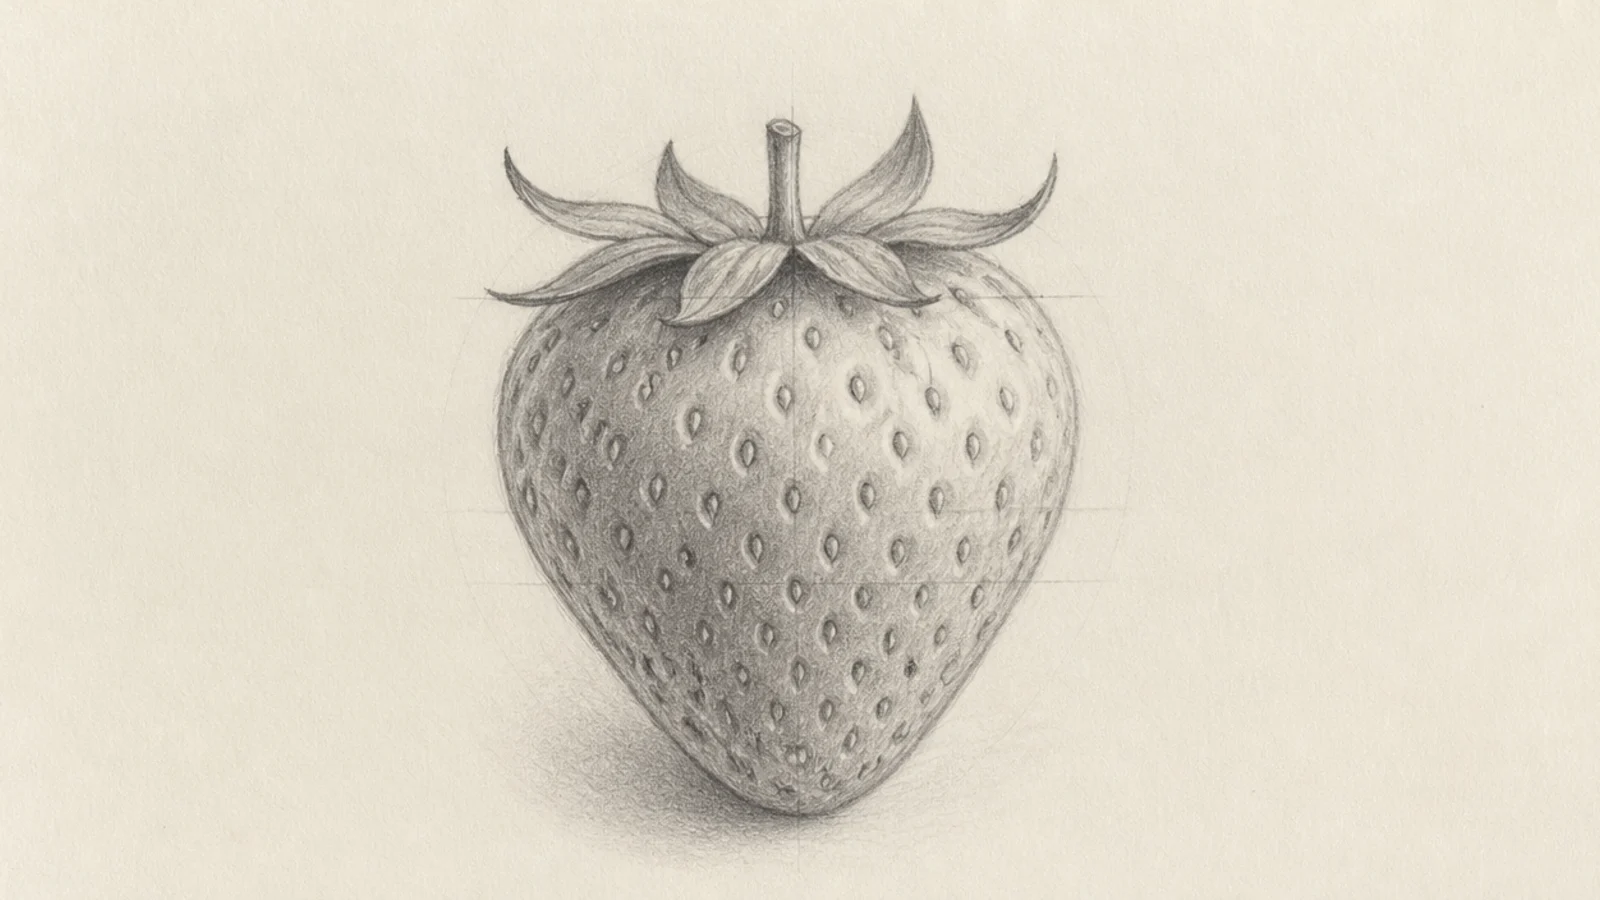
Sketch the body and seed placement with faint lines you can easily erase, check the shape is balanced, then commit with pressure only once it looks right.
I used to press hard from the first line, then get stuck with a shape I couldn’t fix. Starting with light, adjustable lines let me perfect the form before committing.
AvoidDon’t press hard early; light guides let you fix the shape.
Pro tipKeep the first pass so light you can barely see it, then build up.
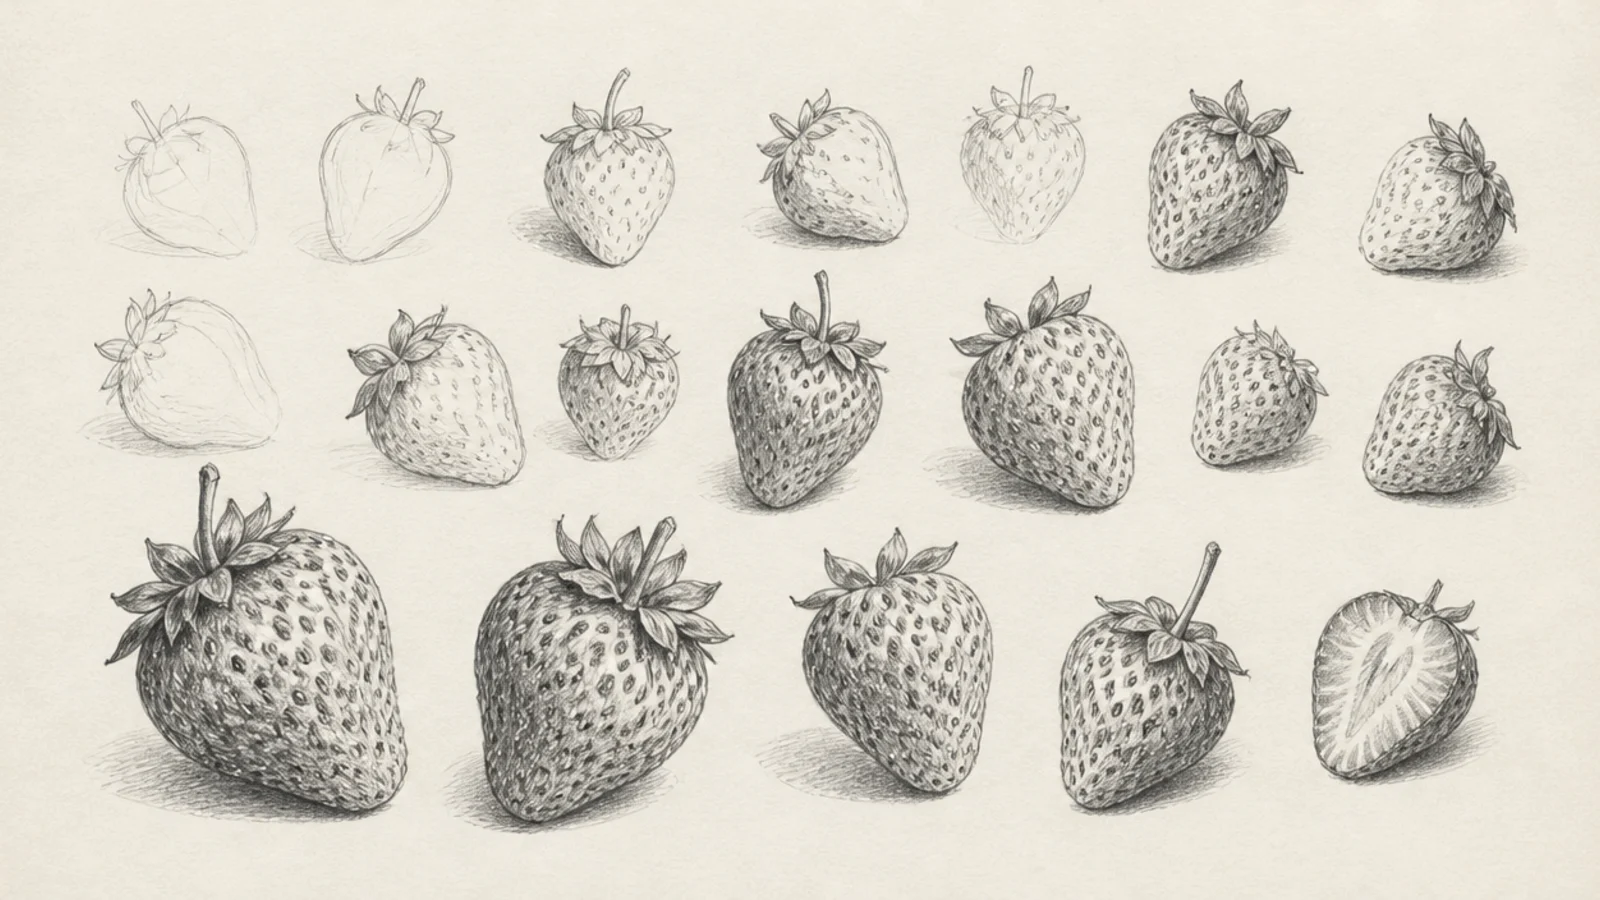
Draw several quick pencil berries daily, however rough, and keep them together. Watching the stack of studies grow is more motivating than any single polished drawing.
The real lesson — a few small rough berries a day improved me more than one careful drawing a week. Showing up beat trying hard.
AvoidDon’t wait for the perfect mood; just draw a few small ones.
Pro tipKeep all your daily berry studies on one page to see the progress.
Quick answers
What is the most important tip for strawberry pencil drawing?
Sink the seeds into shallow pits instead of drawing them as flat dots on top. Each seed needs a tiny shadow on one side and a bulge of skin catching light on the other. That single change did more for my strawberry pencil drawing than anything else, because flat dots are what make a berry look fake.
How do I shade a strawberry with pencil?
Work from light to dark. Lay a light overall tone first, leaving the highlight as untouched paper, then deepen the shadow side and the bottom gradually with softer pencils, wrapping the value around each seed pit. Save the darkest darks and the brightest lifted highlight for the very end so the berry reads as round and glossy.
Do I need expensive pencils to draw a good strawberry?
No. A basic HB and a soft 2B or 4B cover the whole value range you need, and cheap paper is fine for practice. My berries improved through repetition and small changes in approach, not from premium supplies. Consistency and observation matter far more than the pencils you use.
How long does it take to get good at drawing strawberries?
Faster than you’d think if you draw them often. After a couple of weeks of near-daily strawberry pencil drawing, my berries looked genuinely round and real, mostly because repetition let me make and fix the same mistakes quickly. A few small berries a day beats one careful drawing a week for building the habit.