
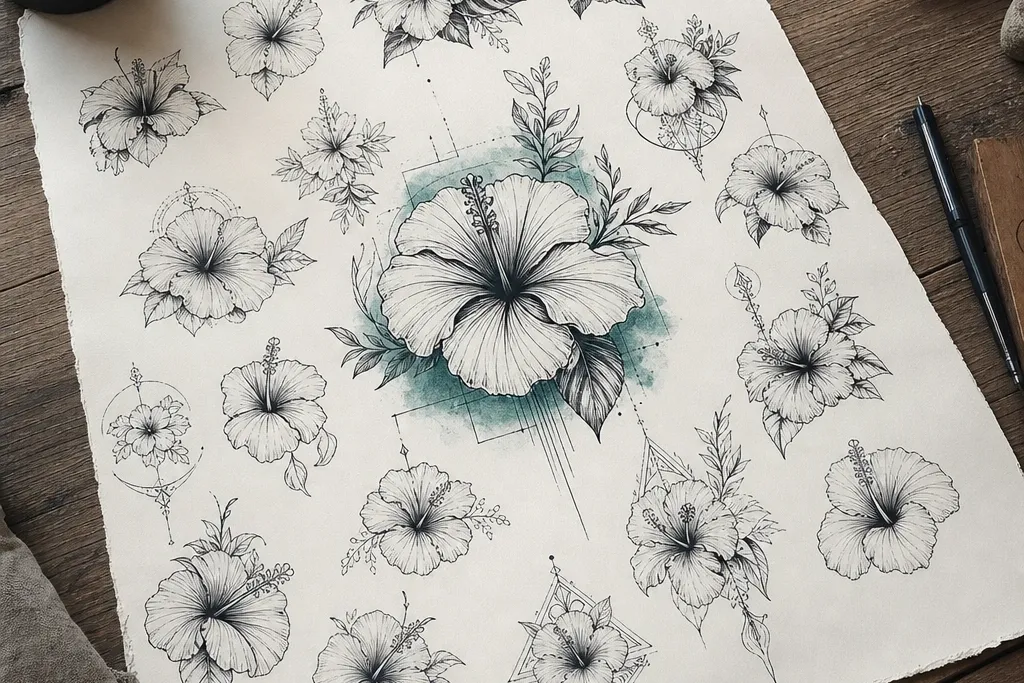
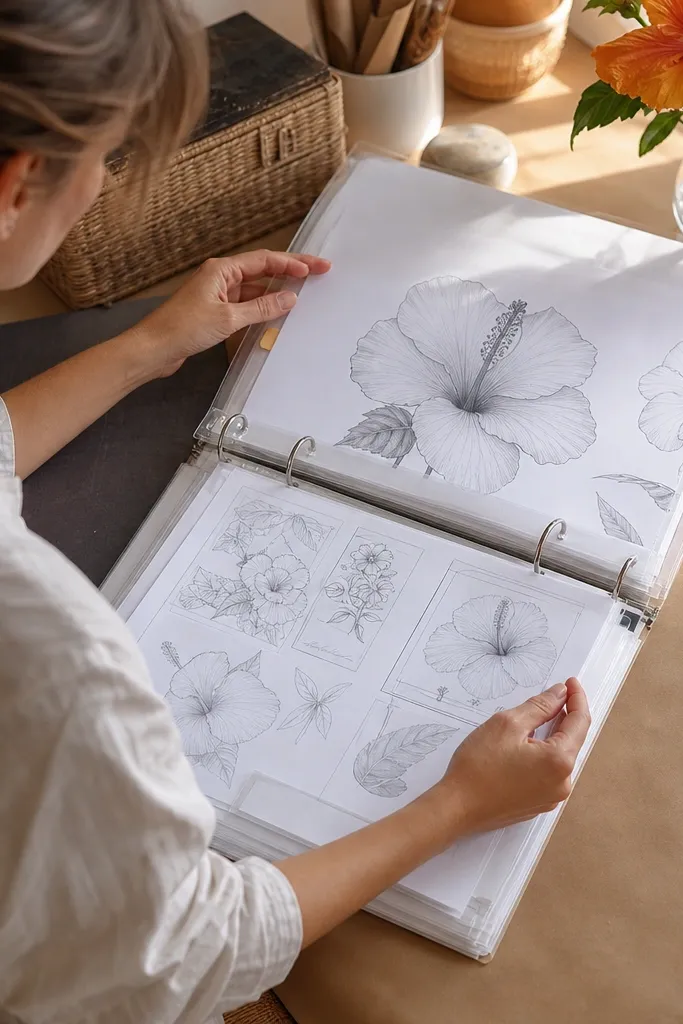
1. Single Hibiscus with Center-First Petal Construction
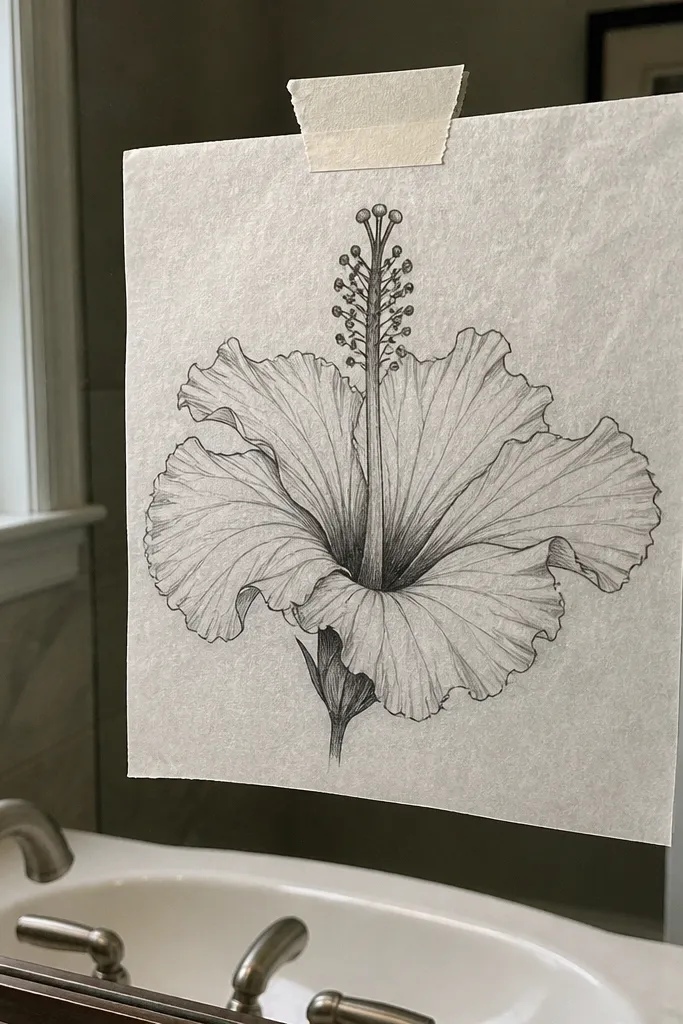
Step 1: Draw a vertical center column first, then add 3-5 stamens as long, slightly curved lines that reach outward. Step 2: Block in the main petals as 5 big shapes around the center, leaving small gaps where petals overlap. Step 3: Add 2-3 inner petal folds using lighter lines, then darken the outer contour with a fineliner. Step 4: Shade only the petal folds closest to the center using soft graphite gradients or a light stipple.
This drawing is the easiest way to get a hibiscus that reads like a tattoo instead of a generic flower. The petals are built around a tall center column, so the bloom looks structured even with minimal lines. It’s photogenic because the petal edges have a clear ripple and each fold overlaps the one behind it. Use this when you want something clean for fine-line work or a small wrist tattoo without losing the hibiscus shape. Skill level is beginner-friendly, and you can finish a solid version in about 45-60 minutes with a pencil and a fineliner.
AvoidDon’t shade the whole petal; shade only the folds and overlaps.
Pro tipKeep your center column taller than you think — hibiscus looks right when the center leads.
2. Fine-Line Hibiscus with Stamen Fan and Thin Contours
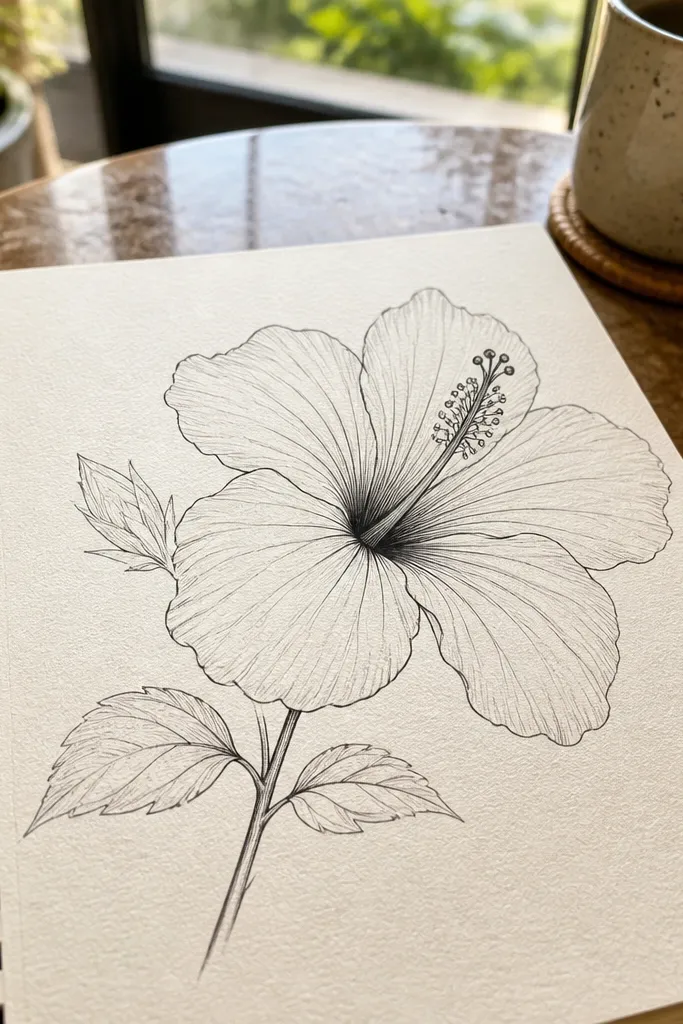
This style is built for crisp, delicate tattoos and it photographs beautifully because the negative space stays clean. The stamens form a fan that gives motion, while the petals stay airy with thin outlines. You get that elegant hibiscus look without heavy black fills, which helps if you’re drawing for placement like ankle or inner forearm. The center is simple but readable, so it won’t disappear when translated into ink. It’s a solid choice if you want a design that looks light and refined.
Step 1: Sketch 5 evenly spaced stamen lines that arc slightly upward, anchored to a small center dot. Step 2: Draw the outer petals as 5 elongated teardrops, each with a pointed tip and a wavy edge. Step 3: Add 2 inner petals behind the first layer using half outlines so overlap shows depth. Step 4: Use a 0.3-0.5mm fineliner for outlines and a 0.2mm for inner folds; add tiny stipples only at the petal base near the center.
Use a fineliner for petals and a slightly thinner nib for inner folds so the drawing has hierarchy.
Skip thick outlines on the inner petals — they flatten the bloom.
3. Blackwork Hibiscus with Bold Petal Blocks
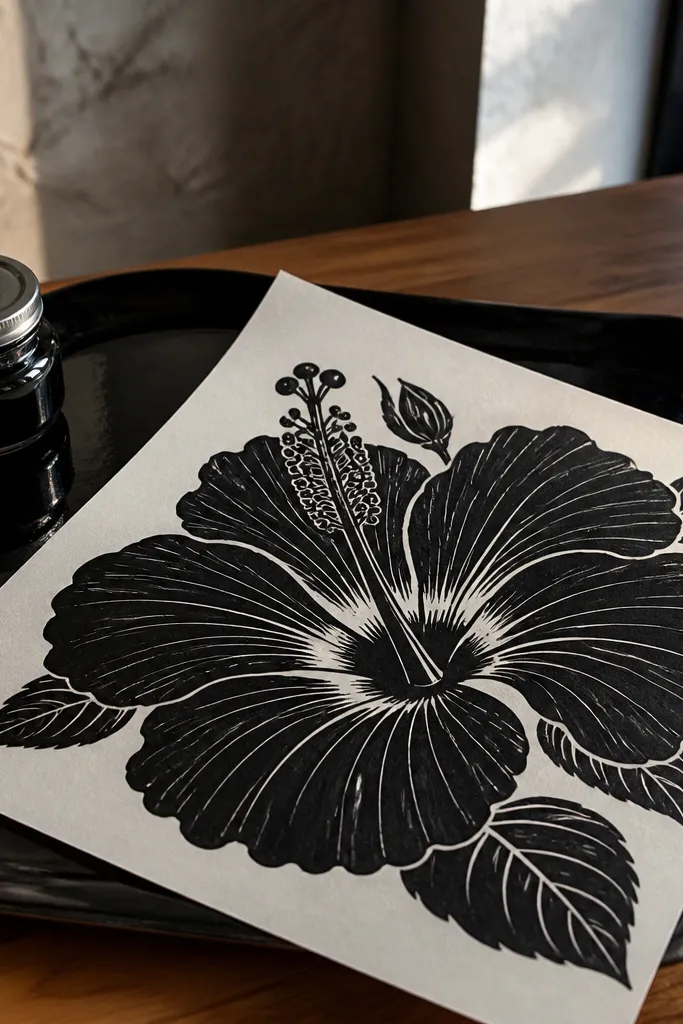
Step 1: Lightly sketch the hibiscus outline and mark where each petal overlaps using small pencil ticks. Step 2: Trace the outer contour with a thick fineliner or brush pen. Step 3: Fill each petal fold with solid black, leaving tiny unfilled lines to indicate separation. Step 4: Densify the center area with either stipple clusters or a tight solid fill, then clean up edges with an eraser.
If you want a tattoo drawing that looks striking in a flash photo, this blackwork version is the one. Petals are simplified into bold shapes with solid black blocks, so the design stays readable at a distance. The center is handled with dense black dots or a tight fill, creating strong contrast. This style suits forearm, bicep, or calf where you can let the black areas breathe. It’s not hard, but it does require clean edges and confident fills.
AvoidDon’t overfill everything; keep at least a few thin white gaps between petals.
Pro tipPlan your negative spaces first — they are what make blackwork hibiscus look intentional, not messy.
4. Watercolor-Style Hibiscus with Hard Outline + Soft Wash
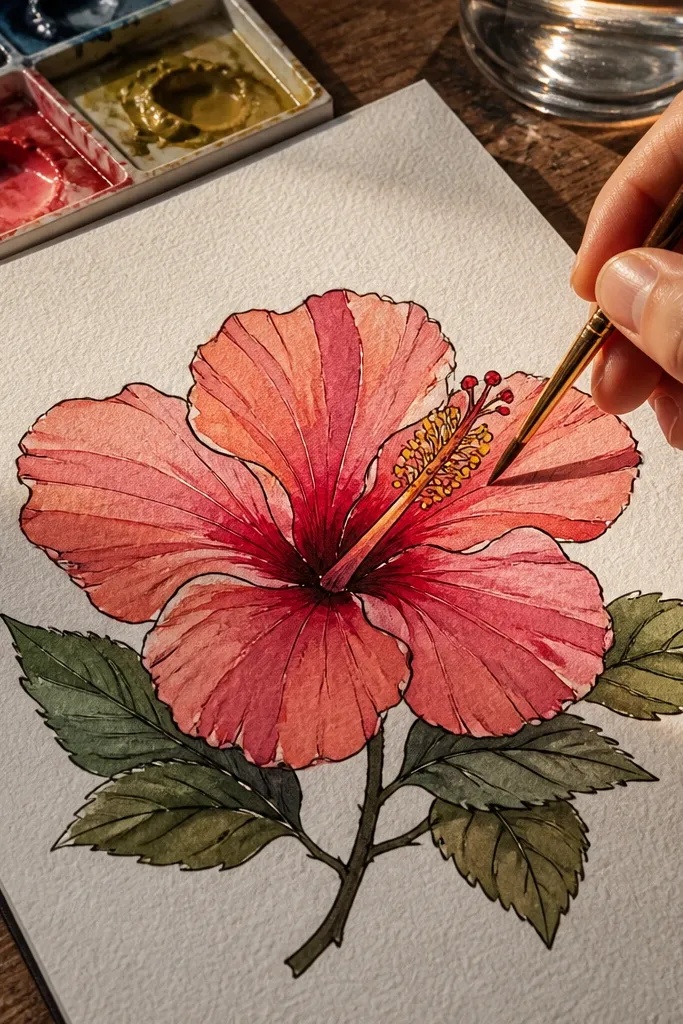
Step 1: Draw the hibiscus with a dark pencil sketch, then ink the outlines with a waterproof pen. Step 2: Lightly tape the paper edges and wet only a single petal area, then apply watercolor in thin layers. Step 3: Use darker pigment near the petal base and fade it toward the outer edge; let each petal dry before touching the next. Step 4: Add tiny darker dots near the center folds and a few highlights left unpainted for crispness.
This one looks like a tattoo design you’d see on a flash sheet because the outline stays crisp while the color fades like paint. The trick is controlling wash edges so they don’t bleed into each other. Your petals should have 2-3 color values: light at the rim, darker near the folds, and a concentrated tint around the center. It’s great for people who want color but still want the hibiscus to read clearly. Expect about 1-2 hours depending on how careful you are with dry times.
AvoidDon’t flood the center — it turns the stamens into a smear.
Pro tipUse two brushes: one for wetting, one for pigment, so you don’t contaminate pale areas.
5. Dotwork Hibiscus with Speckled Petal Folds
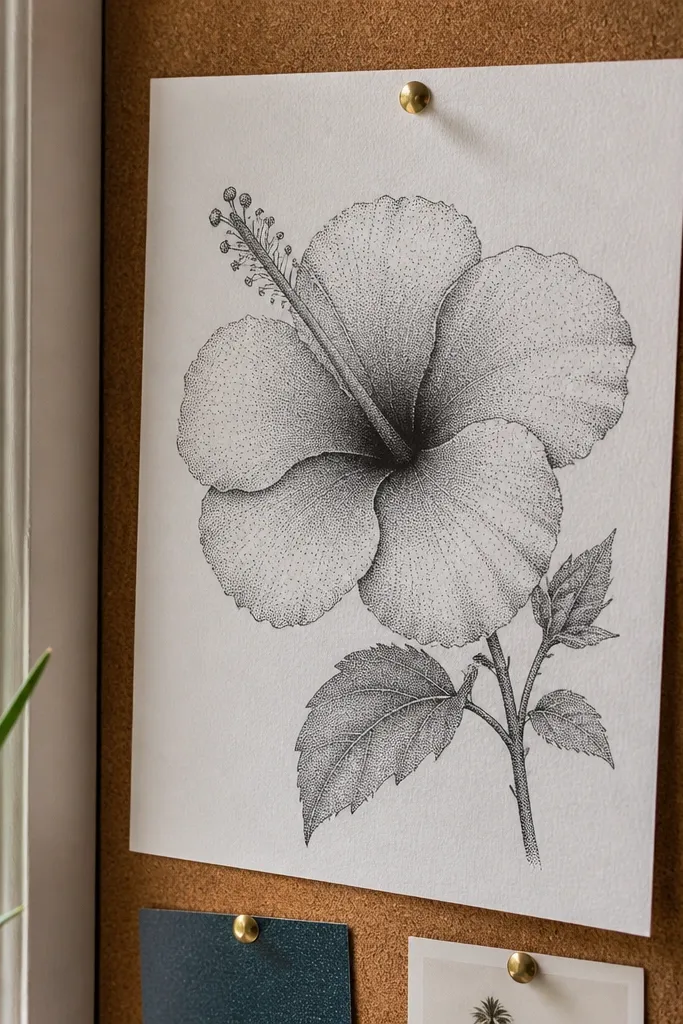
Dotwork is the cleanest way to make hibiscus shading look tattoo-friendly without messy gradients. The petals get depth from dot density: lighter dots on the outer rim, heavier dots in the fold shadows. The center can be packed with tighter dots so it pops. This style photographs extremely well because texture holds up even when the image compression is harsh. It suits linework tattoos and small-to-medium sizes where you want detail without huge black blocks.
Step 1: Ink the hibiscus outline and inner fold lines first so you know where the dots will sit. Step 2: Choose a dot size like 0.5-0.8mm and start with light dotting on the outer petals. Step 3: Increase density near the petal base and along fold lines, leaving a few clean highlight pockets. Step 4: Pack the center area with the highest dot density and add 3-5 stamen marks with single thin lines.
Keep dot spacing consistent — uneven spacing creates a grainy look that reads sloppy on skin.
Don’t outline every single fold — too many lines makes dotwork feel cluttered.
6. Hibiscus Flower Mandala Frame with Center Bloom
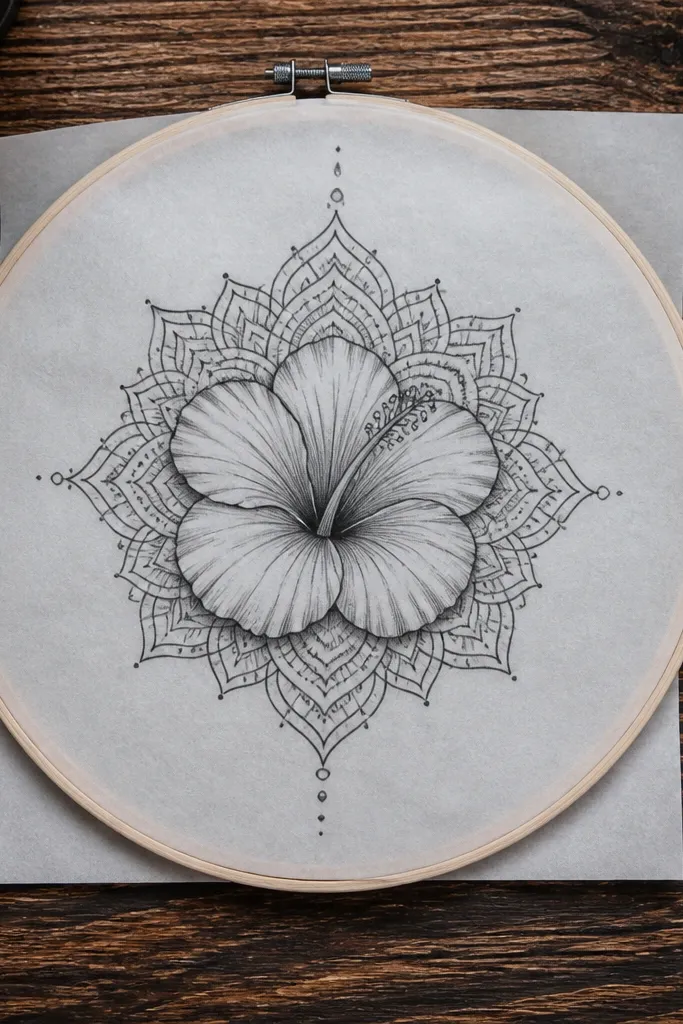
This is a hibiscus drawing that looks finished even without color. The mandala frame gives it a decorative tattoo vibe, while the center hibiscus stays the focal point. You get clean symmetry, which makes it photogenic and easier to ink. It’s a great choice for upper arm, shoulder, or rib placement where you want an ornamental layout. Skill level is intermediate because the frame needs consistent spacing.
Step 1: Draw a circle guide, then place the hibiscus center in the middle with a tall center column and 5 main petals. Step 2: Add 6-10 small petal teardrops around the hibiscus, evenly spaced, then connect them with short curved lines. Step 3: Add a second ring of smaller dots or tiny leaf shapes to thicken the frame. Step 4: Shade the hibiscus folds with light dotwork and keep the mandala frame mostly line-based.
Use a compass or a printable circle guide so the frame spacing stays even across the page.
Don’t let the frame compete with the hibiscus — keep the frame lighter than the center.
7. Hibiscus on a Leafy Vine with Negative Space Swirls
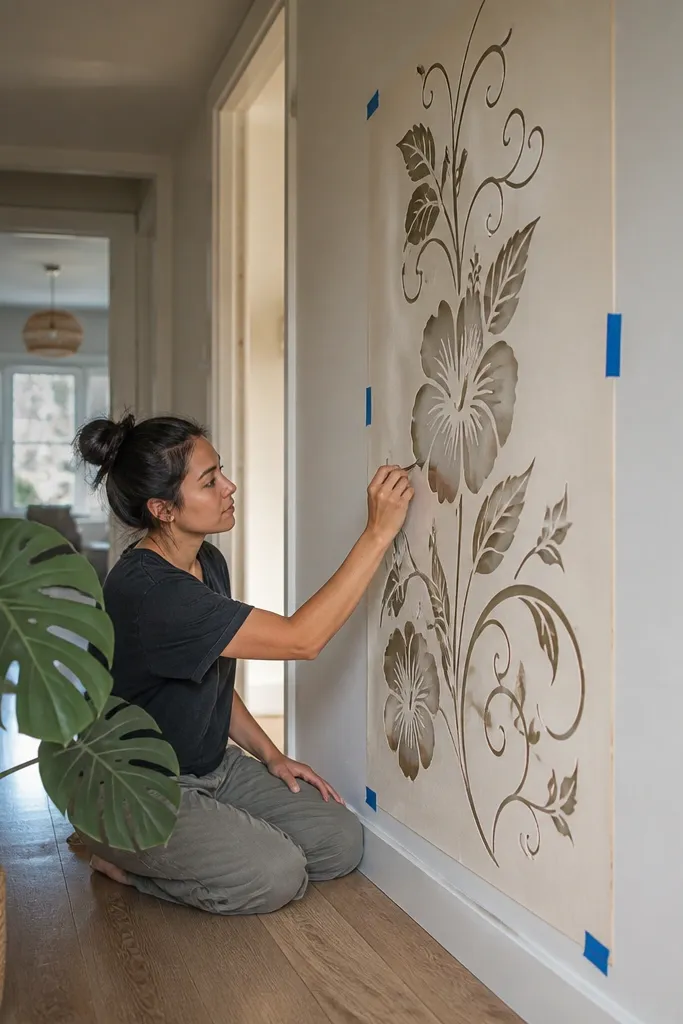
Step 1: Sketch the vine as a single flowing line that curves upward, then add two leaf pairs along it. Step 2: Place the hibiscus at the midpoint, with petals facing outward and stamens arcing slightly toward the vine direction. Step 3: Add 2-3 extra curved tendrils behind the hibiscus to create depth. Step 4: Ink with one line weight for the main vine and a slightly thinner pen for leaf veins; shade only the hibiscus folds.
This drawing looks dynamic because the vine creates a path for the eye, and the open swirls keep it airy. Hibiscus petals still stay crisp, but the surrounding leaves add movement without clutter. It’s ideal for forearm or calf tattoos where you want a vertical flow. You also get a clean way to show line weight variation: thick-ish vine lines, thinner leaf veins, and a detailed center. It’s beginner-friendly if you keep the vine simple and don’t overdraw tiny leaves.
AvoidDon’t pack the vine with too many leaves — the hibiscus gets lost.
Pro tipLeave at least 1cm of clean background around the hibiscus so the design reads instantly in photos.
8. Two-Hibiscus Pair with One Tilted Bloom
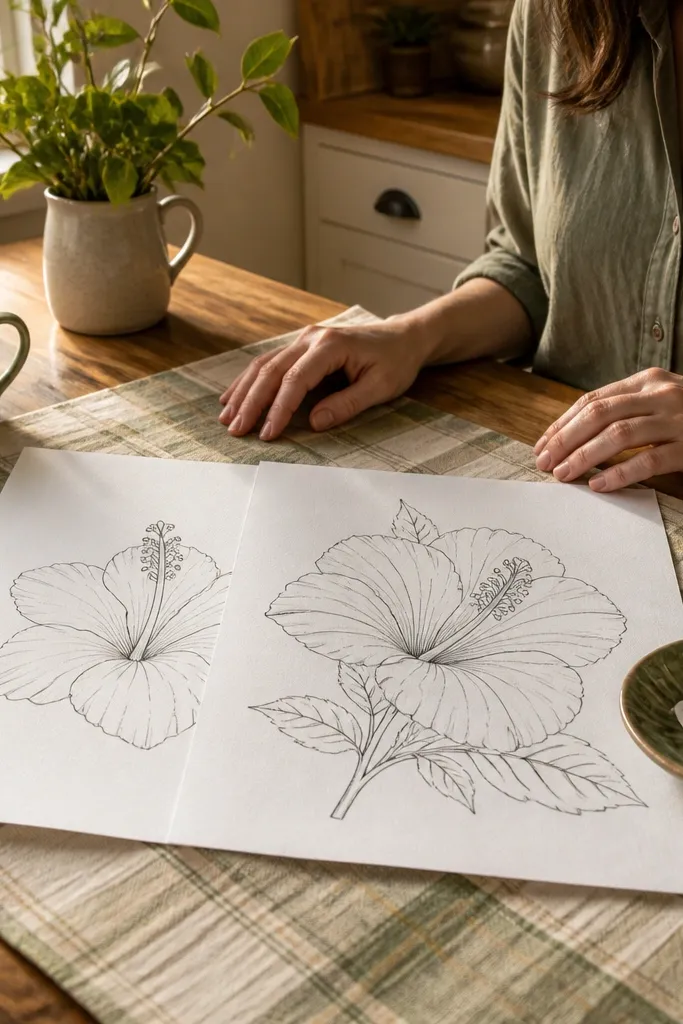
A pair of hibiscus flowers looks intentional and gives you tattoo options for matching placements. The tilted bloom adds motion and makes the drawing feel more alive than a single flower. This style is photogenic because the petals overlap in layers, creating depth even with simple linework. Use it for ankles, inner forearm, or collarbone when you want a small group that doesn’t look random. It takes about 60-90 minutes if you keep the petals consistent.
Step 1: Draw one hibiscus upright first, then place the second bloom lower and slightly rotated so the stamens point diagonally. Step 2: Make both centers the same height ratio so they feel like the same set. Step 3: Add overlap cues by drawing small petal edges that sit in front of the other bloom’s outer petals. Step 4: Shade folds the same way on both flowers using either graphite gradients or stipple density.
Match the petal count — if one hibiscus has 5 outer petals and the other has 6, they won’t feel like a pair.
Don’t tilt the second bloom so far that the center becomes a sideways oval.
9. Hibiscus with Hidden Heart Petal Outline
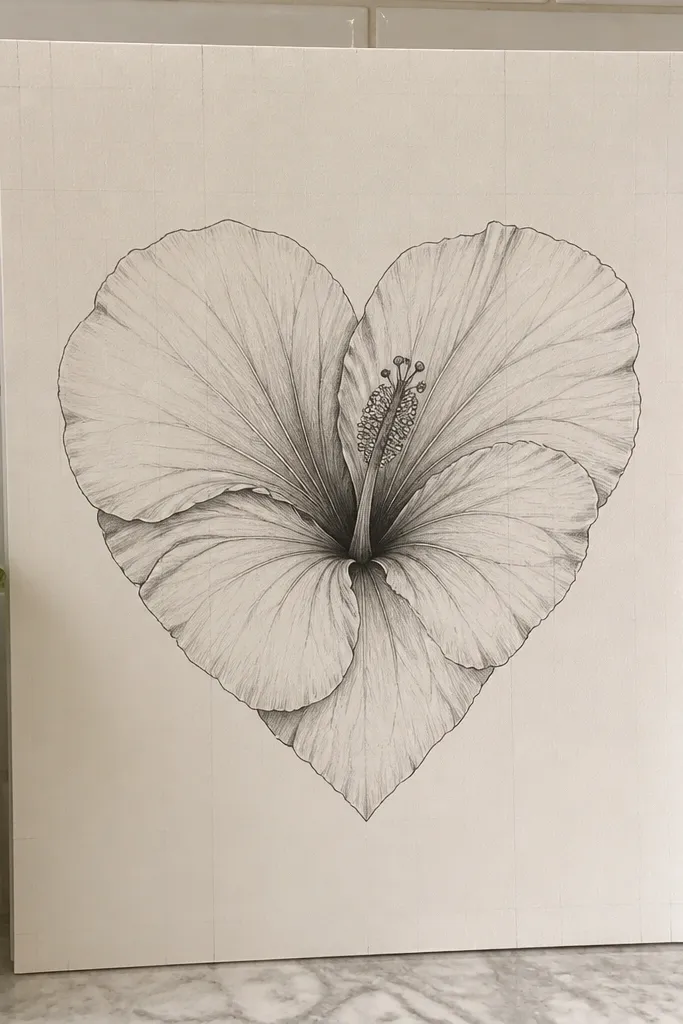
Step 1: Draw a light heart outline that will act as your petal silhouette guide. Step 2: Block in 5 petals inside that heart shape, with the top petals slightly shorter and the bottom petals longer. Step 3: Add the center column and 3-5 stamens, keeping them vertical so the design doesn’t break the heart shape. Step 4: Ink the outer contour carefully, then add inner fold lines with a lighter pen and minimal shading.
This is a clever aesthetic trick: the petal silhouettes form a heart shape when viewed as a whole. The hibiscus still looks natural, but the overall contour feels affectionate and memorable. It works great on smaller placements because the outer silhouette carries the meaning even if the internal details are light. Keep the stamen lines simple so the heart outline stays clean. It’s a fun style for fine-line tattoos that still have personality.
AvoidDon’t add heavy shading on the bottom petals or the heart contour disappears.
Pro tipTrace the heart outline lightly in pencil and only ink it once — it prevents accidental asymmetry.
10. Hibiscus Stemless Bloom with Sharp Geometric Petal Edges
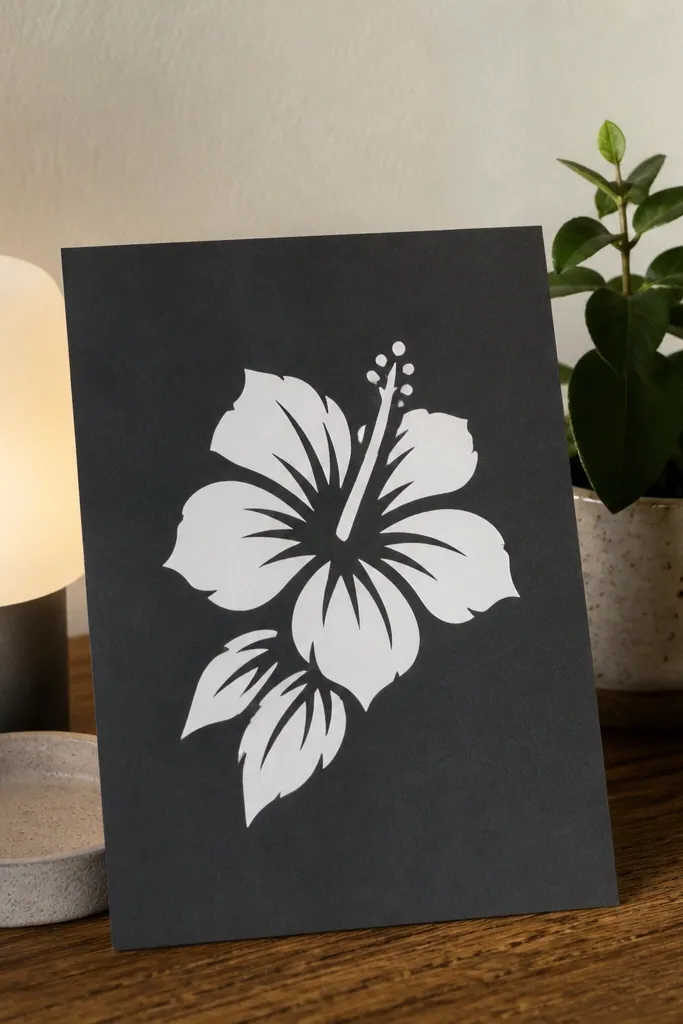
Step 1: Sketch the center column and mark 5 petal anchor points around it. Step 2: Draw each petal as a teardrop with a flat cut at the widest part, then add a small angular notch near the tip. Step 3: Add inner petal folds as straight-ish lines that curve slightly to match the outer edge. Step 4: Ink with a bold contour line and fill only the fold shadows with light hatching.
This style gives hibiscus a modern tattoo look by mixing organic flower shape with geometric petal edges. The petals are still layered, but the tips look more angular and graphic. It’s photogenic because the shape reads as a design, not just a realistic flower. This works well for black ink or limited color because the edges define the structure. It’s intermediate since you need to keep angles consistent across petals.
AvoidDon’t fully polygon the petals; keep them mostly teardrop-shaped or it stops looking like hibiscus.
Pro tipUse a ruler for the widest part of each petal, then freehand the tip — it keeps the geometry consistent.
11. Hibiscus with Thin Outline + Soft Pencil Shading Gradient
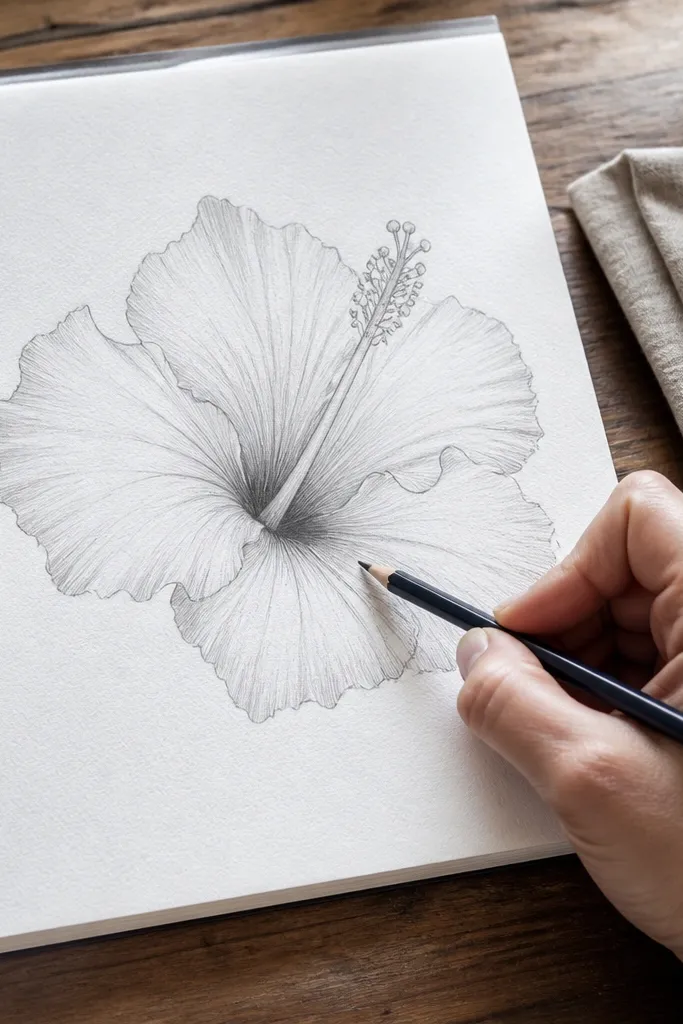
Step 1: Draw the outline with a light hand, then go over the final lines with a darker pencil or fineliner. Step 2: Shade petal folds closest to the center first using a soft graphite pencil, keeping the rim lighter. Step 3: Blend with a paper stump or rolled tissue, but keep the fold lines visible. Step 4: Add a slightly darker band around the base of each petal to separate layers.
This is the classic “tattoo drawing” look: clean outline plus soft shading that shows petal volume. The key is keeping the gradient controlled so petals don’t look dirty. You’ll get a smooth, airy look that still feels detailed enough for a stencil translation. It suits medium sizes on forearm, upper arm, and thigh where you can appreciate the shading transitions. If you want something that looks good in graphite photos, this is it.
AvoidDon’t overblend the center — it should stay crisp so the stamens read.
Pro tipUse a kneaded eraser to lift highlights on the petal edges — it makes the drawing look sharper instantly.
12. Hibiscus Side Profile Bloom with Curved Petals
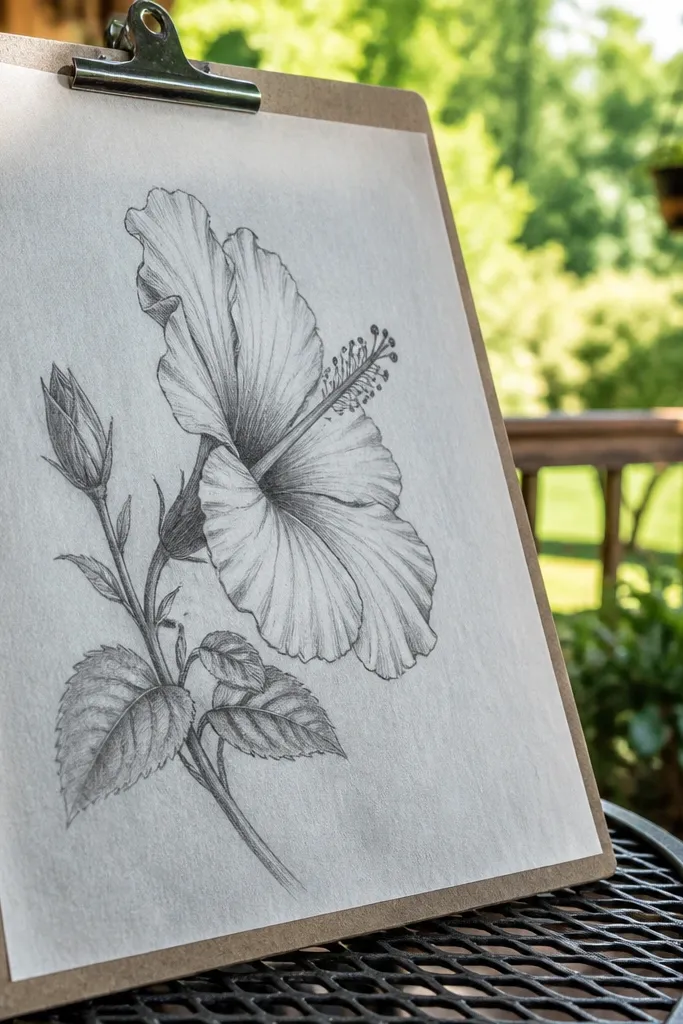
Side profile hibiscus is a great way to avoid the flat, front-on look. The petals curve toward the viewer, and the center reads like a tall column tucked into the folds. It’s photogenic because it has natural depth and a sense of motion. This style works well for forearm tattoos where you want a directional composition along the arm. It’s intermediate because you need to reduce petal detail to avoid a tangled look.
Step 1: Draw an oval guide for the bloom direction, then sketch a center column that’s slightly angled. Step 2: Create 3 main visible petals with curved edges, plus 2 smaller petals behind them using partial outlines. Step 3: Add stamens as 2-4 lines that arc away from the viewer, keeping them shorter than in a front-on bloom. Step 4: Shade using a darker strip on the petal folds facing inward.
Cut down to fewer petals — side profile looks best when you prioritize clarity over realism.
Don’t draw all 5 petals fully — you’ll lose the perspective.
13. Hibiscus with Ornamental Dot Border and Center Pop
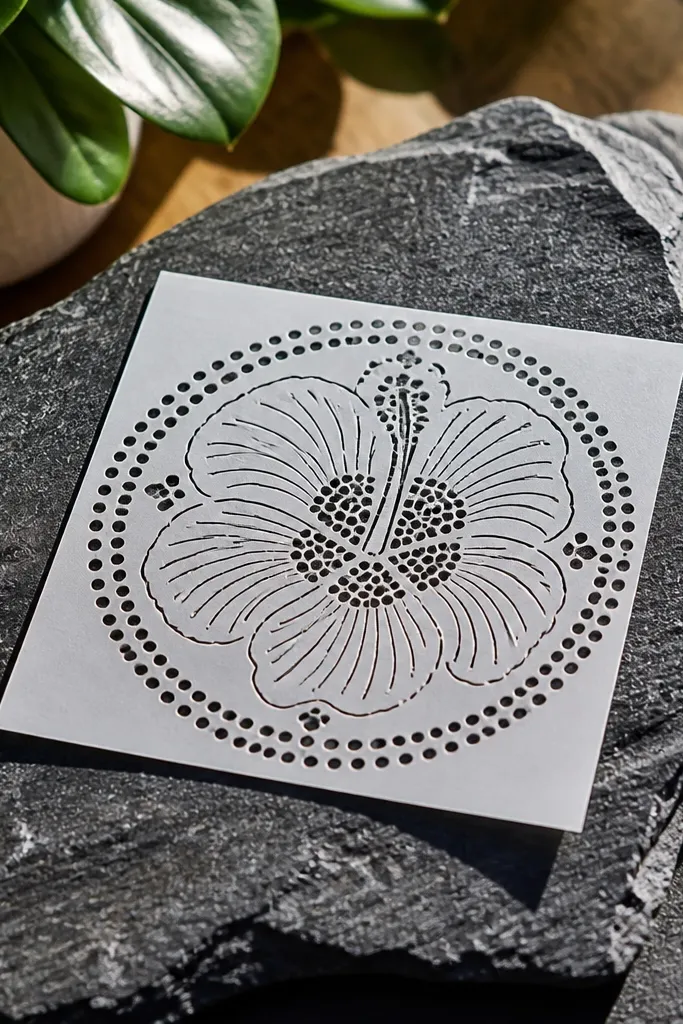
This is a framing trick that makes your hibiscus drawing look like finished tattoo art. The dot border gives a clean edge and makes the center feel like the main event. It’s especially good for small placements because the border creates a visual boundary. The hibiscus itself stays light, so it looks delicate without losing structure. You’ll need steady spacing for the border, but the flower part is straightforward.
Step 1: Draw the hibiscus in the center with a tall center column and 5 outer petals. Step 2: Lightly sketch a circle radius around it, then place evenly spaced dots along the circle using a consistent spacing. Step 3: Add 2-3 inner fold lines in each petal and shade only the folds with light stippling. Step 4: Make the center darker by increasing dot density and adding 3-5 stamen lines.
Set a dot spacing target first, then don’t change it mid-border.
Don’t overcrowd the hibiscus with extra decoration inside the border.
14. Hibiscus with Leafy Negative Space Cutouts
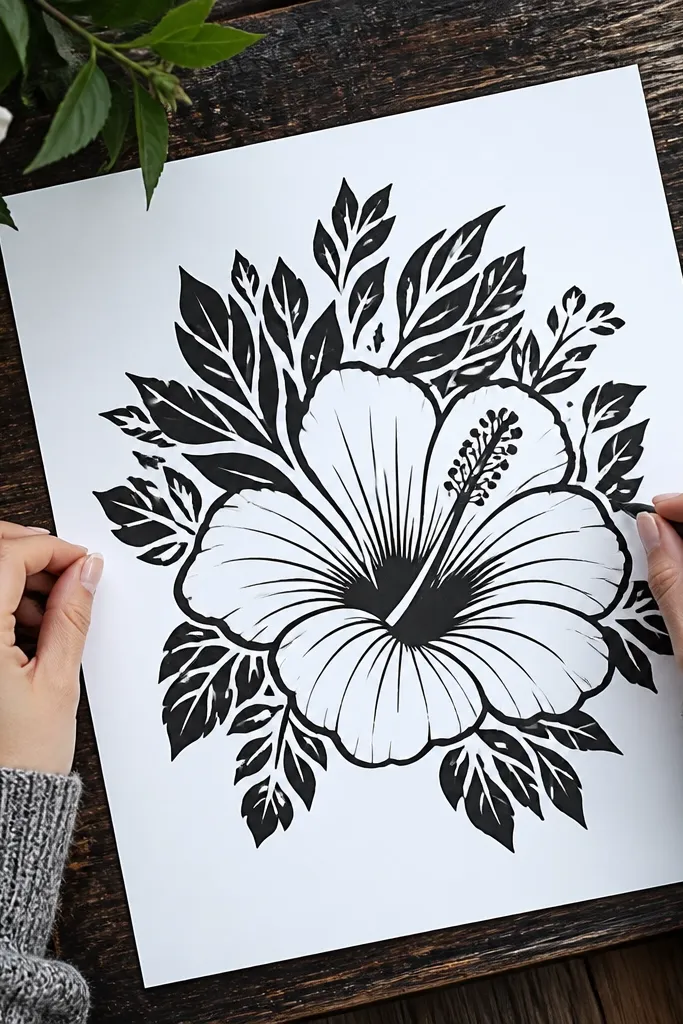
Negative space cutouts make a hibiscus tattoo drawing look crisp and modern. Instead of shading everything, you use the background as the light areas. Leaves and petal gaps create a pattern around the bloom, which looks great in black ink. This style is perfect if you want something bold but clean, and it translates well because the stencil has strong shapes. It’s intermediate because you need to plan the cutout shapes before inking.
Step 1: Sketch the hibiscus first, then decide where the leaf cutouts will sit around the outer petals. Step 2: Ink only the outlines and the cutout borders, leaving the background uninked. Step 3: Add petal fold lines with a lighter pen, then fill only the fold shadows with solid black or tight hatching. Step 4: Keep the center dense but simple — dots or a small filled area.
Draw the cutout shapes in pencil first, then commit to ink only after you like the overall silhouette.
Don’t fill the negative spaces. The look depends on leaving the background clean.
15. Hibiscus with Three Petal Layers and Clean Layer Separation
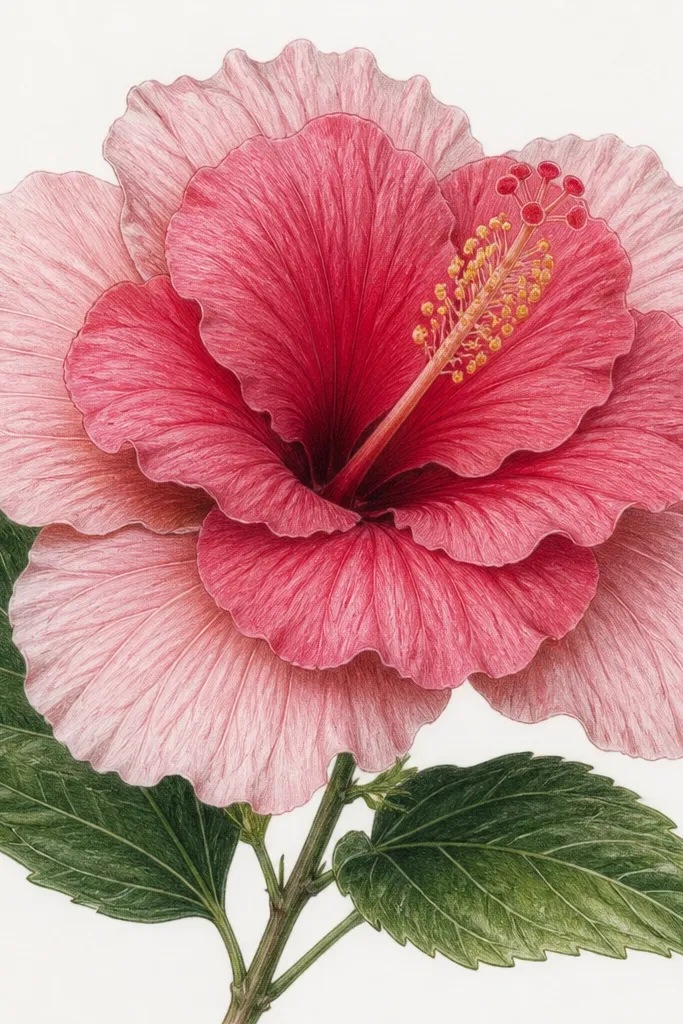
This design is all about layer separation. The outer petals, middle petals, and inner folds each have their own linework density, so the bloom looks dimensional without complicated shading. It’s a good choice for beginners who want a “real” tattoo look while still keeping the process manageable. The center stays tall and the stamens are simple, which makes it easy to redraw repeatedly. It’s also very photogenic because each layer catches light differently in pencil or ink.
Step 1: Sketch the center column and stamens, then draw the outer petals as the largest teardrops. Step 2: Add a second layer of petals slightly smaller behind the first, using partial outlines where petals overlap. Step 3: Add the third layer as inner fold shapes close to the center. Step 4: Shade each layer differently: light on outer, medium on middle, darker on inner fold areas.
Use a single shading direction across all layers so it looks consistent even if you redraw.
Don’t blend layers together with the same shading intensity.
16. Hibiscus with Stylized Stamens and Minimal Petal Detail
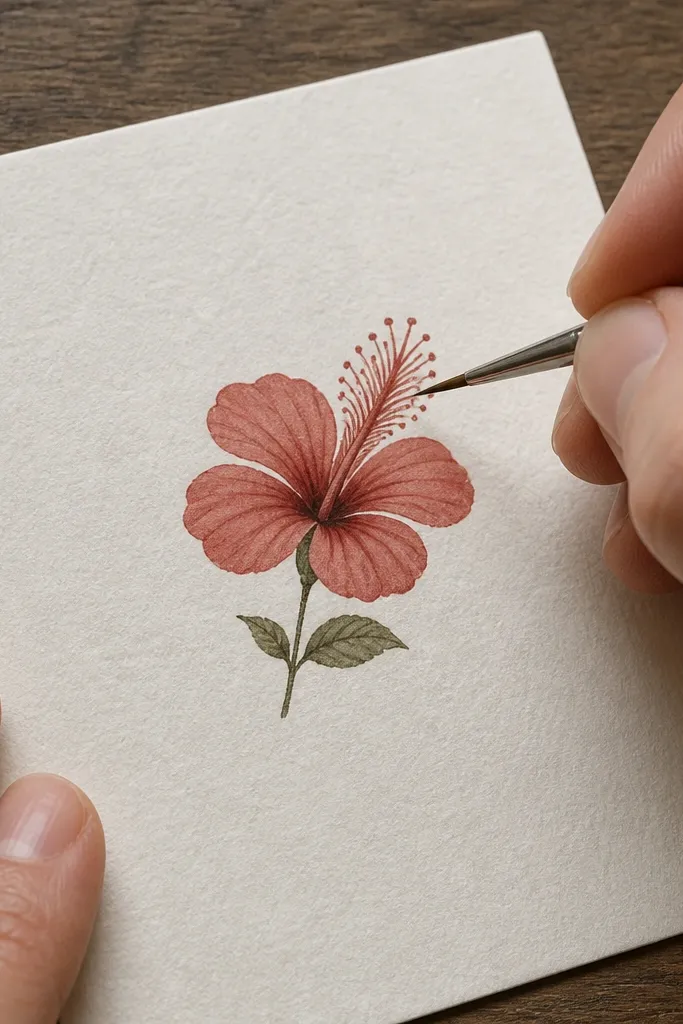
This is a minimal hibiscus drawing that still feels unmistakably hibiscus because the stamens are the star. The petals are simpler and fewer, so you avoid the messy middle that ruins many small tattoo sketches. It’s ideal for tiny tattoos where you can’t fit a lot of detail, like a small finger tattoo or a small wrist dot. Keep the outline smooth and slightly tapered at the petal tips. This style looks modern and clean in black ink.
Step 1: Draw 3 outer petals first, then add 2 smaller inner petals behind them to suggest layering. Step 2: Create the center column and draw 3-4 stylized stamens as bold lines with small hooks at the tips. Step 3: Add one or two inner fold lines only, close to the center. Step 4: Shade only the petal base with a small patch of dots or a light hatching strip.
If the tattoo is going small, prioritize stamen shape over petal realism.
Don’t add extra petals trying to be more realistic. It crowds the design.
17. Hibiscus with Bold Center Mandala and Simple Outer Bloom
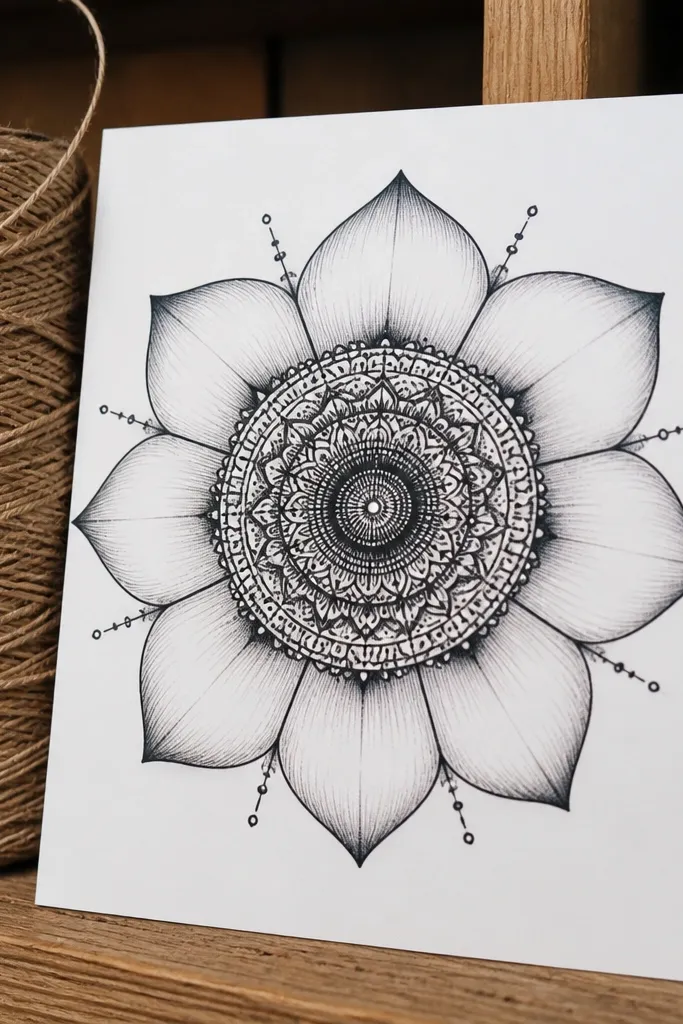
This drawing puts the detail where it matters: the center. The outer petals stay clean and readable, while the center becomes a mini mandala with dots, short lines, and small arcs. That contrast makes the tattoo look intentional and helps the design read even when the petals are minimal. It’s a great fit for upper arm or shoulder because the center detail can be bold. Skill level is intermediate because the center needs symmetry and steady dot placement.
Step 1: Sketch the outer hibiscus petals with clean outlines and minimal fold lines. Step 2: Draw a circular center guide and then fill it with a mandala pattern using short curved segments and dots. Step 3: Place the stamens as 4-6 thin lines that attach to the center circle. Step 4: Add shading only at petal folds near the center so the center mandala stays the focal point.
Use a dot grid lightly in pencil for the center mandala so spacing stays even.
Don’t over-detail the outer petals. The center should carry the complexity.
18. Hibiscus Flower Drawing with Rainbow Petal Color Bands
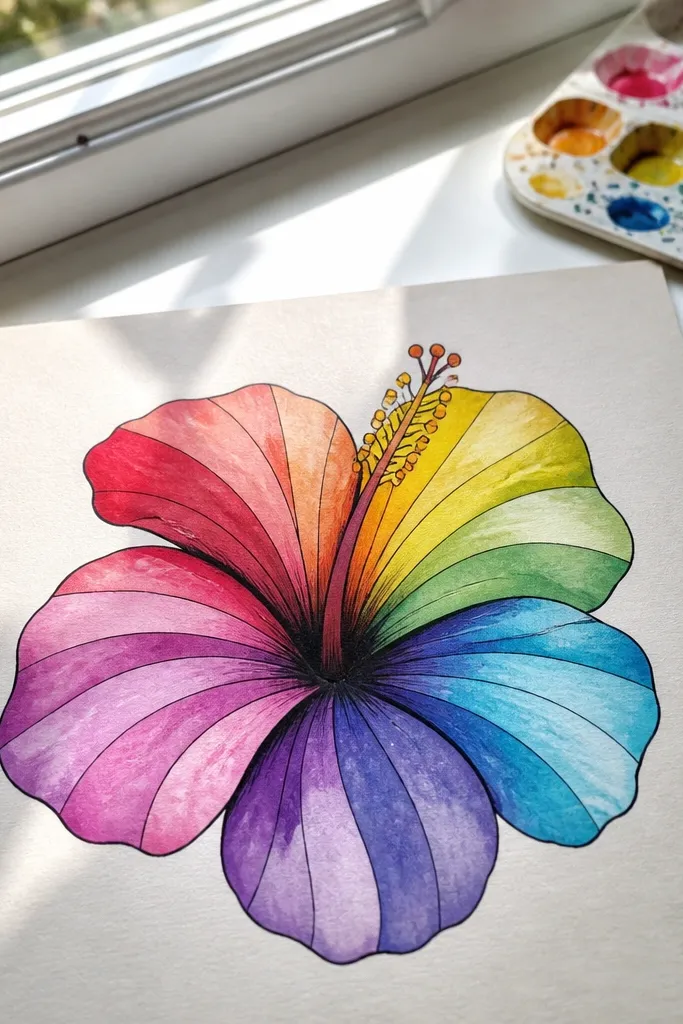
If you want a color-forward hibiscus that still looks like a tattoo drawing, use rainbow bands. Each petal has 2-3 horizontal color stripes that follow the petal curve, giving it a stained-glass look. The center stays darker so it doesn’t get washed out by the bright petals. This is extremely photogenic on light paper and works well for mockups where you want a “flash color” vibe. It takes about 60-90 minutes if you keep your edges clean.
Step 1: Draw and ink the hibiscus outlines first, including petal folds. Step 2: Plan 3 color bands per petal and lightly mark where they go, keeping the bands curved to match the petal shape. Step 3: Color with colored pencils or markers in thin layers, leaving a highlight strip near the outer rim. Step 4: Deepen the petal base and center folds with a darker shade, then refine outlines with a dark pen.
Color the darkest band first, then layer lighter bands on top so you can clean up edges.
Don’t let colors bleed across fold lines. Fold separation is what makes the petals look dimensional.
19. Hibiscus with Lined Petal Creases and Edge Highlights
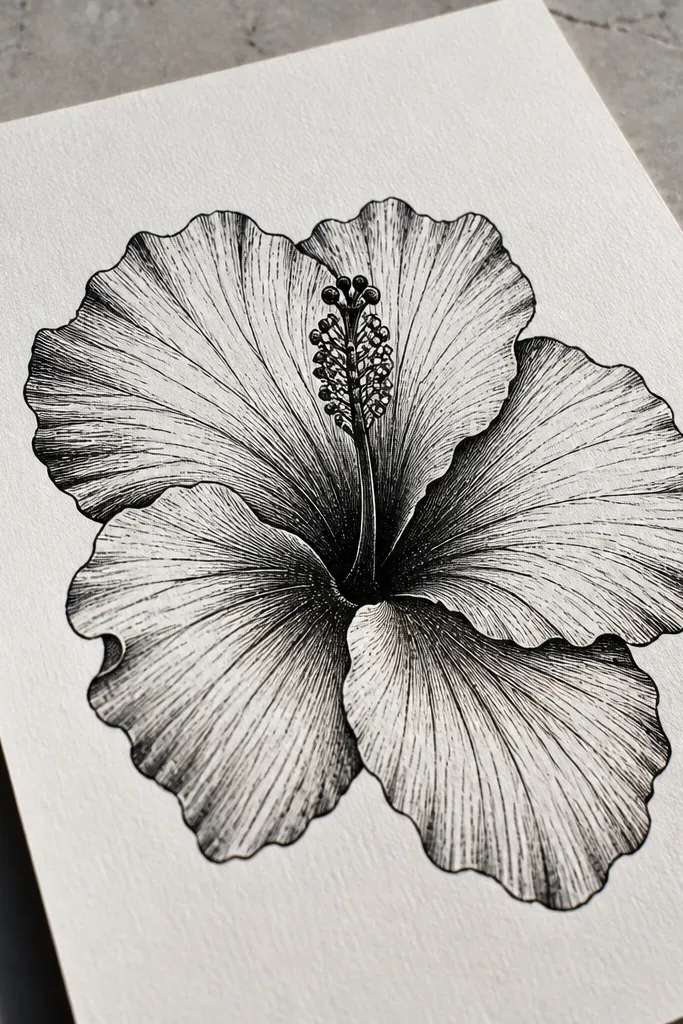
Step 1: Ink the outer contour of the hibiscus and the main petal folds. Step 2: Add crease lines inside each petal that follow the fold direction, keeping them curved and evenly spaced. Step 3: Use dot accents at the petal base near the center to create depth without filling large areas. Step 4: Leave a thin highlight edge on each petal by avoiding any ink along the rim.
This style looks sharp and tattoo-ready because it uses crease lines instead of heavy shading. Each petal has visible fold creases that curve from base to tip, and the outer edges are kept lighter to suggest highlight. The center is drawn with a tight crease pattern and a few dense dots for depth. It’s great for black ink or pen-only drawings because it doesn’t rely on color wash. It’s also easier to transfer into a stencil since the texture is line-based.
AvoidDon’t shade over the rim edges. The highlight edge is the whole look.
Pro tipDraw the crease lines lightly in pencil first so you can erase misaligned ones before inking.
20. Hibiscus with Shaded Stemless Bloom and Small Side Leaves
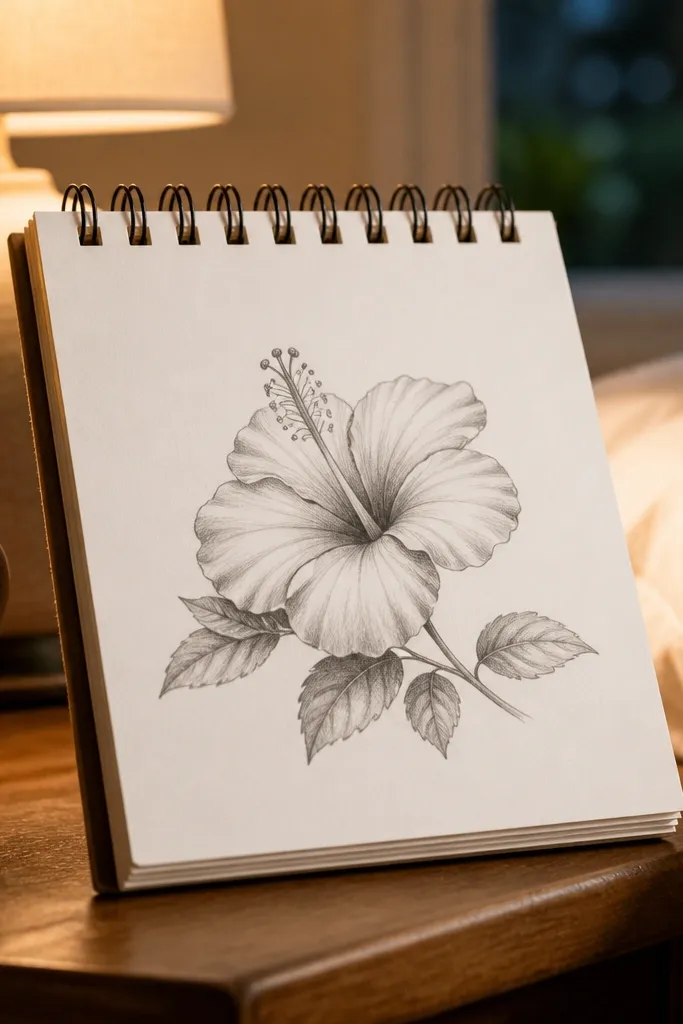
Step 1: Sketch the hibiscus outline without a stem, then add two small leaves on the left and right edges of the bloom. Step 2: Draw the center column and stamens, then place 5 outer petals with visible overlap. Step 3: Shade only the fold shadows with graphite, using a softer pencil for the darker areas near the center. Step 4: Ink the outlines last, then clean up edges with an eraser and sharpen any smudges.
This is a clean layout that gives you the hibiscus as the main subject, with just enough leaf detail to frame it. Stemless means no busy vine, so the design stays compact and reads well for small placements. The shading is focused on petal folds, which keeps it looking dimensional without turning into a full-color painting. It’s great for simple black-and-gray tattoos and for drawings you want to convert into a stencil. Skill level is beginner to intermediate.
AvoidDon’t add extra leaf veins beyond 2-3 lines or the drawing gets busy.
Pro tipKeep the leaves smaller than the outer petals so they frame instead of compete.



