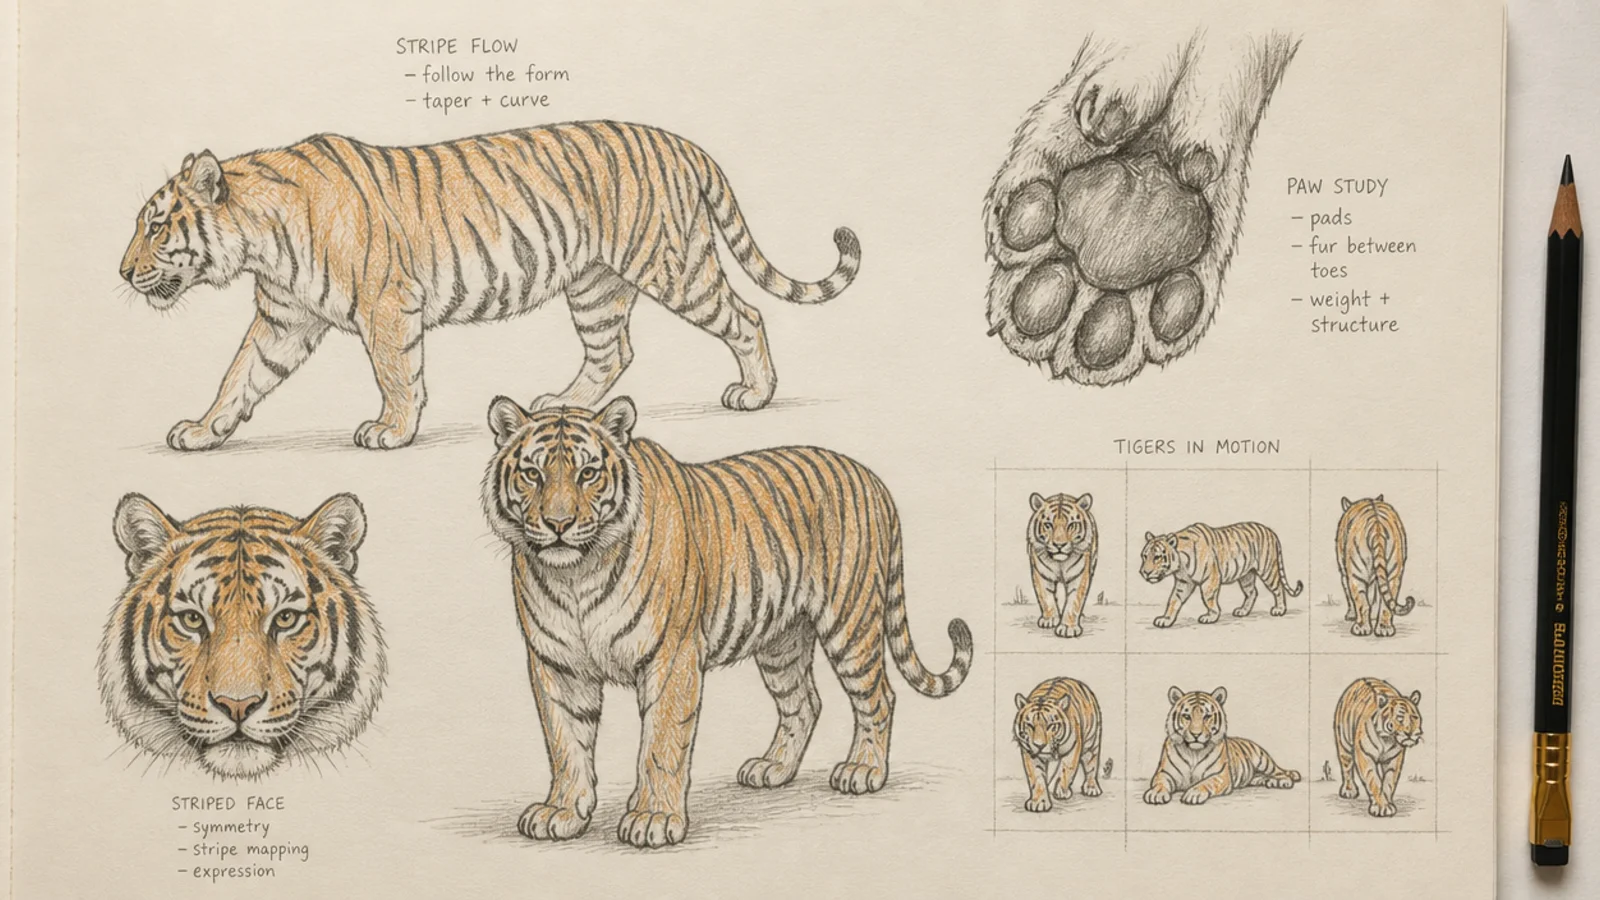
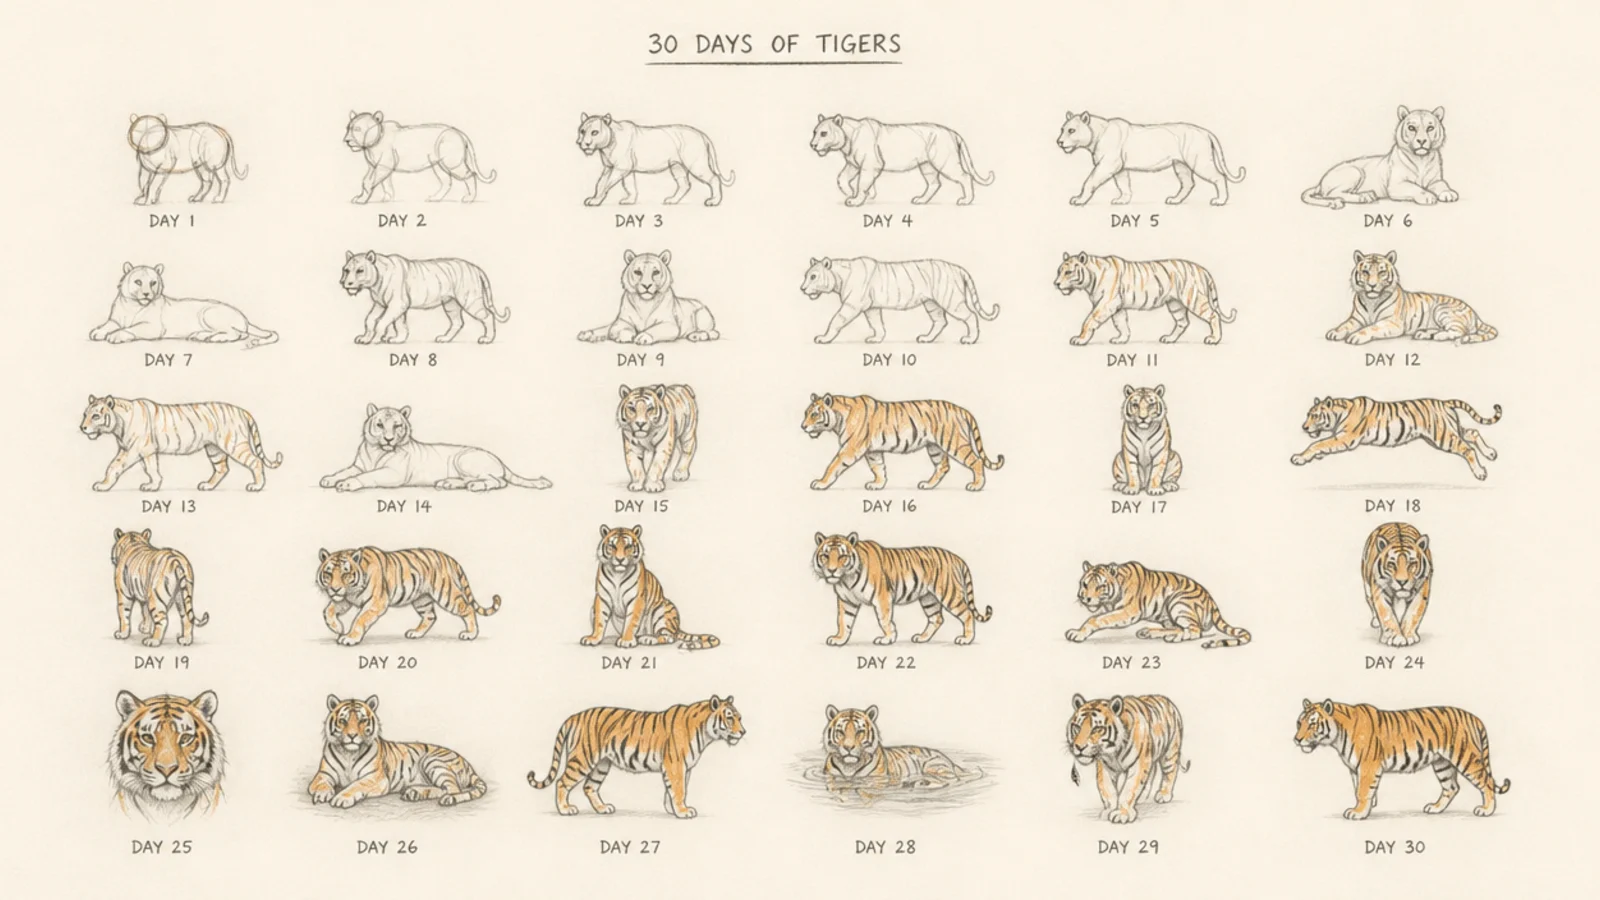
I drew 30 tigers over a month, and it changed how I see the whole animal — the way the stripes wrap, how the weight sits in the paws, and why my early tigers looked stiff. The reps taught me things no single tutorial did, mostly small shifts that made a big difference. One of the biggest surprises was how much a proper tiger paw drawing pulls a whole pose together, which is why paws get their own lesson here. These are the five honest lessons that stuck, each one a mistake I stopped making or a habit that finally clicked.
Drawing the same animal 30 times is oddly powerful. By the fifth tiger I had made every beginner mistake; by the fifteenth I started seeing the tiger instead of my idea of it. The tiger is a great subject for this because it has clear parts to master — a wrapping stripe pattern, a heavy weighted body, a big cat face, and those solid paws — and a good tiger paw drawing turned out to matter far more than I expected for making a pose feel grounded.
None of what follows is about talent or expensive supplies. The biggest improvements came from tiny changes in approach — how I flowed the stripes, where I put the weight, how I built the paws. These are lessons anyone can apply immediately, and they compound, each one making the next tiger a little better than the last.
Below are the five lessons in the order they clicked for me, each with what I was doing wrong, what changed, and how to apply it to your own tigers. Read them, then go draw one. The only real lesson underneath all of them is that the drawing itself is the teacher.
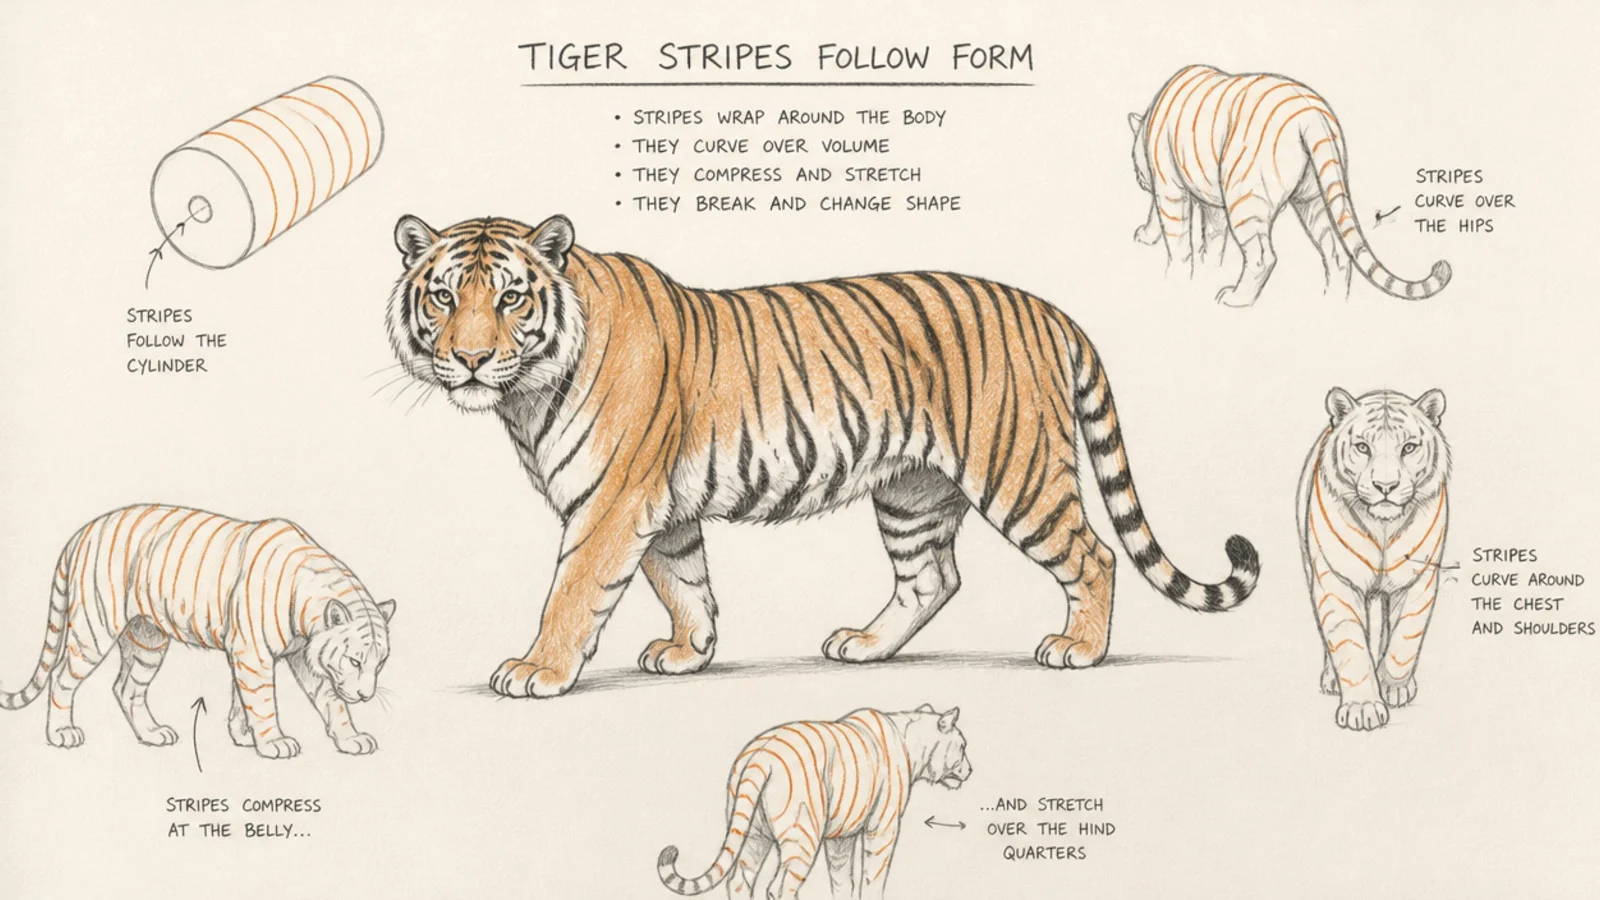
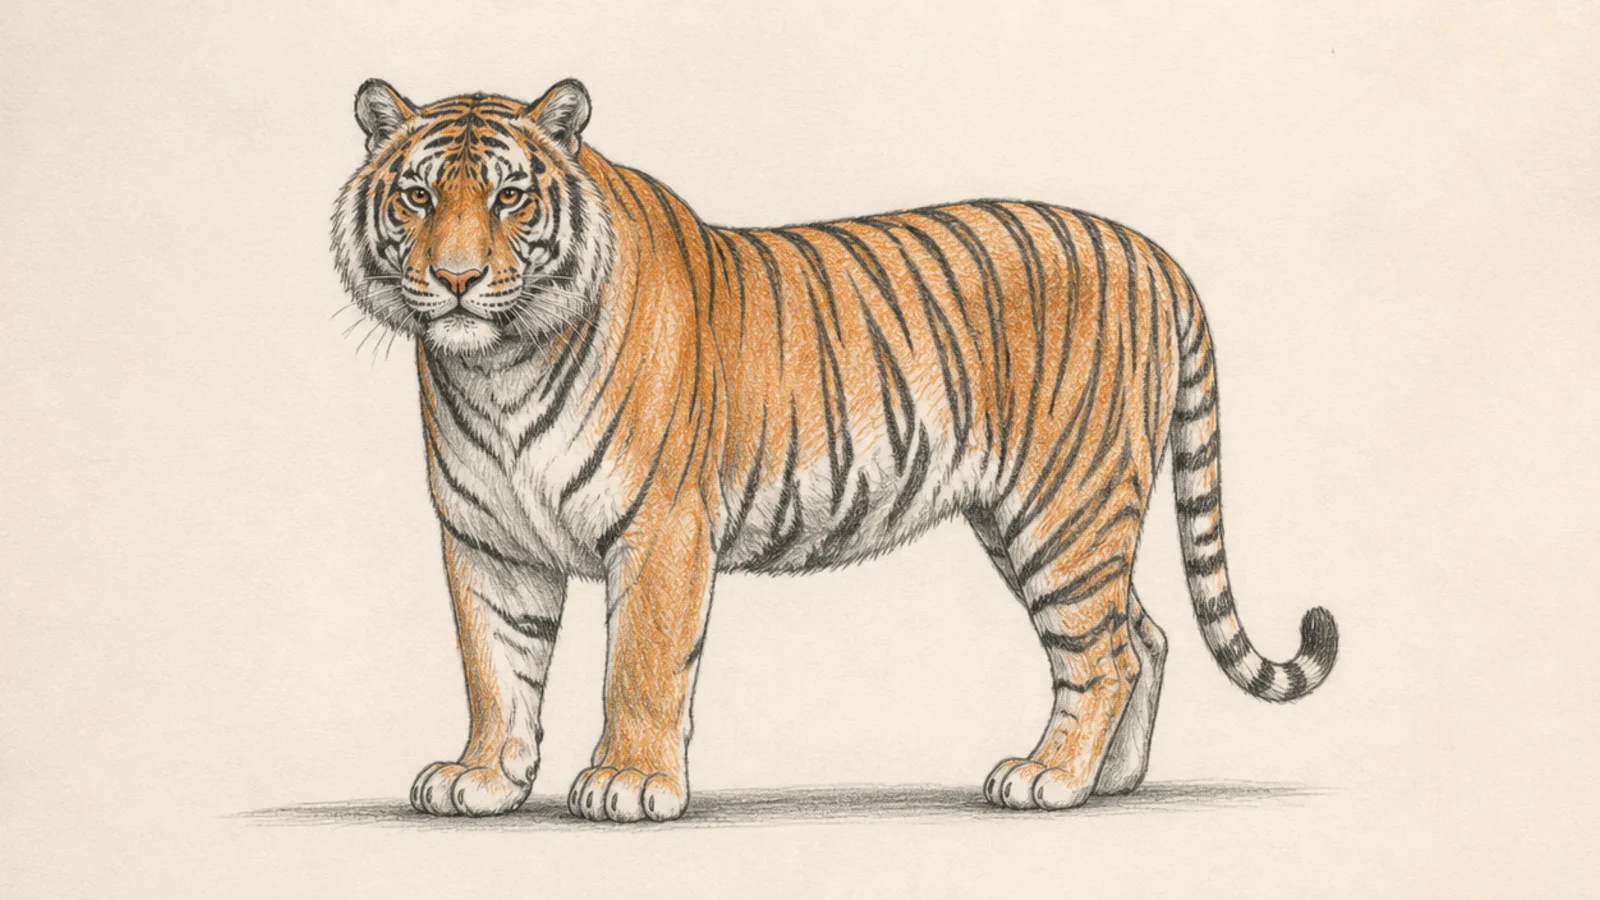
My early tigers looked flat because I drew the stripes as lines pasted on top. The moment I started wrapping each stripe around the body’s curve, the animal turned three-dimensional.
Pro tipCurve every stripe to follow the muscle underneath rather than the flat page.
Draw each stripe as a tapering mark that bends around the form like a band around a cylinder. Let the stripes turn where the belly, ribs, and legs turn. Thicker at the spine, narrowing down the sides.
AvoidDon’t lay stripes flat across the shape; wrap them around the form.
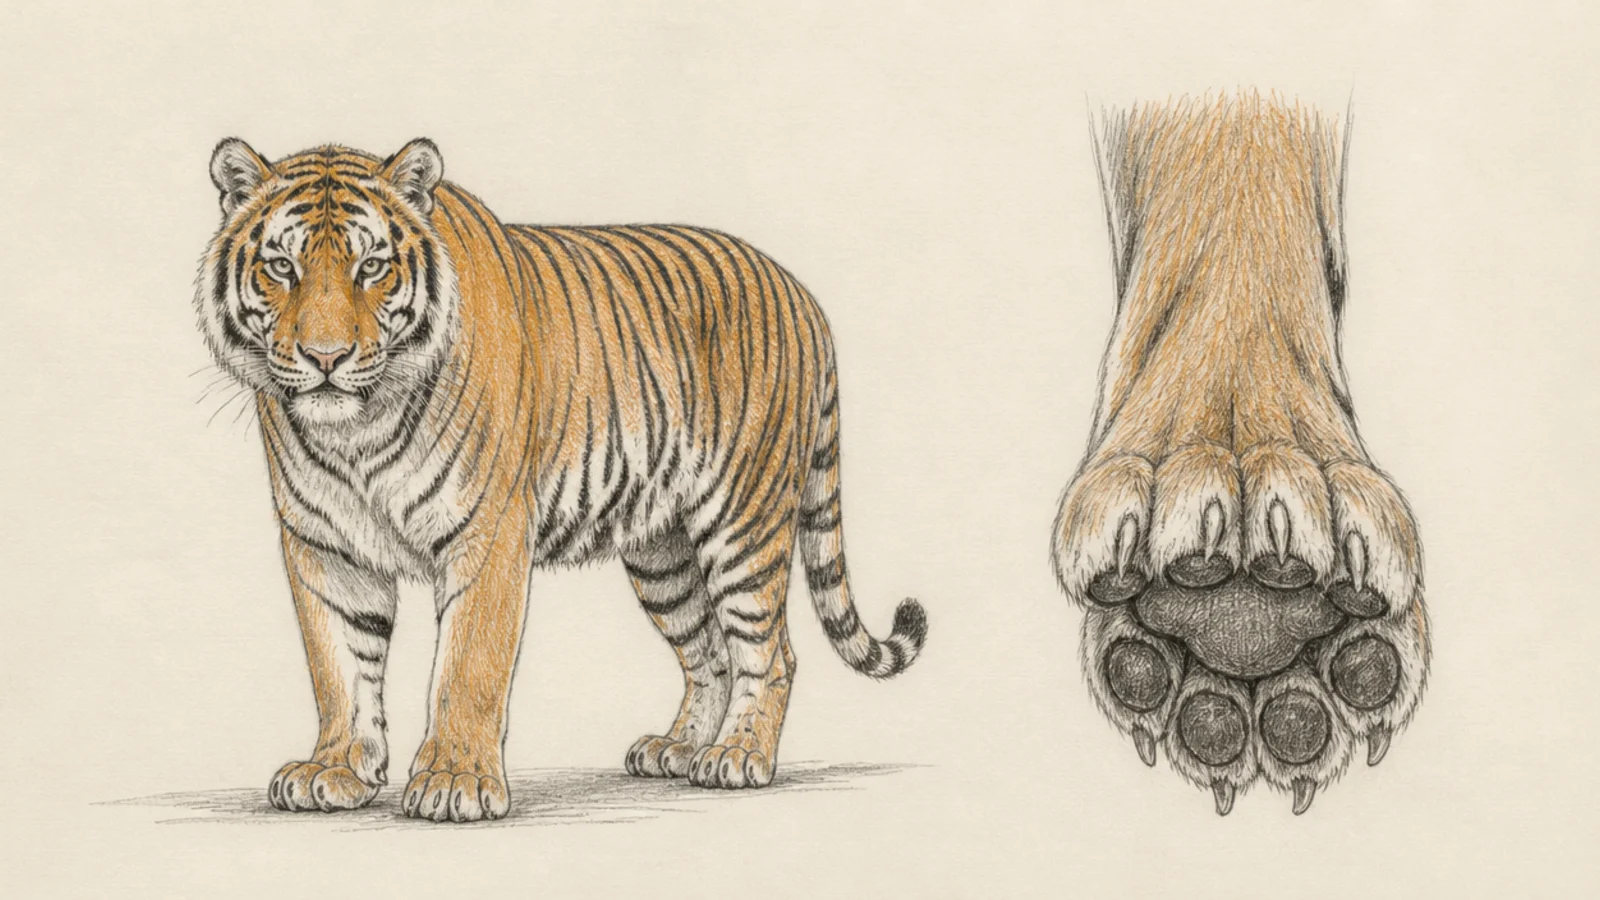
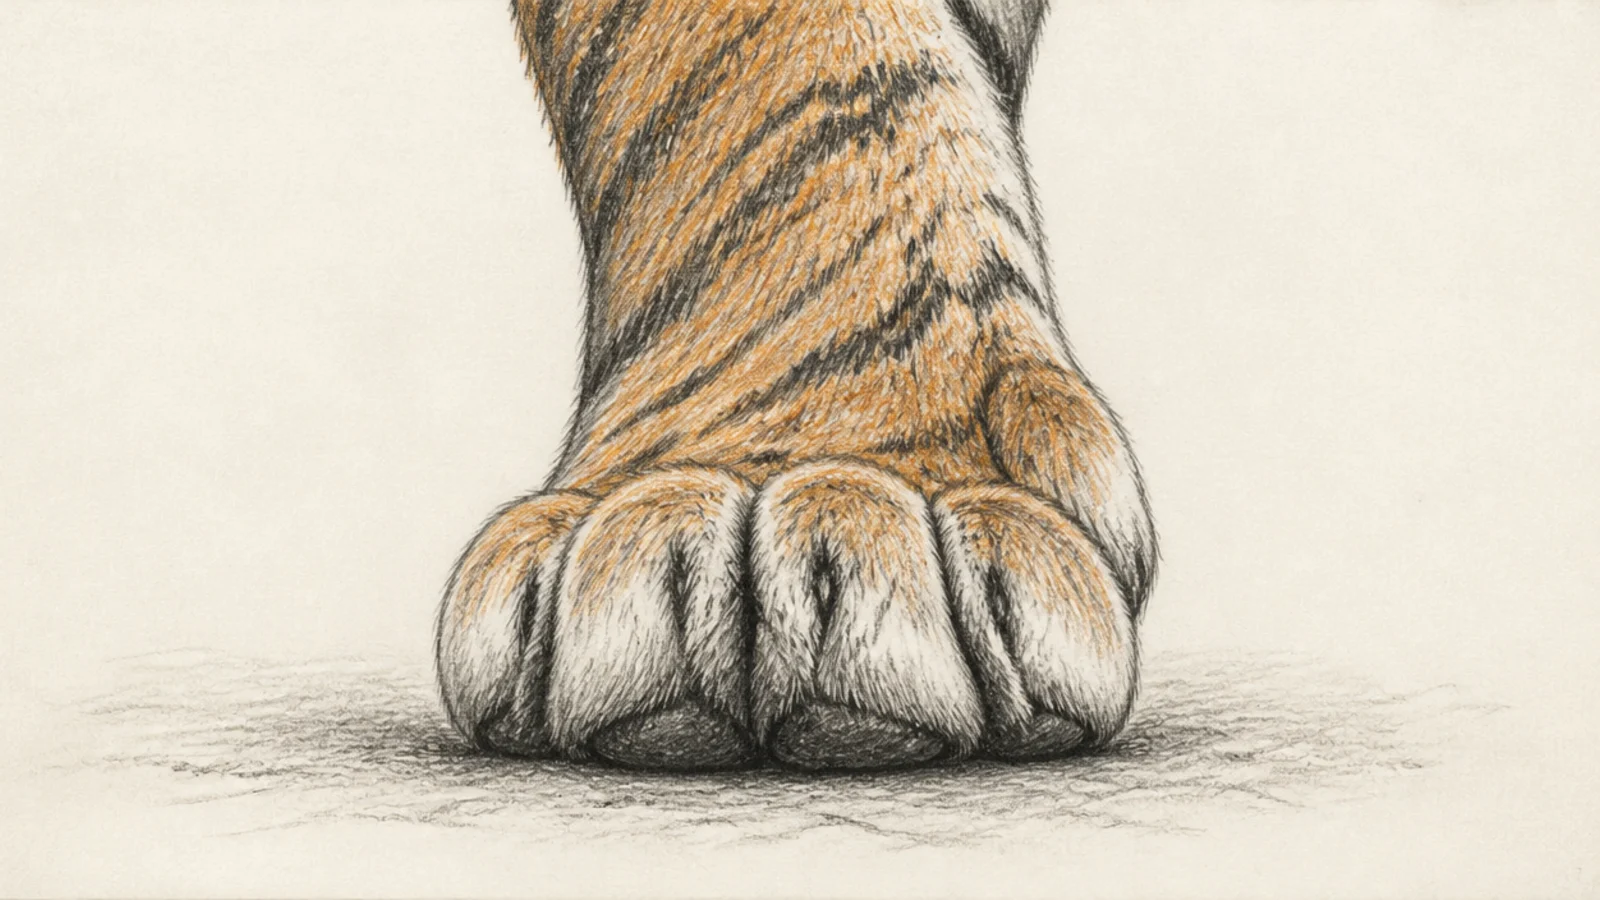
My paws were the weakest part until I stopped outlining them and started building them from weight. A proper tiger paw drawing grounds the whole pose and makes the animal feel heavy and real.
Draw a solid rounded mass, divide the front into four toe bumps with a large pad behind, and press it flat onto the ground line. Shade the underside dark and keep the claws sheathed unless pouncing.
Let the paw spread and press into the ground to carry the leg’s weight.
Don’t draw thin outlined paws; build them heavy and grounded.
My tigers looked like they were floating until I thought about gravity. Putting the body’s weight over the supporting legs made them stand like the heavy animals they are.
Pro tipAdd a cast shadow under the paws so the tiger sits on the ground, not above it.
Set the weight of the chest and hips over the legs that carry it, and let the paws sink onto the ground line. Shade a contact shadow under the body to anchor it.
AvoidDon’t leave the tiger hovering; ground the weight over the legs.
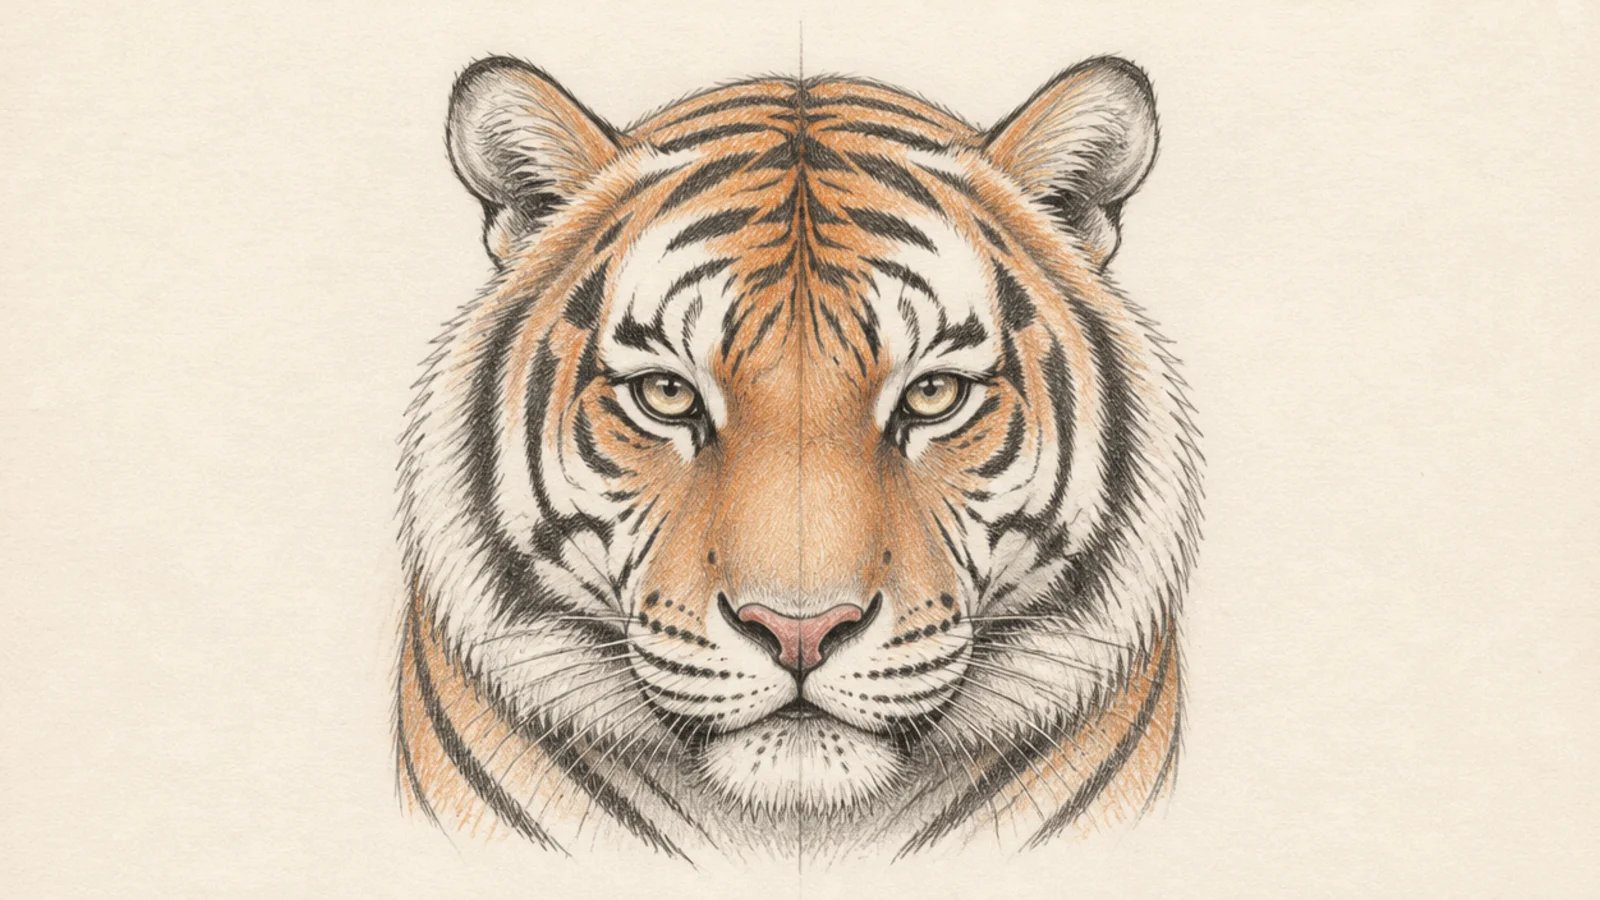
My tiger faces looked flat and lopsided until I learned the stripes radiate outward from the center line. Flowing them from the center made the head read as round and balanced.
Pro tipStart every face stripe at the center line and taper it toward the edge.
Draw a light center line down the face, then sweep the stripes up over the brow and out across the cheeks from it. Mirror each stripe on both sides so the face stays symmetrical.
AvoidDon’t scatter the face stripes randomly; radiate them from the center.
The real lesson — one rough tiger a day improved me more than occasional perfect ones. Showing up and filling pages beat trying to nail a single masterpiece.
Pro tipKeep all your daily tigers in one place to see how fast you improve.
Draw one tiger daily, however rough, and keep them together in one book. Watching the stack of 30 grow taught me more than any single careful drawing could.
AvoidDon’t wait for the perfect mood or supplies; just draw one today.
Quick answers
How do I draw a tiger paw?
Build a good tiger paw drawing from weight, not outline. Start with a solid rounded mass for the paw, divide the front into four toe bumps with a large pad behind, and let it press flat into the ground so it carries the leg’s weight. Keep the claws sheathed unless the tiger is pouncing, and shade the underside dark so the paw feels heavy and grounded rather than flat.
Why do my tiger stripes look flat and pasted on?
Because they are probably drawn as flat lines on top of the shape rather than wrapping around it. Stripes should follow the curve of the body like bands around a cylinder, tapering to points and bending where the form turns. Once I started flowing each stripe around the muscle and belly instead of laying it flat, my tigers instantly looked rounded and three-dimensional.
Does drawing the same animal many times actually help?
Yes, dramatically. Drawing 30 tigers let me make and fix mistakes fast, and by the second week I started seeing the real animal instead of a symbol of it. The repetition taught me stripe flow, weight, and paw structure far better than reading ever could, because each drawing corrected the last one in a way no single tutorial managed.
What is the most common mistake when drawing a tiger?
Making the tiger look like it is floating instead of standing with weight. Early on I drew the legs and paws without thinking about gravity, so the body seemed to hover. Putting the weight over the supporting legs and grounding the paws with a solid, shaded base fixed it, and it is the single change that made my tigers look like real, heavy animals.