
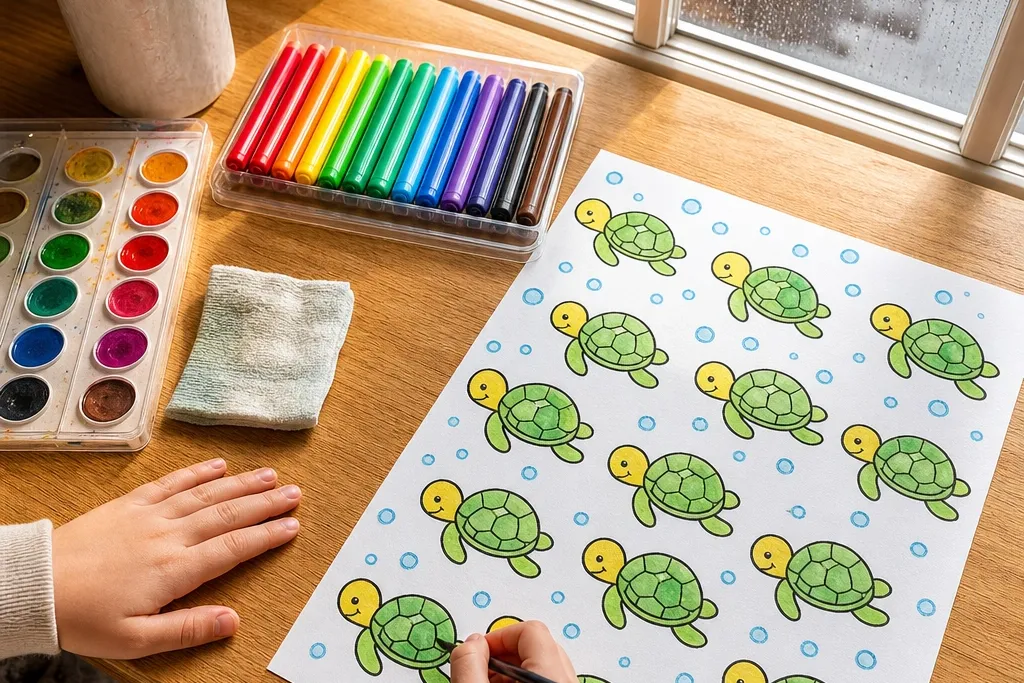

1. Bubble Helmet Baby Turtle
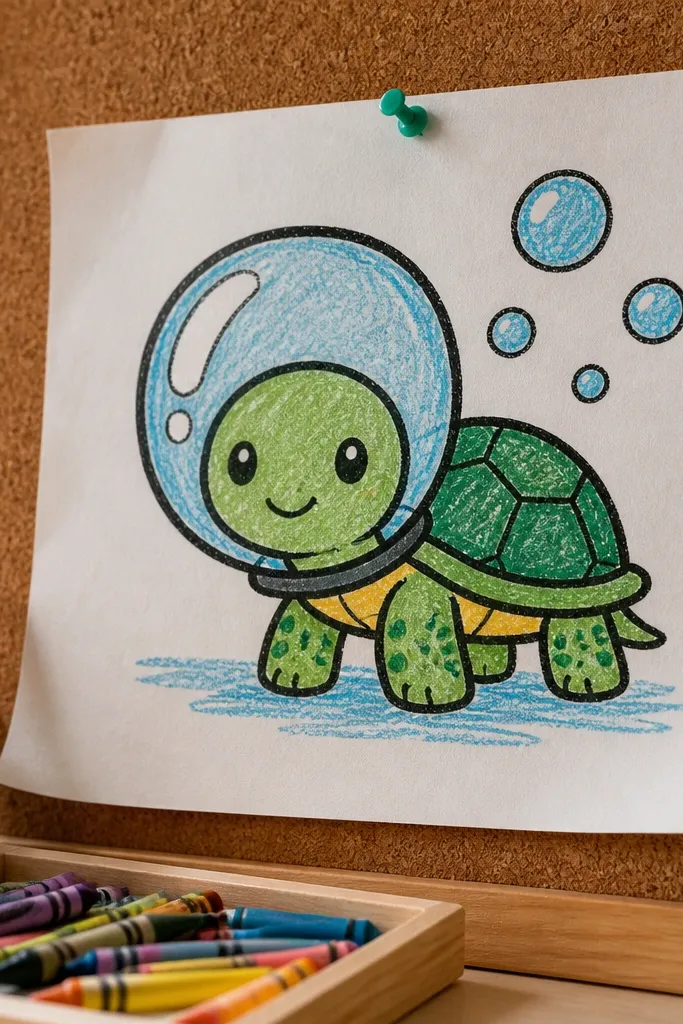
This one looks cute because the shell gets a clear “helmet dome” shape and the bubbles create instant motion. The turtle reads as baby-friendly thanks to its round head, tiny legs, and a shell pattern that stays simple. Use a thick black outline so the bubbles don’t blend into the turtle body when colored. The photo pops because the bubbles give you bright white space and the helmet dome frames the face.
Step 1: Draw a large oval for the shell, then add a smaller circle for the head tucked slightly under the top of the shell. Step 2: Add two short front legs and two tiny back legs as curved lines, then draw a dome shape around the shell outline. Step 3: Draw 6-10 bubbles as circles of different sizes around the turtle, leaving a few blank spots for white highlights. Finally, outline everything in black, then color the shell one bright green shade and shade the dome edge with a darker green.
Leave two tiny uncolored dots inside each bubble so the drawing looks glossy even with crayons.
Don’t overfill the shell with tiny scales — keep the pattern to 6-8 clear tiles.
2. Lily Pad Snack Turtle
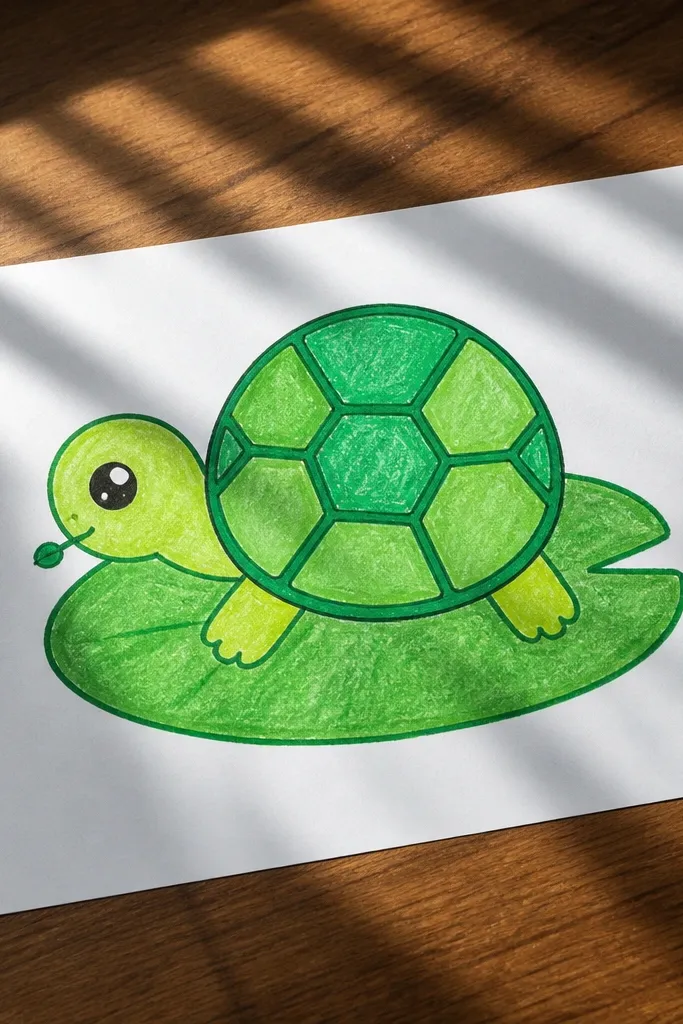
This drawing is adorable because the turtle has a simple pose and the lily pad gives you an instant setting. The shell stays round and the legs look like little mittens, which makes it feel like a kid-friendly character. It’s also easy to color neatly: green lily pad, bright shell, and one small leaf snack for contrast. It photographs well because the lily pad creates a strong foreground shape that frames the turtle.
Pro tipColor the lily pad veins lightly with a pencil or crayon before outlining them so they look softer.
Step 1: Draw one big lily pad first — a wide oval with wavy edges — then place the shell centered on top. Step 2: Add the turtle head as a small circle with a short smile line, plus short legs that hug the pad. Step 3: Draw a tiny leaf snack near the turtle’s front legs, then add 3 veins on the leaf. Outline in black, color the lily pad with two greens (light base, darker along the edge), then color the shell with a warm green or olive and add darker shell tile lines.
AvoidSkip busy water backgrounds — one lily pad is enough to keep the image clean.
3. Sun Hat Stripe Shell Turtle
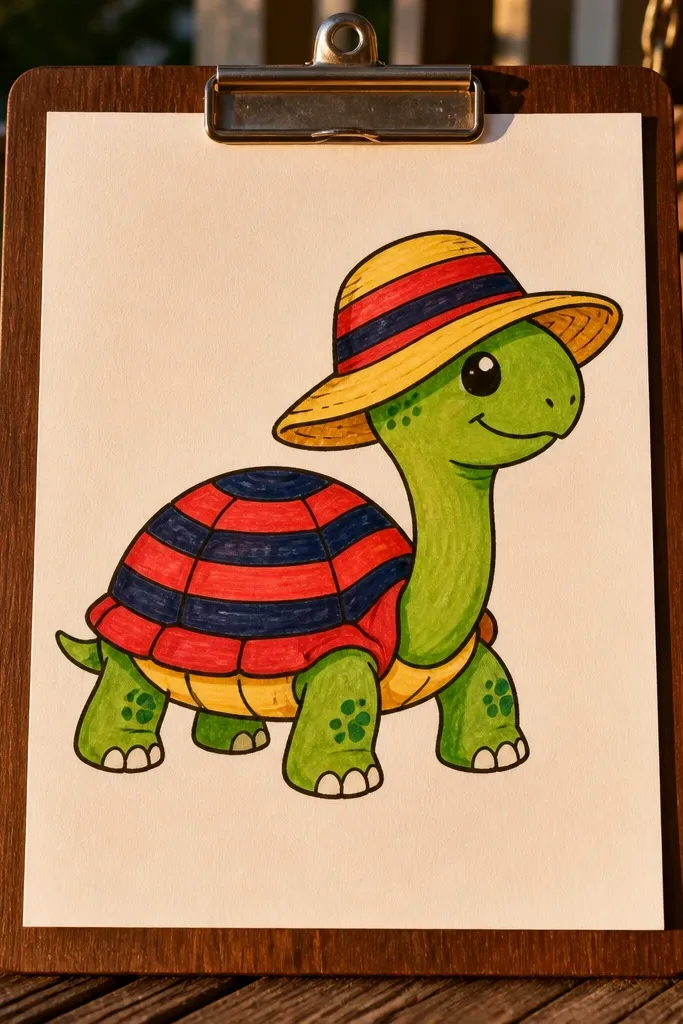
This one looks “cute on purpose” because the sun hat gives the turtle a personality kids instantly recognize. The stripe pattern on the hat is easy to keep straight, and the shell stripes make the whole drawing feel organized. Use thick outlines and color the stripes with two alternating colors so it looks crisp in photos. The hat brim also creates a strong horizontal shape that balances the turtle’s round body.
Pro tipUse a ruler for the hat brim stripe lines, even for kids — it takes 30 seconds and makes the whole drawing look neater.
Step 1: Draw the shell as a rounded oval and add a smaller head circle in front. Step 2: Add a simple sun hat: a curved brim line across the top of the shell and a slightly taller crown shape above it. Step 3: Divide the shell into 5-7 curved stripe bands, and divide the hat into 4-6 straight stripe sections. Outline everything, then color hat stripes with two marker colors and color the shell stripes with one base color plus a darker edge shade.
AvoidDon’t make the stripes too thin — thick bands read better at a distance.
4. Carrot Cheeky Turtle
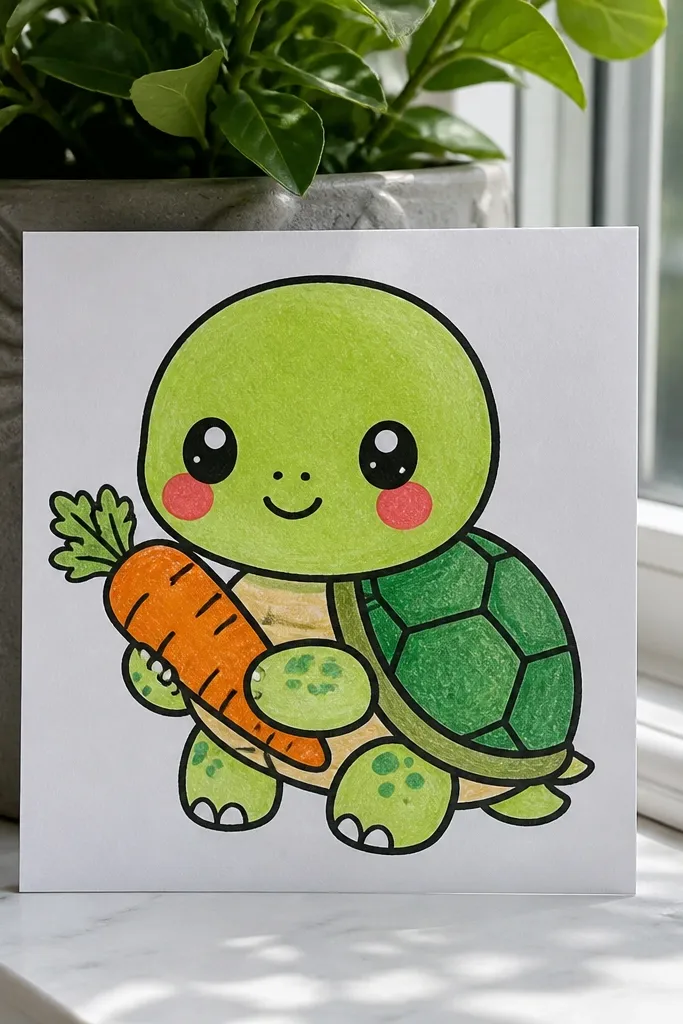
Cheeky faces make baby turtles look instantly friendly. This design adds rosy cheeks, a tiny nose dot, and a carrot held near the front. The shell stays simple with 6 big tiles, so kids don’t get stuck on details. It’s photogenic because the carrot’s orange color pops hard against the green shell and the face area draws the eye.
Pro tipUse a separate darker orange line only along the carrot’s left edge — it creates shape with minimal effort.
Step 1: Draw a rounded shell oval and sketch a small head circle with two small cheek circles on the sides. Step 2: Add a tiny mouth smile and a small nose dot, then draw two short front legs holding a carrot shape. Step 3: Draw a carrot as a tapered oval with 3-4 jagged green leaves on top, then add 2-3 vertical lines down the carrot for texture. Outline in black, color cheeks lightly with pink, shell green with tile lines, and carrot orange with darker orange lines.
AvoidDon’t draw the carrot too big — keep it about the same width as the turtle’s head.
5. Beach Sand Castle Turtle
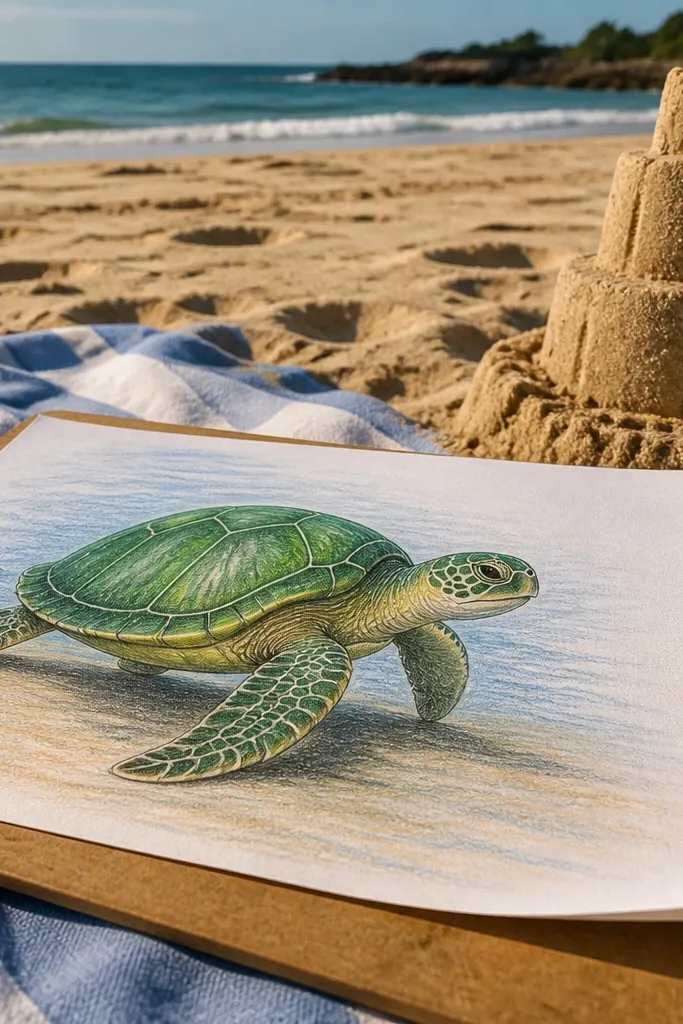
This one is cute because the turtle looks like it’s exploring, not posing. The sand castle gives you a clear background element without requiring a lot of drawing skill. You get a fun color palette: warm sand, bright shell, and sky-blue accents. The turtle stays the main subject, and the castle gives the drawing depth so it looks finished in a photo.
Pro tipFor sand texture, lightly scribble crayon in one direction before shading — it reads as grain without getting messy.
Step 1: Draw a ground line near the bottom of the page, then sketch a small sand castle as stacked rectangles with a wavy top. Step 2: Place the shell oval sitting just behind the castle wall, with the head peeking out. Step 3: Add two short legs in the sand and draw 3 tiny ripples in the sand area. Outline everything, color the sand with light tan, shade the sand under the turtle with darker tan, then color the shell green and add a few darker tile lines.
AvoidDon’t add lots of sea shells or clouds — the castle plus one turtle is enough.
6. Heart Bubble Turtle
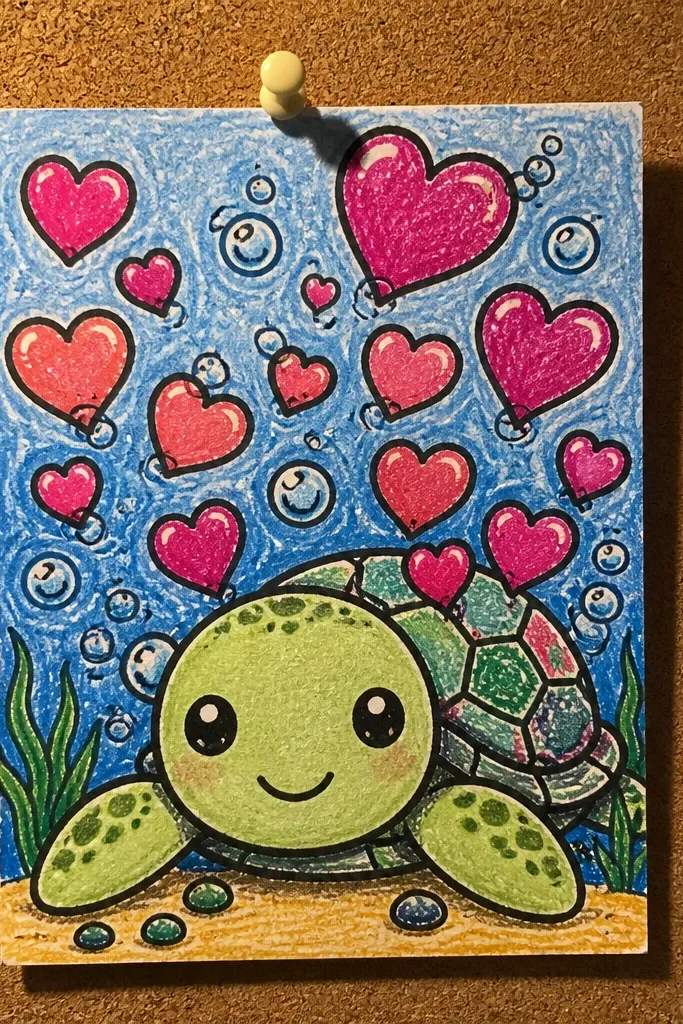
Heart bubbles are the fastest way to make a baby turtle feel lovable. The turtle’s face stays round and simple, and the heart shapes create a clear, graphic pattern kids can color quickly. Keep the shell pattern to dots or tiles so the hearts stay the visual star. This drawing looks great for cards because the hearts frame the turtle head and give a natural focal point.
Pro tipColor the heart bubble outlines lightly in black, then fill with marker — it keeps edges crisp even on busy shapes.
Step 1: Draw the shell oval and a head circle, then add a tiny arm line curved toward the mouth. Step 2: Draw a bubble stream: 7-9 heart shapes in a slightly curved line rising from the mouth area. Step 3: Add shell details as 6-8 round dots or small tiles. Outline in black, color the shell green with darker dot edges, then color heart bubbles using two alternating bright colors.
AvoidDon’t crowd the hearts against the shell — leave space so the hearts read clearly.
7. Rainbow Scarf Turtle
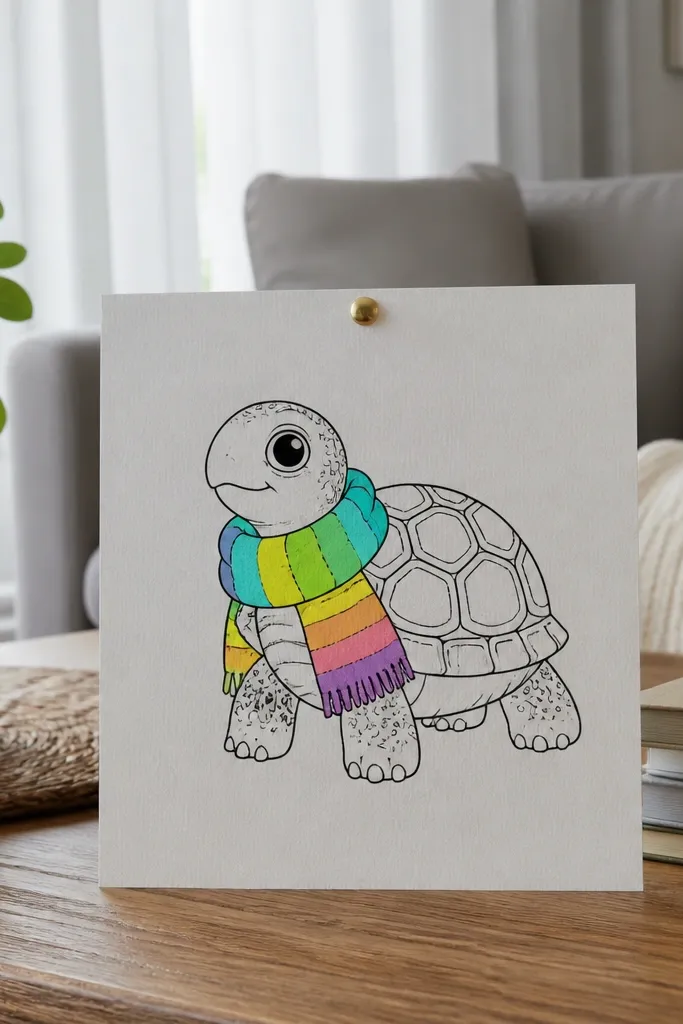
A scarf makes the turtle look dressed up without complicated anatomy. The scarf also gives you a rainbow color plan that kids can follow step-by-step, which helps the whole drawing look intentional. The turtle body stays round and the shell can be patterned with simple tiles so it doesn’t compete with the scarf. In photos, the flowing scarf creates movement and breaks up the page with bright bands of color.
Step 1: Draw the shell oval and a head circle, then add two short legs holding the scarf ends near the shell front. Step 2: Sketch a scarf shape as a long ribbon that curves behind the turtle with 3-4 folds. Step 3: Divide the scarf into 6 rainbow bands, then draw 6-8 shell tiles. Outline everything, then color scarf bands in order (red through violet), and color shell a single green tone with darker tile edges.
Make the scarf folds thicker than you think — kids' lines look better when folds are bold.
Skip adding extra patterns on the scarf — rainbow bands are enough.
8. Space Explorer Turtle
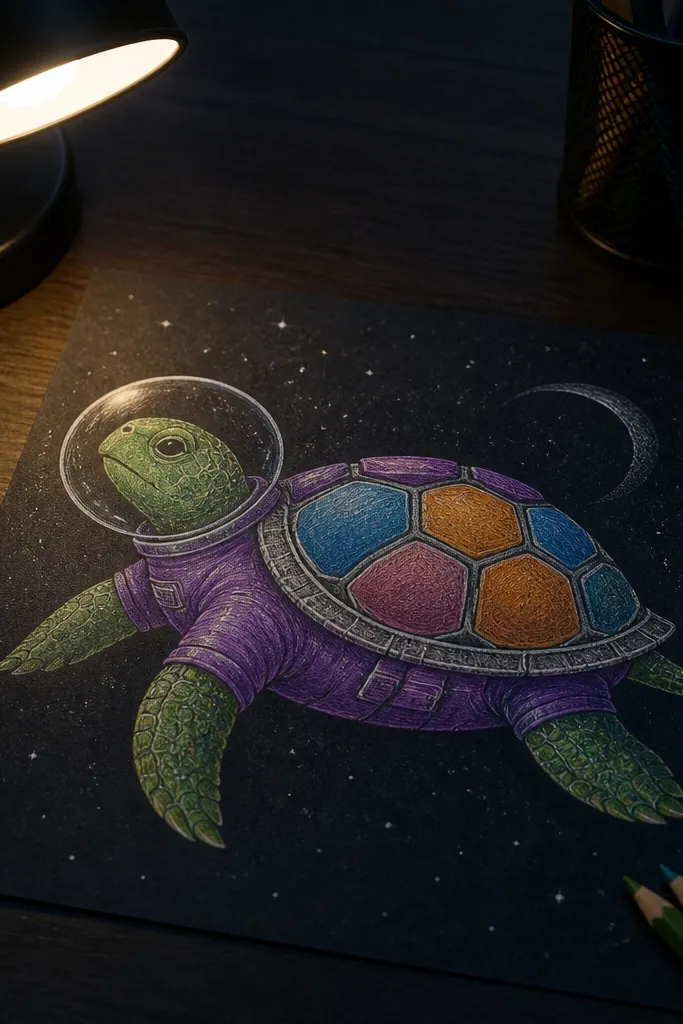
This one is visually striking because the turtle looks like a tiny astronaut, but the drawing stays simple. Use a space helmet circle and a few star dots around it, and you’ll have a clean sci-fi vibe without clutter. The shell can be patterned with 5-7 tiles, while the suit gets a different color to separate it from the shell. It photographs well because stars create sparkle points and the helmet frames the face.
Pro tipUse a white crayon on dark paper for stars — the drawing looks instantly brighter in daylight photos.
Step 1: Draw the shell oval, then add a helmet circle around the head area with a visor line. Step 2: Draw a suit outline around the legs as a simple rounded shape, leaving the shell visible. Step 3: Add 15-25 small star dots across the background, plus one curved planet ring near the top corner. Outline in black, color the helmet with light blue, the suit with one color (like gray-green), and the shell green with tile lines.
AvoidDon’t draw planets with craters — stick to one ring and a few stars.
9. Kawaii Polka Dot Shell Turtle
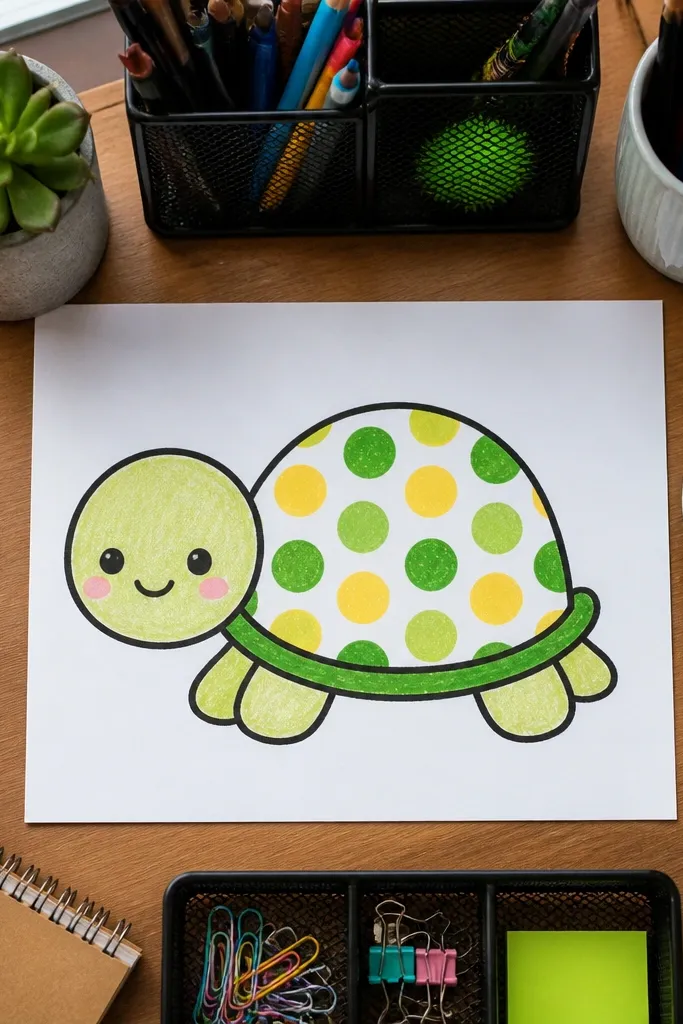
Polka dots make the shell look playful and keep the design graphic. This drawing is perfect when kids need something that looks finished without lots of tiny lines. The face is simple: one smile curve, two dot eyes, and a small blush on the cheeks. The shell dots give you a consistent pattern that looks good even with uneven coloring.
Pro tipMake the dots slightly bigger near the center — it makes the shell look rounder.
Step 1: Draw a large shell oval and a small head circle in front, then add short legs as three curved lines each. Step 2: Add two dot eyes and a small smile, plus two tiny blush circles. Step 3: Fill the shell with 10-14 evenly spaced polka dots, leaving a little white space between dots. Outline in black, color the shell base with one color, then color the dots with a contrasting lighter or darker shade.
AvoidDon’t place dots too close to the edge — leave a border so the shell outline stays clean.
10. Pencil Crayon Texture Turtle (Tile Shell)
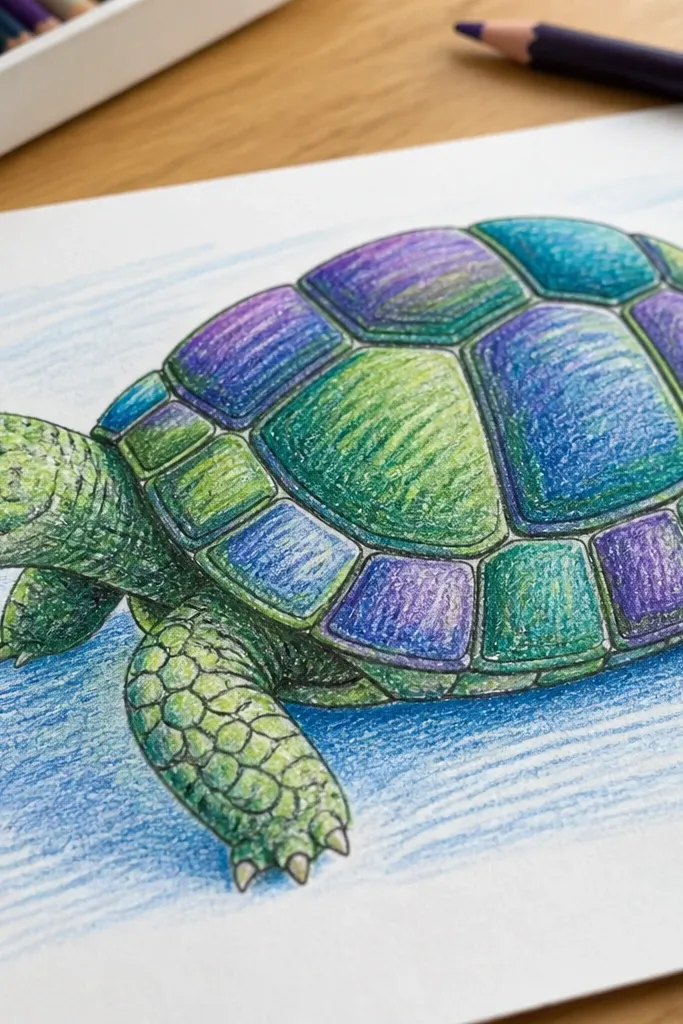
This one is aesthetic because it leans into texture. The shell tiles are drawn as bold curved rectangles, then colored with crayons so you see streaks and shading. Kids can do this without blending skills, and it still looks intentional. Keep the background minimal so the shell texture is the star. It’s great for year-round Turtle Drawing because you can repeat the tile shell style with different colors.
Pro tipIf kids press too hard, they tear paper — use light pressure and do two passes instead.
Step 1: Draw the shell oval and split it into 6-8 curved tile sections using light pencil lines. Step 2: Add the head circle and small smile, then draw tiny legs tucked under the shell edge. Step 3: Outline the shell tiles and the turtle outline in black. Color each tile with crayon in the same direction for a textured look, then lightly shade along tile edges with a darker crayon.
AvoidDon’t add a detailed background; texture on the shell is enough.
11. Raincloud Turtle with Umbrella
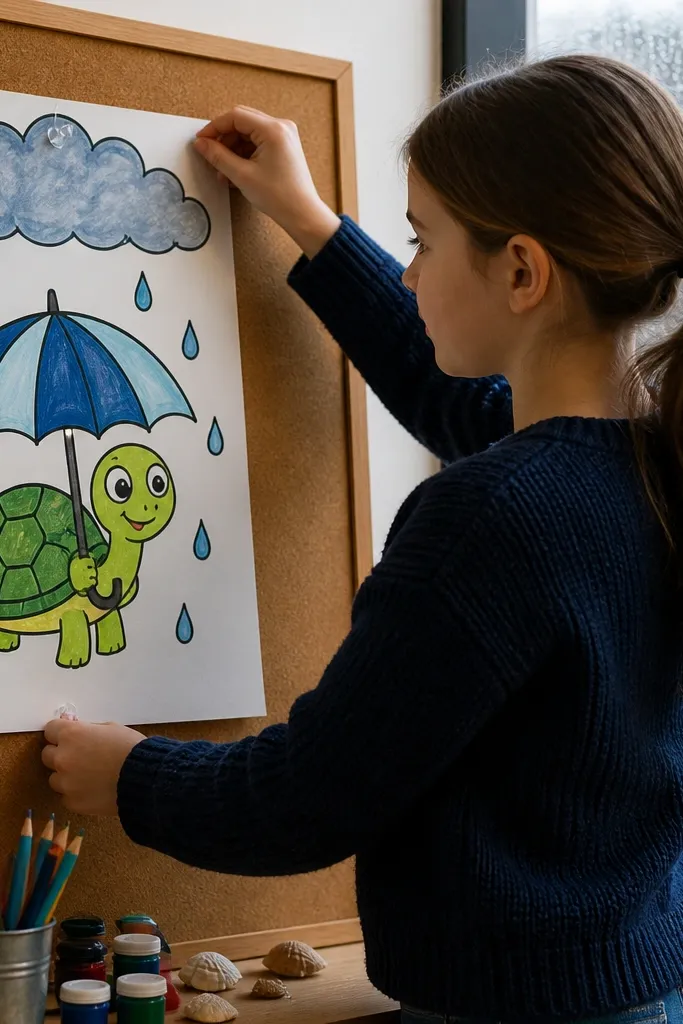
Umbrella drawings are always cute, and this turtle version keeps it kid-simple. The raincloud and raindrops give you a clear background pattern that’s easy to repeat and color. The turtle face stays round and calm, with a small open smile under the umbrella. It looks good in photos because blue-gray rain contrasts with bright shell colors, and the umbrella creates a strong curve above the turtle.
Pro tipMake raindrops uneven sizes — the page looks more lively even with simple shapes.
Step 1: Draw a raincloud as a lumpy cloud shape above the turtle, then place the turtle shell below it. Step 2: Add a small umbrella held by two short arm lines, with a curved canopy and a straight handle. Step 3: Draw raindrops as short teardrops falling from the cloud, aiming them toward the umbrella. Outline everything, color the cloud and umbrella with two blue-gray shades, then color the turtle shell green with darker tile lines.
AvoidDon’t draw too many raindrops — 20-25 looks full without turning into clutter.
12. Garden Twig Turtle
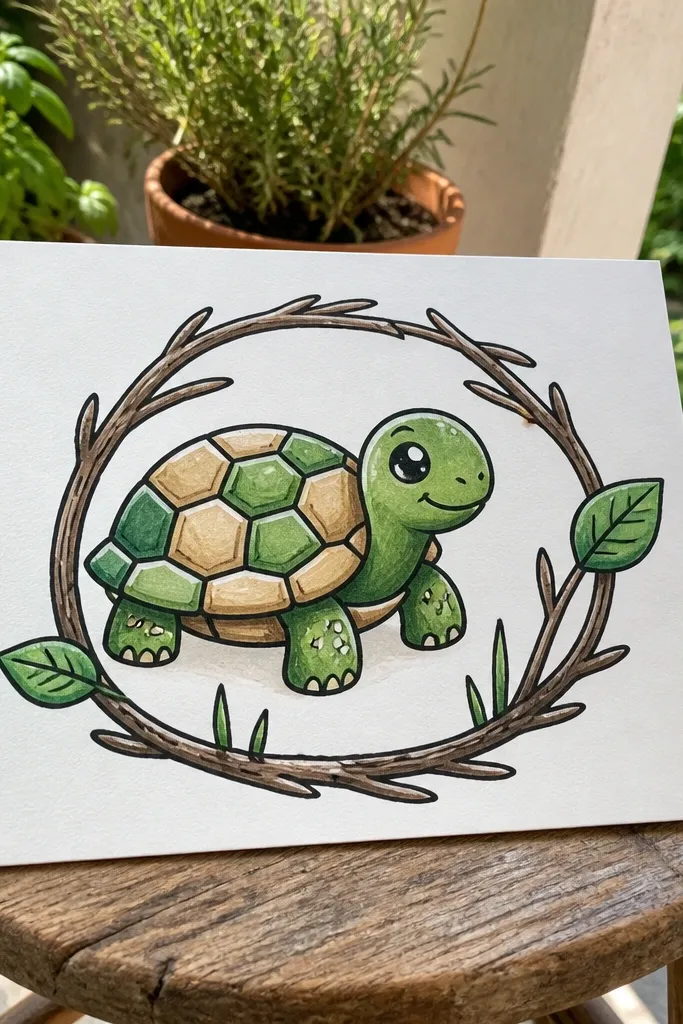
This drawing is charming because it uses nature shapes kids can draw confidently: a twig, two leaves, and a couple of little grass blades. The turtle still stays the focus with a round shell and a friendly face. Use a two-tone shell and a minimal leaf pattern so the garden doesn’t compete. It photographs well because the twig adds a vertical line that gives the turtle more depth.
Pro tipFor grass blades, keep them short and slightly curved — long straight blades look stiff in kids' drawings.
Step 1: Draw the twig first as a slightly curved line with 4-6 tiny branch bumps. Step 2: Put the turtle shell oval near the twig, then add head and legs so it looks like it’s “resting” by the branch. Step 3: Add two small leaves near the twig tip and 5-8 grass blades at the bottom. Outline in black, color twig brown, leaves green with one darker vein line, then color the shell green and add 6-8 shell tiles.
AvoidSkip flowers and extra bugs; one twig and two leaves keep it clean.
13. Bookworm Turtle Reading a Page
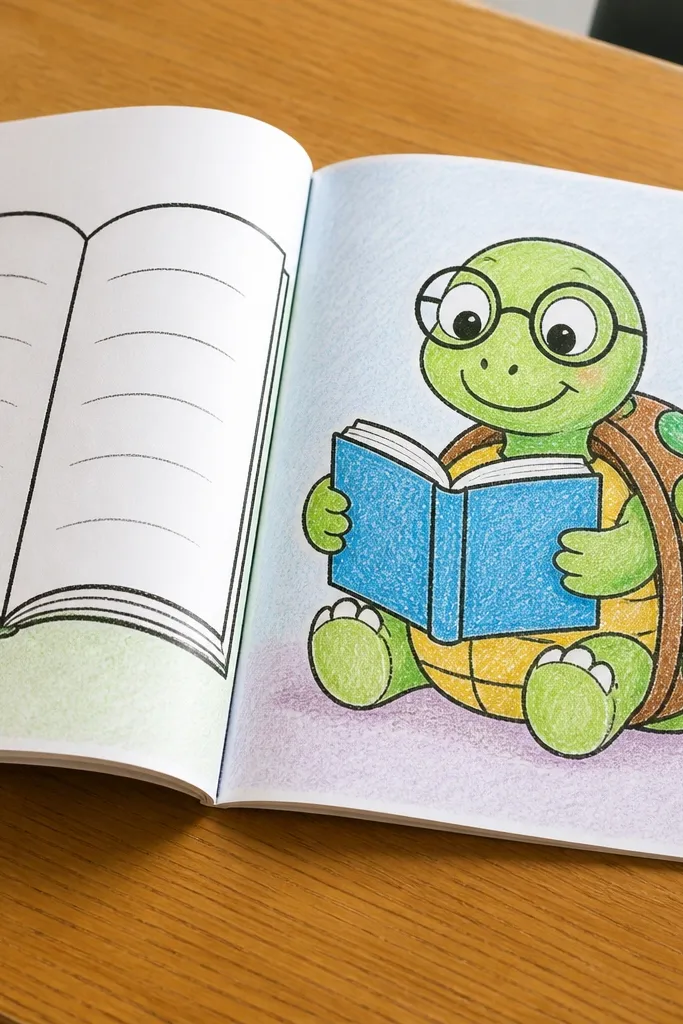
Books make kids' drawings feel instantly wholesome, and the turtle makes it extra cute. The open book gives you two big shapes to color and two pages kids can decorate with simple lines. The turtle’s shell can be patterned with dots so it doesn’t steal attention from the book. This one looks great for classroom worksheets because it stays organized: turtle on one side, open book on the other.
Pro tipUse a lighter pencil for the “text” lines so they don’t show through once you outline.
Step 1: Draw the shell oval and head circle, then add two short arms reaching toward an open book. Step 2: Sketch a simple book shape with two page rectangles and a spine line in the middle. Step 3: Add 3-5 “text” lines on each page using thin curved lines, plus one small heart doodle on the corner of a page. Outline in black, color the book covers with one bright color and the pages with light cream, then color the shell green with darker dot edges.
AvoidDon’t draw dozens of tiny lines on the pages — 5 per page is plenty.
14. Tropical Leaf Fan Turtle
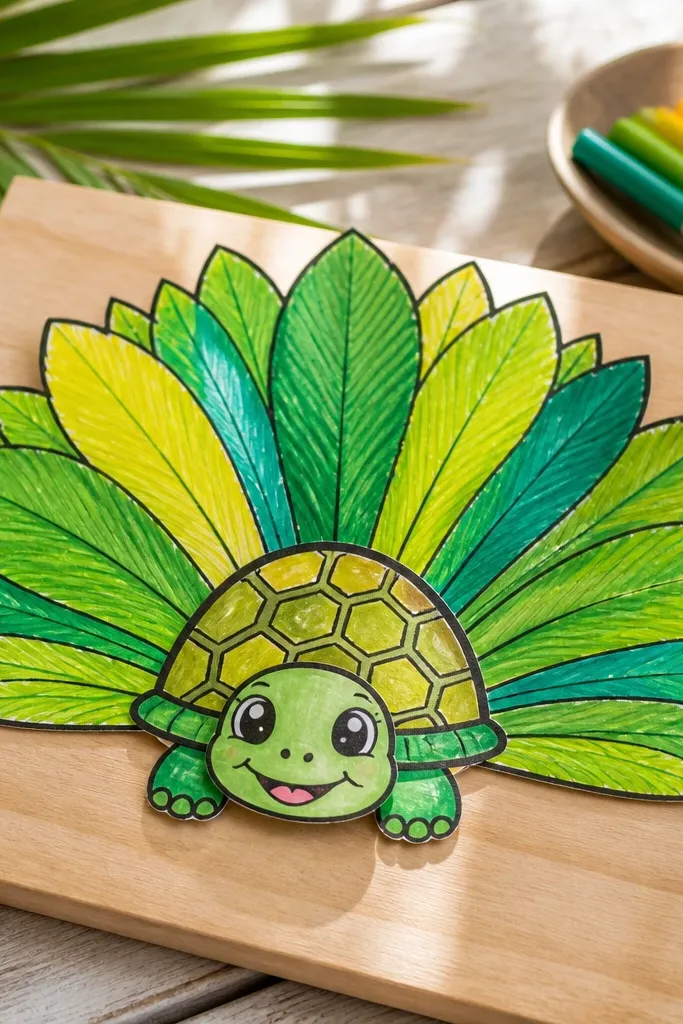
This design is photogenic because the leaf fan creates a fan-shaped burst behind the turtle head. It looks like a tiny character from a summer story without requiring detailed scenery. The shell stays simple and round with a clean tile pattern, while the leaves give you bright greens and yellows. In photos, the fan shape makes the turtle look instantly centered and “finished.”
Step 1: Draw the shell oval and head circle, then add two front arms holding a curved fan handle. Step 2: Sketch 6-8 leaf shapes fanning outward behind the head, each leaf as an elongated teardrop with a center vein line. Step 3: Add shell tiles as 6-9 curved rectangles and a small smile. Outline everything in black, color leaves with two greens plus a yellow highlight, then color the shell green and shade tile edges with a darker green.
Keep the leaf tips aligned — even a little alignment makes the fan read clearly.
Don’t add a full tropical background; the fan already does the heavy lifting.
15. Candy Swirl Shell Turtle
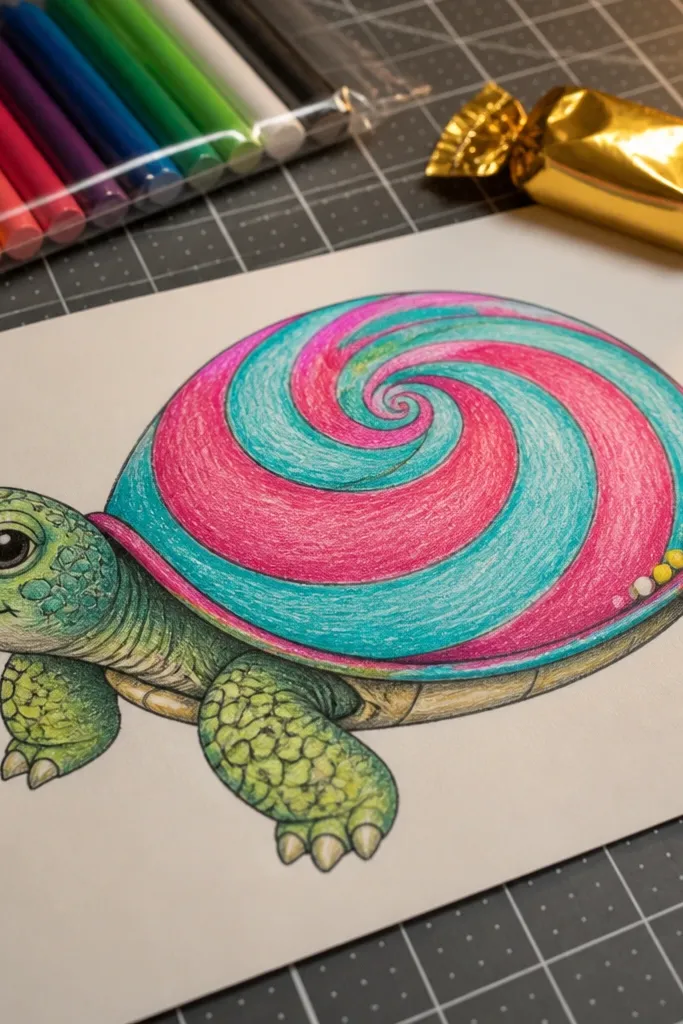
Candy swirl lines look fun and “design-y” without being hard. The shell becomes the art piece: big curved swirl stripes that kids can color in with two alternating colors. Add two or three tiny candy dots near the shell edge for extra cuteness. The photo pops because swirling lines create motion, and the high-contrast colors make the turtle look like a character sticker.
Step 1: Draw the shell oval, then lightly mark 6 curved swirl bands across it. Step 2: Add the head circle and tiny legs tucked under the shell edge, then draw two dot eyes and a smile curve. Step 3: Outline over the swirl bands with black, then color alternating swirl bands with two bright colors. Finally, add small candy dots around the shell — 6-8 dots total — and outline those dots too.
Color one swirl band at a time and leave gaps between colors so the stripes stay crisp.
Don’t use more than two main swirl colors or it turns messy fast.



