
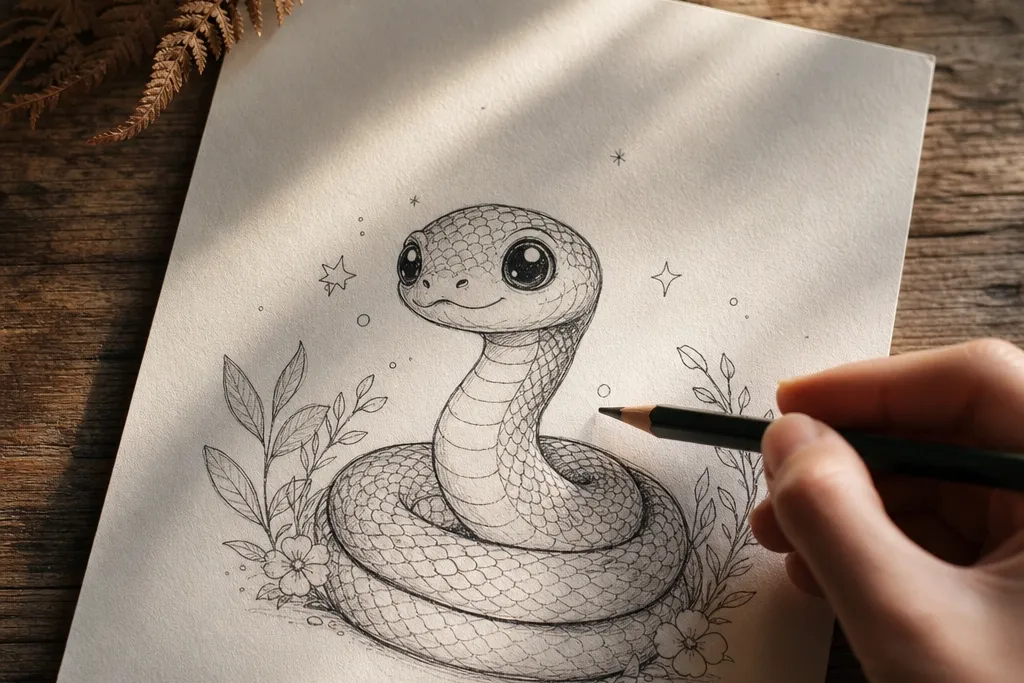
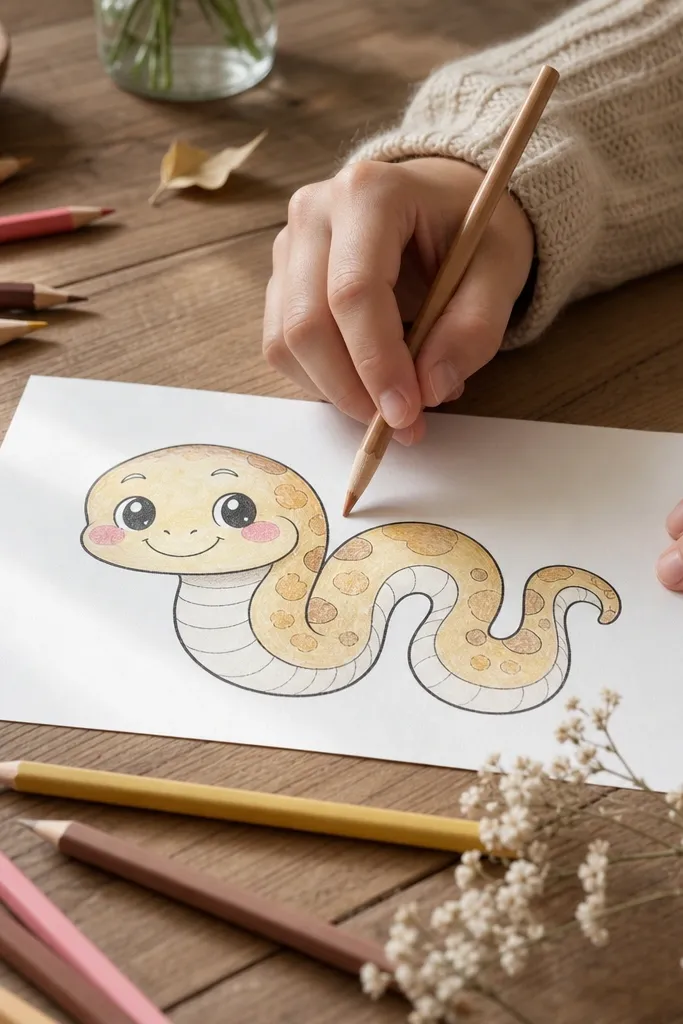
1. Baby Snake in a Heart Loop
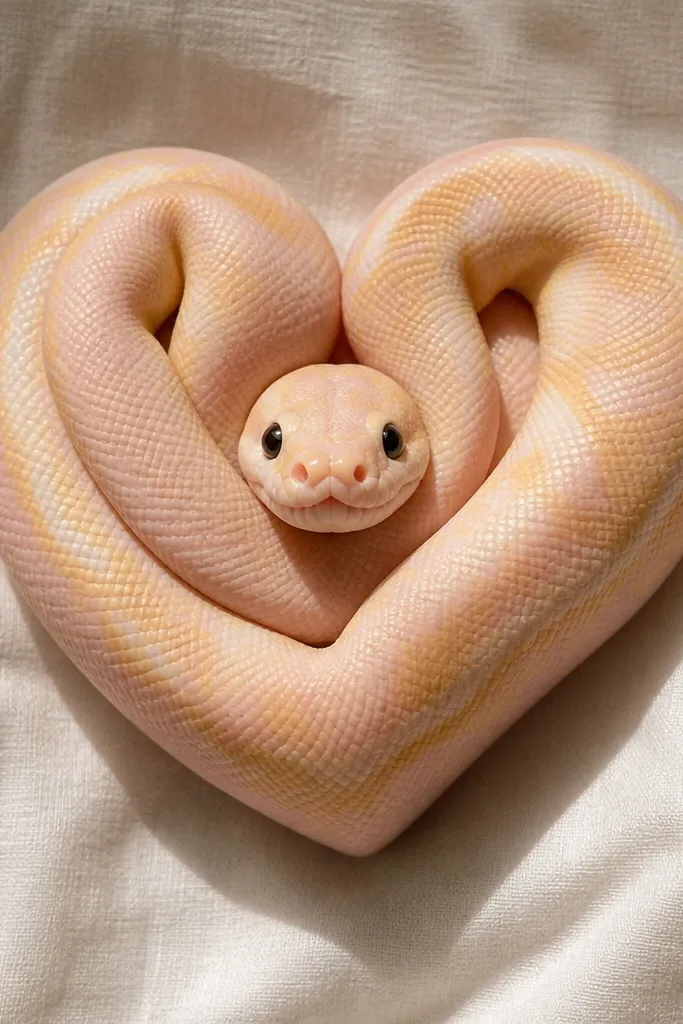
This one is cute on purpose: the heart forces the silhouette into a friendly shape, and the snake stays readable even when you draw it small. Use a compact head with rounded cheeks, then let the body form the heart curve — the snake never has to sprawl out into scary territory. Keep the belly scales minimal: a few short arc marks on the inside curve make it look finished without clutter. It’s great for wrist, ankle, and forearm because the heart gives you a natural “frame” for clean lines. The result photographs well because the outline is bold and the negative space inside the heart stays clear.
Start by drawing a simple heart outline with a smooth top dip. Then convert one side of the heart into the snake body by adding a curved spine line and two short belly arcs inside the heart. Finish with two dot eyes and a small curved mouth on the head, keeping the head slightly larger than the neck. Finally, trace only the outer contour with a thick pen, then add 6-10 tiny scale strokes along the body curve in the same direction to keep it consistent.
Pro tipIf your heart looks lopsided, draw it first on paper with a ruler-free guide line for symmetry, then sketch the snake after.
AvoidDon’t add full scale rows across the whole heart — it turns into texture noise instead of cute clarity.
2. Chibi Snake with Bow Tie Stripe
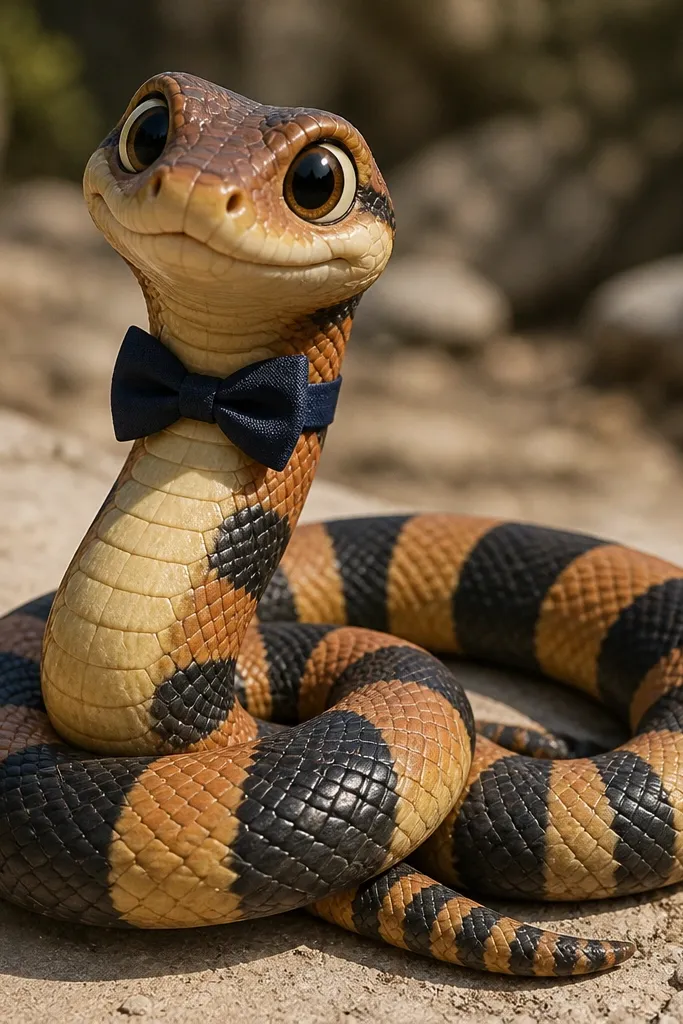
This design makes the snake look friendly by giving it a “character accessory” instead of extra facial features. The bow tie stripe is the trick: one bold stripe across the body reads like clothing, so your scales can stay sparse. Draw the snake in a small curl or gentle S so the bow tie sits neatly at the upper curve. The eyes should be simple: one black dot each, with a tiny white highlight you can leave blank. This is a good option if you struggle with realistic scales because you’re not trying to invent texture everywhere.
Sketch a chibi snake head with a rounded snout, then draw a short neck leading into a small S-curve. Add a thick stripe that runs down the back and curves with the body, leaving clean edges. Place a bow tie at the neck: two small loops with a center knot, matching the stripe angle. Outline everything with a thick pen, then add 8-12 short scale ticks only on the lighter side of the body so the stripe stays the main visual anchor.
Make the bow tie slightly wider than the neck so it stays readable when the tattoo is small.
Avoid drawing the bow tie too far down — if it slips onto the body, it stops looking like an accessory.
3. Minimal Line Snake with Star Sparkles
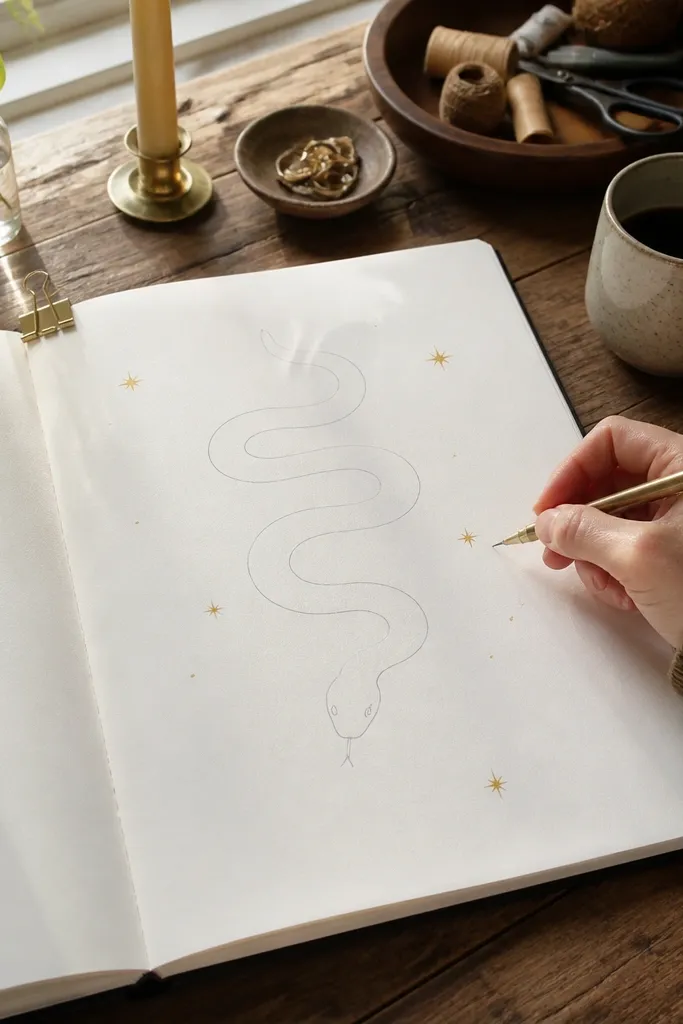
If you want year-round snake drawing cute without overworking the page, thin-line snakes with sparkles are the cleanest look. The snake’s body is mostly one continuous line, which makes it easy to redraw and keeps your tattoo design elegant without trying to be “realistic.” Stars add cuteness and give your eye a place to rest besides scales. Use negative space as part of the design: leave the interior of the curl empty so the snake looks light and playful. This is ideal for ribs, upper arm, and collarbone because it sits airy and doesn’t need heavy shading.
Draw a single flowing S-curve with a tapering head — keep the head wider than the neck. Add two dot eyes and a tiny curved mouth, then place three small stars clustered above and slightly to the right of the head. Outline the body in one pass with a fine liner, then lightly reinforce only the head outline so it reads in skin. Optionally add 5-7 short “scale suggestion” marks near the neck, each one separated, so it stays minimal.
Use a ruler for star placement only — once the stars are evenly spaced, the rest looks intentional.
Don’t add sparkles all over the body; keep them near the head so the tattoo doesn’t look busy.
4. Snake Wrapped Around a Tiny Cherry
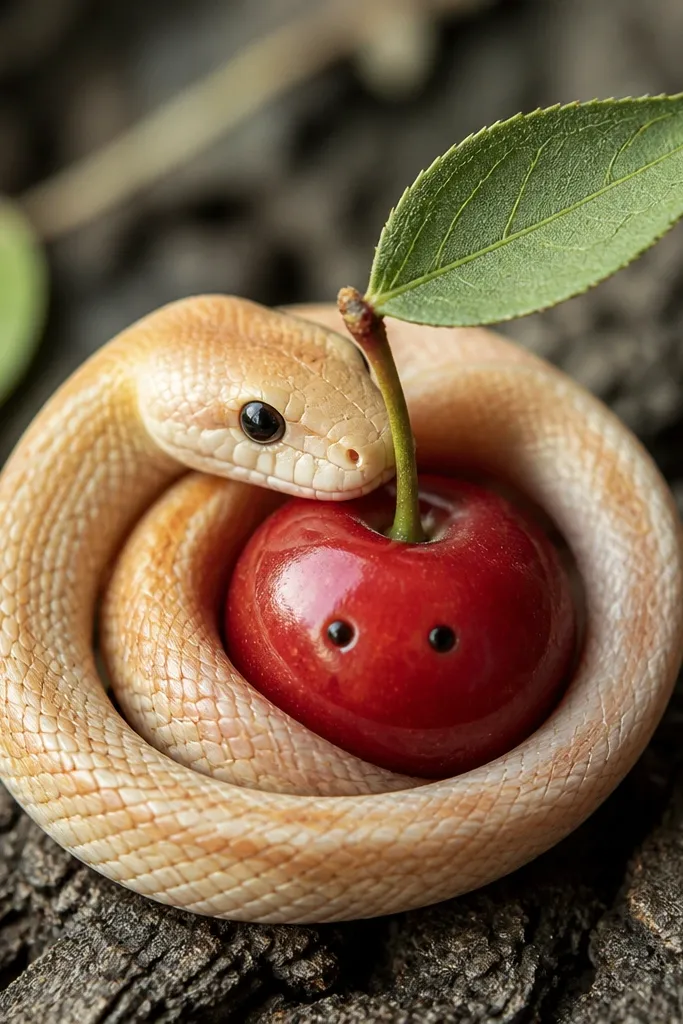
This is one of the cutest “object wrap” drawings because it forces a clear composition. The cherry gives you a focal shape with a leaf, and the snake can hug it in a tight loop — no wandering curves. Keep the cherry bold and simple: two curved cherry halves with a small stem and one leaf. The snake body should wrap at least 70% around the cherry so the silhouette reads instantly. This design works great for forearm and upper thigh because it fills a small oval area nicely and photographs like a sticker.
Sketch a small cherry: a rounded cherry shape, add a short stem, then a single leaf with one center vein line. Draw the snake so its head rests near the top edge of the cherry and its body wraps around the cherry in a compact spiral. Add two dot eyes and a tiny smile on the head, then draw 10-14 short scale marks along the outer curve only. Finish by outlining the entire composition with a thicker pen and adding a few subtle belly dots on the lower side of the snake.
Pro tipMake the cherry about the same width as the snake head-to-neck span — it keeps the proportions cute, not cramped.
AvoidAvoid shading the cherry heavily; flat color blocks and crisp lines look better for transfers.
5. Pastel Swirl Snake with Bubble Belly
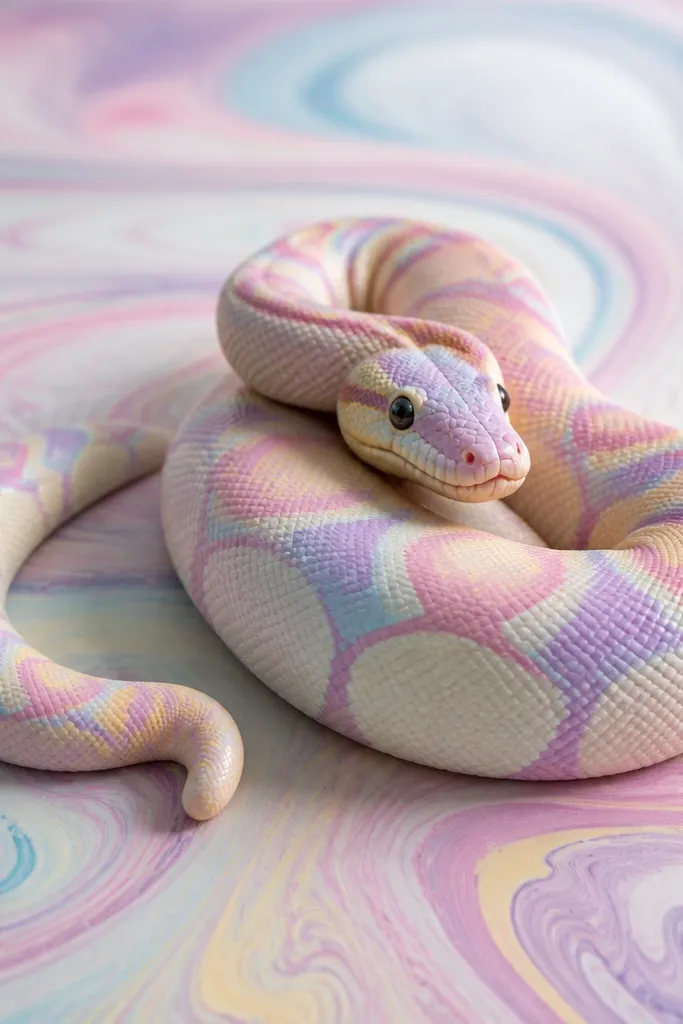
If you like the cute look of bubble tattoos, this drawing uses rounded belly bubbles to do the heavy lifting. The body is a smooth swirl, and the belly details are big enough to stay readable even when the tattoo artist simplifies. You’ll also get a soft, year-round vibe because it looks good with color washes later, but it still works in black ink. The key is keeping the belly bubbles consistent in size and spacing. This one is perfect for ankle, wrist, and the outside of the calf where curved shapes photograph cleanly.
Draw a long C-shaped swirl with a rounded head at one end and a slightly narrower tail. Add eyes as two dots and one curved mouth line, then keep the top outline smooth. On the underside, draw 7-9 evenly spaced bubble circles or ovals that follow the curve of the belly. Outline the snake with a thicker pen, then use a thinner pen to lightly mark the separation line between the top and belly so the bubbles don’t look like random dots.
Pro tipUse the same bubble size for the whole row — inconsistency is what makes it look childish instead of cute.
AvoidDon’t add tiny scales on top and bubbles on bottom; pick one texture method so it stays readable.
6. Polka Dot Belly Snake with Straight Stripes
This design is clean and graphic, which makes it look good on skin and in drawings. Straight stripe segments on the back give structure, while the belly uses polka dots for softness. The contrast between stripe and dots reads as “designed,” not accidental. Keep the head simple and rounded, with a small tongue flick or a tiny smile if you want extra personality. This is a strong choice if you’re trying to make a year-round snake drawing cute without getting lost in scale realism. It also transfers well because the shapes are bold and separated.
Sketch an S-curve snake with a rounded head and a small neck taper. Draw 3-4 stripe segments across the back, each one following the curve but staying fairly straight in shape. Add a belly row of polka dots on the underside, 9-14 dots total, evenly spaced. Outline everything with a thick pen and add a thin inner line separating the back stripe area from the dotted belly so the design feels intentional.
Pro tipIf your dots look uneven, lightly mark spacing with two guide lines first, then fill the dots.
AvoidDon’t overlap stripes and dots; keep them in separate zones or it turns into a blur.
7. Cute Snake Face in a Circle Frame
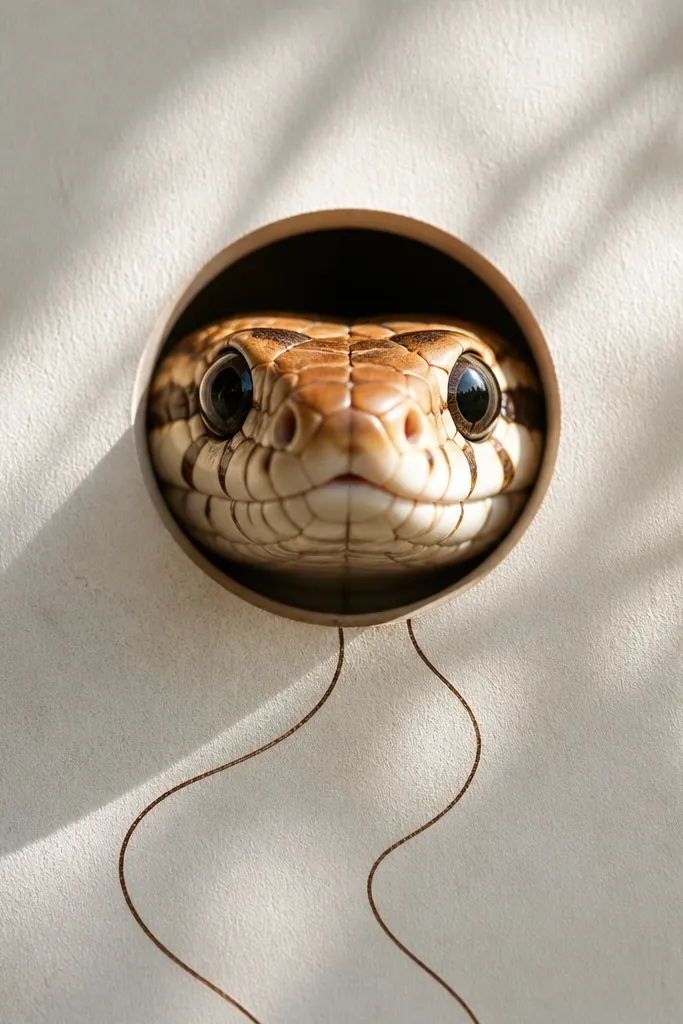
This is the easiest way to get “cute” without drawing a full snake. The circle frame makes the tattoo read like a logo, and it forces your face to be the focus. Big eyes and a small smile work because the face stays centered and the body is minimal. Add only a couple of scale lines around the cheeks so it looks like a snake but still feels friendly. It’s perfect for small placements like the top of the foot, inner wrist, and behind the ear where you need a compact design that still looks crisp in photos.
Draw a circle, then sketch a snake head shape inside it, keeping the head wide so the eyes have space. Add two large dot eyes with a small blank highlight, plus a short curved mouth. Add 4-6 short scale lines on the sides of the head, then add a tiny body line at the bottom of the circle that curls slightly. Outline the circle and head with a thicker pen, and keep everything else thin and clean.
Make the eyes the same size as the mouth width — that proportion is what keeps it cute.
Avoid adding a full body inside the circle; the extra lines fight the face and ruin readability.
8. Snake and Flower Vine Side-by-Side
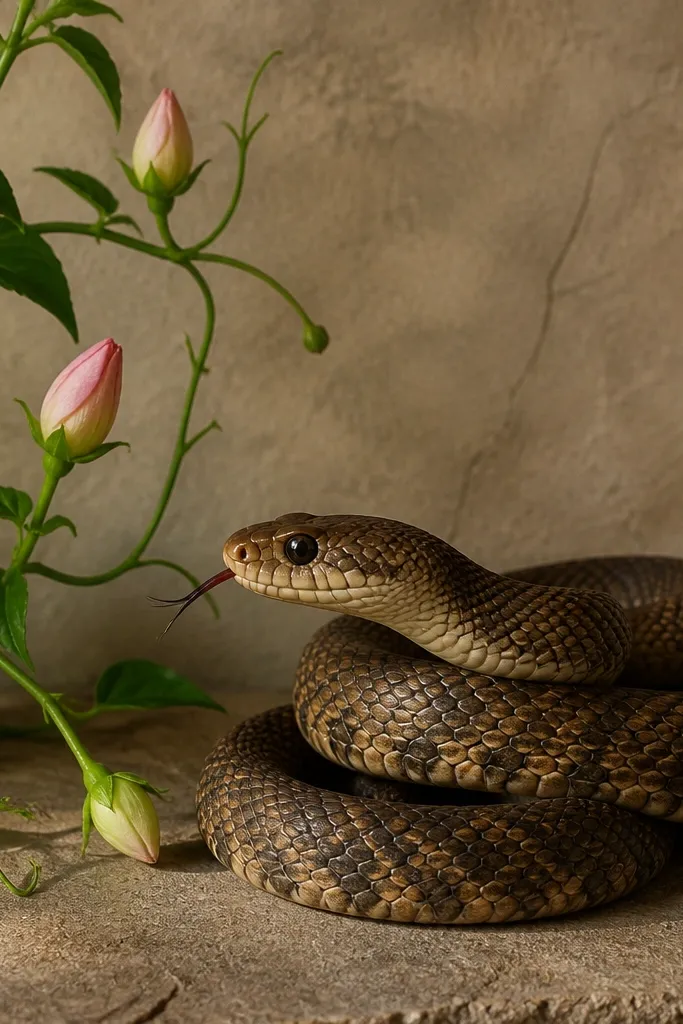
This one looks pretty because it mixes two recognizable motifs: snake and flower vine. The trick is spacing. Put the snake curve close to the vine so they look connected, but don’t let the leaves crowd the snake head. Keep the flower simple with three buds and one small stem — fewer petals means cleaner lines. The snake should be cute, not intense: rounded head, soft smile, and only a few scale strokes near the neck. This works well for upper arm, shoulder, and side ribs where you want a “soft” tattoo that still reads as snake.
Sketch a flower vine first: a thin stem line with three buds and one leaf shape. Place the snake so it coils around the vine edge, with the head near the top bud and the body following the stem curve. Add dot eyes and a small smile, then draw 8-12 scale ticks along the outer body curve only. Outline the vine and snake in one consistent thickness, then add one thin inner line on the flower bud to give it depth without shading.
Pro tipKeep vine leaves smaller than the snake head so the eyes stay the focal point.
AvoidDon’t add too many flower petals; it turns into a busy botanical mess.
9. Bowtie Neck Snake with Tiny Ridges
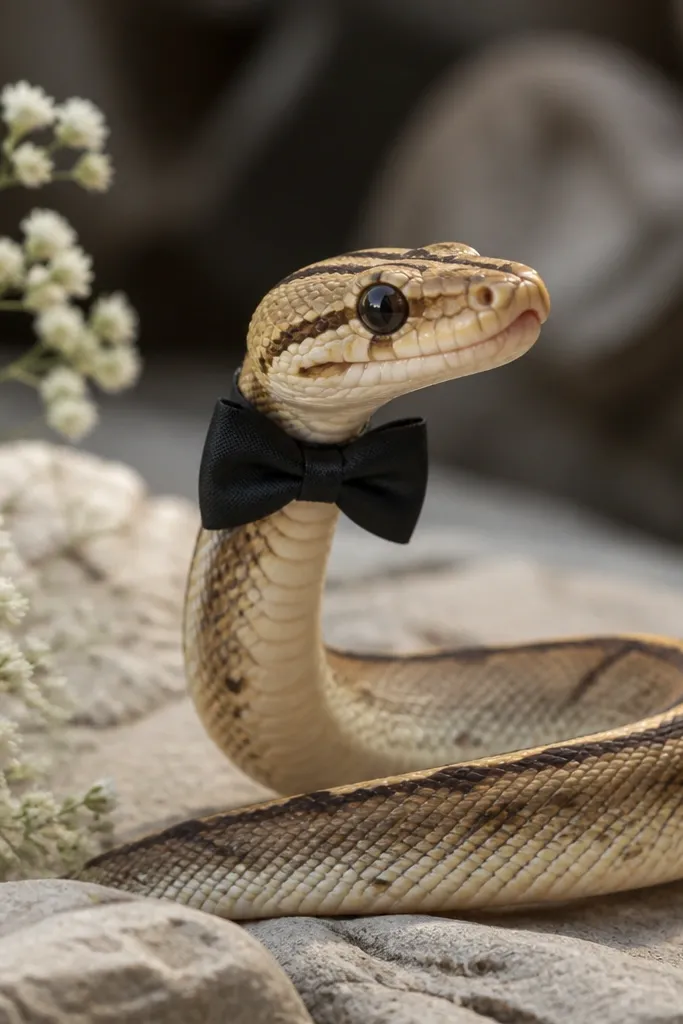
This is a more refined version of the bow tie concept, with a texture that stays cute. Instead of full scales, you add tiny ridge lines along the back — short, evenly spaced marks that feel like fabric folds. The bow tie gives personality and helps the snake look dressed, which reads friendly in a small tattoo. Because the texture is minimal, it stays readable as it ages. Great for wrist, collarbone, and upper forearm where fine lines need clarity.
Draw a compact S-curve snake with a rounded head and a small neck. Add a bow tie at the neck with two loops and a center knot, keeping it flatter than you think. On the back, add 10-16 short ridge lines that follow the curve and stay the same length. Outline with a thicker pen, then use a thinner pen for the ridge marks. Finish by adding two dot eyes and a small mouth line, keeping facial lines simple.
Pro tipKeep ridge lines spaced wider than you want — tattoos blur, and tight ridges turn into a single dark band.
AvoidSkip fine cross-hatching on the body; it makes the snake look shaded and less cute.
10. Kawaii Coil Snake with Little Feet
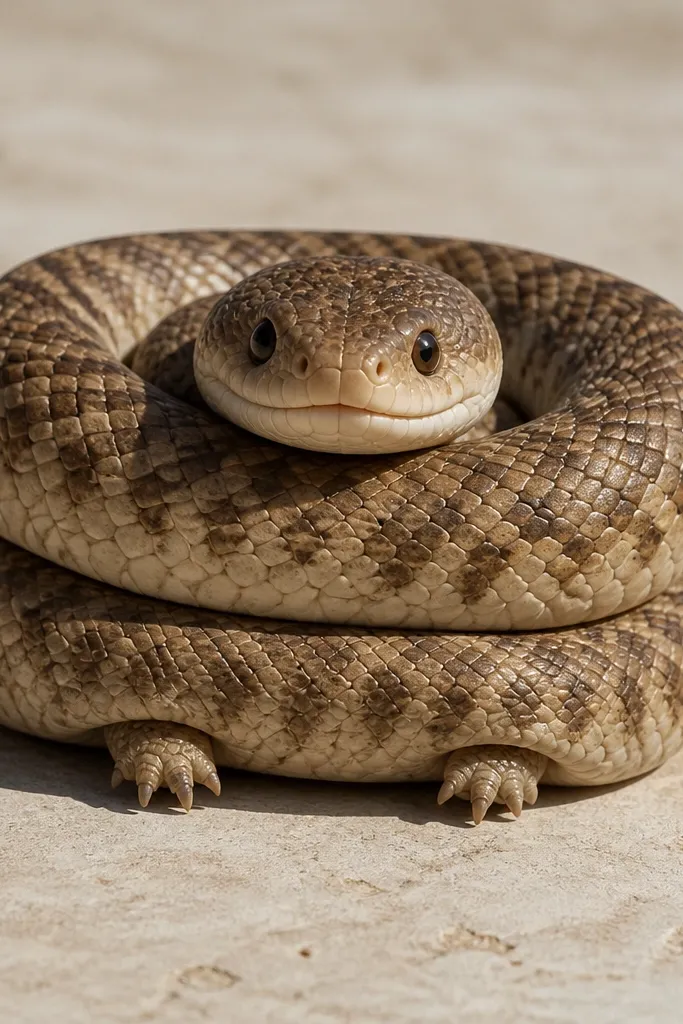
Feet instantly make a snake look playful, not predatory. The coil keeps the design compact, and the tiny feet add motion without needing a long body. The face should be rounded and calm: two dots, a small mouth, and maybe one cheek line. Keep the feet simple — two small ovals or short stubby shapes — so you don’t end up drawing detailed anatomy. This works great for ankle, shin, and outer wrist because it looks like a character sticker pinned to your skin.
Start with a tightly coiled spiral, like a comma shape, leaving a small gap where the feet will show. Draw the head on the outer edge of the coil, with two dot eyes and a tiny smile. Add two small feet as simple rounded shapes sticking out from the underside of the coil. Outline the whole design with a thicker pen and add 6-10 belly scale ticks as short marks under the head side only. Keep the tail end clean and simple, no extra spikes.
Pro tipPlace the feet on the shadow side of the coil so they look attached, not floating.
AvoidAvoid drawing long toes; stubby feet read cuter and survive aging better.
11. Snake in a Teacup Steam Swirl
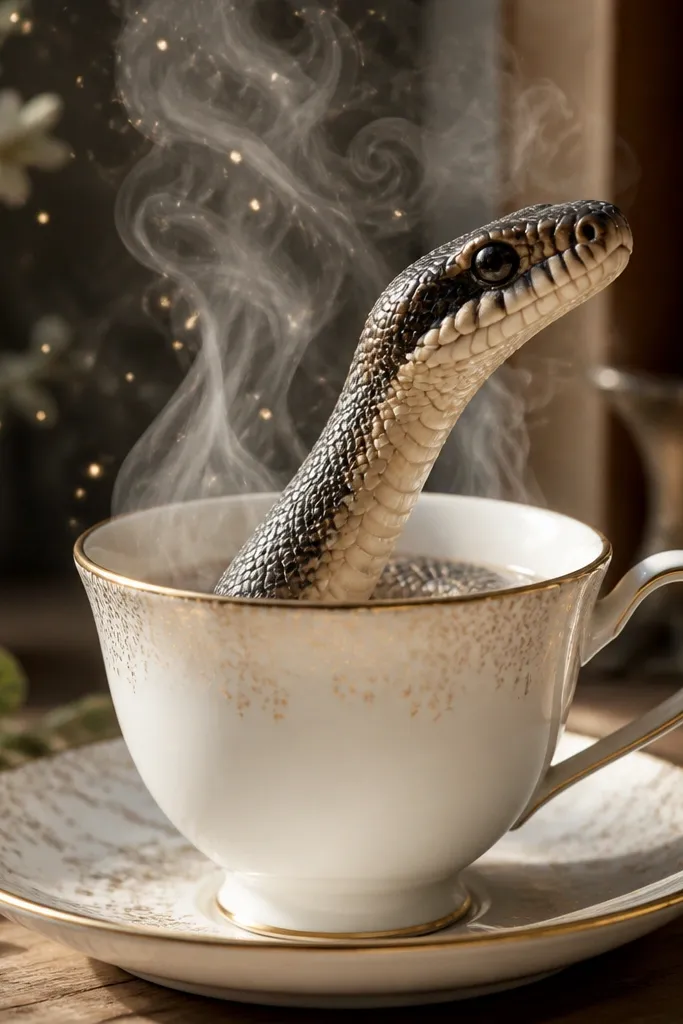
This design is cute because it blends cozy shapes: teacup, steam, and a calm snake head. The steam swirl gives you a built-in motion curve, so your snake body can follow it naturally without looking forced. Keep the teacup outline simple and thick so it reads as a cup, not a sketch. The snake should be small and friendly: round head, dot eyes, and a tiny smile. Add 2-3 small steam marks or sparkles near the head for charm. It’s a great fit for forearm and upper arm where the vertical teacup shape looks strong.
Draw a small teacup outline first: a bowl shape with a handle and a slightly curved rim line. Place the snake head at the top opening so it looks like it’s peeking out of the cup. Add two steam swirls rising from the cup, and let one steam line double as a light body curve. Add dot eyes and a tiny mouth, then outline the cup and snake head with a thick pen. Finish with 8-12 tiny scale ticks on the lower part of the visible snake and add one small sparkle near the steam.
Pro tipMake the cup opening wide enough that the snake face stays centered when the tattoo is small.
AvoidDon’t cram steam lines behind the snake head; layers reduce readability.
12. Snake with Eyelash Eyes and Blush Cheeks
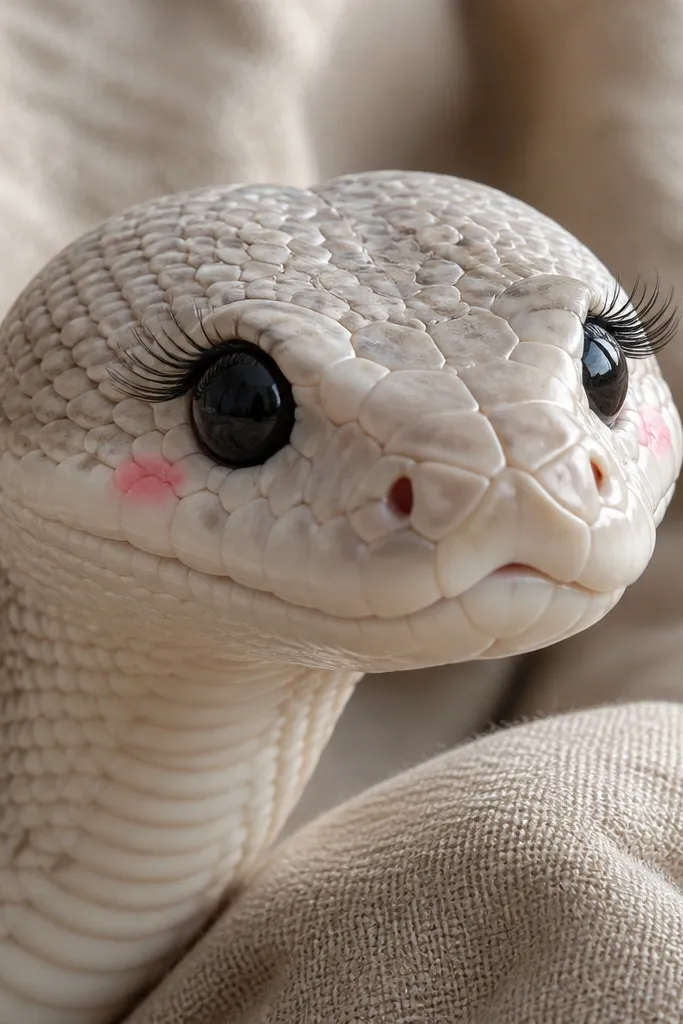
This is pure cute-face design. The eyelashes and blush marks turn a snake into a character without adding scary scale detail. It’s also great if you like fine-line tattoos, because you can keep the body minimal and let the face carry the look. Use short eyelash strokes that curve outward and keep them symmetrical. Blush cheeks are small curved marks under each eye, not big patches. This idea photographs well because the face is high contrast and the line work is the star.
Sketch a small snake head shape with a rounded snout and a slight upward curve at the mouth. Draw two big eyes as black dots, then add 3-4 short eyelash strokes above each eye. Add blush cheeks as two small curved lines under the eyes and keep them light. Outline the head with a thick pen, then add 5-7 scale ticks along the top edge of the head only. For the body, draw a short taper line downward that curls once, no full scales needed.
If you’re using pencil, do the eyelash strokes last so you can correct symmetry before inking.
Avoid heavy shading around the eyes; it makes the face look tired, not cute.
13. Geometric Cute Snake with Triangle Scales
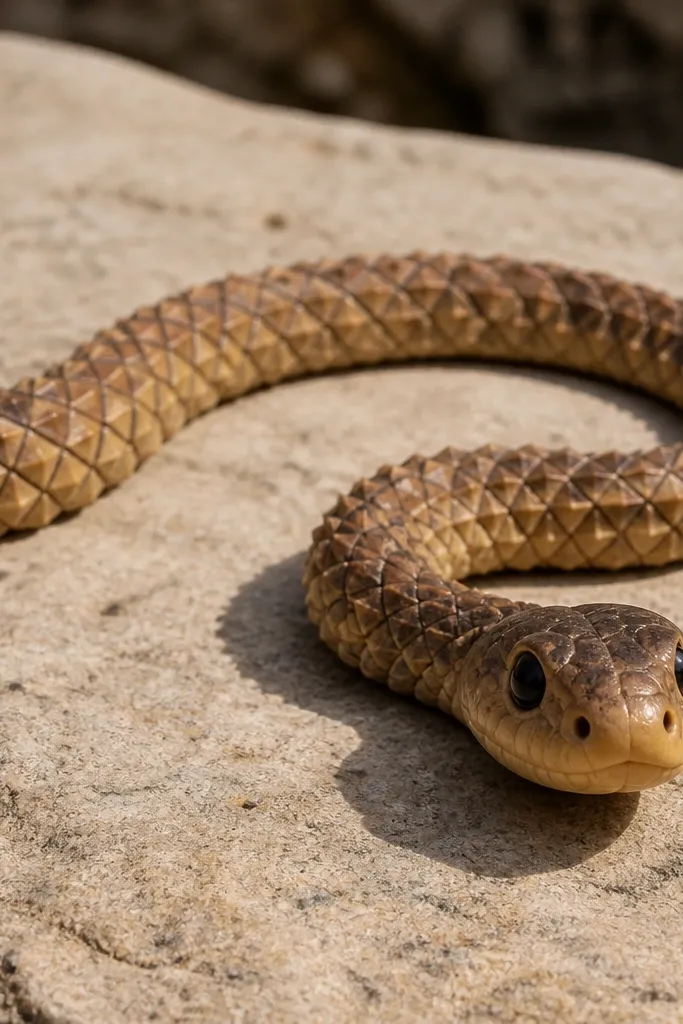
Geometric scales look modern and graphic, and they stay readable because each triangle is a clear unit. This design is cute rather than harsh because the snake outline stays rounded and the head stays friendly. The triangle scales should live on the body in a repeating pattern — don’t randomize them. Keep the stripe-free look so the triangles become the texture. This works for small tattoos because the pattern is high contrast and doesn’t require shading. It also looks great on paper and in photos because the shapes are crisp.
Draw a rounded snake outline with an S-curve and a friendly head, then add an inner guideline line down the center of the back. Fill the back half with small triangles, each one touching the guideline and the outer contour, about 6-10 triangles per curve section. Leave the belly plain or add 3-5 small circles so it feels lighter. Outline the entire shape with a thicker pen, then ink the triangle edges with a thinner pen. Add dot eyes and a tiny mouth, keeping facial details simple.
Use triangle sizes that match your pen tip — if triangles are too small, they blur into a single dark patch.
Don’t add triangles on the entire body including the belly; keep the belly negative space for cute contrast.
14. Snake with Wraparound Ribbon Tail
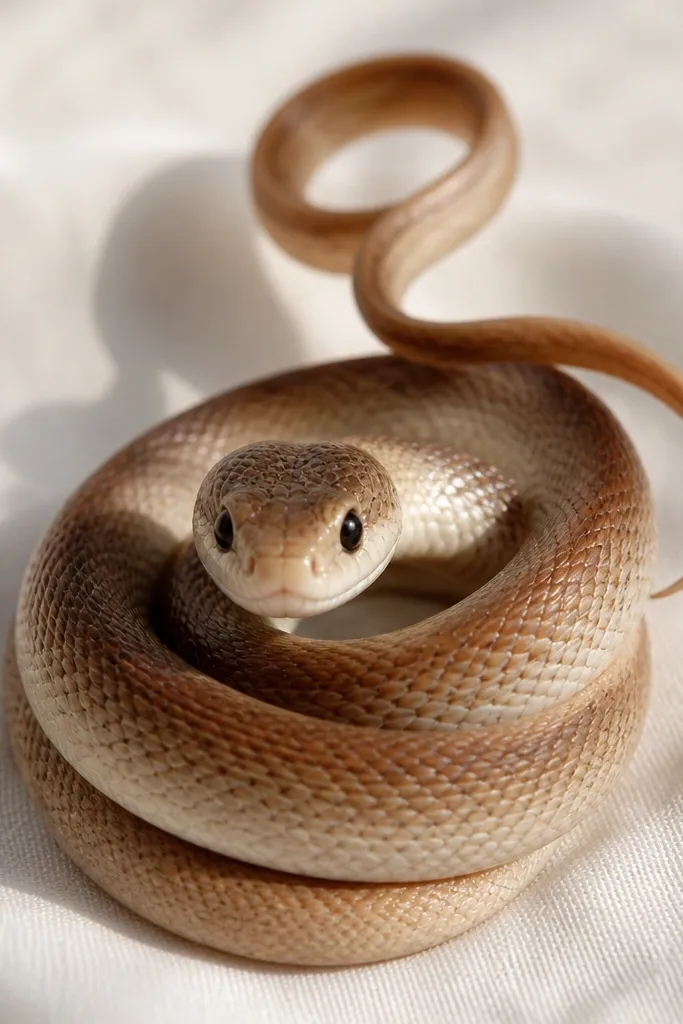
A ribbon tail makes the snake look like a gift or decoration, which reads cute instantly. The ribbon concept also gives you a natural finishing flourish at the end of the tattoo, so it looks complete even if it’s small. Draw the body as a smooth coil, then turn the tail into a ribbon shape with a single fold line. Keep the head rounded with dot eyes and a tiny smile so it doesn’t turn into a realistic serpent. This is a strong pick for ankle, wrist, and inner forearm because the ribbon gives a clean directional flow.
Sketch a compact coil with a rounded head on the upper curve. Outline the body with a thick line and add 2-3 simple scale ticks near the head to suggest texture. Extend the tail from the lower coil and shape it like a ribbon: draw a flat ribbon outline and add one fold line down the center. Add two dot eyes and a small mouth, then ink the ribbon edges with a thinner pen for crisp detail. Finish by reinforcing the outer contour only, so the ribbon fold stays sharp.
Pro tipMake the ribbon fold line slightly closer to one edge so the fold reads clearly on skin.
AvoidAvoid adding extra loops at the ribbon end; one clean tail flourish looks intentional.
15. Snake Holding a Tiny Lollipop
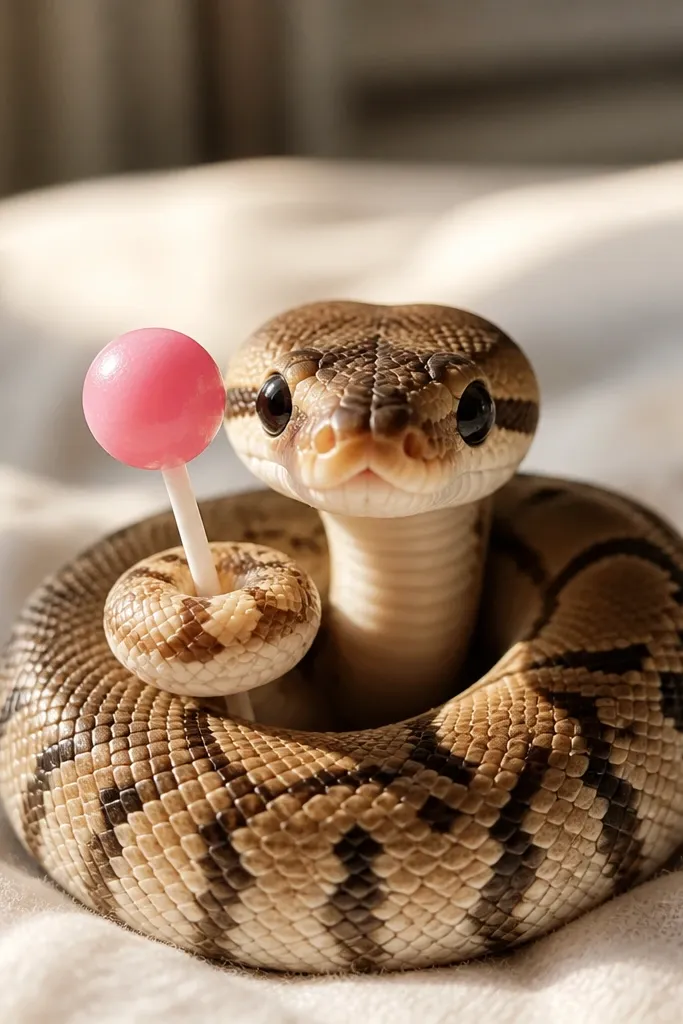
This one is adorable because the snake has a job: holding something sweet. It also solves a common problem — when people draw cute snakes, the hands/legs area feels empty. The lollipop gives the composition a clear prop, and the snake can wrap around it for a natural pose. Keep the lollipop simple: a round candy with a short stick and a small highlight. The snake body should curve around the stick, with the head near the candy for focus. Great for forearm and upper arm where props read clearly and don’t get lost.
Draw the lollipop first: a circle candy shape with a short stick and one small highlight space. Sketch a snake curve around the stick, with the head near the candy and the mouth slightly open or smiling. Add dot eyes and a tiny tongue flick if you want extra charm. Add 8-12 short scale ticks along the outer body curve only, leaving the belly plain. Outline everything with a thick pen, then add a thin line on the candy edge so it reads as a clean circle.
Pro tipKeep the lollipop candy about the same width as the snake head so the proportions look cute, not random.
AvoidDon’t add a full candy pattern; one highlight and one edge line are enough.



